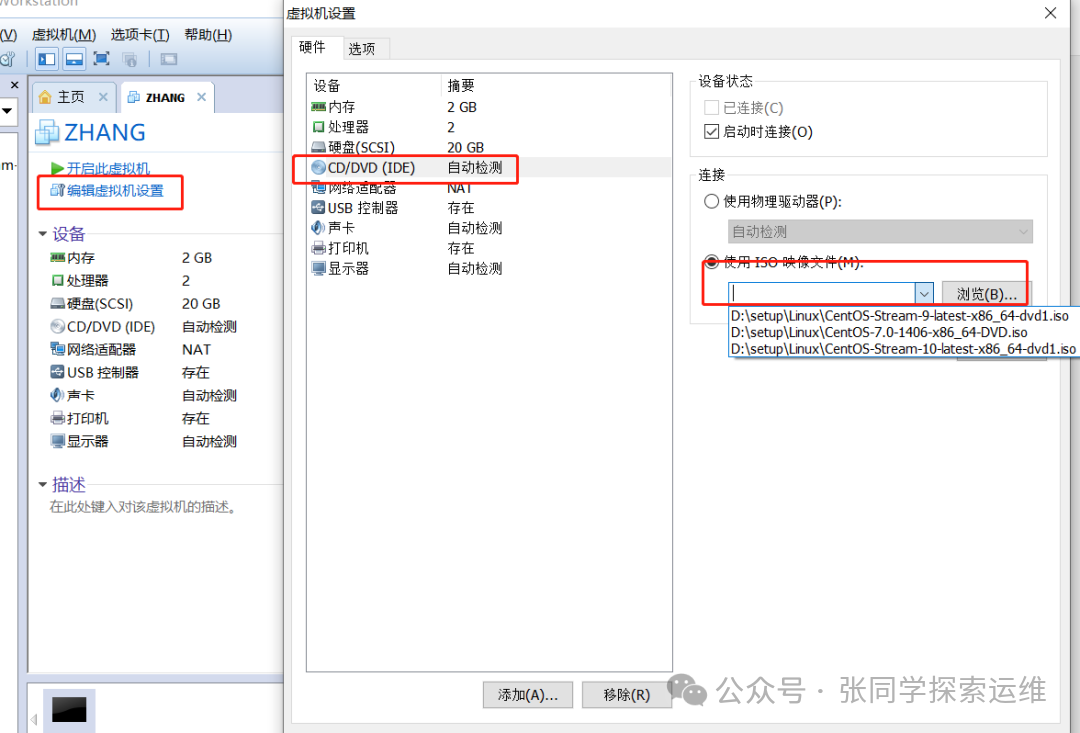
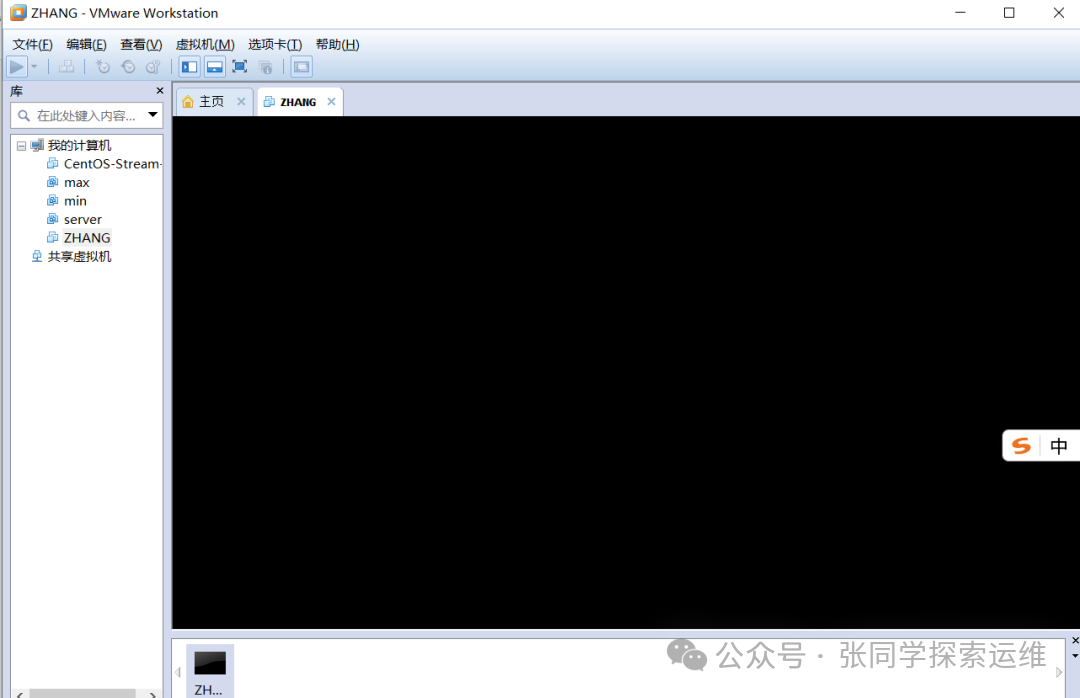
Installing Linux in a virtual machine is almost identical to installing it on a physical machine. Open the virtual machine. Click: Edit this virtual machine settings – Hardware – CD – Use ISO image file – Browse, find the previously downloaded Linux image file, and after setting it up, click “Start this virtual machine”. Wait a few seconds after starting.
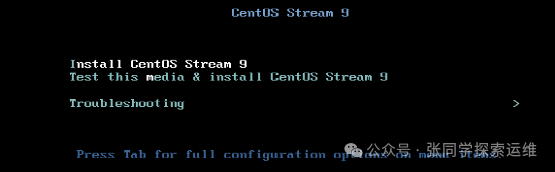
Use the “↑” key to select the first option, which is the default second option, but the second option has an additional step for detection. After selecting, press Enter and wait. (This version of the virtual machine cannot use the mouse; to exit, use the “Ctrl+Alt” keys. Please refer to the instructions for other virtual machines).
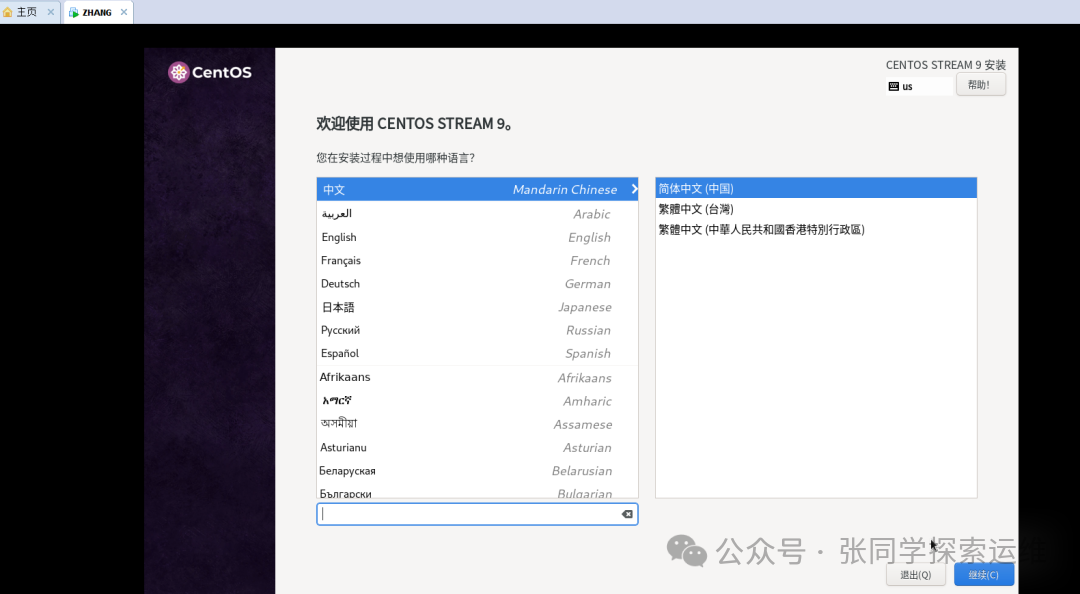
Select the installation language. Important note: You can select Chinese for easier viewing during installation, but try to use English during operation.Because the opportunities to use Chinese in Linux are very few or almost nonexistent, many versions of Linux do not support Chinese input methods. More importantly, some Linux systems may frequently report errors when running Chinese on physical machines, and many tools, commands, and help documents in Chinese have not been updated. If your English is really poor (like mine), you can use translation tools.
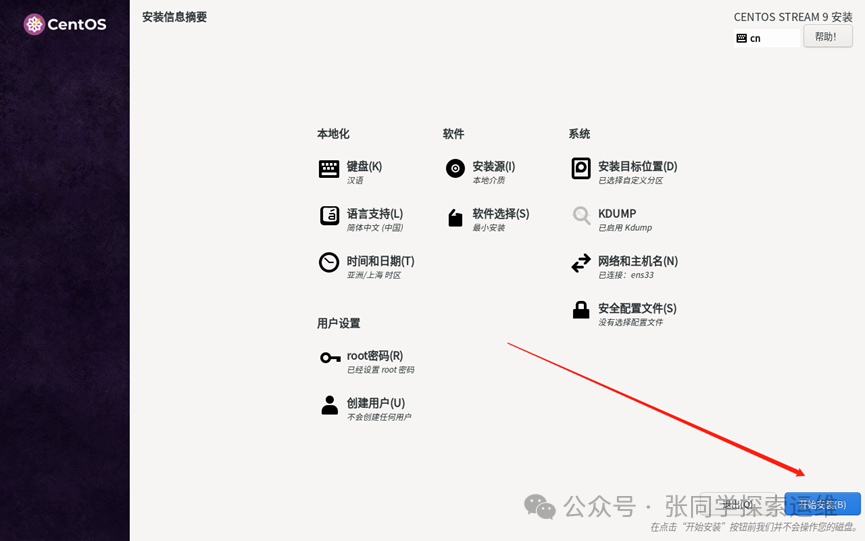
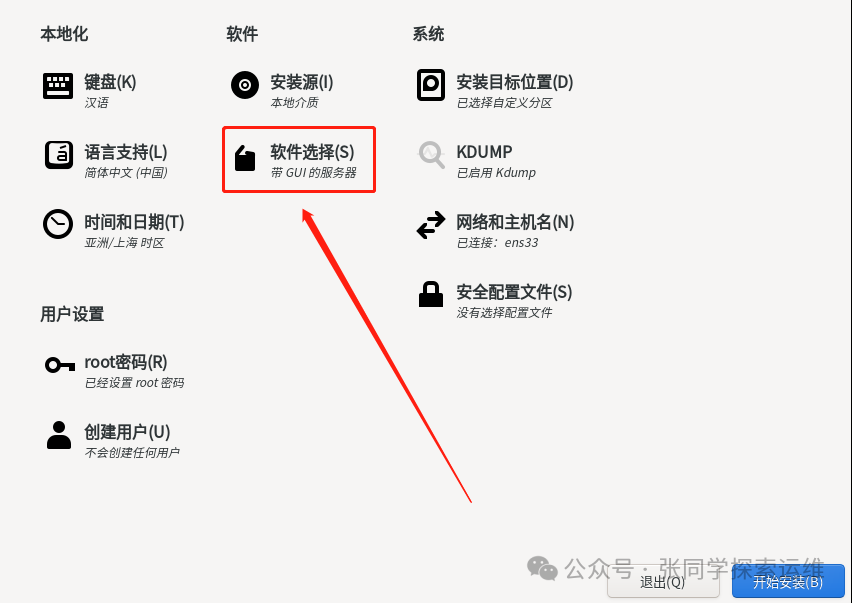
Next, pay attention to four areas: installation target location – disk allocation, network and hostname – network settings, root password – administrator account settings, and most importantly, software selection.
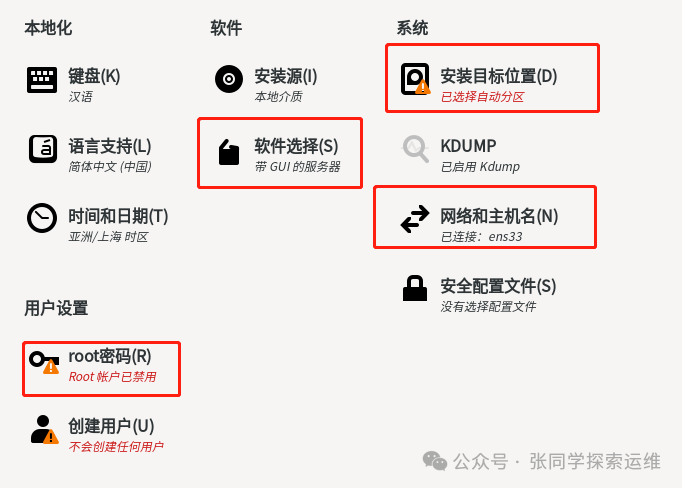
The installation target location. It is recommended to select the second custom partition; automatic allocation is not conducive to later learning, as disk allocation is a very important operational content. (Warning: If you are installing the system on a physical machine, it may report insufficient space. The reason is that non-dedicated physical machines may have pre-installed Windows or other non-Linux operating systems, and the disk file formats of different systems are different. There will be a dedicated issue explaining this situation later.)
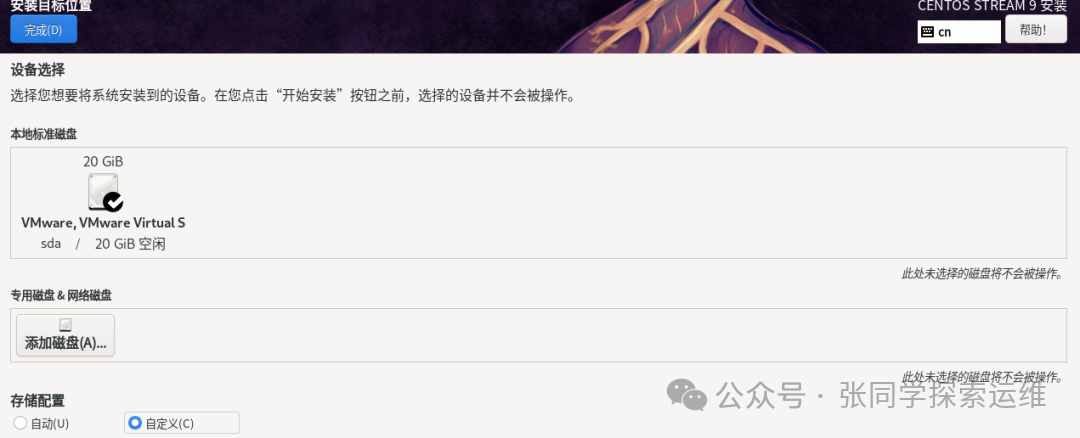
After completion, it will redirect you to set the partition. Select standard partition and click the ” + ” sign below, which will pop up the mount point settings.
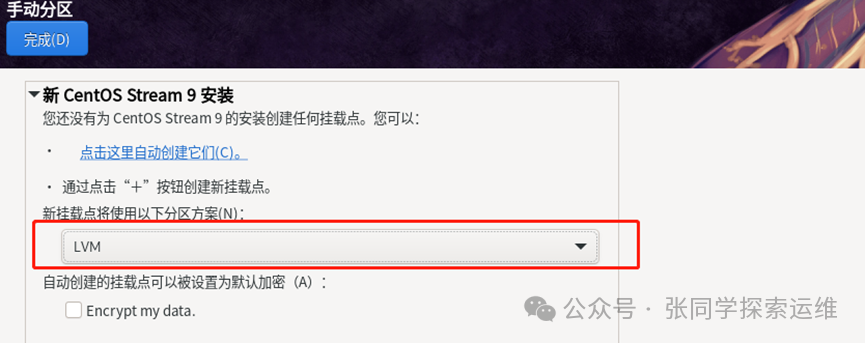

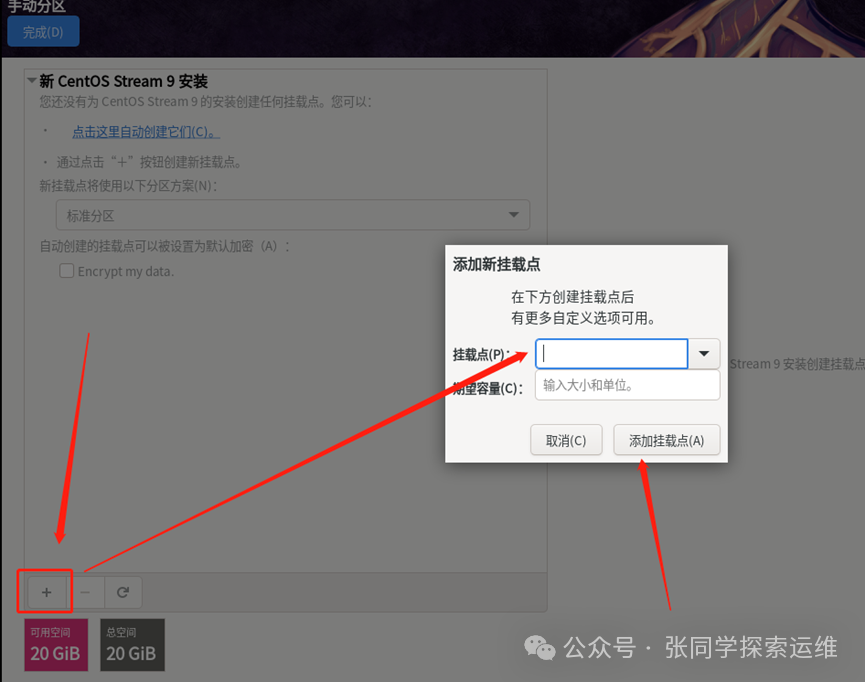
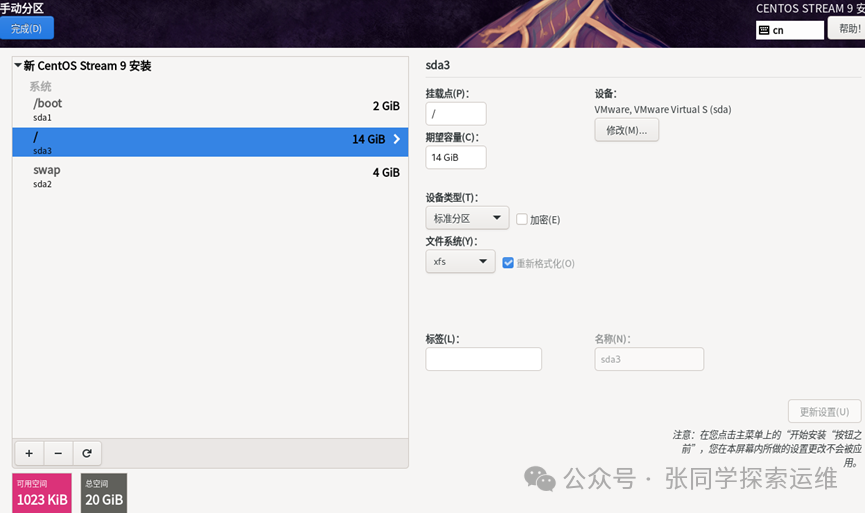
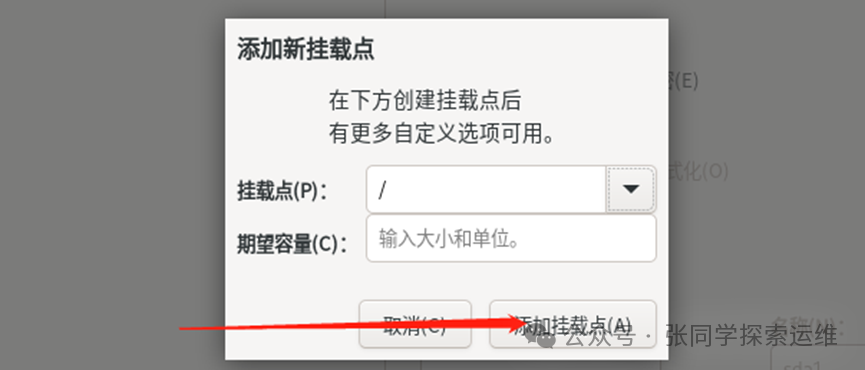
Set the mount point (similar to memory, storage, and system space settings on a phone), directly input the size in the box below. Generally, I divide it into three partitions: “/boot”, “swap”, and “/”. A simple understanding of the partitions: “/boot” is the system area, “swap” is the cache, and “/” is the root directory. If a detailed introduction to partitions is needed, a dedicated issue will be released later.Tip: When creating the last partition, you do not need to calculate how much space is left; just input the mount point without entering the partition size, and directly increasing the partition will allocate all remaining space to that mount point.(In the image, only the “/” partition is added without inputting a value, directly adding the mount point)
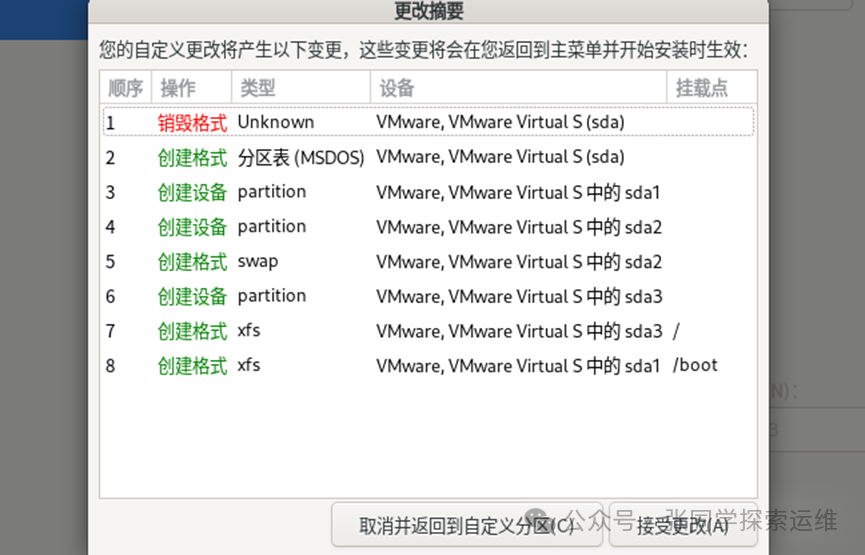
After clicking finish, a prompt box will pop up asking you to confirm the settings; just confirm.
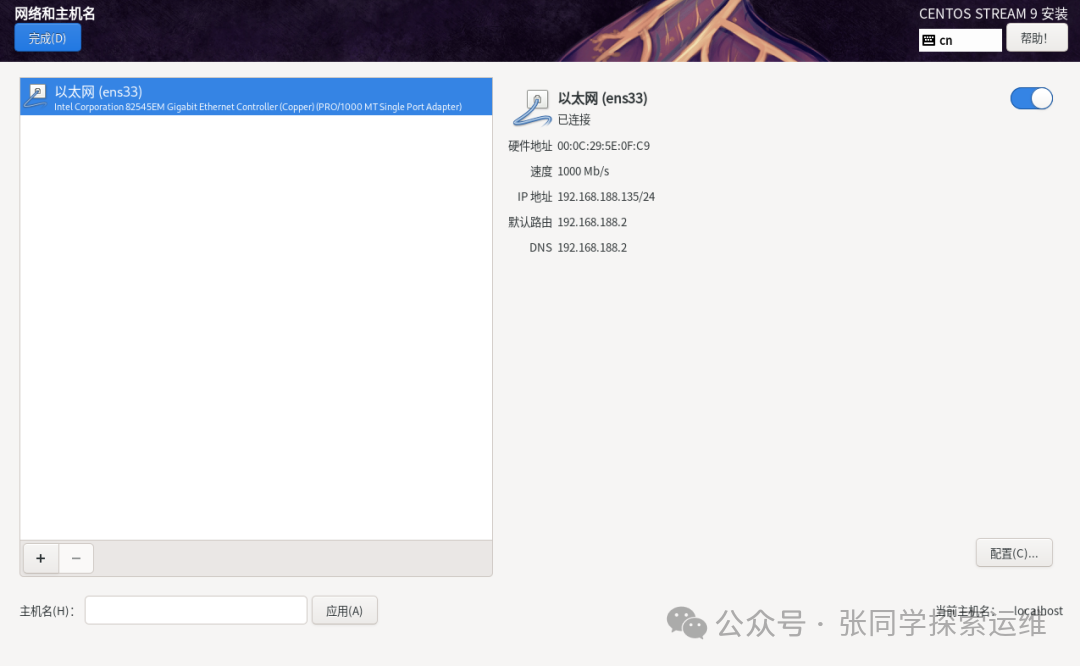
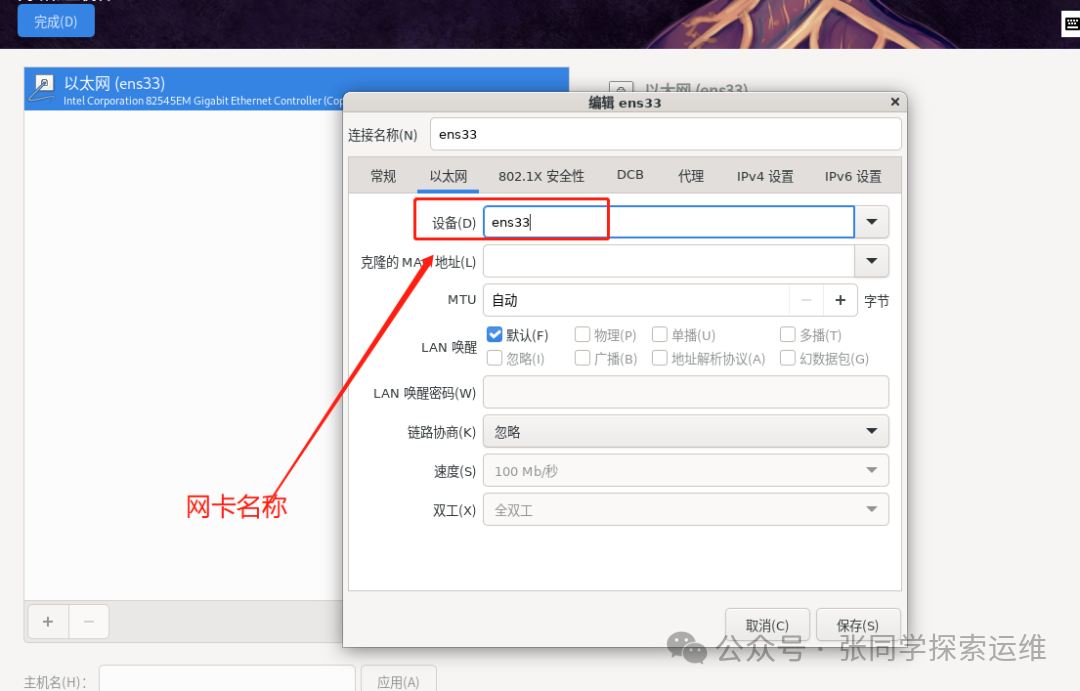
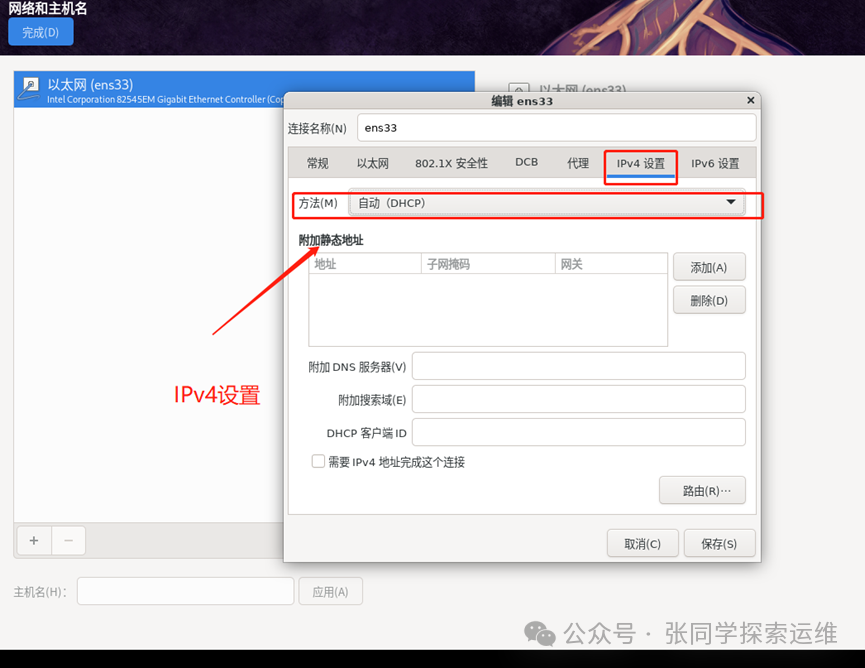
The network and hostname are assigned by the virtual machine and can be left unset. If it is a physical machine, you generally need to set it here. (Although the virtual machine automatically obtains a dynamic IP, in reality, it does not adjust the IP every time it is turned on or off; the dynamic IP of a physical machine may change every time.)
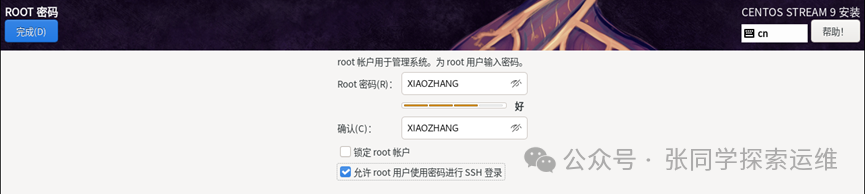
The administrator password is different from Windows, where you can leave the password blank; the password must be set. Try to set a complex password, and do not check the lock root user option, as locking it will restrict many functions. I used to default to this without noticing it was locked, which caused many restrictions and problems later; it took me a whole day to resolve.
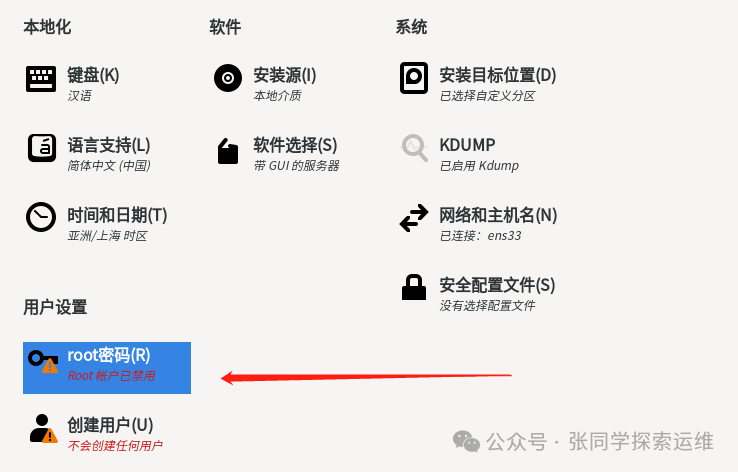
Key software selection, here is the selection of the specific installation system type, which many users stumble upon.
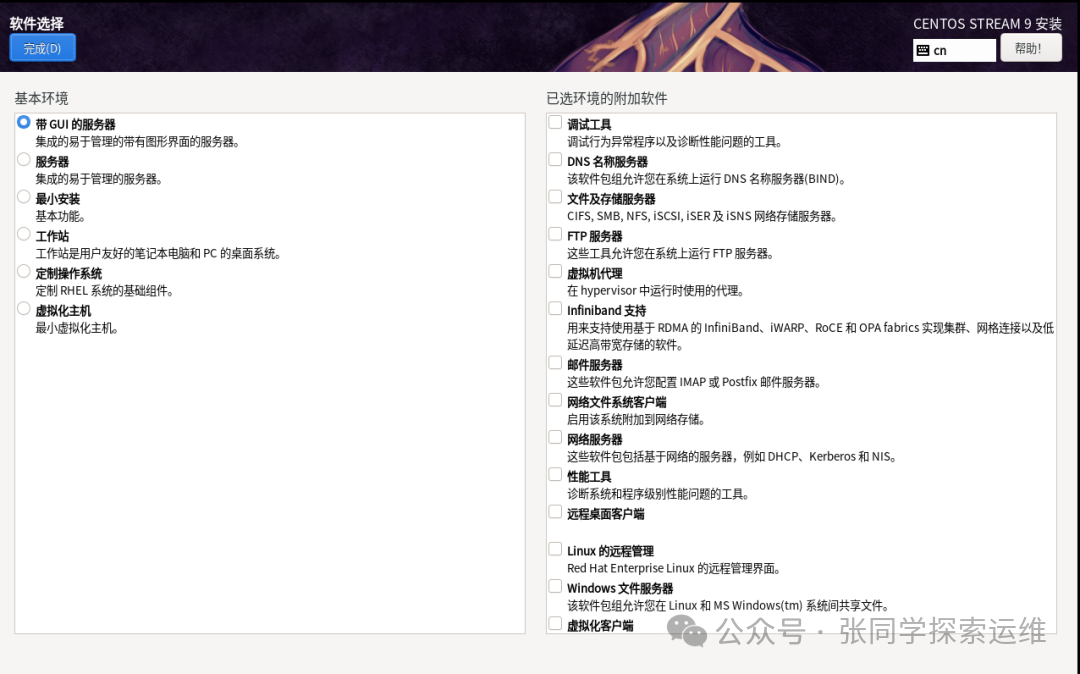
The software selection is similar to choosing configurations when buying a car. The basic environment refers to the type, for example, a server with a GUI has a graphical interface, while a minimal installation only has the most basic functions. The additional software for the environment is the functionality added under the current configuration.
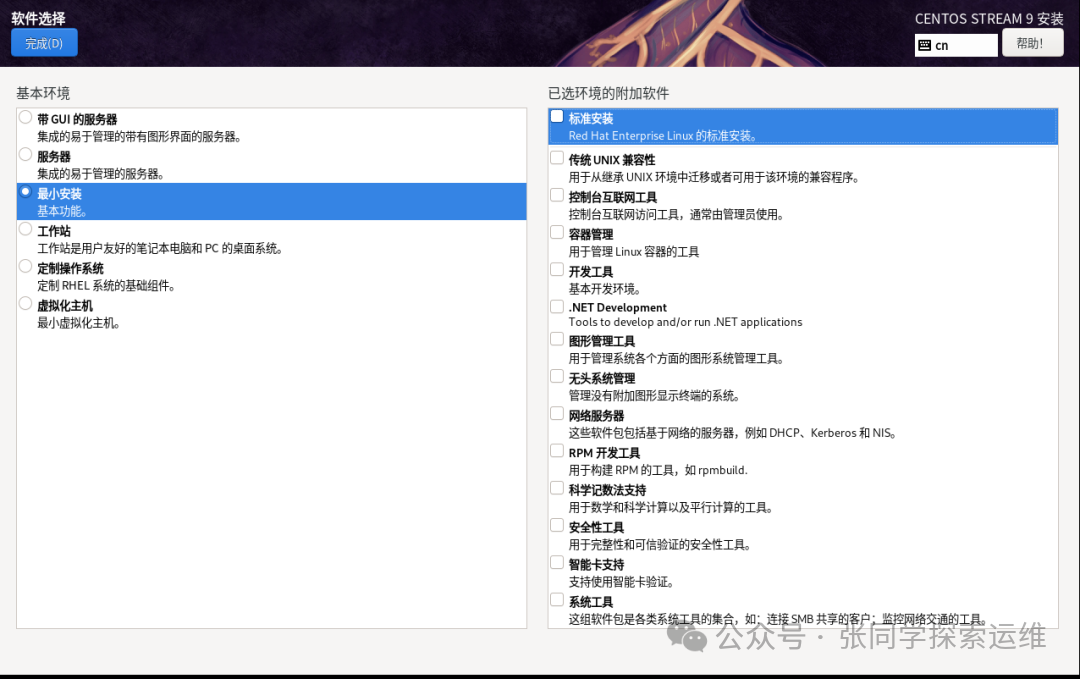
I chose a minimal installation, which is the lightest environment and runs the fastest in practical applications. It is favored by experts and professionals for its lightweight nature and speed. Importantly, removing unnecessary components also means fewer interference factors when encountering problems. However, you cannot have both fish and bear’s paw; fewer lightweight components may lead to the most installation errors due to missing sufficient “dependencies”.
Note: During the learning process, lightweight installations may encounter more problems, but solving these problems deepens your understanding of Linux. In a production environment, stability must be prioritized.
After selecting everything, start the installation, and restart after completion.