1. What Can Dify Do?
- • Quickly build production-level AI applications (chatbots/intelligent assistants/knowledge base Q&A, etc.)
- • Achieve LLM workflow orchestration, knowledge base management, and multi-model integration without coding
- • Lower the development threshold for AI applications, focusing on business logic
2. Tutorial Environment
- • To ensure this article remains useful for as long as possible, all software installations are done using specified version numbers
- • The tutorial demonstrations in this article are all practical verifications
- • Operating System: OpenEuler 24.03 LTS (compatible with CentOS 6/7/8)
- • Docker Version: 26.1.4
- • Network Status: Connected
- • Dify Version: 1.7.1
- • Installation Method: Clone the source code from GitHub and install; download source code and offline images from cloud storage;
3. Steps to Operate
3.1 Download Source Code
git clone https://github.com/langgenius/dify.git --branch 1.7.13.2 Installation
# Enter the Docker directory of the Dify source code
cd dify/docker

# Copy the environment configuration file
cp .env.example .env

# Start using docker compose
docker compose up -d
If there are issues pulling the image in this step, refer to the troubleshooting section at the end of the article.

# View the list of containers
docker compose ps
3.3 Access
You can see that <span>docker-nginx-1</span> is mapped to port 80 of the physical machine, access it at: server IP:80, for example: http://192.168.1.111
3.4 Demonstration
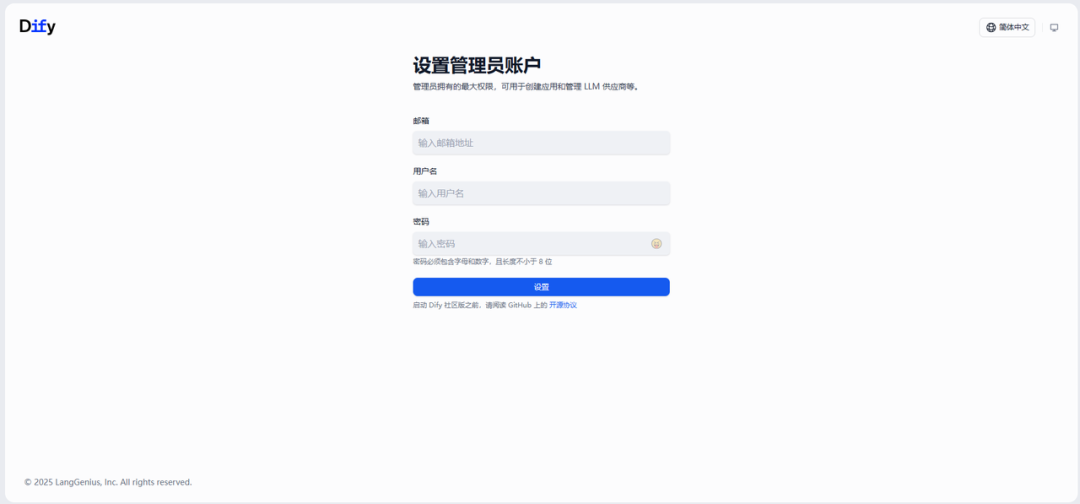
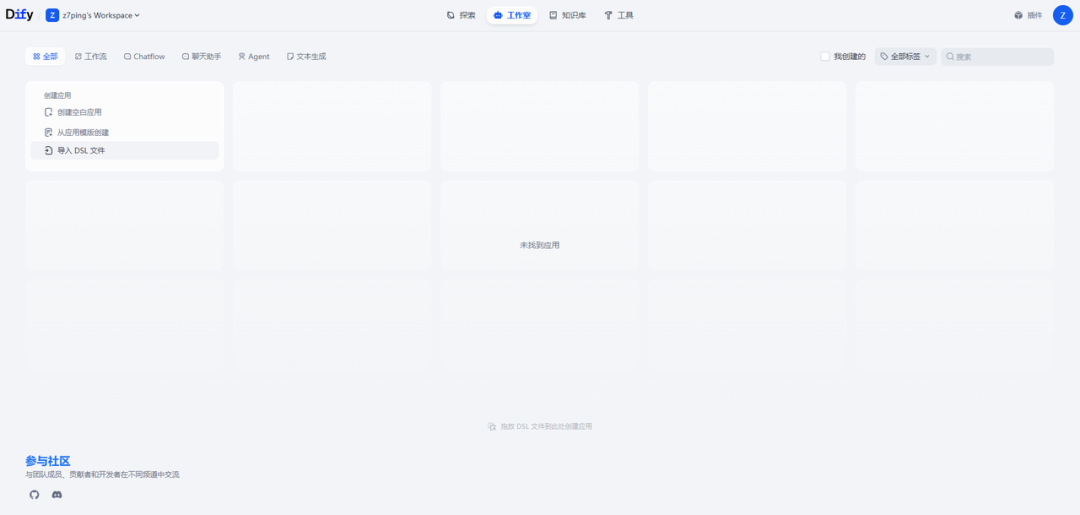
At this point, Dify has been successfully deployed.
4. Issues Encountered and Solutions
4.1 Unable to Pull Images (Use Method Two for Simplicity)
4.1.1 Method One: [For the Adventurous] Set Up Docker Proxy
Prerequisite: You have a way to access the Docker repository. At this point, you have an HTTP proxy (like Clash) on your local machine or network, for example <span>127.0.0.1:7890</span>.
- 1. Create Proxy Configuration
# Create proxy folder
sudo mkdir -p /etc/systemd/system/docker.service.d

# Add proxy file
sudo tee /etc/systemd/system/docker.service.d/http-proxy.conf <<EOF
[Service]
Environment="HTTP_PROXY=http://127.0.0.1:7890"
Environment="HTTPS_PROXY=http://127.0.0.1:7890"
Environment="NO_PROXY=localhost,127.0.0.1"
EOF- 2. Restart Docker
sudo systemctl daemon-reexec
sudo systemctl daemon-reload
sudo systemctl restart docker- 3. Verify
# Run docker compose up -d
4.1.2 Method Two: [No Hassle] Download from Cloud Storage
1. Cloud storage link: https://pan.quark.cn/s/5cb591e50688
2. It is recommended to transfer the contents of the cloud storage as soon as possible to avoid expiration. Below is an explanation of the cloud storage contents:
- • Dify source code: version 1.7.1,
<span>dify-1_7_1.zip</span>; - • 9 commonly used Dify images: version 1.7.1,
<span>dify-default-1_7_1.tar.gz</span>; - • Linux script to import Dify Docker images:
<span>load-dify-default-1_7_1-images.sh</span>
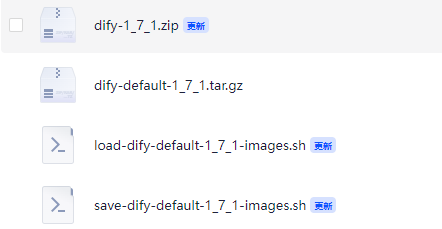
To use, upload the above files to the Linux server:
1) Unzip <span>dify-1_7_1.zip</span>, then return to the previous steps;
2) Execute <span>load-dify-default-1_7_1-images.sh</span>
chmod +x load-dify-default-1_7_1-images.sh

./load-default-images.sh dify-default-1_7_1.tar.gz
5. Related Resources
- • Tutorial on Installing Docker on Linux Servers: Advanced Docker (2) Installation and Deployment on Domestic Euler Systems and Usage of Docker and Docker Compose
- • Tutorial on Installing Git on Linux Servers: Linux Installation of Git Version Control Tool
- • Dify Official Documentation: https://docs.dify.ai/zh-hans/introduction