Django+MySQL+Vue
A human resource management system based on Python + Django + MySQL + Vue
- The project adopts a front-end and back-end separation technology, including a complete front-end that, after packaging, forms a complete front-end and back-end separation system with Django.
- Element-UI
- Supports two types of role logins: users can log in to view personal information, while administrators can log in to view all information. Users can also view complaint-related information and register user information.
Introduction
The human resource management system based on Django, MySQL, and Vue uses Element-UI to build the front-end pages and employs front-end and back-end separation technology to connect to the database using PyMySQL to retrieve and read data. The UI framework uses the Element-UI component library, which requires basic knowledge of front-end development, database knowledge, and Python knowledge for installation.
Main Body
The human resource management system based on Django, MySQL, and Vue uses Vue to build the front-end pages and employs front-end and back-end separation technology to connect to the database using PyMySQL to retrieve and read data. The UI framework uses the Element-UI component library, which requires basic knowledge of front-end development, database knowledge, and Python knowledge for installation.
- Vue is a JavaScript framework for building user interfaces. It is built on standard HTML, CSS, and JavaScript, providing a declarative and component-based programming model that helps you efficiently develop user interfaces.
User Front-end Login
Open the user login page at the address<span>http://localhost:8080/front/index.html</span>, enter the corresponding username and password, and select the correct role to log in.
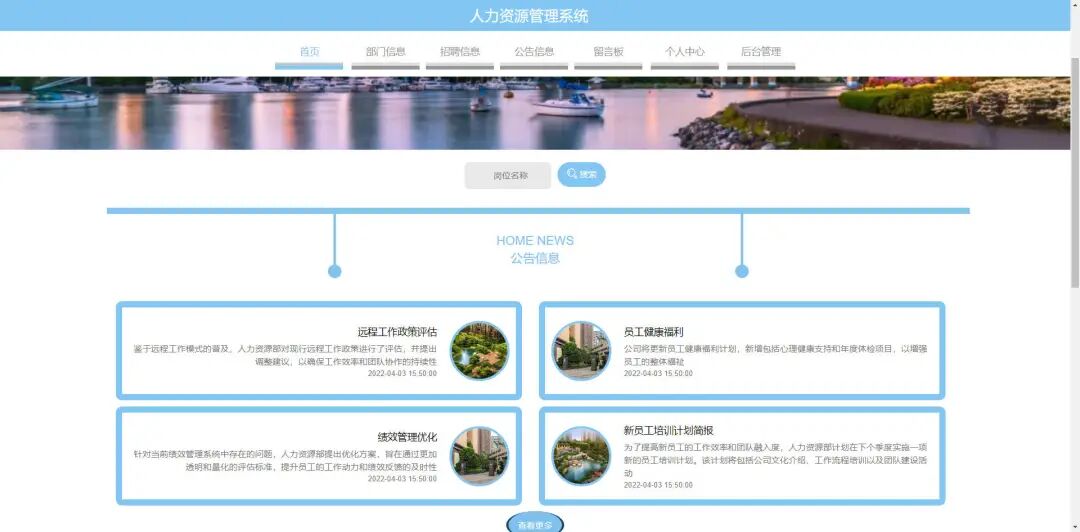
Department information display, where you can view the showcase images of each department.
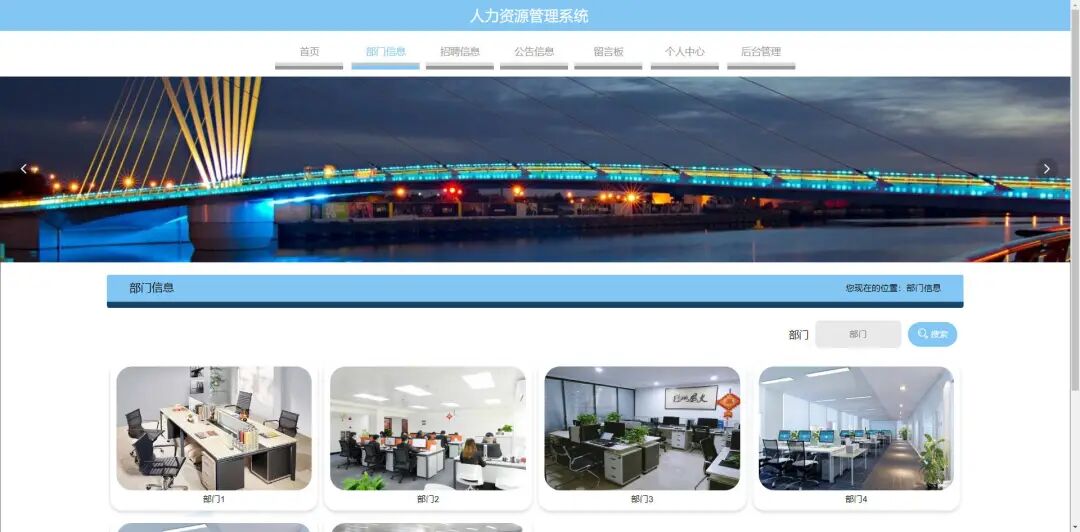
Recruitment information viewing page, where you can obtain information about job types and positions, and you can also search for desired job information by clicking the search button.
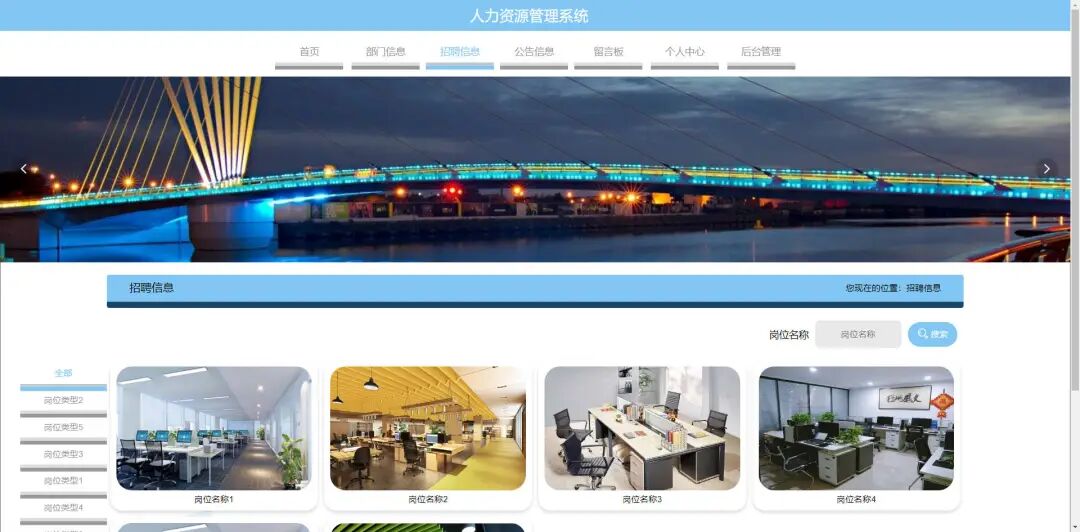
Announcement information viewing page, where you can view company-related news and quickly grasp relevant information.
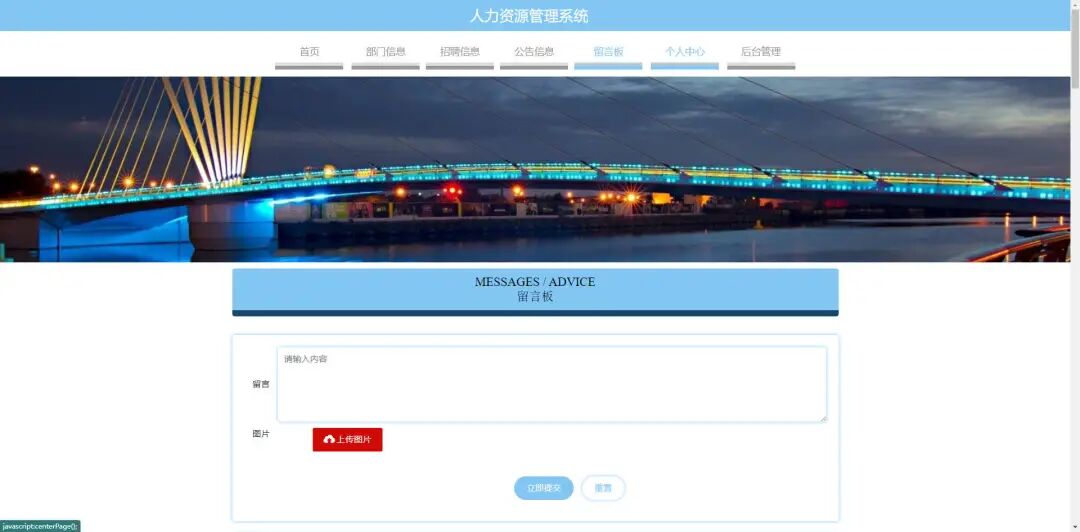
Message board viewing page, where you can input messages or upload required images. Click the submit button to publish your message. If the input information is incorrect or needs to be re-entered or uploaded, click the reset button to easily complete the process.
User Back-end Login
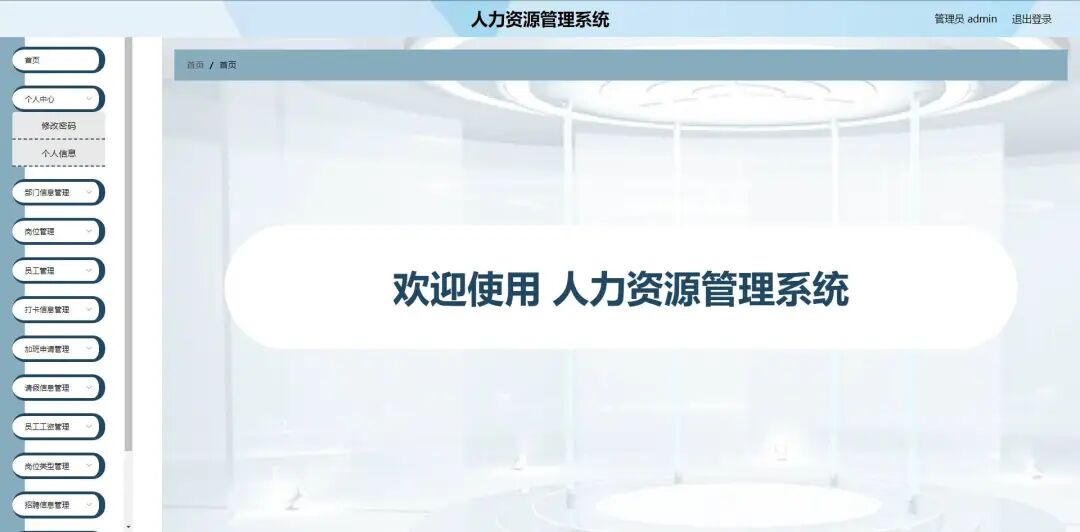
Human resource management system page, after entering the system page, you can see the image shown below. If you need to log out, click the logout button.
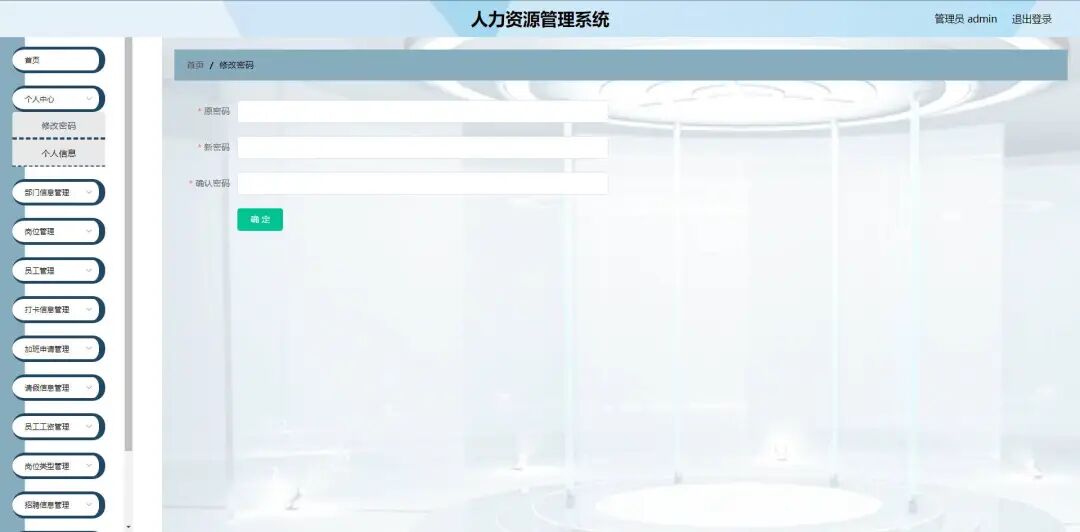
Personal center page, as shown in the image below, where you can enter the original password and new password, then confirm the new password and click confirm.
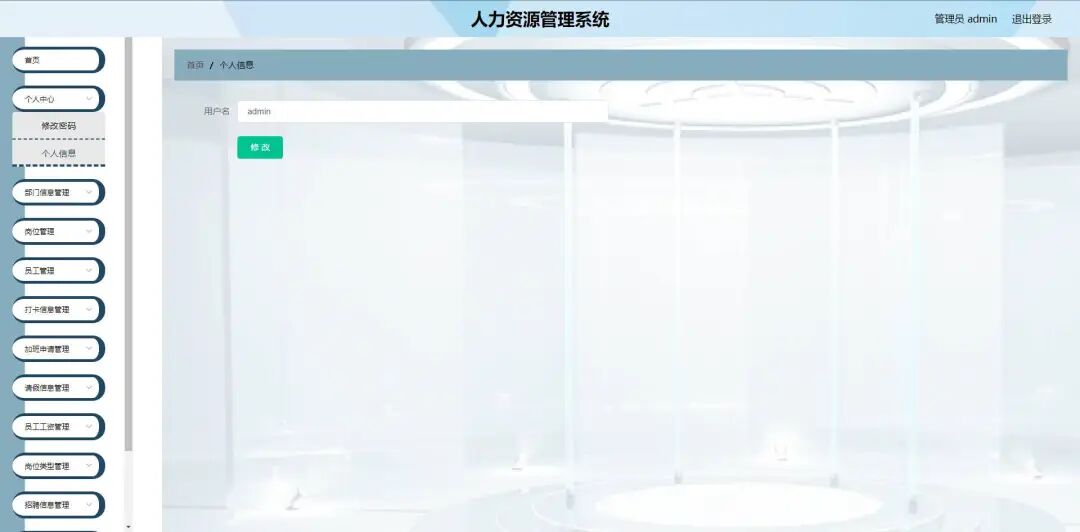
Personal information page, as shown in the image below, where you can enter the desired username in the username field and click modify.
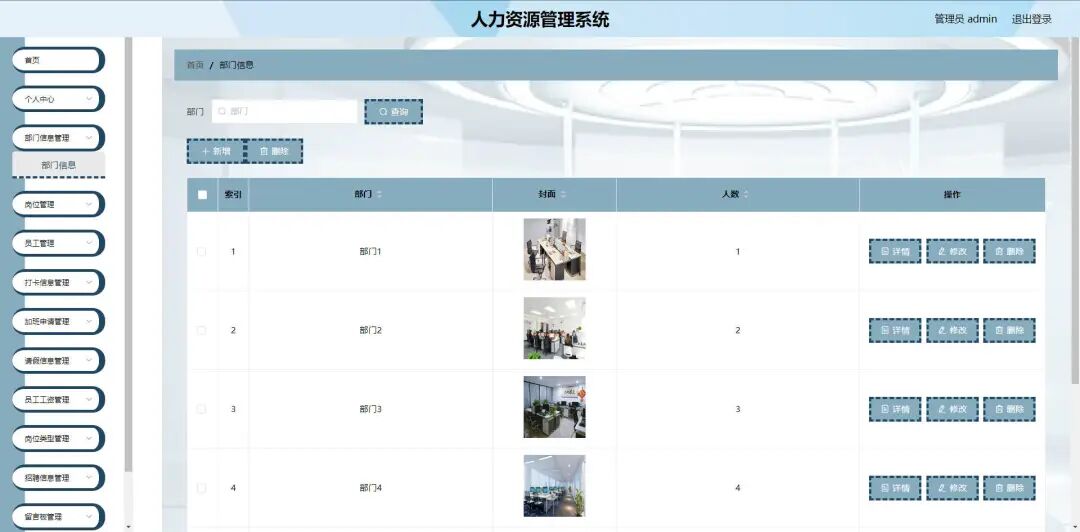
Department information management page, where you can view the relevant details of each department. Click modify to change the content, and click delete to remove the corresponding content. If you want to quickly search for a desired department, you can enter the department name and click search.
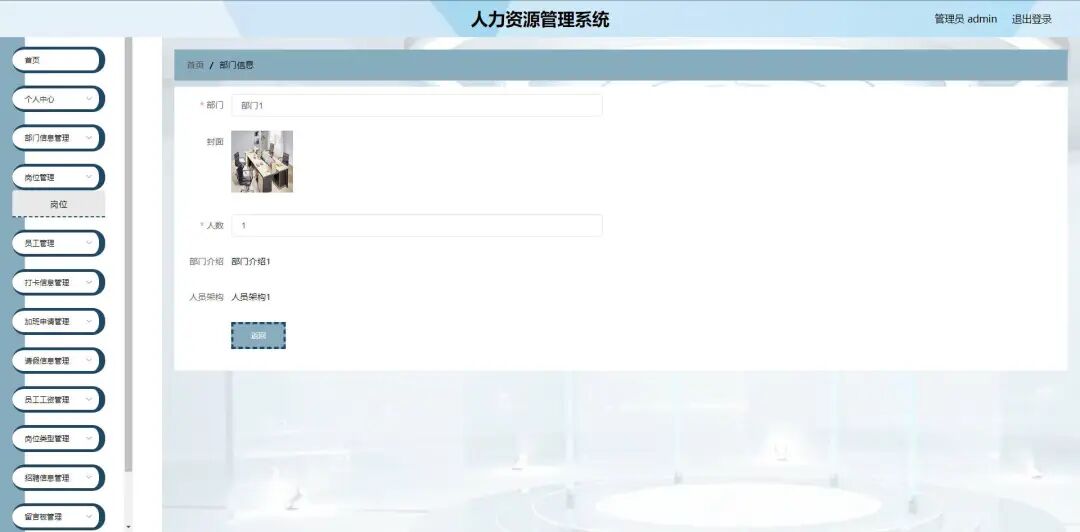
Department information input page, where you can fill in the required information to add or modify a department, upload the department cover, and fill in the corresponding number of people, add a department introduction and personnel structure to complete the content modification. Click return to go back to the previous menu.
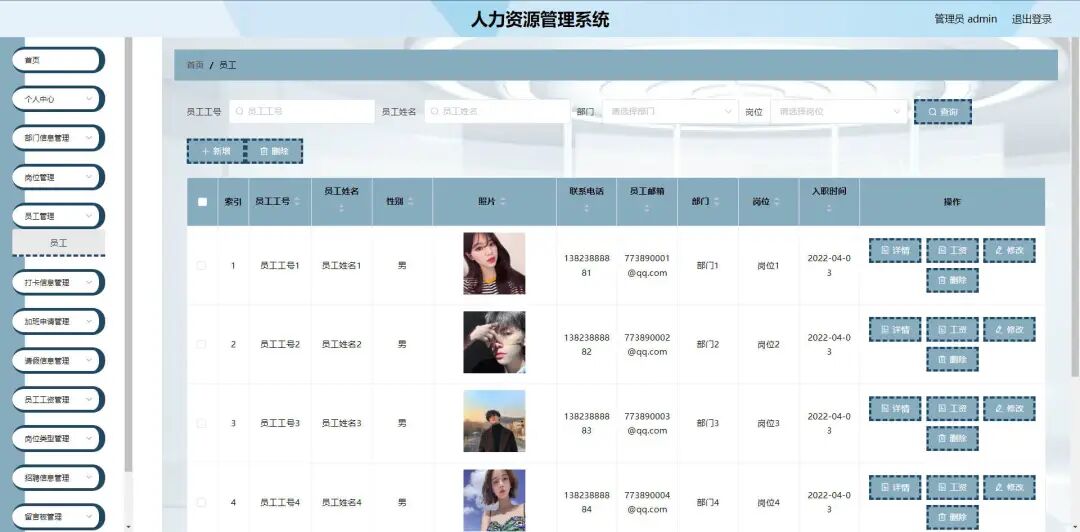
Employee information management page, where you can add or delete employee personal information. If you need to quickly search for an employee’s information, you can enter the employee ID, name, department, or position to query.
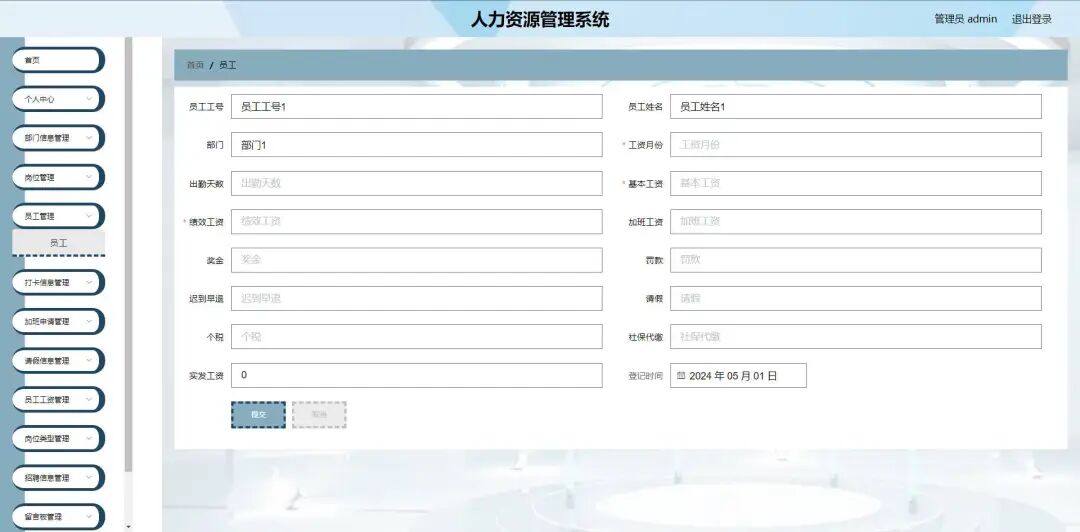
Employee personal information modification page, where you can fill in the employee ID, name, salary month, department, attendance days, basic salary, performance salary, and other relevant information, and click submit to complete the process.
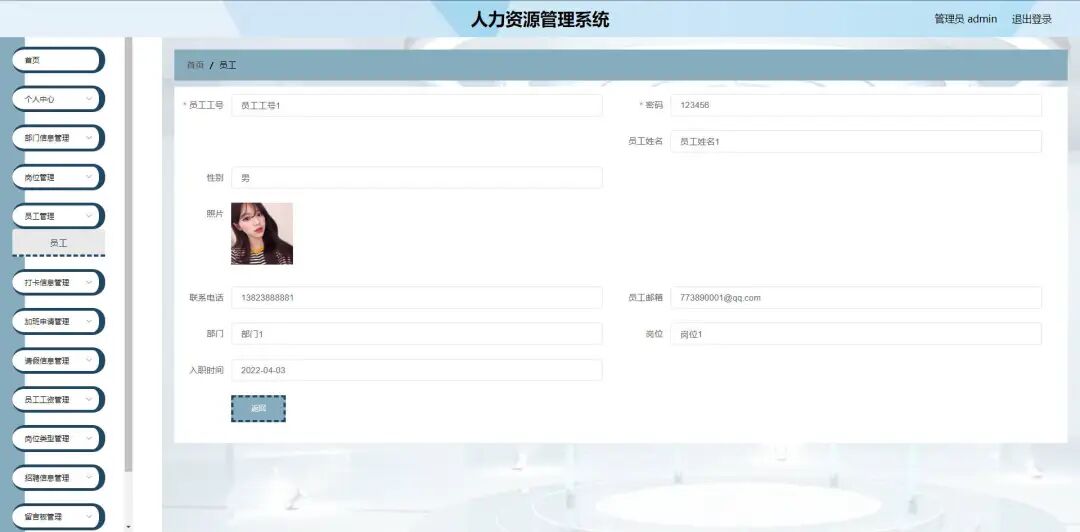
Employee personal information modification page, where you can fill in the employee ID, name, contact number, email, department, position, and entry date, and click return to complete the process.
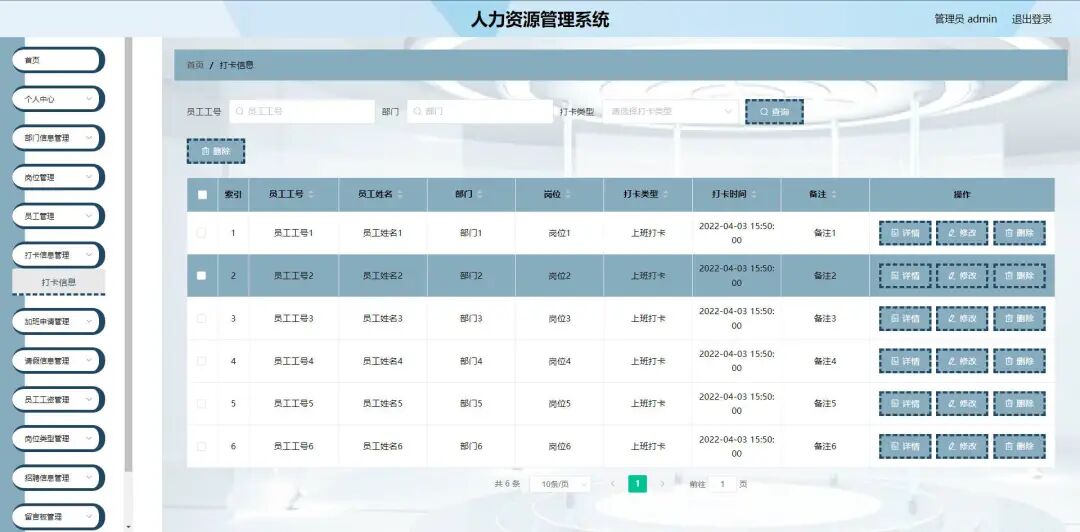
Employee clock-in information page, where you can view the employee’s clock-in status. If you want to quickly search, you can enter the employee ID, department, and clock-in type to query.
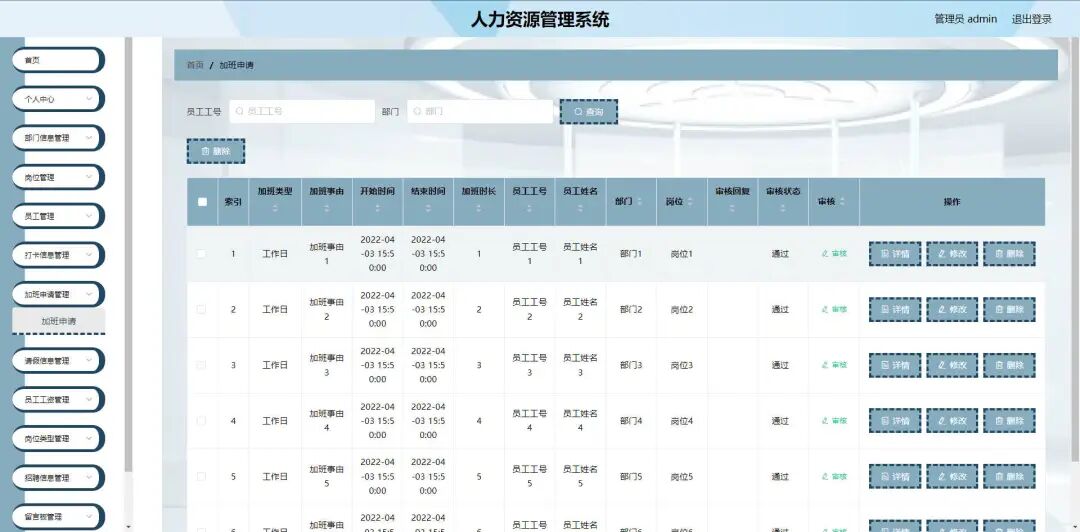
Employee overtime application viewing page, where you can view specific overtime application information and application status. If you want to quickly search, you need to enter the employee ID and department.
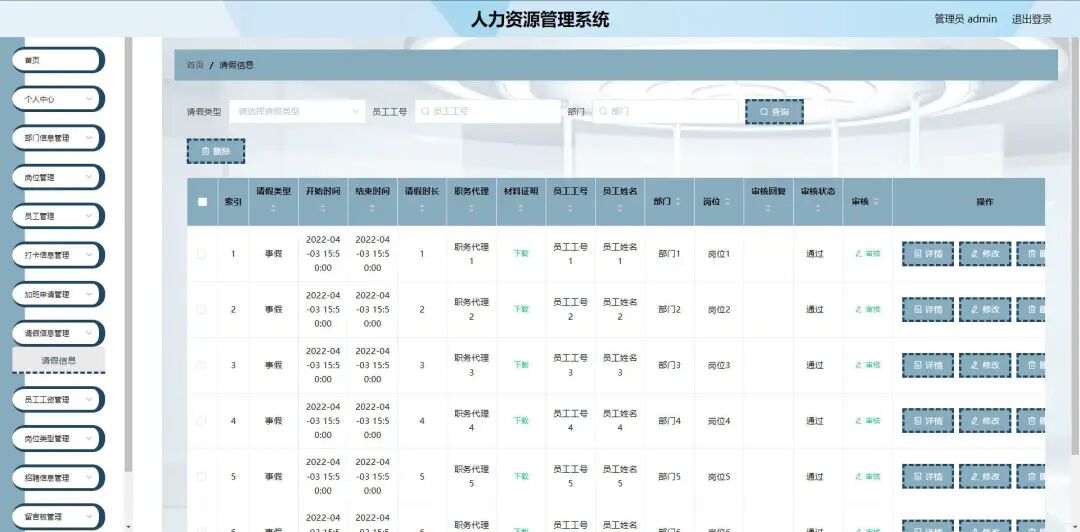
Employee leave information viewing page, where you can view the employee’s leave type and related proof, as well as the review status of the leave application.
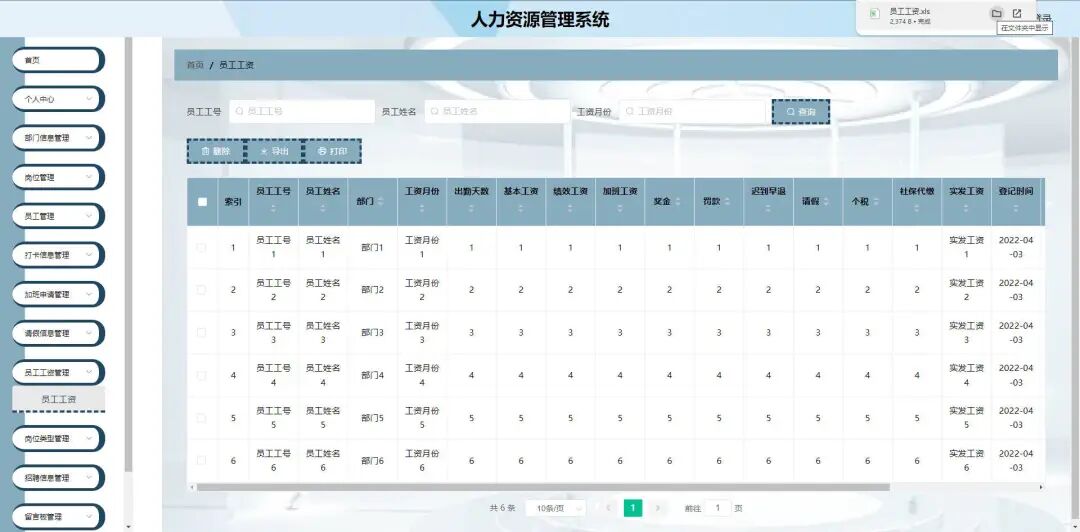
Employee salary viewing page, where you can view information about employee tardiness, leave, attendance days, overtime pay, bonuses, etc. You can also enter the employee ID, name, and salary month for quick queries.
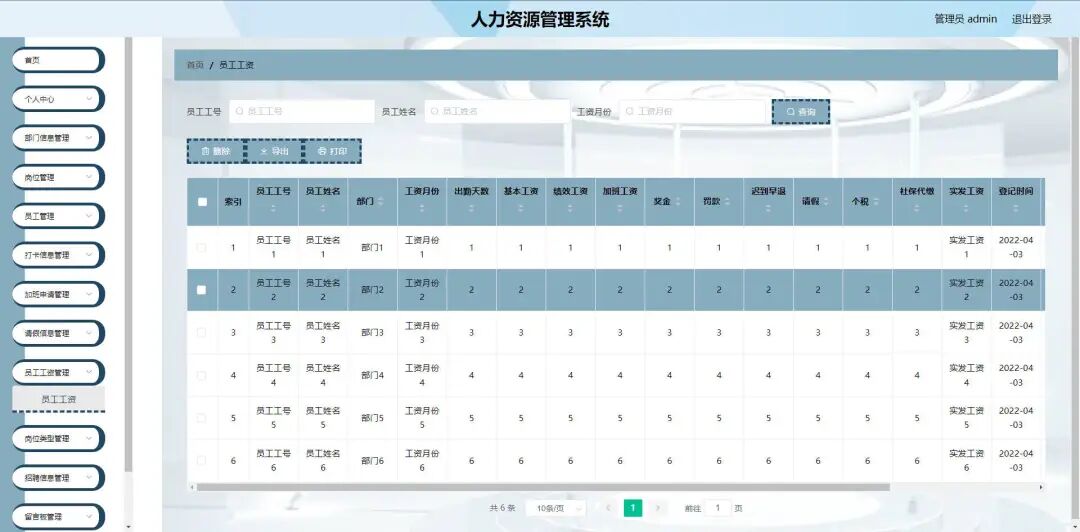
Employee salary export/print page, where you can delete, export, or print employee salary information.
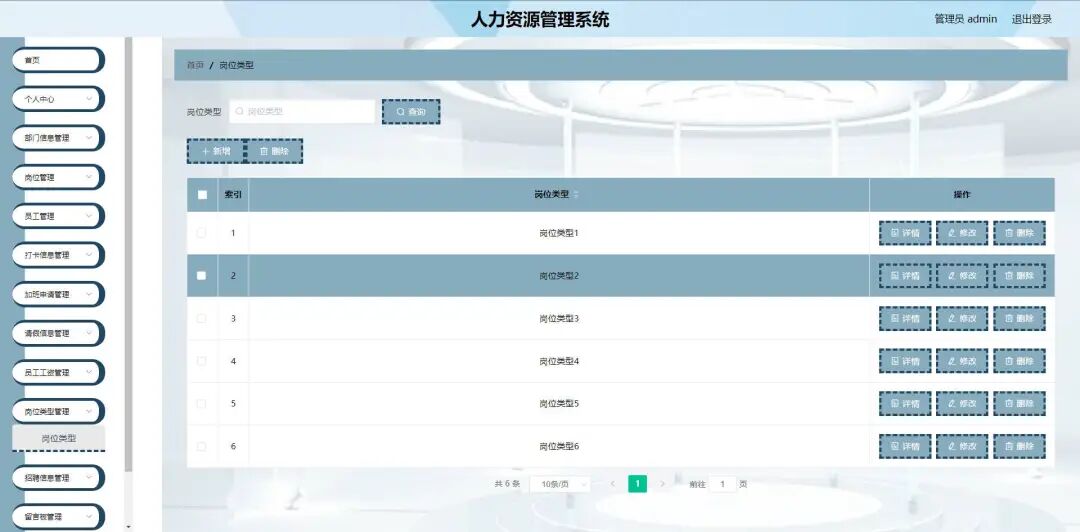
Job type viewing page, where you can view job type details or modify, delete, or query them.
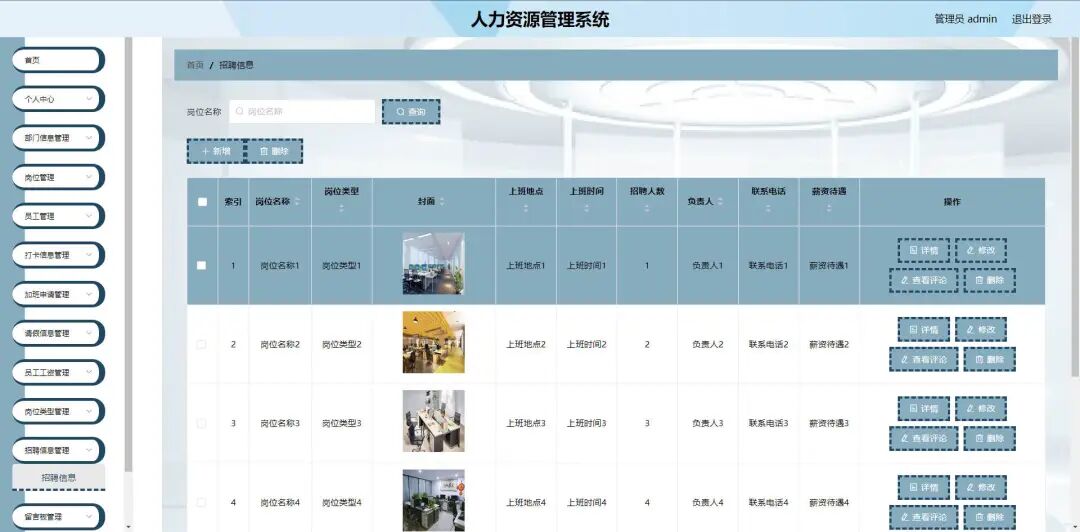
Recruitment information modification page, where you can add, modify, delete, view comments, and query job recruitment information.
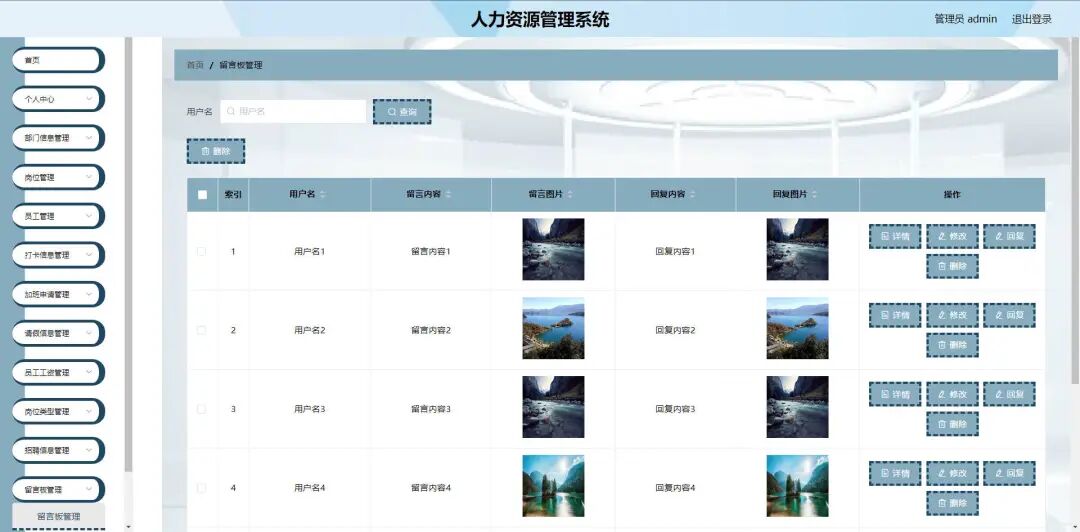
Message board management page, where you can view message content and reply to, modify, or delete corresponding content.
Installation and Usage
This project has been tested under Python 3.7. You can check the environment requirements in the requirements file. Here is a simple project usage tutorial. Generally, the requirements.txt file in the project contains the Python dependency environment. After installing Python, you only need to run the command in the cmd window:<span>pip install -r requirements.txt</span>. Sometimes, due to path issues, it may prompt that the requirements file does not exist. You can change it to the full path, such as c:\requirements.txt. For this project, you only need to run:<span>python manage.py runserver</span>. Using PyCharm is more convenient as you do not need to enter commands in the terminal each time.
Acquisition Method
Those in need can obtain it through the contact information in the background. If you cannot add, you can leave a message in the background with your contact information. I do not check the background often, but I will reply if I see it. The source code is available for a small fee, unless marked as For Free.