Table of Contents
1. Ubuntu Image
2. Preparation for Virtual Machine Installation
3. Installation of the Virtual Machine
Conclusion
1. Ubuntu Image
Download link:
Ubuntu 14.04.6 LTS (Trusty Tahr)
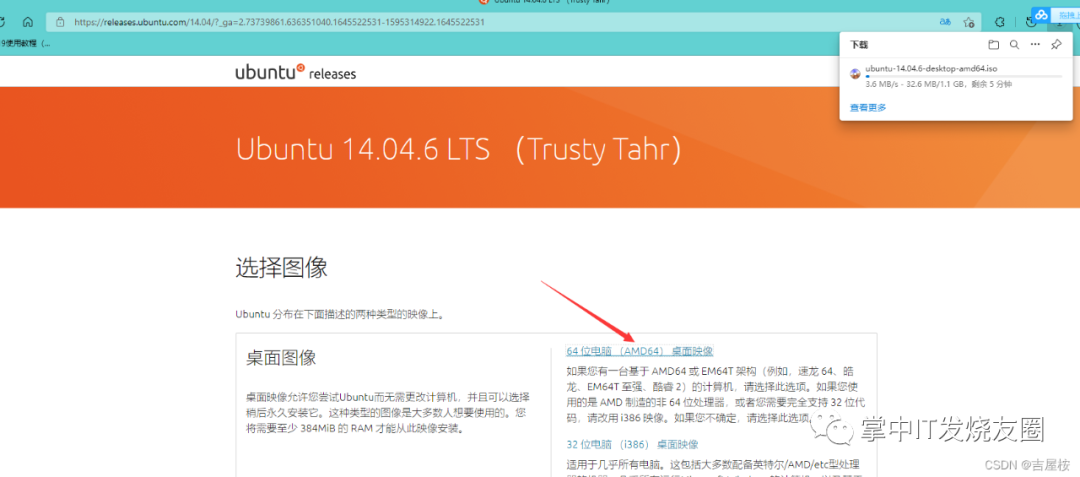
Place the downloaded image file in a unified directory, as shown below:
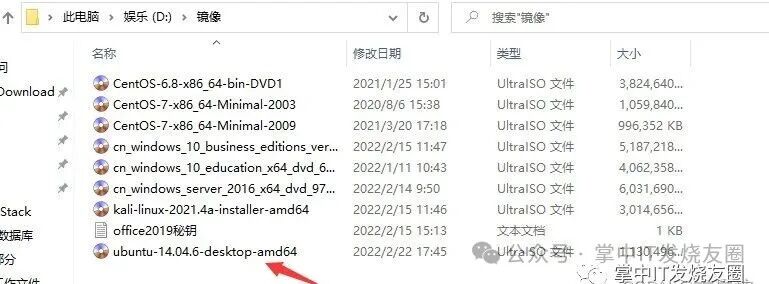
This is the image we just downloaded. For our experiments, we will use the server version (server) image. In this exercise, we will use the Ubuntu desktop version (desktop) image.
2. Preparation for Virtual Machine Installation
Before installing the virtual machine, create a folder named ‘vm’ (virtual machine) on the D drive, and then create two subfolders within the ‘vm’ directory: one named ‘vm’ and the other ‘vmdk’. Inside the ‘vm’ subfolder, create a folder for the virtual machine installation (to store virtual machine files), and in the ‘vmdk’ folder, create another folder (named after the virtual machine). As shown below:
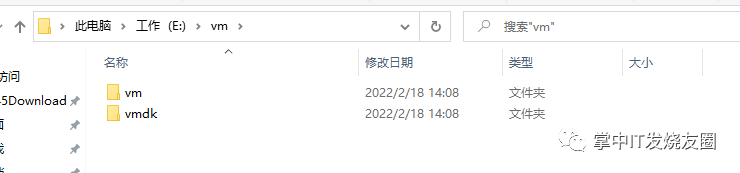
The virtual machine is named UbuntuTest
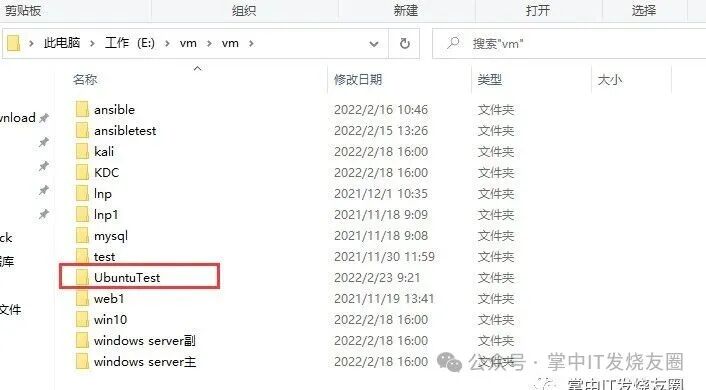
Vmdk file
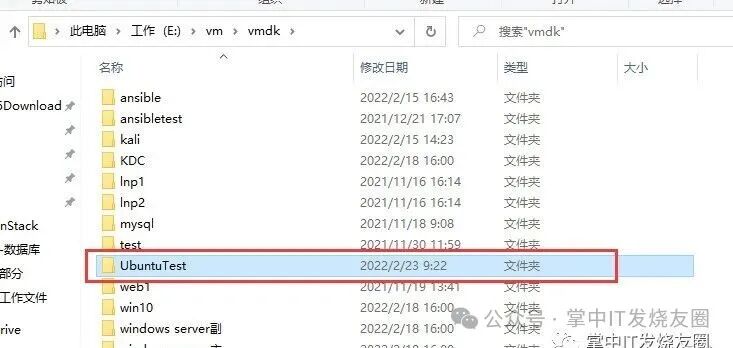
When preparing, be sure to pay attention to the naming and location of the virtual machine folders.
3. Installation of the Virtual Machine
1. Installation Process
Open the VMware icon

Click to create a new virtual machine
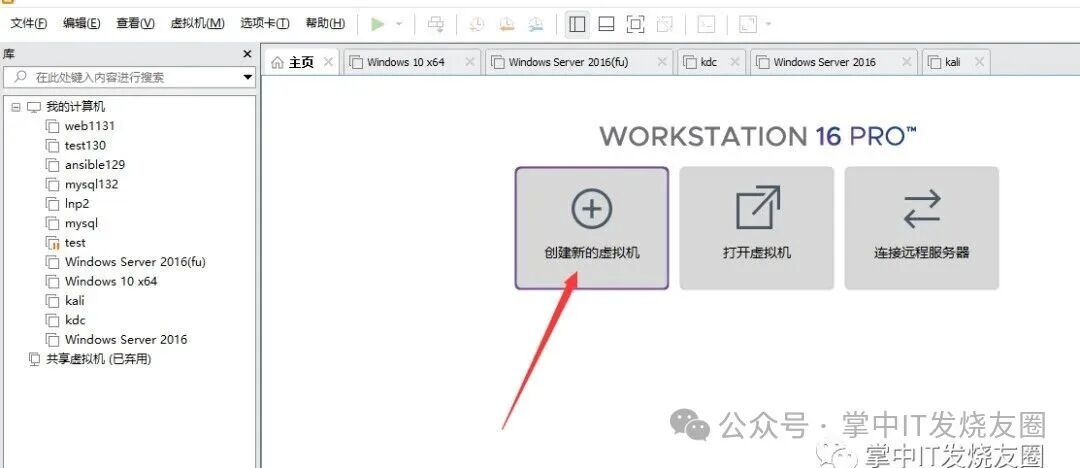
Click Custom (Advanced)
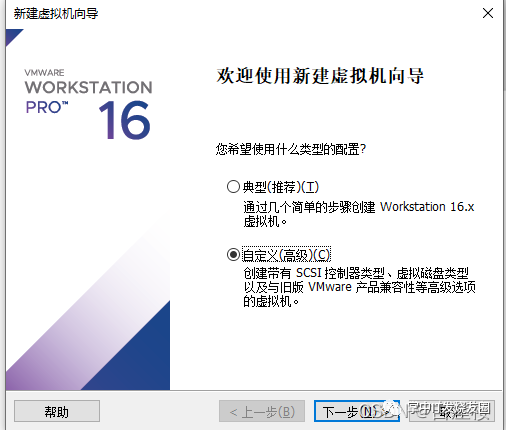
Click Next.
Select the virtual machine hardware compatibility.
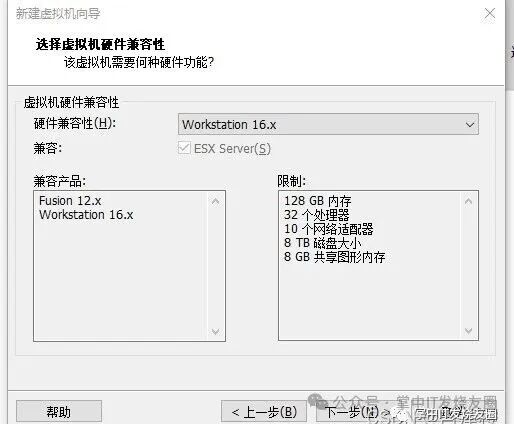
Click Next
Select the operating system image we are installing
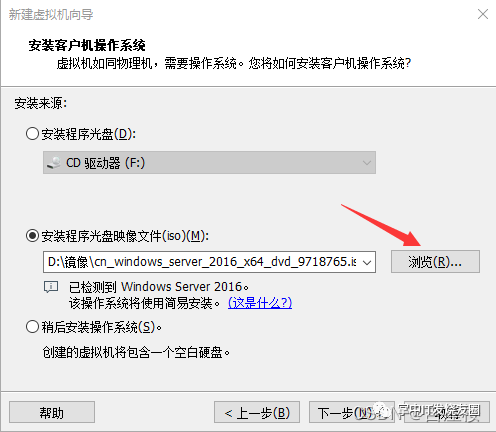
Click Browse to find the location of the Ubuntu image file we just downloaded.
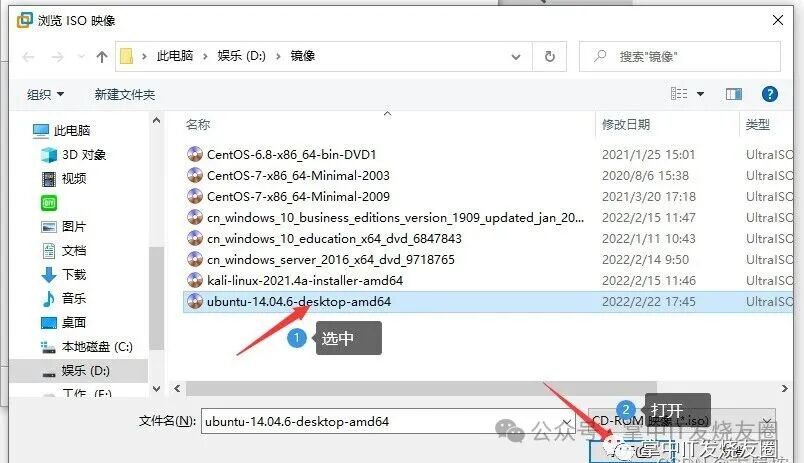
Confirm the path and operating system
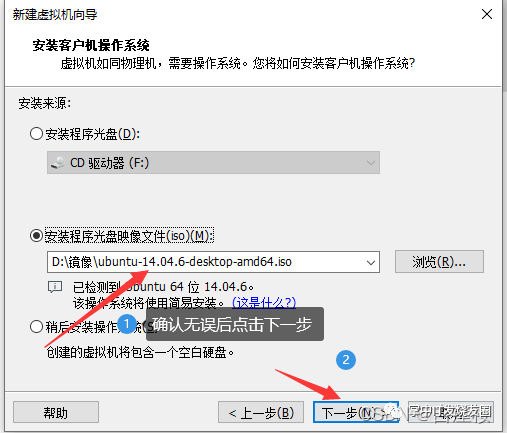
If everything is correct, click Next
Name the virtual machine and create a username
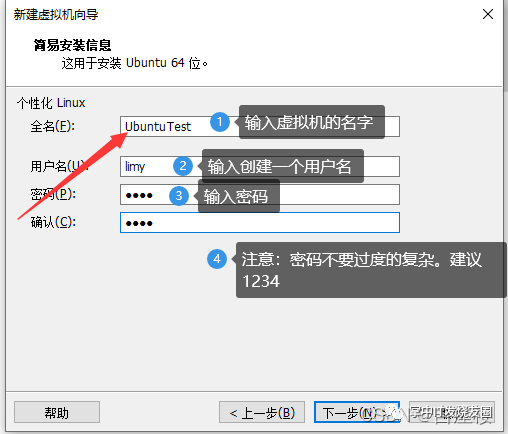
Virtual machine name and storage location
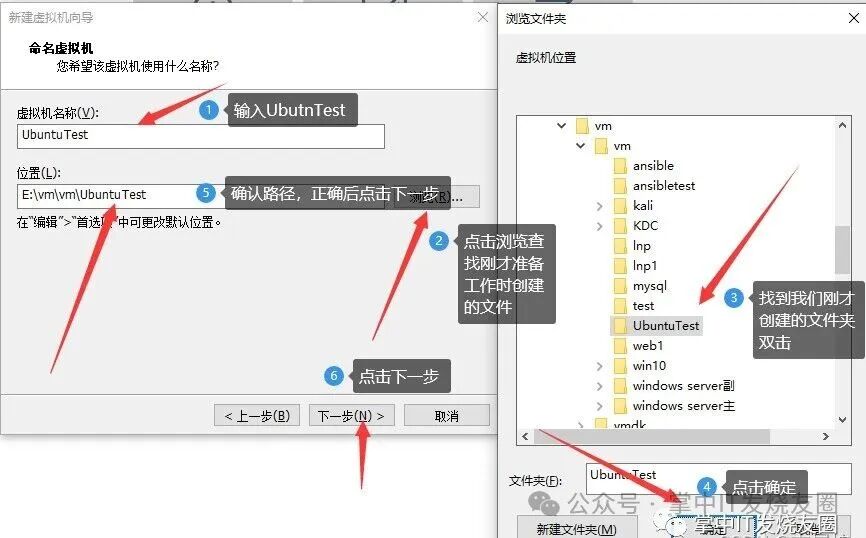
As per steps 1-5 above
Allocate the number of processors for the virtual machine
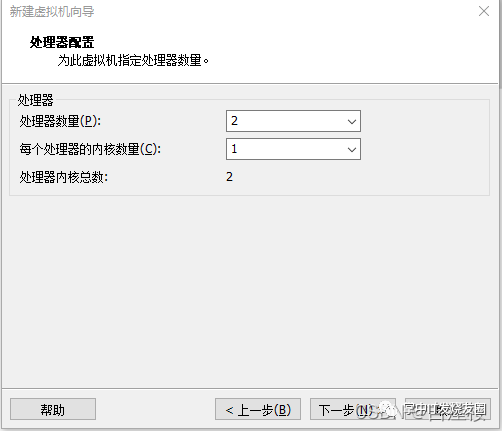
After confirming, click Next. The processors allocated here are sourced from your laptop (check your configuration to allocate accordingly). Confirm everything is correct and click Next.
Allocate memory for the virtual machine
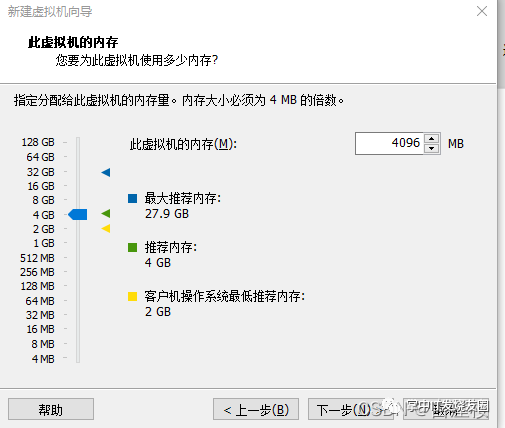
You are given 4GB of memory. (Allocate based on your computer’s memory situation).
Confirm and click Next
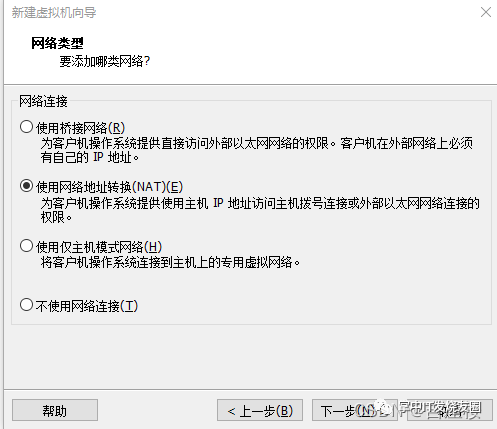
VMware provides a network connection method using NAT address translation technology (to be covered in later chapters on computer networks).
Confirm and click Next
I/O Controller
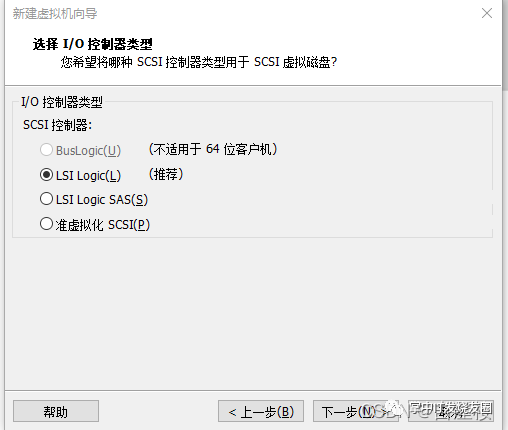
Select LSI and click Next
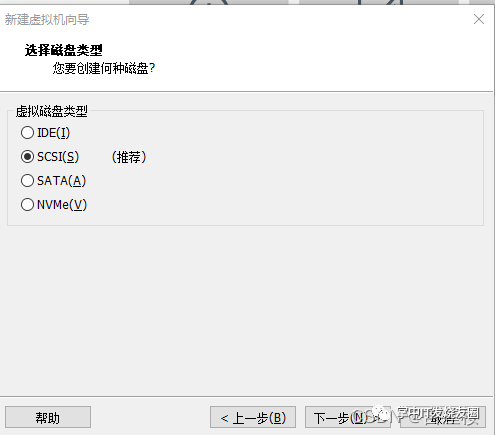
Select SCSI disk type and click Next.
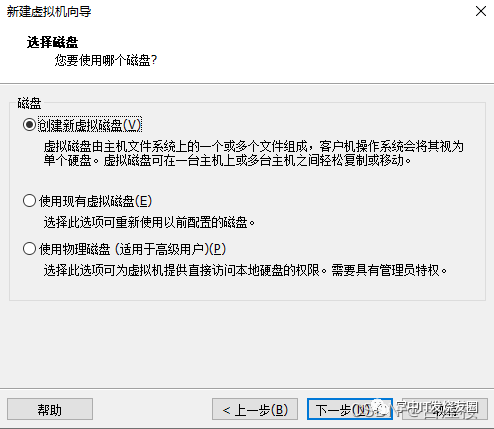
Create a new virtual disk and click Next
Specify disk capacity
This virtual machine is for practicing Linux commands, and we will not be installing software or setting up services, so 20GB is sufficient.
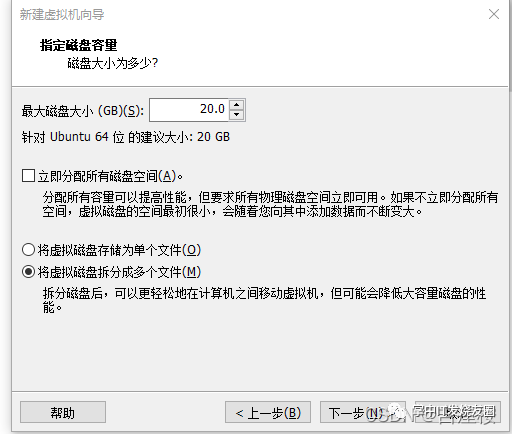
Click Next
Specify disk file
Select the UbuntnTest folder created in the vmdk directory during preparation.
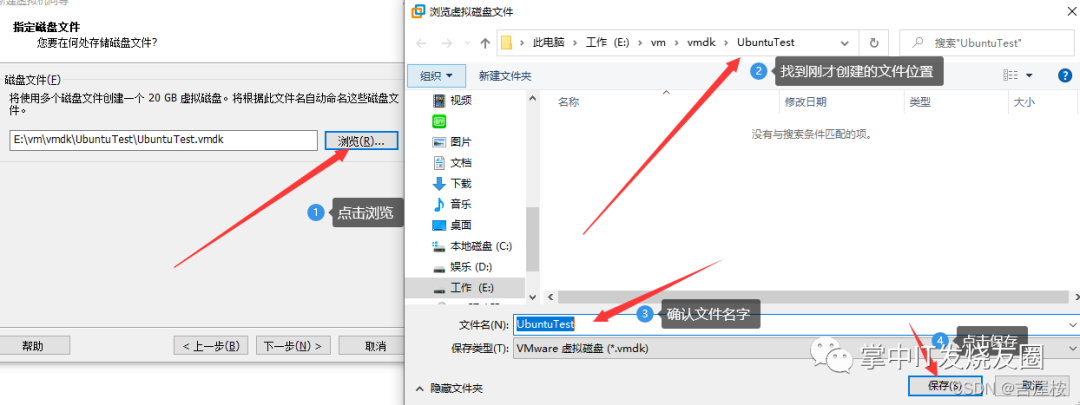
If everything is correct, click Next
Confirm the information of the virtual machine we created
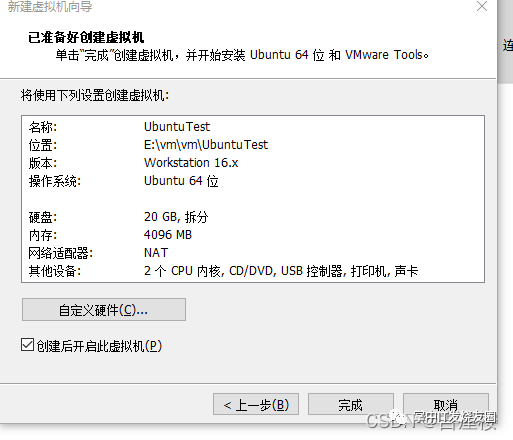
If everything is correct, click Finish
You will see the virtual machine is installing
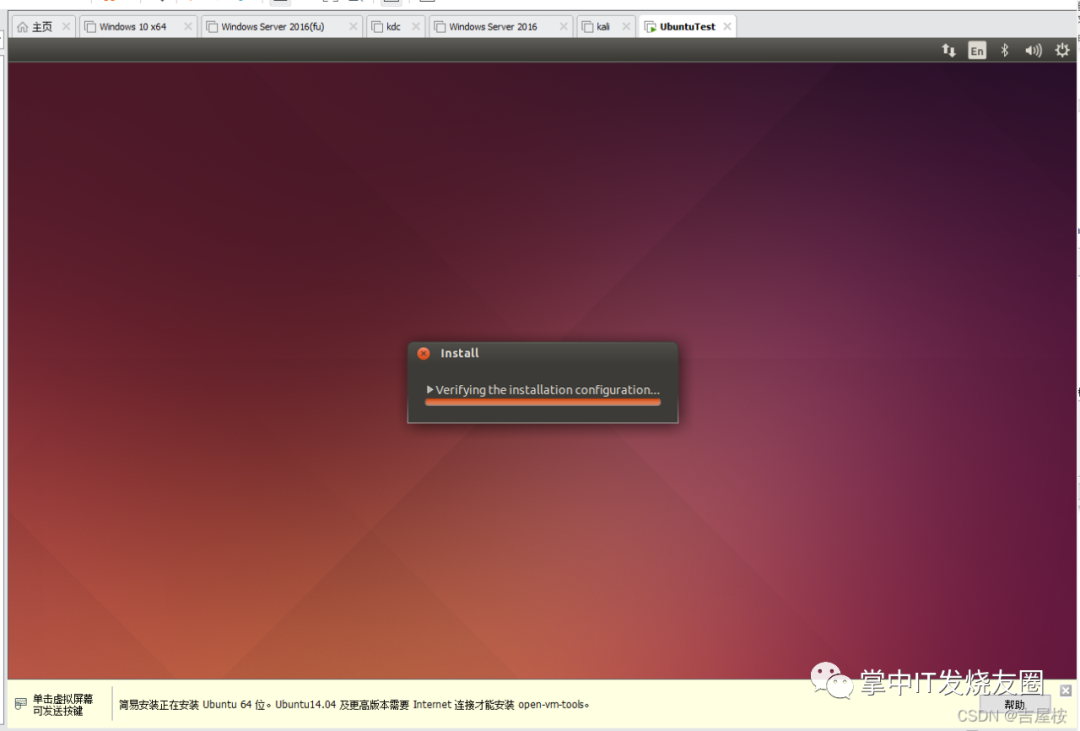
Notes:
When the mouse clicks on the virtual machine and the mouse pointer disappears, do not panic; simultaneously press Ctrl and Alt to release the mouse.
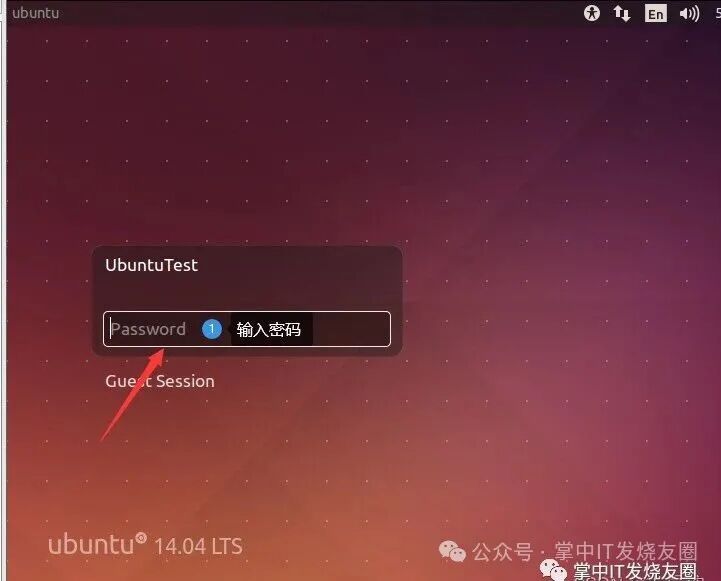
Interface after installation
Conclusion
Thus, the installation of Linux in the virtual machine is complete. The next article will introduce the use of basic Linux commands.
————————————————
Copyright Statement: This article is an original piece by CSDN blogger ‘Jiwu An’
Original link:
https://blog.csdn.net/qq_52774158/article/details/124063654
END
Selected Past Articles
◆How to display different content on dual screens with one computer?
◆Complete BIOS settings with Chinese translation, save it
◆Changing the size and location of virtual memory can improve computer speed
◆Tested 10 screen recording software, ultimately only these 2 remain, super enjoyable to use
◆How to connect a computer to Bluetooth headphones
◆How to check if your access control card can be copied
◆Teach you a trick to accurately locate someone’s position using IP in 1 second!
◆How to set up a small local area network
◆Three good methods to adjust partition size in Win11!
◆How to send a large file of 100GB over the network? A collection of 6 methods
◆18 portable software that require no installation, making your computer more usable [with download]
◆Good news for old computers, install Chrome OS system, runs like the wind
◆Personal NAS setup, building a private cloud server, brief steps