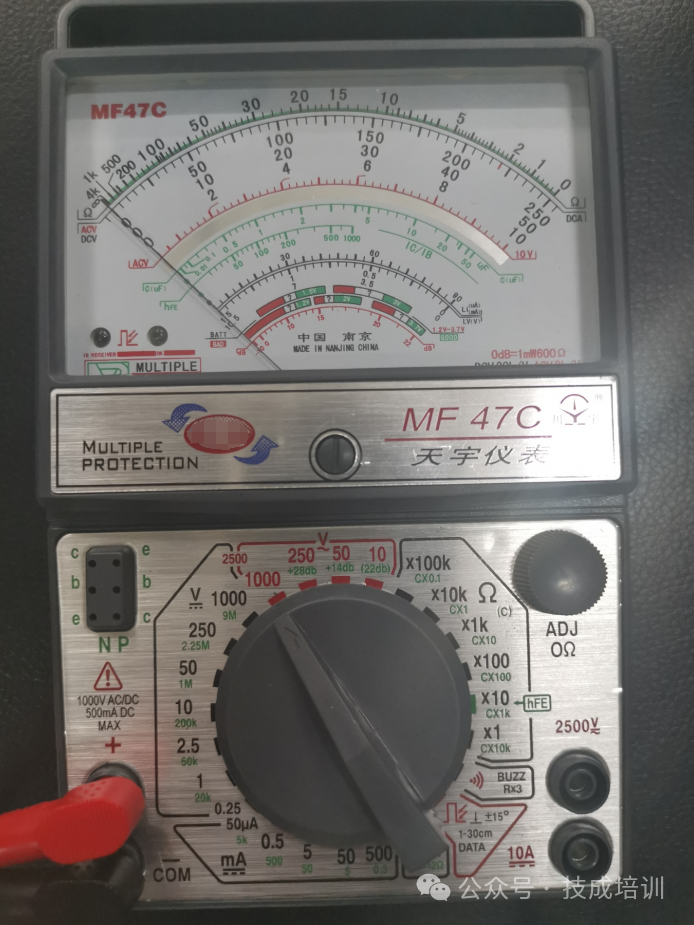
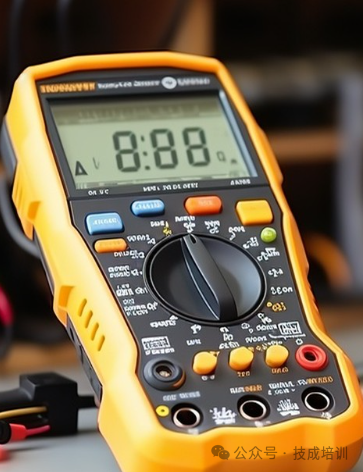
1.The multimeter is divided into analog and digital multimeters.
As shown in the figure below, the left image is an analog multimeter, and the right image is a digital multimeter.


2.The function of the multimeter is to measure AC voltage, DC voltage, DC current, resistance, and other multifunctional measurements.


3.Pre-use checks for the multimeter.
(1) Visual inspection: The appearance should be intact without damage, and when gently shaken, the pointer should move freely. The range switch should switch flexibly, and the indicated range should be accurate.
(2) Mechanical zero adjustment: The meter should be placed flat, and the pointer should point to the zero voltage or zero current position. If it is not at zero, adjust the mechanical zero adjustment knob to zero.
(3) Ohm zero adjustment: Set the range switch to the ohm range, short-circuit the two probes, and adjust the ohm zero adjustment knob so that the pointer aligns with the first scale line at zero.
(4) Check if the probe connections are correct: the red probe should connect to the positive terminal, and the black probe should connect to the negative terminal.
(5) Check if the range switch rotates flexibly and if the contact is good.
4. Measuring AC and DC voltage.
When measuring voltage, the probes must be connected in parallel to the circuit being measured; otherwise, the meter may be damaged. When measuring DC voltage, pay attention to the polarity of the voltage being measured: connect the positive terminal to the red probe and the negative terminal to the black probe.
When measuring voltages below 1000V, select the required DC voltage range or AC voltage range (be careful to distinguish between AC and DC), connect the red probe to the “+” terminal, and read the value on the second circle of the scale dial, calculating the scale value according to the range.
When measuring voltages between 1000V and 2500V, select the 1000V DC voltage range or 1000V AC voltage range, and connect the red probe to the “2500V” terminal.
Use the correct range and scale. Read the value at a position where the pointer deflects significantly to improve measurement accuracy.
When measuring high voltage, do not change the range while measuring. If a range change is necessary, disconnect the probes first, change the range, and then measure; otherwise, the multimeter may be damaged.
5. Measuring resistance.
(1) Set the range switch to the “Ω” range, using the Rx100 range for rough measurement.
(2) Ohm zero adjustment: Short-circuit the two probes, and the pointer should point to zero. If it is not at zero, adjust the ohm zero to zero.
(3) Connect the resistance to be measured between the two probes and read the value at the scale line.
a. If the pointer is near “0” (indicating a very small reading), adjust the range switch to a lower multiplier range (i.e., a smaller range).
b. If the pointer is near the middle, an accurate reading can be taken: the resistance value = reading value × multiplier + unit “Ω”.
c. When measuring resistance, each time the range is changed, the ohm zero adjustment must be performed; zero adjustment is required for each range change.
(4) After use, set the range switch to OFF or the highest AC voltage range.
Article source: Original from Jicheng Training Network, Author: Meng Weiping; Unauthorized reproduction is prohibited, and violators will be prosecuted!

10 Classic Electrician Software
Scan to Download for Free

Don’t forget to like + view! 
 Click “Read the Original” to learn PLC/Electrician courses for free.