There are mainly two types of remote controls for TVs or TV boxes at home: one is infrared remote controls, and the other is Bluetooth remote controls. If a Bluetooth remote control is damaged, discarding it and purchasing a new one can be significantly more expensive than an infrared remote control. This article shares methods for testing and repairing Bluetooth remote controls without the need for professional tools, allowing you to easily fix it at home.
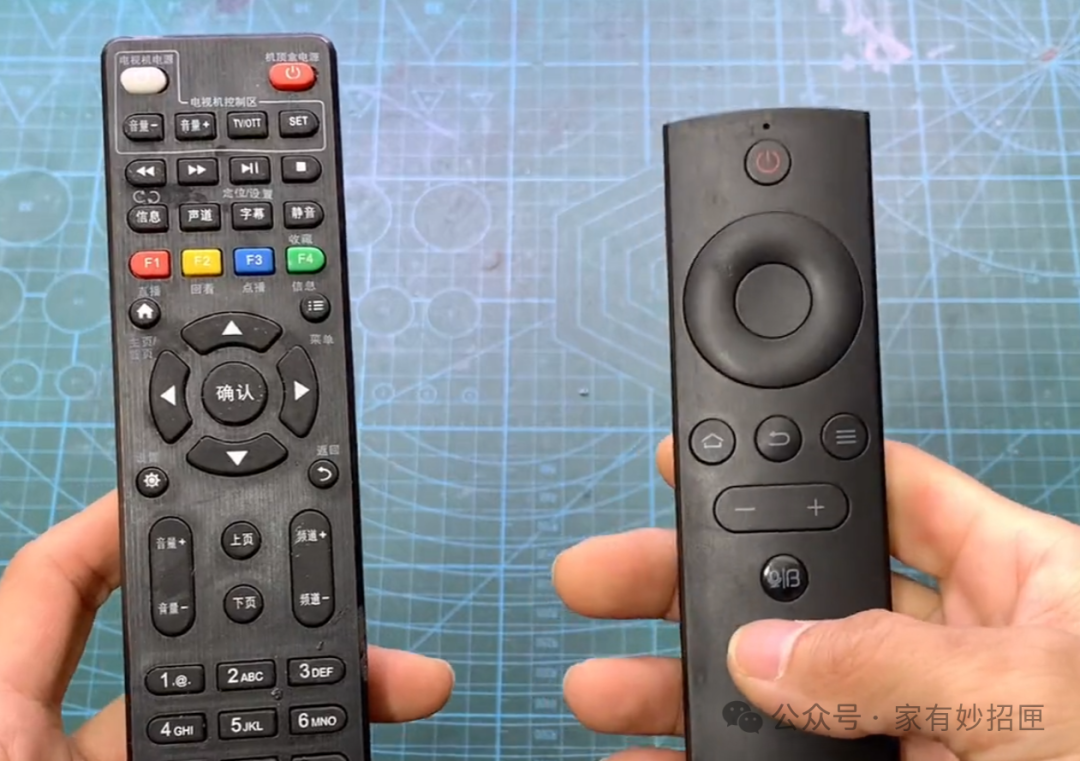
1. First, Determine the Condition of the Bluetooth Remote Control (Different from Infrared Remote Control Testing)
To test an infrared remote control, simply open the phone camera and point it at the remote control’s LED. If you can see red light, the remote control is functioning normally; however, this method cannot be used for Bluetooth remote controls, which require the phone’s Bluetooth function for assistance in determining their condition.
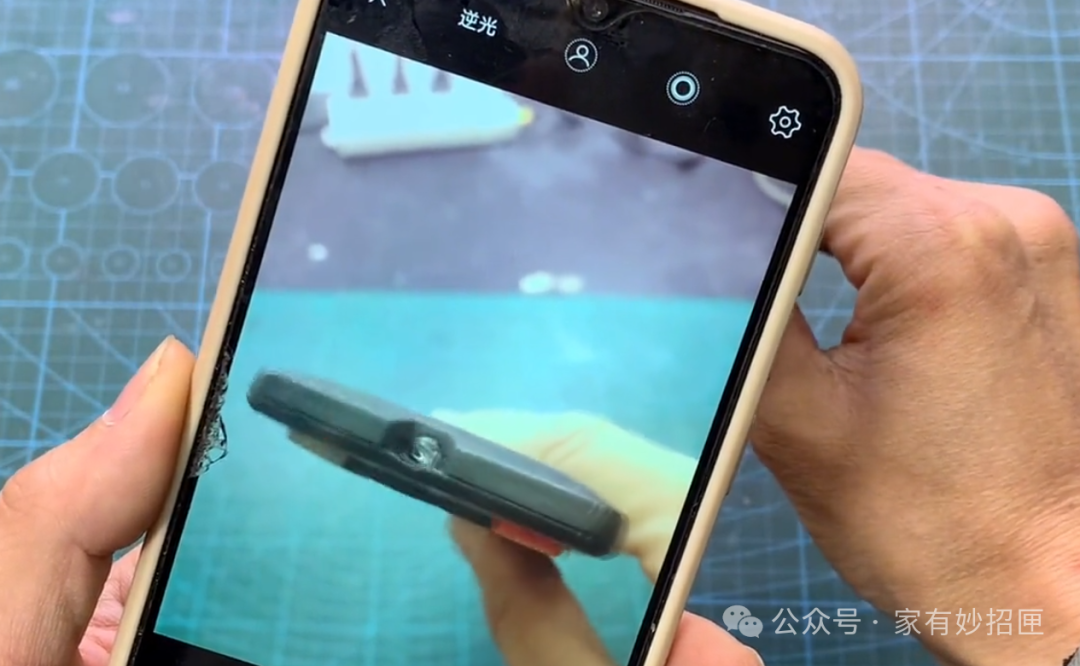
2. Steps to Test the Bluetooth Remote Control Using Your Phone’s Bluetooth
Turn on Bluetooth and Enter Pairing Mode for the Remote Control
First, enable the Bluetooth function on your phone, locate the “Main Menu Key” and the “Three Horizontal Lines Key” on the remote control (the button labels may vary slightly depending on the remote control, so refer to the combination keys with pairing functionality), and press and hold both buttons simultaneously until the remote control’s indicator light flashes continuously (some remote controls do not have an indicator light; just hold the buttons for the specified time and then release). At this point, the remote control enters Bluetooth pairing mode.
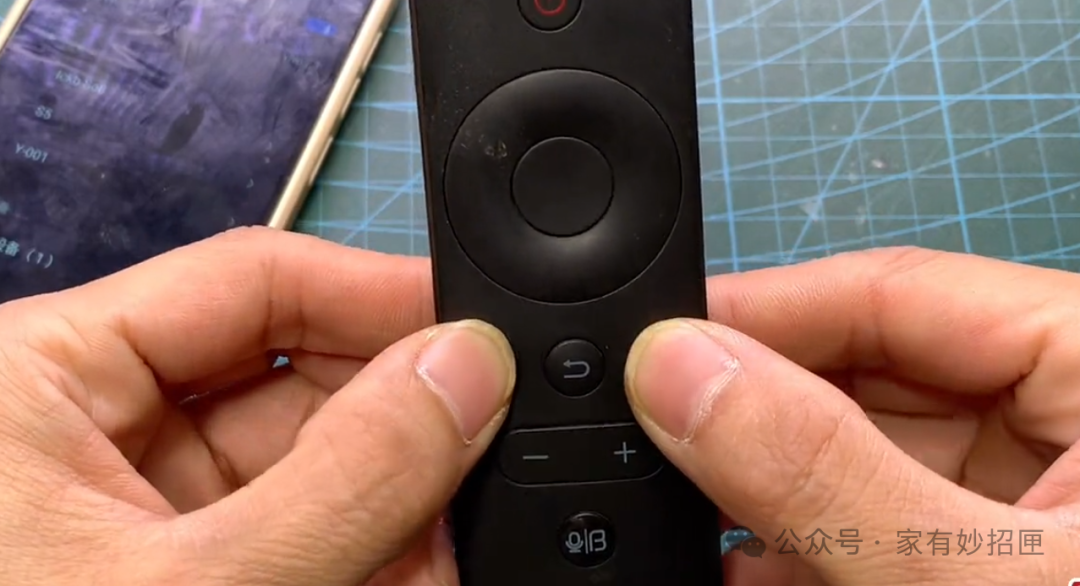
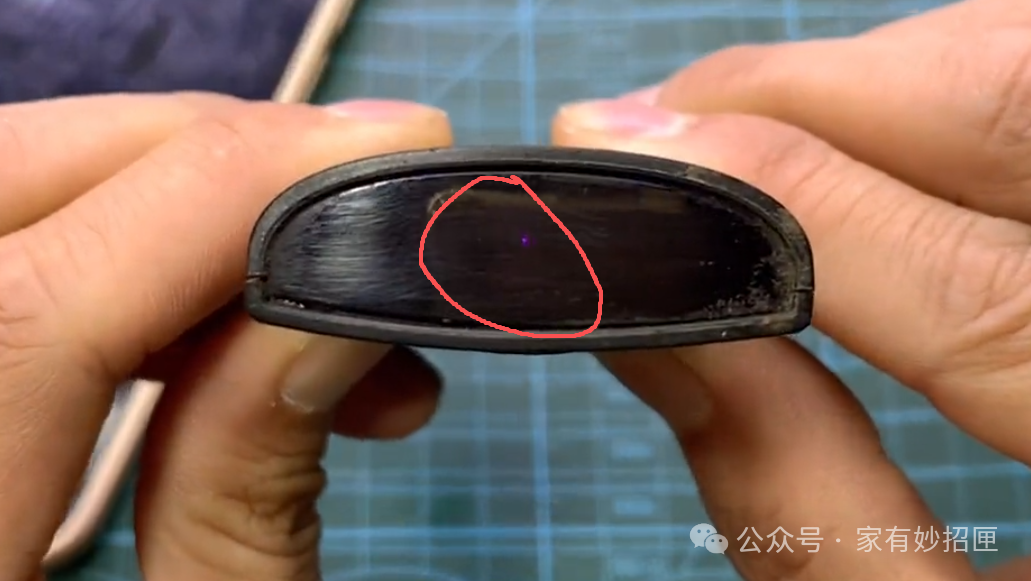 Complete Bluetooth Pairing and Test the ButtonsSet the remote control aside, find the “Bluetooth Remote Control” device in the phone’s Bluetooth search interface, click to connect, and if it shows “Connected,” the pairing is successful. Then, test each button function of the remote control one by one:Test the directional buttons: Up adjustment works normally, down adjustment is unresponsive, left and right adjustments work normally, initially determining that the down button is faulty;Test the function buttons: The back button, volume up/down buttons, middle confirmation button, menu button, and power on/off button all respond normally, further confirming that only the down button is not functioning.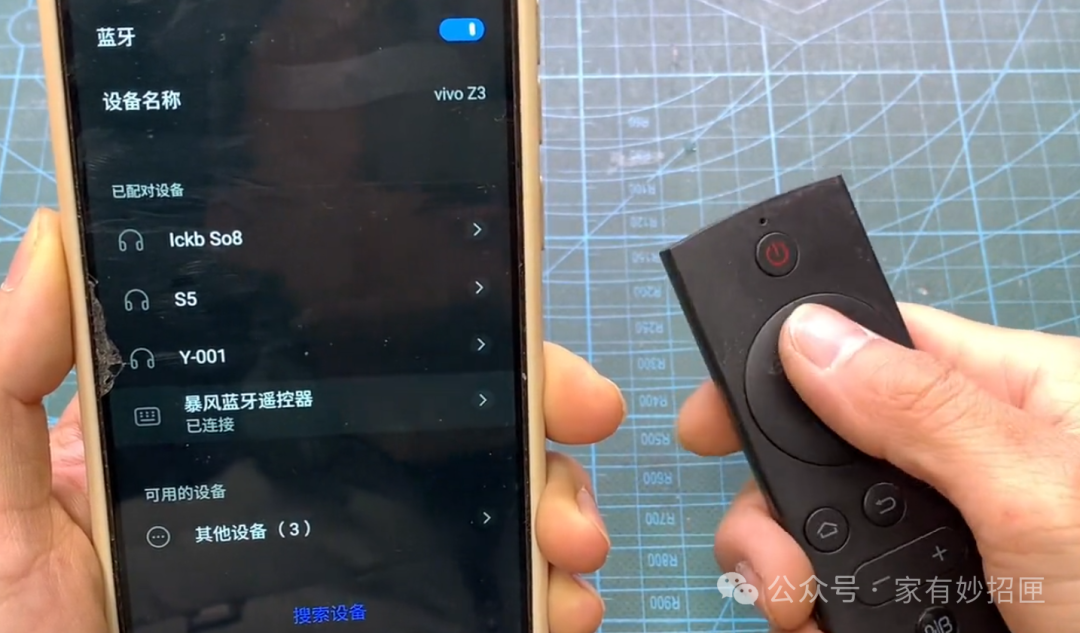
3. Repair Method for the Faulty Button on the Bluetooth Remote Control
Disassemble the Remote Control
After identifying the faulty button (the down button), disassemble the remote control casing and locate the position of the corresponding faulty button.
Clean the Contacts
Remove the film above the faulty button, use a cotton swab dipped in alcohol to carefully wipe the contacts beneath the button and the corresponding spring piece, removing any dirt or oxidation that may cause poor contact.
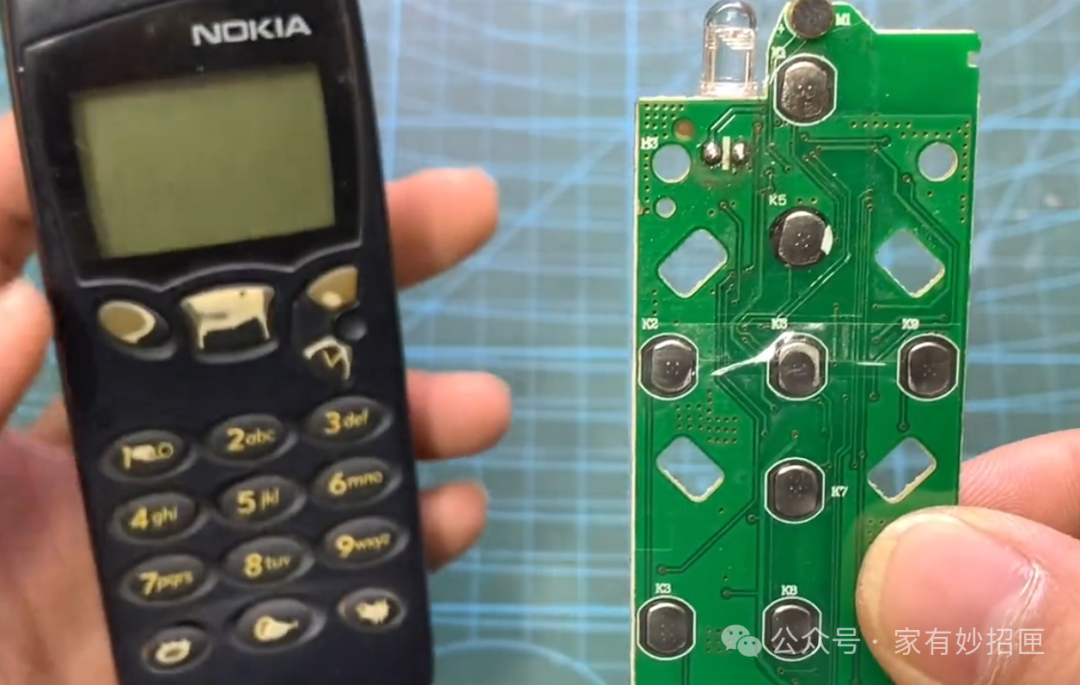 Reassemble and TestWait for the alcohol to completely evaporate, reposition the film, reassemble the remote control casing, and test the faulty button (the down button) again. At this point, the button should work normally, and the repair is complete. The methods for testing and repairing Bluetooth remote controls are that simple.I hope these life hacks can add convenience to your daily life! Remember to save and share this so more people can learn these practical skills. See you next time!
 #RemoteControlRepair #LifeHacks #PracticalSkills