🔥 Essential Guide to Installing KEYENCE PLC: 15 Steps to Master KV STUDIO (with Pitfall Avoidance Tips) 🔥

💡 Software Introduction
In the field of industrial automation, KEYENCE’s PLC products are favored by engineers for their high performance and reliability. To fully utilize the functions of KEYENCE PLC, the correct download and installation of the accompanying software is essential. Today, we have compiled a detailed tutorial for downloading and installing KEYENCE PLC software to help you get started quickly. The commonly used programming and debugging software for KEYENCE PLC is KV STUDIO, which integrates programming, debugging, and monitoring. It supports the entire series of KEYENCE PLC products, has a user-friendly interface, and is easy to operate, making it a powerful tool for engineers in PLC development.
📋 Installation Notes | Three Core Indicators
| Key Item | Specific Requirements | Pitfall Avoidance Tips |
|---|---|---|
| Software Name | KEYENCE PLC (Core: KV STUDIO) | A three-in-one tool for programming/debugging/monitoring! |
| Software Size | 4.32GB | Clear your hard drive in advance to avoid lag 🚀 |
| Software Language | Simplified Chinese | The interface is more user-friendly |
| Installation Environment | Win7 and above | Please upgrade from XP ⚠️ |
| Acquisition Method | Reply “KEYENCE PLC” on the official account | There is a surprise channel at the end 👇 |
Friendly Reminder: Be sure to choose an installation path that is not on the C drive and has a pure English path! This is the golden rule for stable operation 💾
🛠️ Installation Tutorial | 15 Detailed Steps
-
Extract Files Open the downloaded compressed package and double-click to enter the
<span>KVstudio</span>folder 📂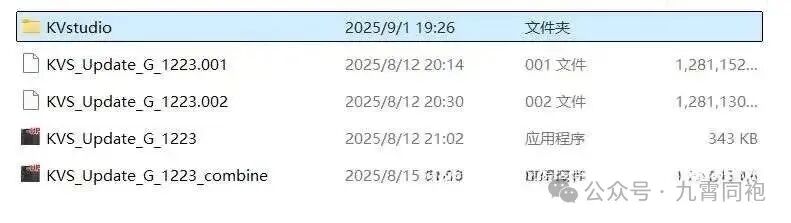
-
Start Installation Double-click to run the
<span>setup.exe</span>installation program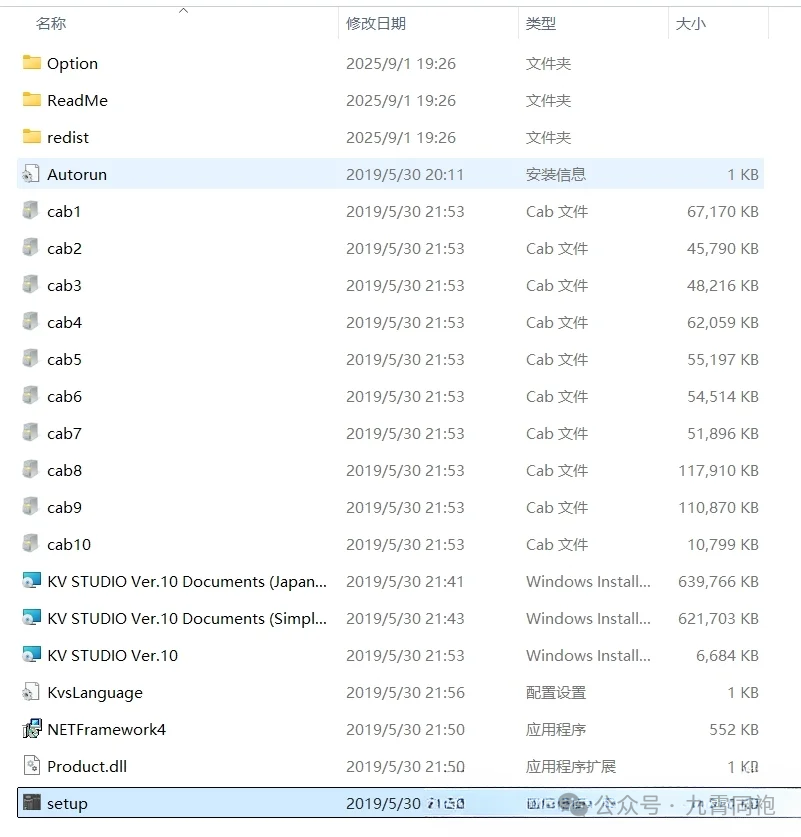
-
Language Settings Select Simplified Chinese interface 🇨🇳
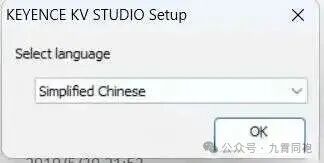
-
Path Selection• Choose a disk other than C (e.g., D/E) • Ensure the path does not contain Chinese characters
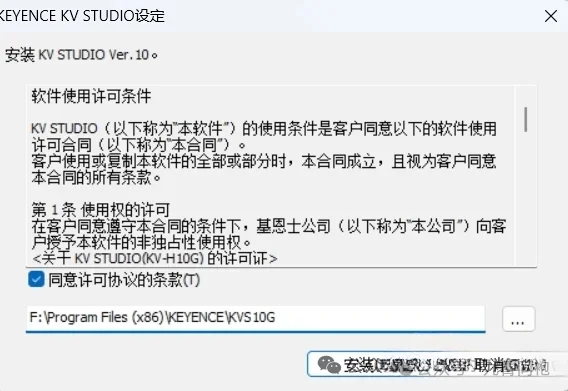
-
Confirm Installation Click OK to start the basic installation
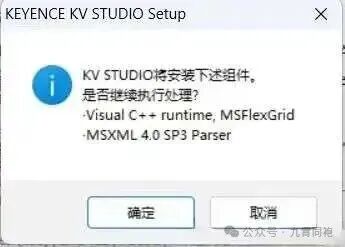
-
Basic Completion Wait for the progress bar to complete, indicating that the basic installation was successful ✅
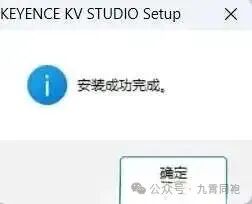
-
Upgrade Preparation Double-click the
<span>UPdata</span>file in the upgrade package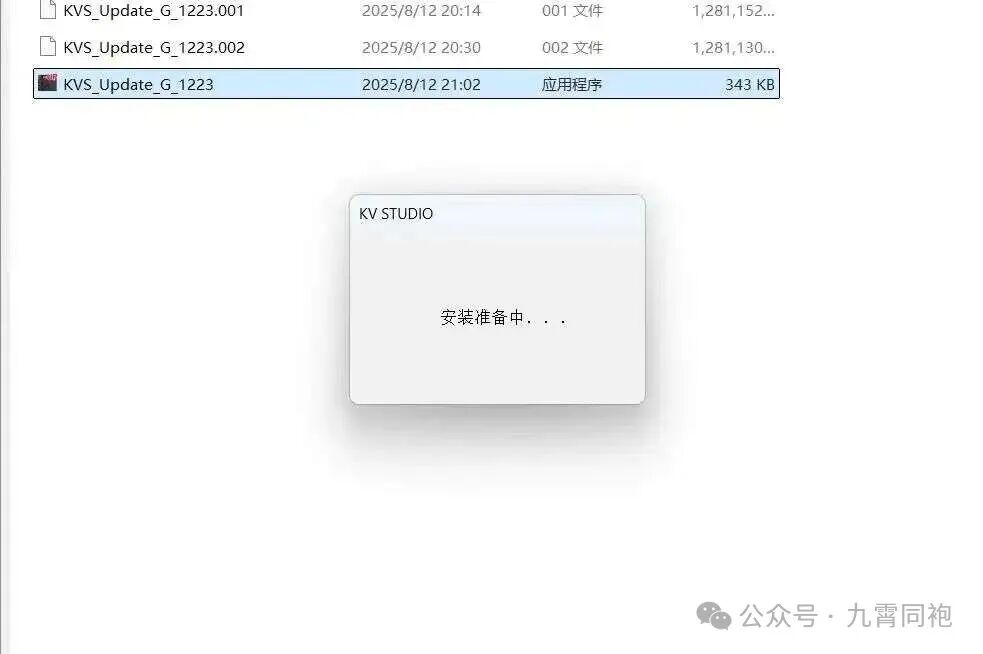
-
Upgrade Guidance• The
<span>combine</span>file window will pop up automatically • If it does not pop up, manually double-click the application • Select Simplified Chinese again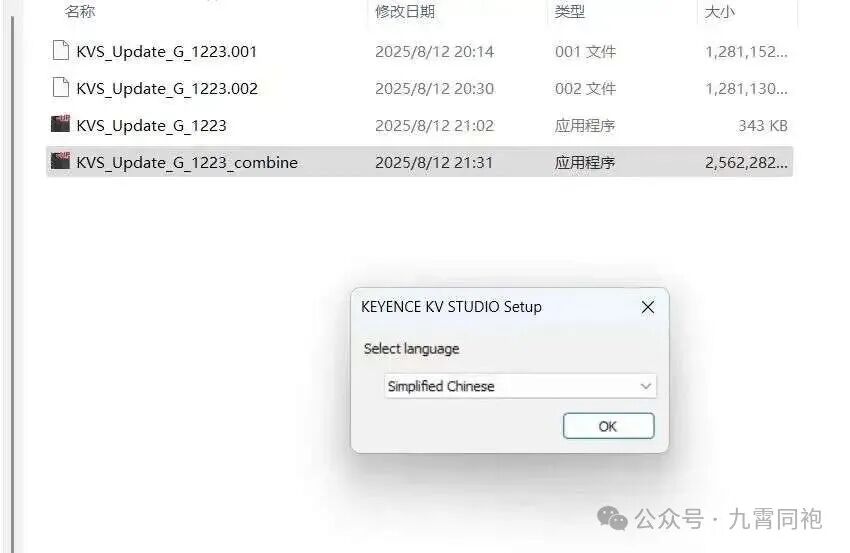
-
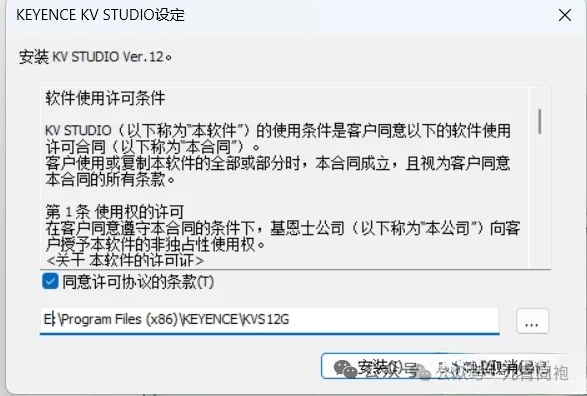
Upgrade Location Choose the installation location for the upgrade file: • Keep the old version → select new path• Overwrite the old version → select the same path as step 4 (⚠️ Unverified)
-
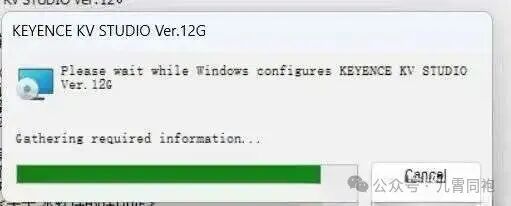
Upgrade Waiting Wait for the installation progress bar to complete ☕️
-
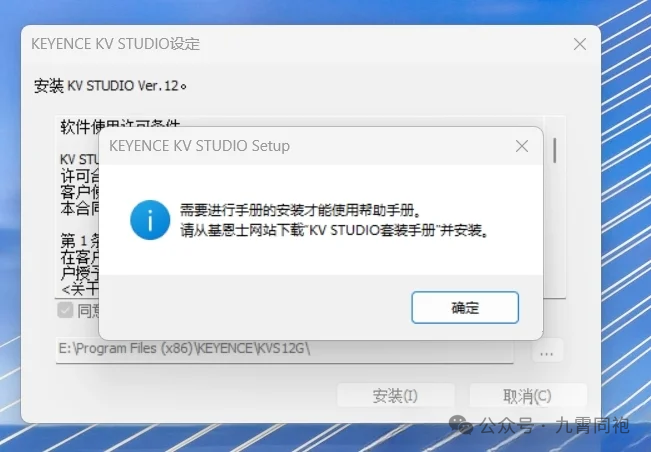
Completion Confirmation Click the OK button in the pop-up window
-
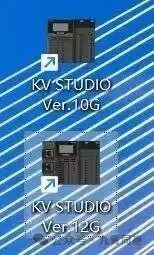
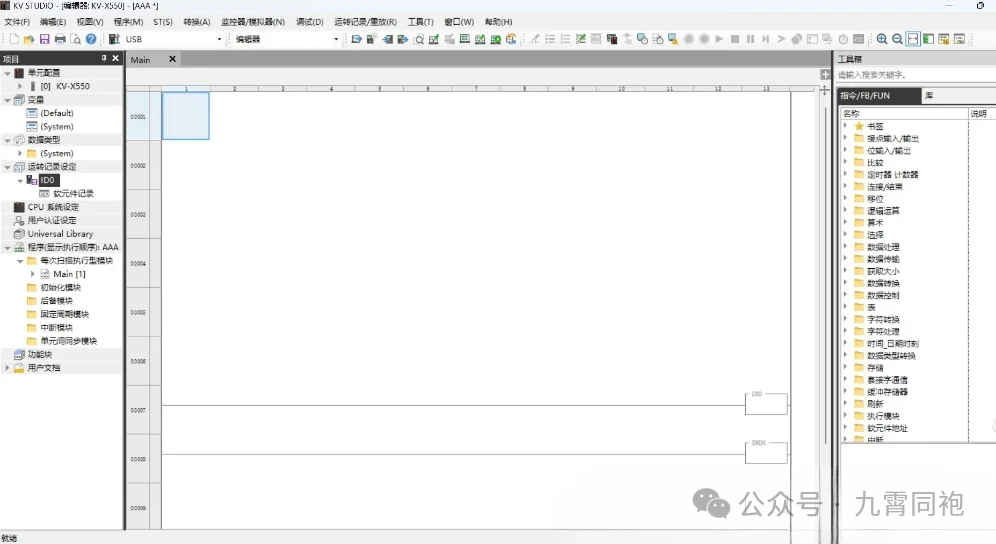
Version Verification• Open the software to check the new version identifier • Key Changes: New project visibility for KV-X series PLC (the old version only supports the 8000 series)
-
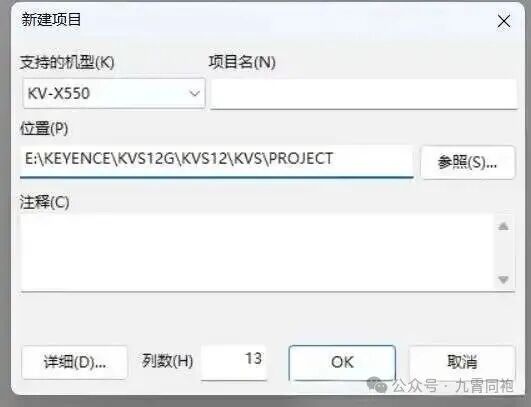
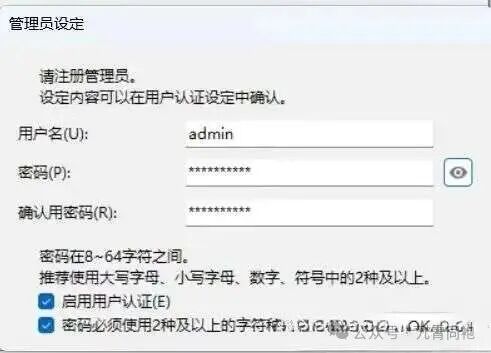
Password Setting Set a password as prompted when creating the project for the first time 🔒
-
Version Switching If you need to delete the old version, select the same path as step 4 in step 9 (effect to be verified)
-
All Done The latest version of KV STUDIO is now in place! 🎉
⚠️ Disclaimer
Software resources are sourced from the internet and are for user communication, learning, and research purposes only. Copyright belongs to the original copyright holder, and copyright disputes are not related to this public account. Users must not use the downloaded software for commercial or illegal purposes, or they will bear the consequences. Downloading indicates your agreement to:• Use for learning reference only ✍️• Delete within 24 hours ⏳• Refuse commercial use 🚫To support the original version, please visit the official website to purchase and register for complete services!
🎁 Easter Egg Time
Did you find this article helpful?👉 Light up the end of the article ❤️ Like to help more engineers see it👉 Scroll to the bottom comment section → Share your installation experience/questions👉 “Mysterious Channel” continues to update industrial control tools → Click the top right corner to follow and not get lost ✨Your interaction is our motivation for staying up late to write! 💪