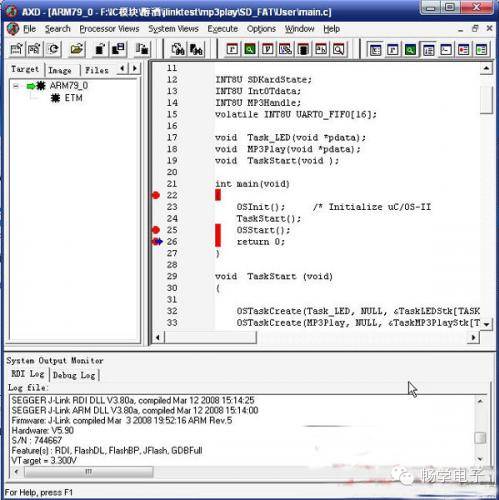
This article is written for the LPC2148, but it is also applicable to the Samsung 44B0 chip; just select S3C44B0 as the corresponding CPU during selection.
Insights on debugging with JLINK under ADS
A couple of days ago, a client encountered errors while debugging LPC2148 with JLINK under ADS. I faced a similar error while debugging LPC2200 previously, and I solved the issue, so I’d like to share it with everyone.
1. Adding JLINK in AXD
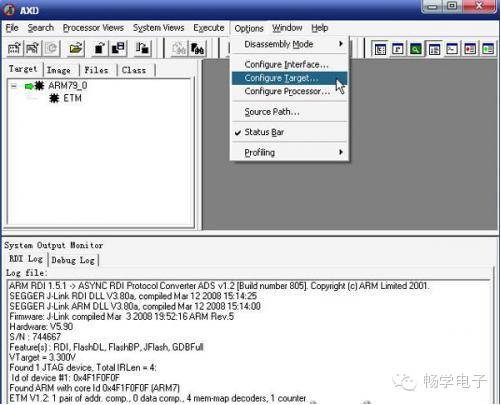
Select ConfigTarget under Options, as shown in the image below:
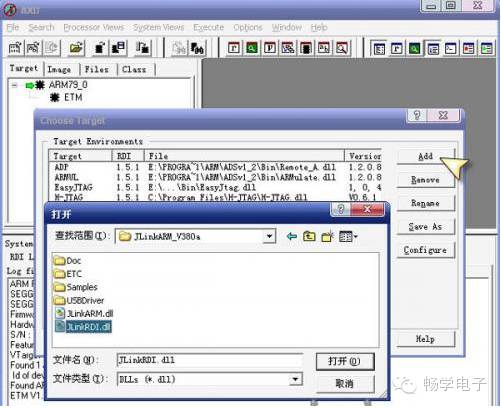
Click the Add button to add jlinkRDI.dll (make sure you have installed the driver provided by Segger, the version installed here is 3.80a), as shown in the image below:
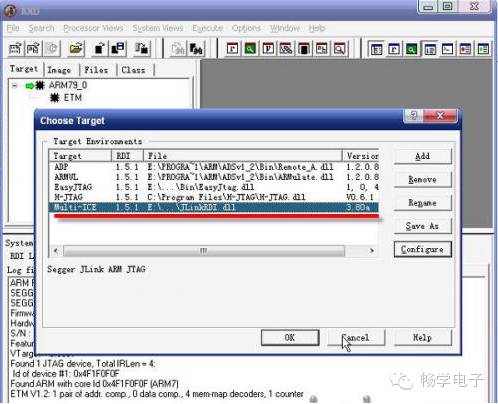
After adding, it should look like this:
2. Configuring JLINK
Continuing from above, after adding, click Configure to open the JLINK settings dialog. Here, we mainly need to select the processor we want to debug, as shown in the image below:
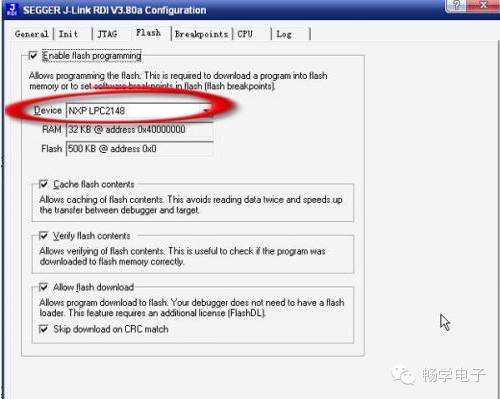
Once the selection is complete, click OK to finish the setup. If JLINK is connected to the development board and powered on, the log information will show the JLINK connection to the processor, as shown in the image below:
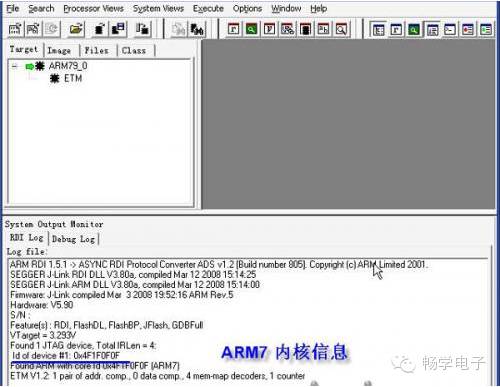
3. Debugging
After adding and configuring JLINK, you can start debugging. Once debugging begins, if we step through or set breakpoints, we may encounter issues, as shown in the image below:
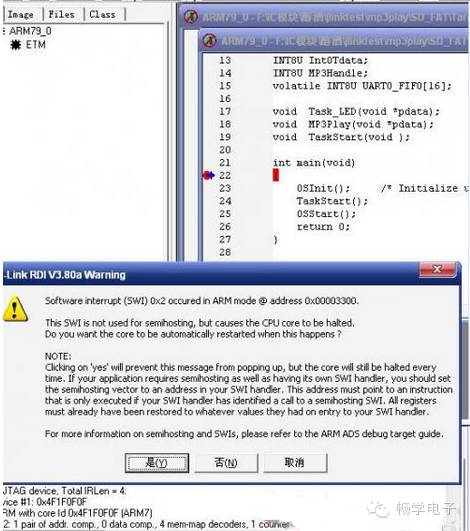
The result is that debugging fails. To resolve this, we need to modify the ADS settings by selecting ConfigureProcessor under Options, as shown in the image below:
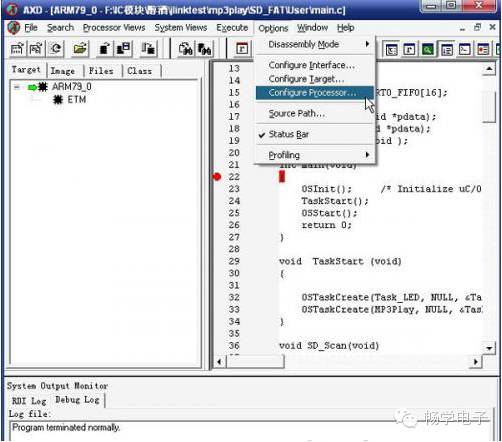
The following dialog box will appear:
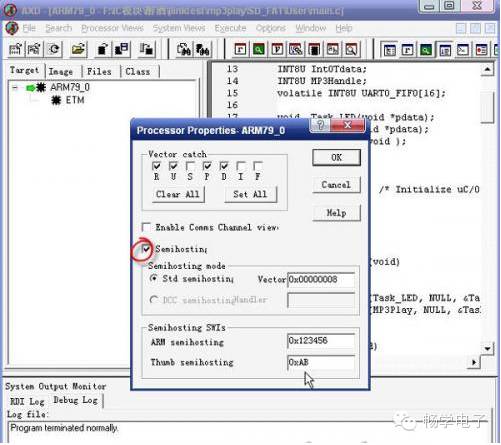
Uncheck the Semihosting option to resolve the issue, as shown in the image below:
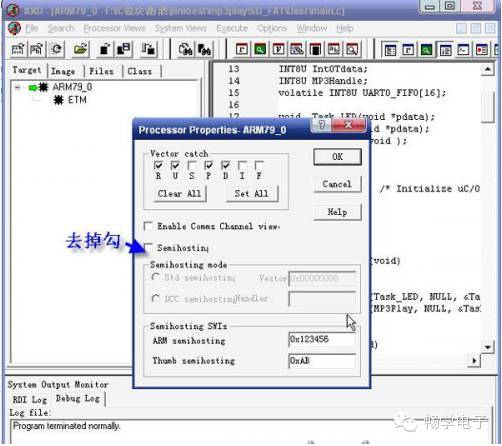
Click OK, exit AXD, and re-Debug. This time you can step through or set breakpoints without any issues.