Project Showcase
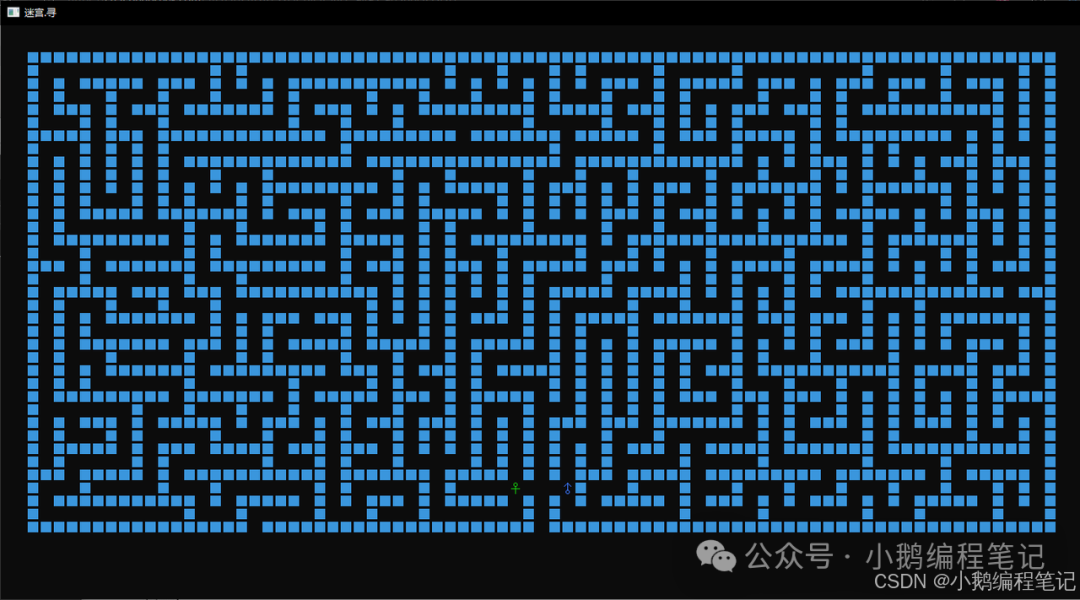
【Two-Person Maze Game】:
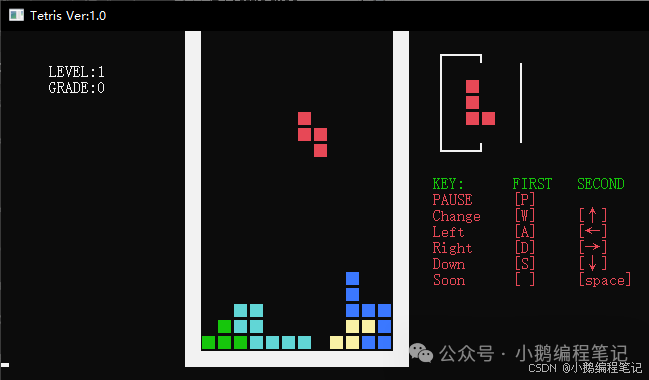
【Tetris】:
【Complete Notes Link】:
https://mp.weixin.qq.com/s/J5bTlJdA613DB9cCb94eag
1. Introduction
2. Downloading and Installing VSCode
3. Installing VS Code Plugins – C Language Configuration
4. Writing Your First C Language Program
5. Uninstalling Configuration
1. Introduction
For text editor recommendations, please check the articles in the <span>C Language</span> directory:(2) Tool Summary
VSCode (full name: Visual Studio Code) is a free, cross-platform source code editor developed by Microsoft, and the VSCode development environment is very simple and easy to use.
Files created through the editor are usually referred to as source files, and the source files for C programs typically use the .c extension.
When you create a .c or .cpp file, the extension adds some features such as syntax highlighting, smart completion, hover, and error checking.
2. Downloading and Installing VSCode
-
VSCode official website:https://code.visualstudio.com/
-
VSCode official documentation:https://code.visualstudio.com/docs
We can download the software for the corresponding system (supports Windows, Linux, macOS) from the VSCode official website homepage:
Installing VSCode is very simple. Below is an example of downloading and installing in a Windows environment:
2.1. Click the Download for Windows button: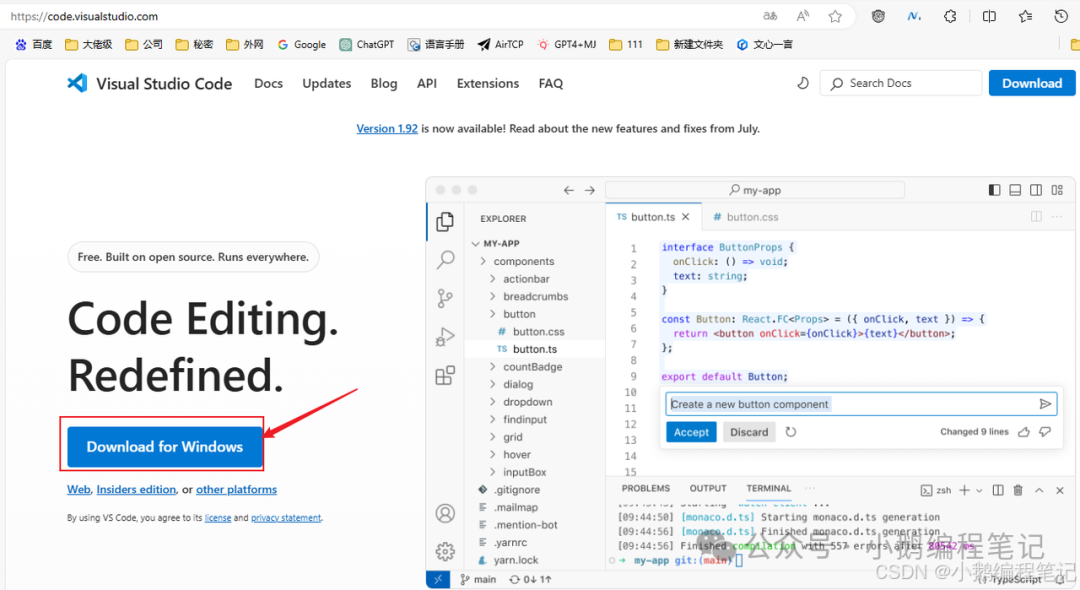
You can also open the download page https://code.visualstudio.com/download to download the desired format package: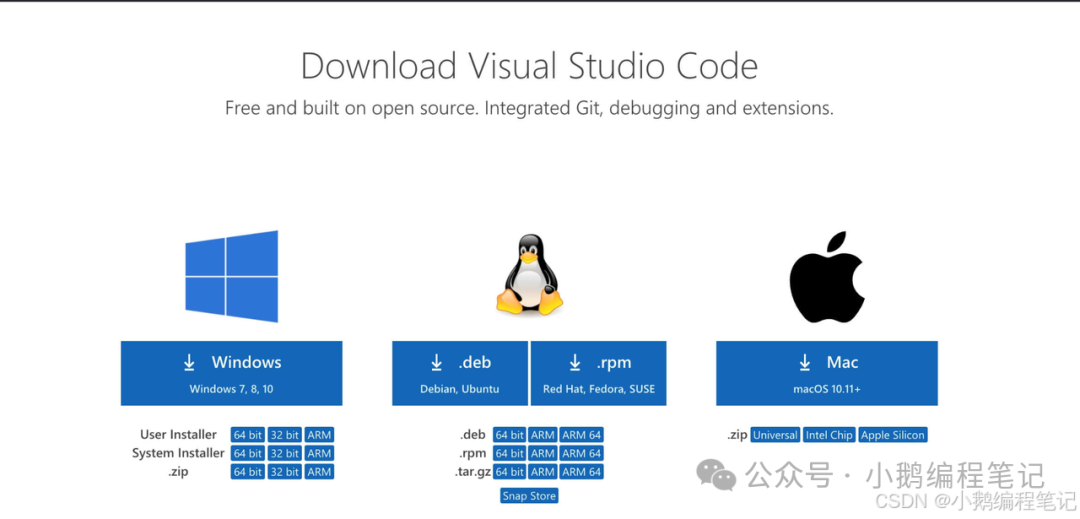
2.2. Double-click to open the installation package, click Next: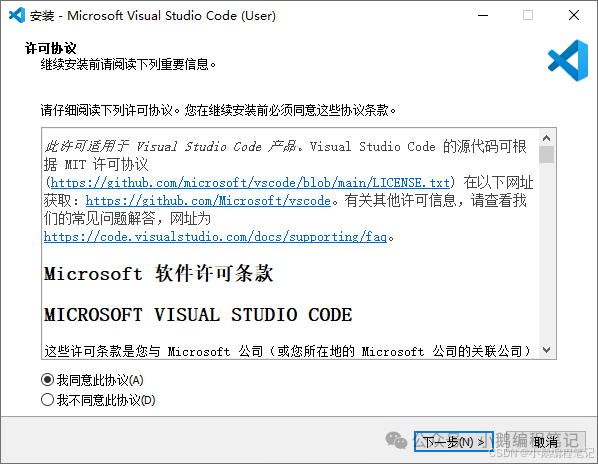
2.3. Choose the installation path:
My local default installation is on the C drive, as my C drive is a solid-state drive, which compiles code faster. You can click <span>Browse</span> to select your installation path: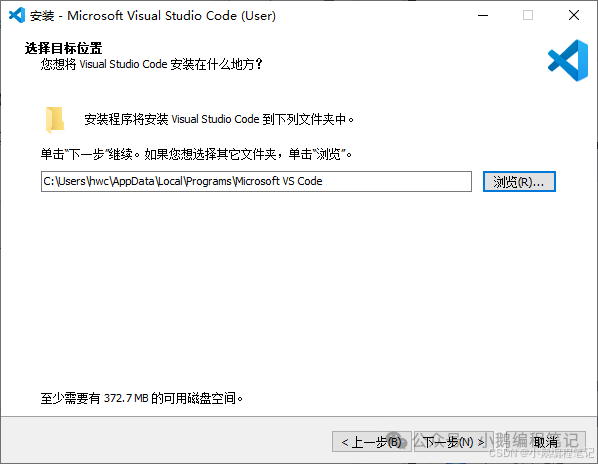
2.4. Here you need to select the features you want, click Next. Below are the features I selected for reference:
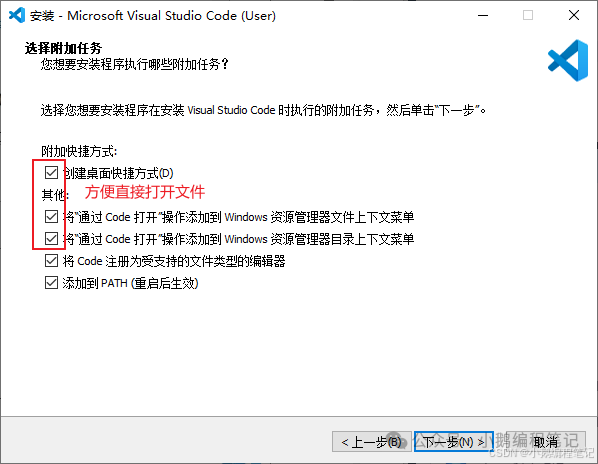
2.4.1. Parameter Explanation
-
Create a desktop shortcut
Checking this option will create a VS Code shortcut icon on the desktop.
-
Add “Open with code” operation to the Windows Explorer file context menu
-
Add “Open with code” operation to the Windows Explorer directory context menu
Checking these two options will create an “Open with code” option in the right-click context menu, making it easier to open files or folders directly with this option.
-
Register Code as an editor for supported file types
This can be left unchecked; if checked, VS Code will be set as the default application for opening .txt, .py, and other file types.
-
Add to PATH (effective after restart)
Checking this option will add VS Code to the Windows system path, making it easier for the operating system to recognize it. This option will take effect after the computer restarts and can add VS Code as a system environment variable.
2.5. Click Install and wait for the installation to complete:
2.6. Interface Explanation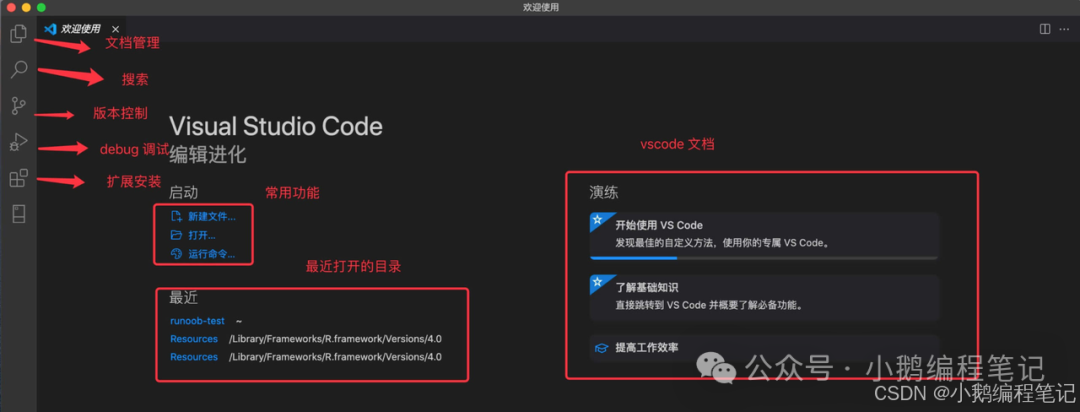
3. Installing VS Code Plugins – C Language Configuration
VSCode defaults to an English interface and does not support direct compilation; you need to install the following plugins:
Click the extension icon in the left menu or use the keyboard shortcut (⇧⌘X) to open the extension interface.
3.1. C/C++ Extension Pack Plugin
Search for <span>C/C++ Extension Pack</span> in the VS Code search box, then click Install. This plugin supports the Chinese interface for VSCode.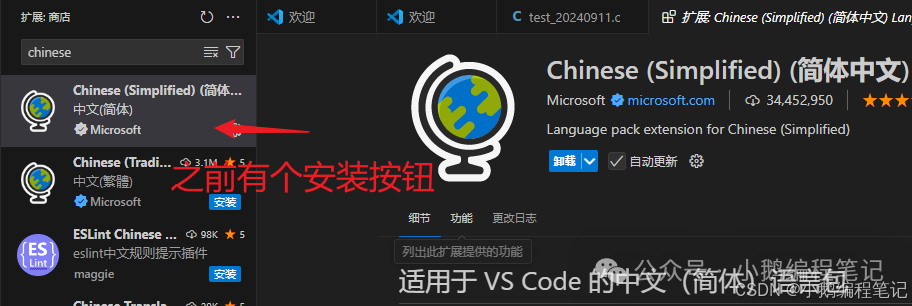
3.2. “C/C++ Extension Pack” Plugin
Search for <span>C/C++ Extension Pack</span> in the VS Code search box, then click Install. This plugin supports syntax highlighting and smart completion for C language programs.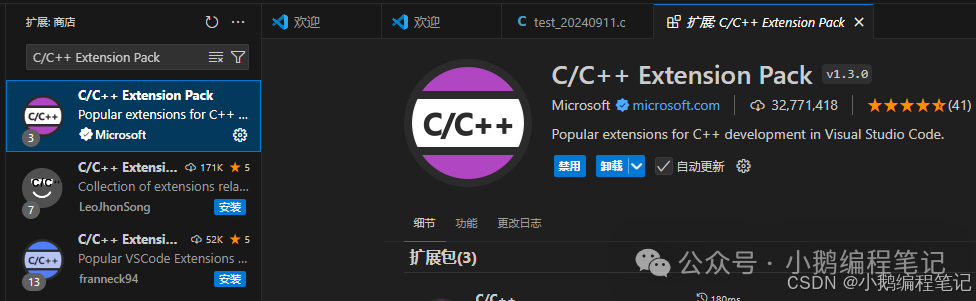
3.3. “C/C++ Runner” Plugin
Search for <span>runner</span> in the VS Code search box, then install “C/C++ Runner” by clicking Install. This plugin is responsible for compiling C language programs.
Alternatively, the “code runner” plugin can also be used, which can compile C, C++, Java, JS, PHP, Python, Perl, Ruby, Go, Lua, Groovy, PowerShell, CMD, BASH, F#, C#, VBScript, etc.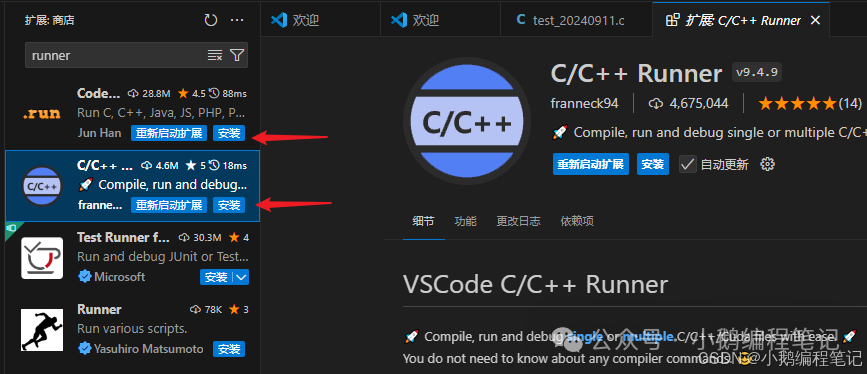
After this is installed, there will be a triangle symbol in the upper right corner of VS Code to run the code.
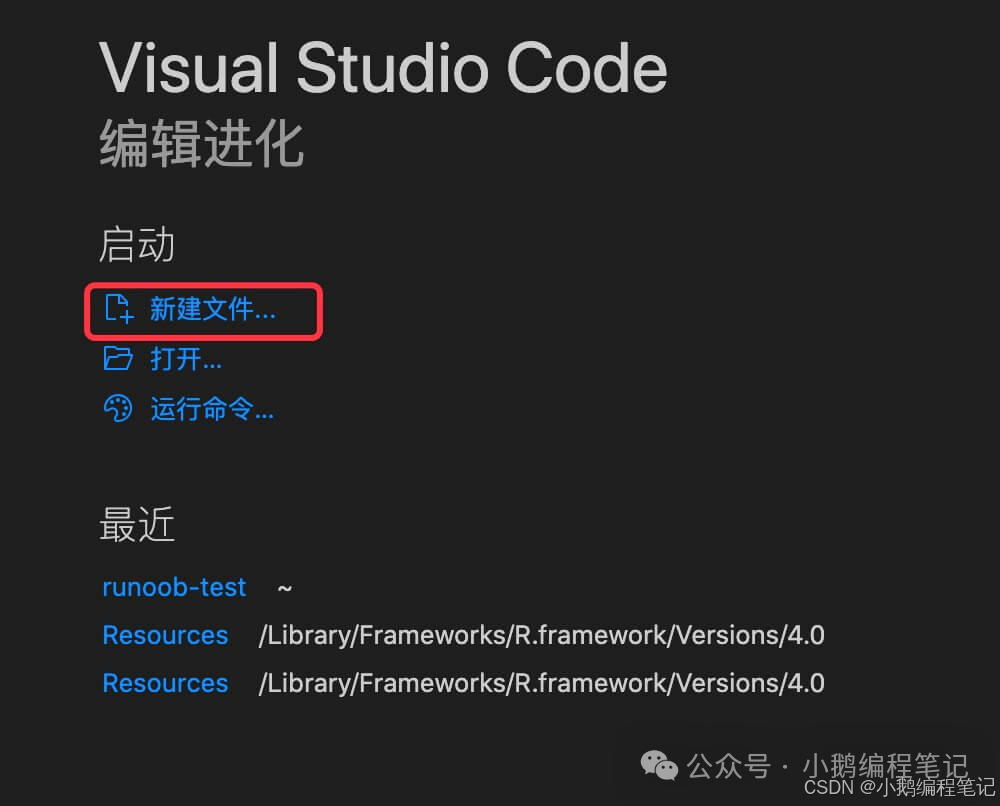
4. Writing Your First C Language Program
4.1. Open VSCode and create a new file
4.2. Click to select the language:
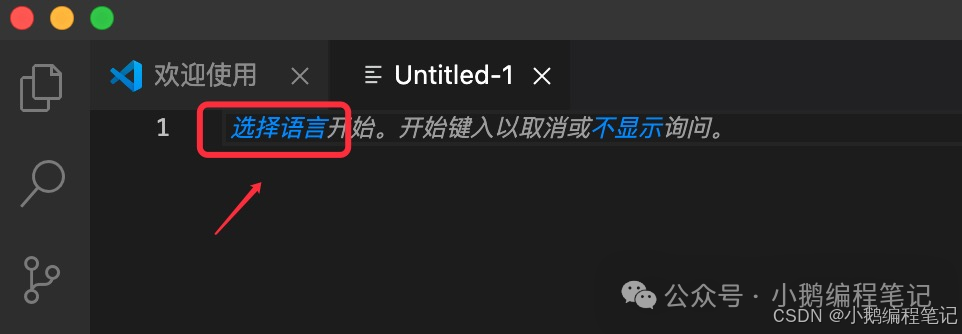
Type ‘c’ in the search box to create a test_xxx.c file
4.3. Write the code
Write a simple Hello World program
#include <stdio.h>
int main()
{
    /* My first C program */
    printf("Hello, World! \n");
    return 0;
}
4.4. Save the code
Save the code in the test_xxx.c file
4.5. Compile and run
Right-click in the code area and select run code, then you can see the result in the terminal at the bottom.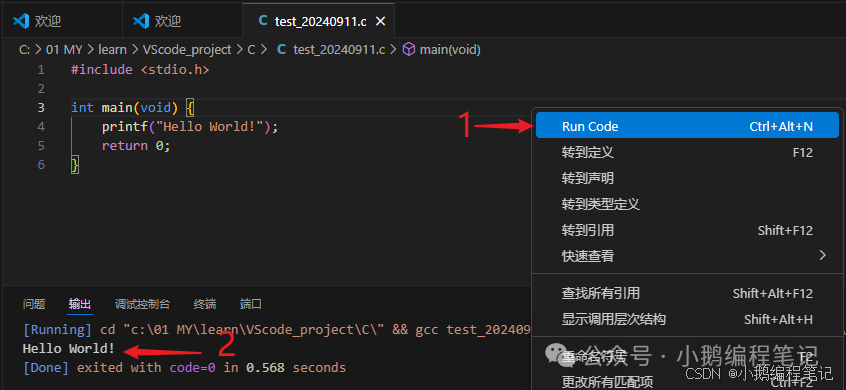
5. Uninstalling Configuration
5.1. Uninstalling Extensions
If you want to uninstall an extension, the installed extensions will appear. Click on an extension, and on the right side, you will see the <span>Uninstall</span> prompt (indicated by the red arrow on the right side), click Uninstall to remove it.
5.2. Issues with Uninstalling VSCode
After uninstalling VSCode and reinstalling it, <span>the previous configuration information (such as open folders, installed extensions, debugging information, etc.) may still appear</span> because it was not completely uninstalled before.
If you want to completely uninstall VSCode, you also need to manually delete the contents of <span>C:\Users\Username\.vscode</span> and <span>C:\Users\Username\AppData\Roaming\Code</span>. You can directly delete these two directories. By completely uninstalling and then reinstalling, it is equivalent to a fresh installation, and previous configuration information will not appear. Of course, you can also manually delete these two folders after installing VSCode, and then start VSCode, and previous configuration information will not appear.
Note:
If you want to improve your programming efficiency! Please check the previous articles in the
<span>C Language</span>directory:(7) VSCode + MinGW (2) Useful Plugins
<span>Daily updates!</span>
<span>Public account, CSDN, and other blogs: Little Goose Programming Notes</span>
<span>Daily updates may be slow; if you need complete notes, please contact me. C/C++/Data Structures-Algorithms/Microcontroller 51-STM32-GD32-ESP32/Embedded/Linux Operating System/uboot/Linux Kernel-Driver-Application/Hardware Introduction-PCB-layout/Python/Later Mini Programs and Machine Learning!</span>