In today’s digital age, server virtualization technology has become a key means to improve resource utilization, reduce costs, and simplify management. VMware ESXi, as a widely used enterprise-level virtualization platform, can create multiple isolated virtual machines on a single physical server, providing independent operating environments for different applications.
Software Preparation:
VMware ESXi 7.0 image file
USB boot disk creation tool: such as Rufus or Ventory, used to write or copy the ESXi image file to a USB drive. Refer to the documents below for creating the boot disk.
Creating a system boot USB with Rufus (2)
Creating a system boot USB with Ventory (3)
Start Installation:
Insert the prepared USB boot disk into the USB port of the Lenovo SR588 server and power on while pressing F12.
 Select USB
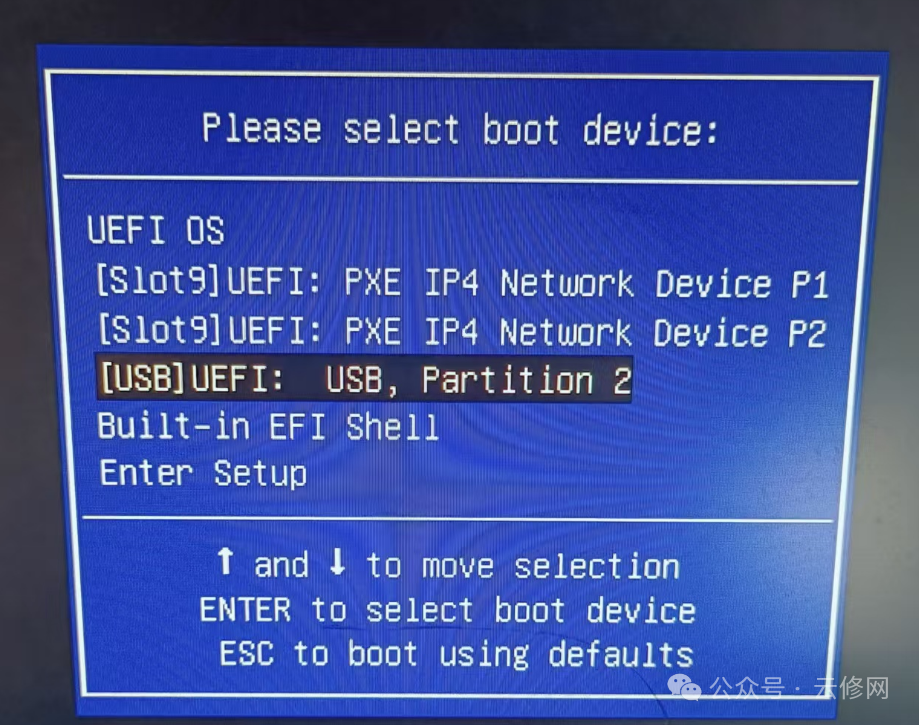
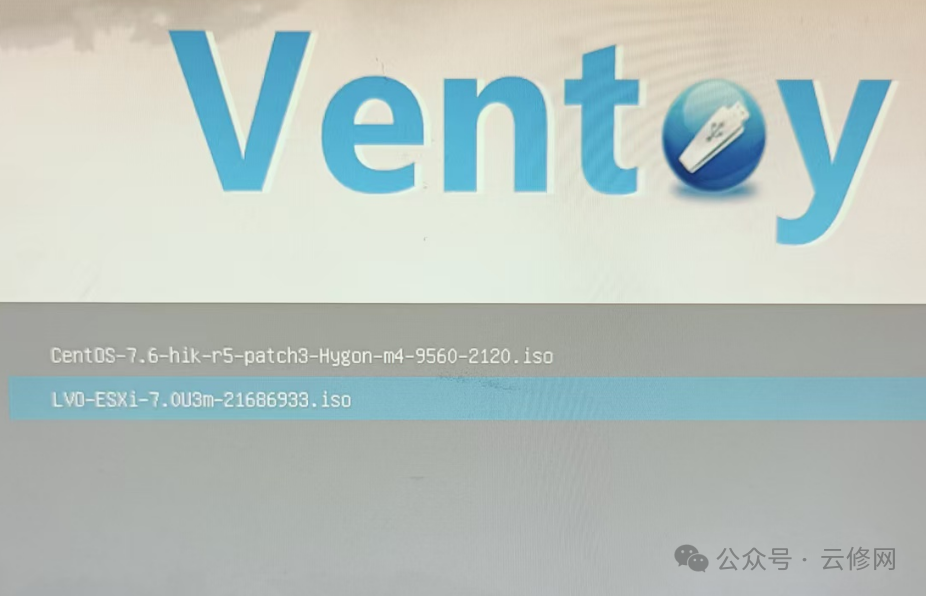
The server will boot from the USB boot disk, select the VMware ESXi image:
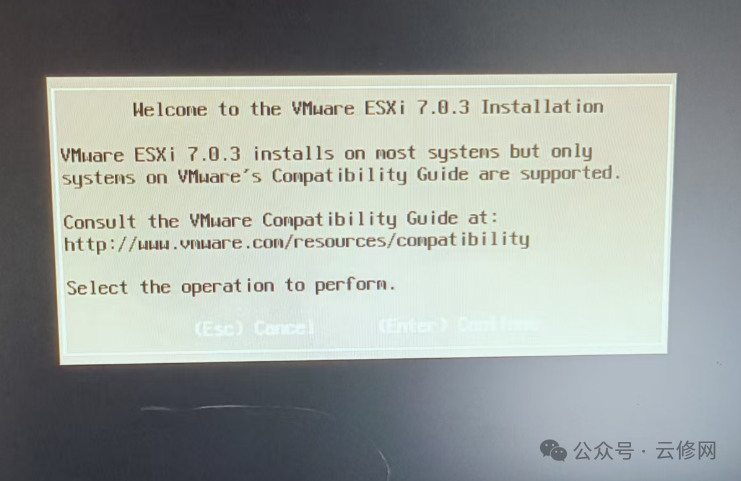
Enter the ESXi installation interface. In the installation interface, press the Enter key to start the installation.
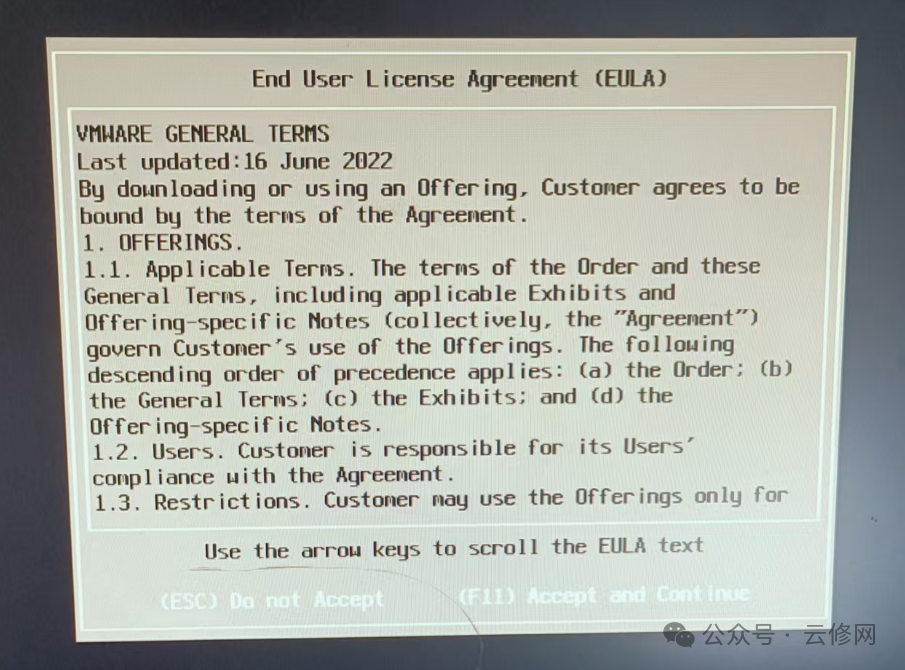
Press F11 to continue
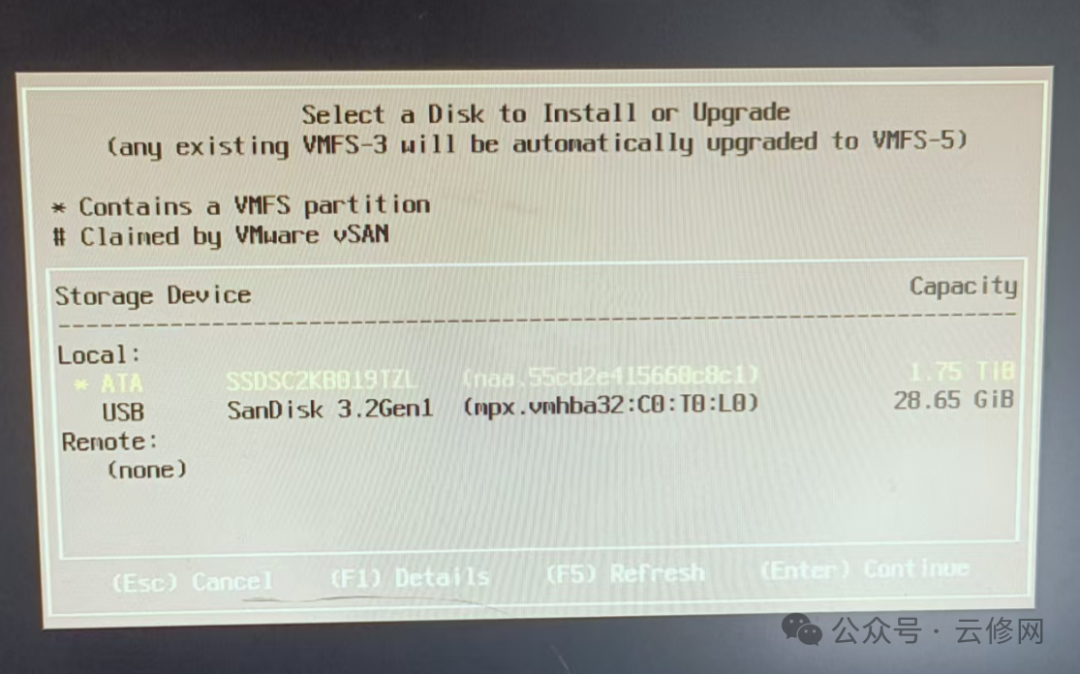
The system will automatically detect the storage devices on the server and list the disks available for installation. If there is only one disk, the system will automatically select it; if there are multiple disks, use the up and down arrow keys to select the disk where you want to install the ESXi system, then press the Enter key to continue.
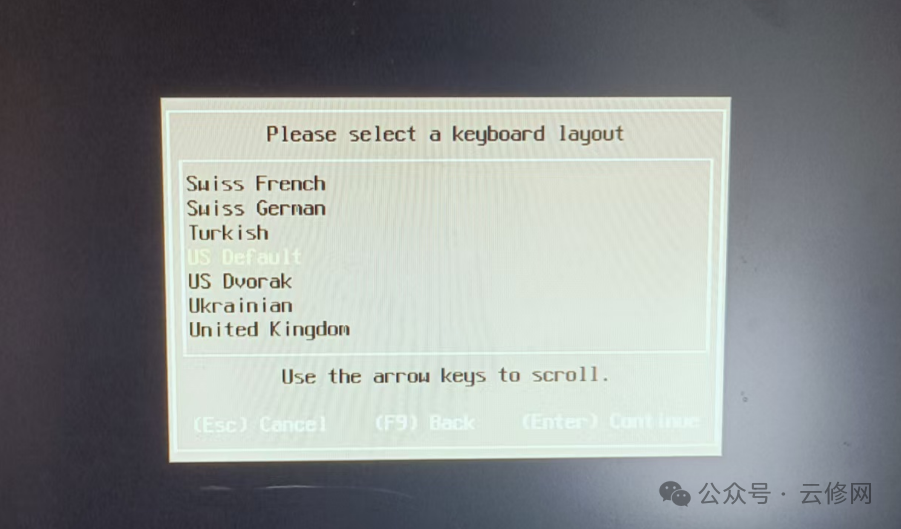
Select the keyboard layout, usually keeping the default “US Default” is sufficient, then press the Enter key to continue.
Set the management password for the ESXi system. The password must include uppercase letters, lowercase letters, numbers, and special characters, and be at least 8 characters long. Please remember the password you set, as it will be needed for subsequent logins to the ESXi management interface. After setting, press the Enter key to confirm.
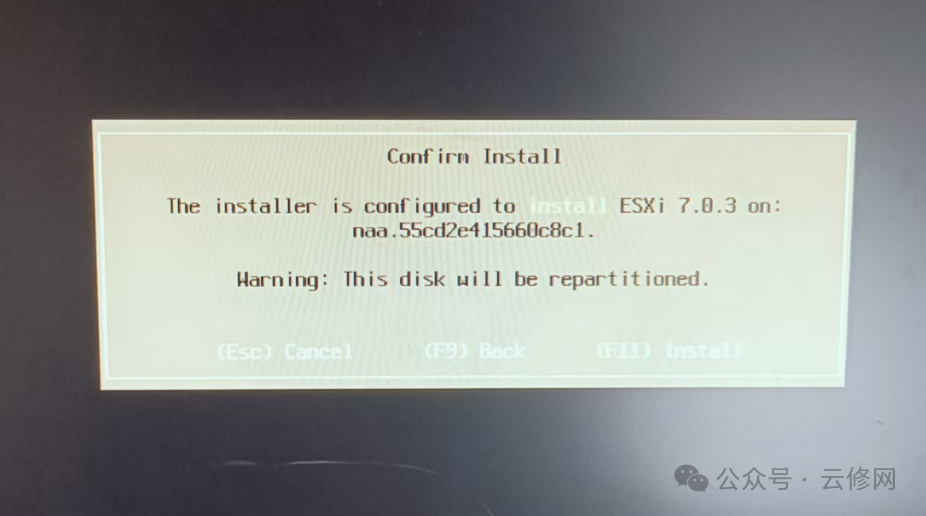
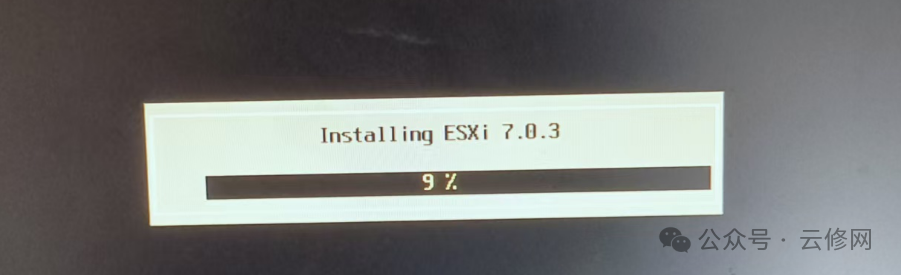
Press F11 to start the official installation of the ESXi system. The installation process will take a few minutes, during which the server screen may display some installation progress prompts and related information. Please do not turn off the server power or perform other operations.
 After the installation is complete, the system will prompt that the installation was successful and ask you to remove the installation media (i.e., the USB boot disk). At this point, remove the USB flash drive and press the Enter key, and the server will restart.
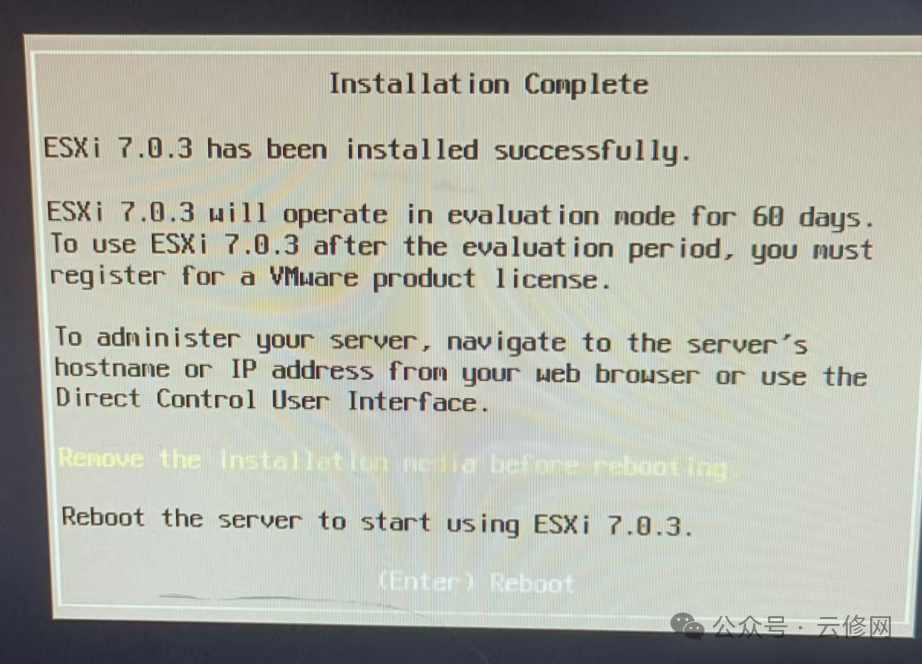
After the server restarts, enter the ESXi console settings interface.
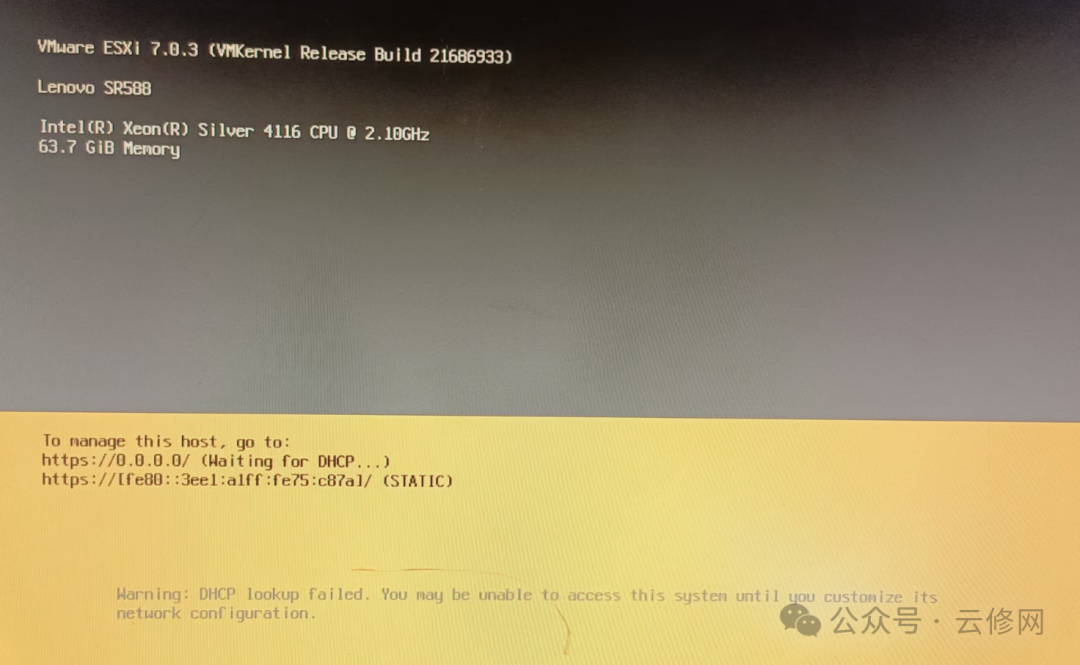
Press F2, enter the management password you just set, and press the Enter key to enter the settings menu.
In the settings menu, use the up and down arrow keys to select the “Configure Management Network” option, and press the Enter key to enter the network configuration interface.
In the network configuration interface, you can set the IP address, subnet mask, gateway, and other network parameters for the ESXi server. It is recommended to set a static IP address that matches your network environment for easier remote management. After setting, press the ESC key to return to the previous menu.
Press the ESC key again, and the system will prompt you to save the settings. Select “Yes” and press the Enter key to save the network settings.
Managing the ESXi Server via Web Interface
On your computer, open a browser, enter the IP address of the ESXi server in the address bar, and press the Enter key. The browser will open the login page for the VMware ESXi web management interface.
On the login page, enter the management username you set earlier (default is root) and the password, then click the “Login” button.
After successfully logging in, you will see the web management interface of the ESXi server, where you can create virtual machines, manage storage, configure networks, and perform various operations to fully utilize the powerful capabilities of virtualization technology.
By following the above steps, you have successfully installed the ESXi 7.0 virtualization system on the Lenovo SR588 server and completed the basic setup and configuration. I hope this tutorial is helpful to you. If you encounter any issues during the installation process, feel free to leave a comment.