Host Development Environment: Ubuntu 9.10
Kernel: Linux 2.6.22.6 (from the data CD -> systems directory)
File System: fs_qtopia.yaffs2 (from the data CD -> bin directory)
Development Board: JZ2440
Objective: Transfer files to the development board via SD card
It’s actually quite simple, just one mount command. This guide is written in detail for beginners who are new to development boards.
Steps:
1. Connect the JZ2440 to power and press the red switch to start the system.
2. Connect the JZ2440 to the computer using a data cable to the USB to serial port “USB-COM1”.
3. In Device Manager, find the corresponding COM port for the development board (for the author, it is COM3).
4. Open SecureCRT (found in the data CD -> Windows tools directory) and set up the connection to the serial port as shown below:
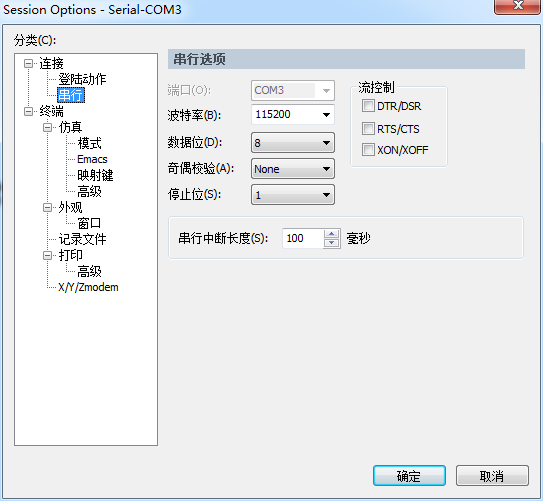
Click OK to see the board’s startup information in the serial port, then press Enter to enter SHELL.
5. Insert the card reader with the SD card.
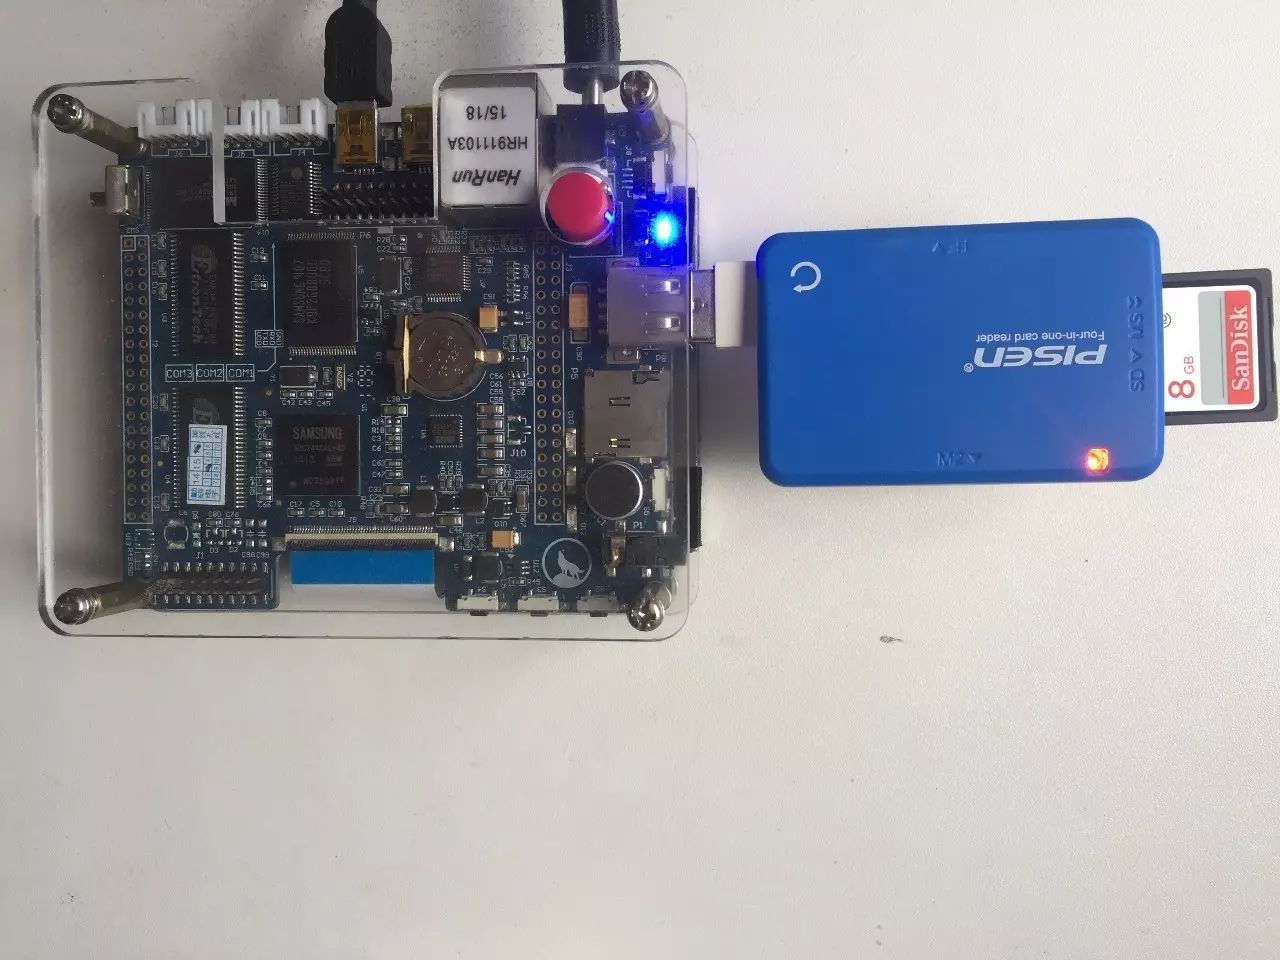
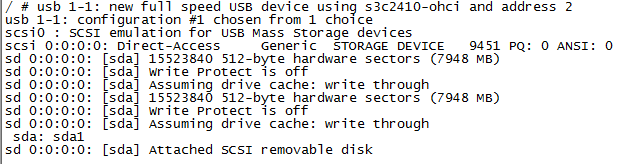
The pre-installed board already has UBOOT kernel file system, supporting common card readers and SD cards. After the system starts and the QT interface appears, insert the card reader with the SD card (the author used an 8G SandDISK SDHC card), and the serial port prompts as follows:
6. List the partition table
$ fdisk -l
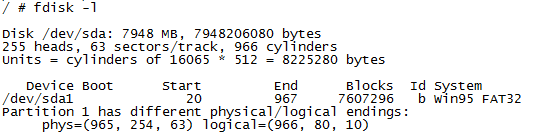
Device Boot only has one item, and it is clear that /dev/sda1 is the SD card just inserted.
7. Mount the SD card
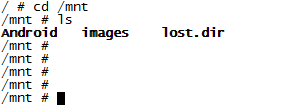
$ mount -t vfat /dev/sda1 /mnt

Enter the mnt directory to check if the mount was successful. Once mounted successfully, you can operate on the files of the SD card.
Unmount the SD card when not in use.
$ cd /
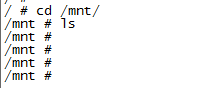
$ umount /mnt
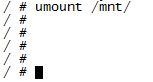
Unmount successful, mnt is empty now.
Note: The above only considers the case where the development board has a system. Assuming the development board has nothing.
You need to use jlink or eop to download uboot to the board (both nand and nor are acceptable).
Then upload Linux 2.6.22.6 and the patch to Ubuntu, extract, apply the patch, and compile:
$ tar xjf linux-2.6.22.6.tar.bz2$ cd linux-2.6.22.6$ patch -p1 < ../linux-2.6.22.6_jz2440.patch$ mv ../4.3寸LCD_mach-smdk2440.carch/arm/mach-s3c2440/mach-smdk2440.c // Replace the 4.3 inch source code$ cp config_ok .config$ make uImage
Upload the uImage to the directory where the Windows TFTP software is located.
Enter the development board’s uboot, tftp download uImage to jz2440, and flash it.
First set the network:
set gatewayip 192.168.1.1 //Set gateway
set netmask 255.255.255.0 //Set subnet mask
set ipaddr 192.168.1.111 //Set the development board’s IP during uboot phase
set serverip 192.168.1.170 //Set server IP
Download the kernel:
tftp 30000000 uImage // Make sure to PING the Windows machine and run the TFTP server software
nand erase kernel
nand write.jffs2 30000000 kernel
Download the file system:
tftp 30000000 fs_qtopia.yaffs2
nand erase root
nand write.yaffs 30000000 0x00260000 $(filesize)
Set the boot command used in bootcmd:
set bootcmd nand read.jffs2 0x30007FC0 kernel; bootm 0x30007FC0
Set bootargs:
setenv bootargs ‘root=/dev/mtdblock3 noinitrd init=/linuxrc console=ttySAC0,115200 ‘
save
Start the board:
boot
Now that the kernel system is ready, repeat steps 5-7.
Summary: The most important aspect of mounting the SD card is that the kernel supports the card reader and SD card, and then finding the correct device node to mount.