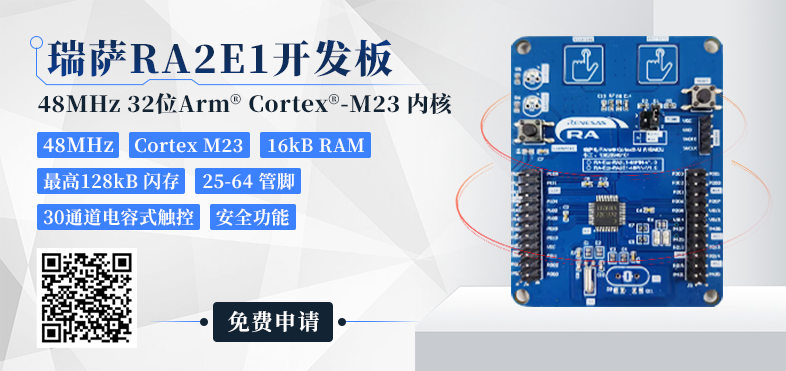
A few days ago, I received the Renesas RA2E1 development board sent by the Breadboard Community. I saw someone asking: Is the Renesas microcontroller hard to learn? First, you need to have such a board. Now, let me explain slowly. Scan the QR code to join the Breadboard Community and apply for a free Renesas development board.Actually, getting started is very simple; it only takes a few steps (just a few clicks) to light up an LED. In other words, getting into microcontrollers is a piece of cake.Today, I will share with you how to light up your first LED with the Renesas MCU from scratch:
- Setting up the development environment: Downloading and installing e2studio
- Creating a project in e2studio: Lighting up an LED
Setting Up the Development Environment
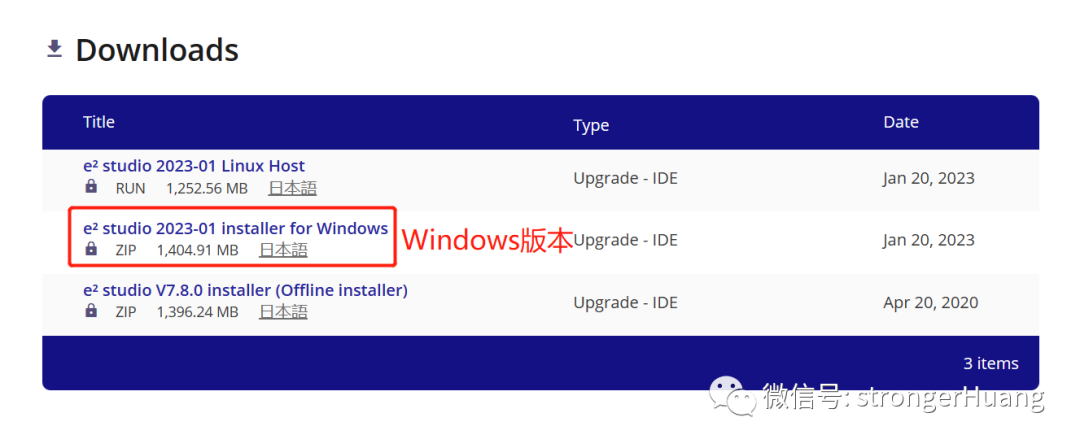
There are many tools (IDE) for developing Renesas MCUs, such as the traditional Keil and IAR, which support Renesas MCUs.However, the official recommendation is to use their own tool: e2 studioe2_studio: is Renesas’ official integrated development environment (IDE), similar to Keil MDK.FSP: Flexible Software Package, which is the software package for Renesas MCUs, similar to the packages that need to be installed in Keil MDK (Keil.STM32F1xx_DFP.2.4.0.pack).Currently, e2_studio supports Windows and Linux operating systems. Here, I will use Windows 10 as an example to explain.You can refer to the video I shared for this section:1. DownloadYou can download from the Renesas official website or the Renesas Chinese website.
Renesas Official Website:
https://www.renesas.com/us/en/software-tool/e-studio
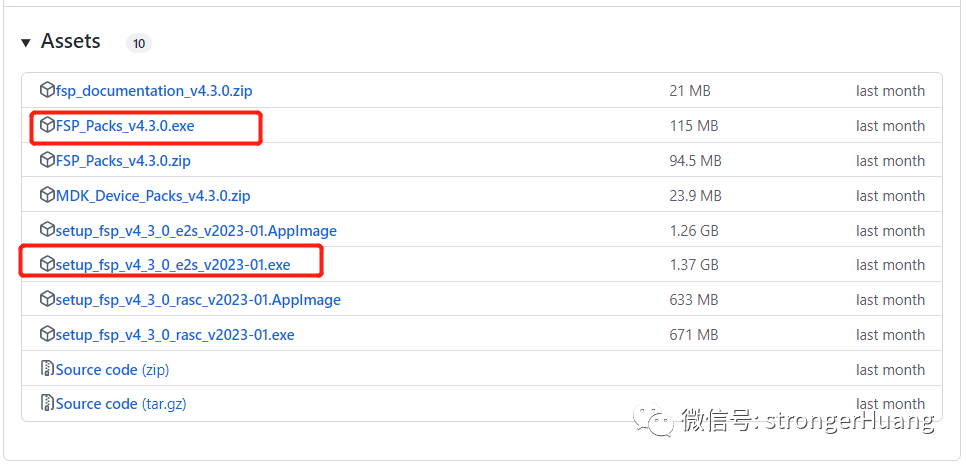
 Renesas Official GitHub:
https://github.com/renesas/fsp/releases
Renesas Domestic Ecological Community:
https://ramcu.cn/lists/21.html
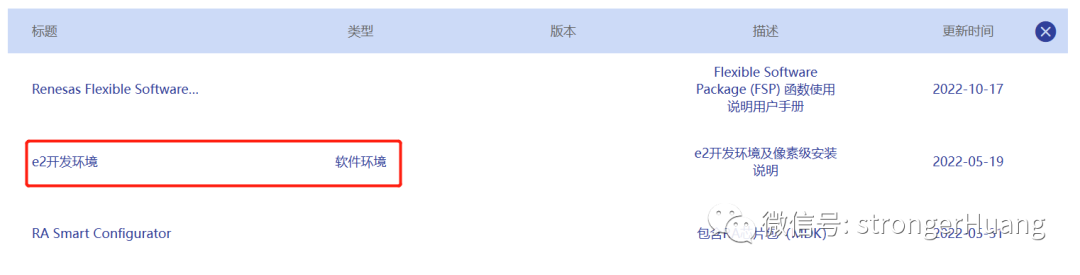
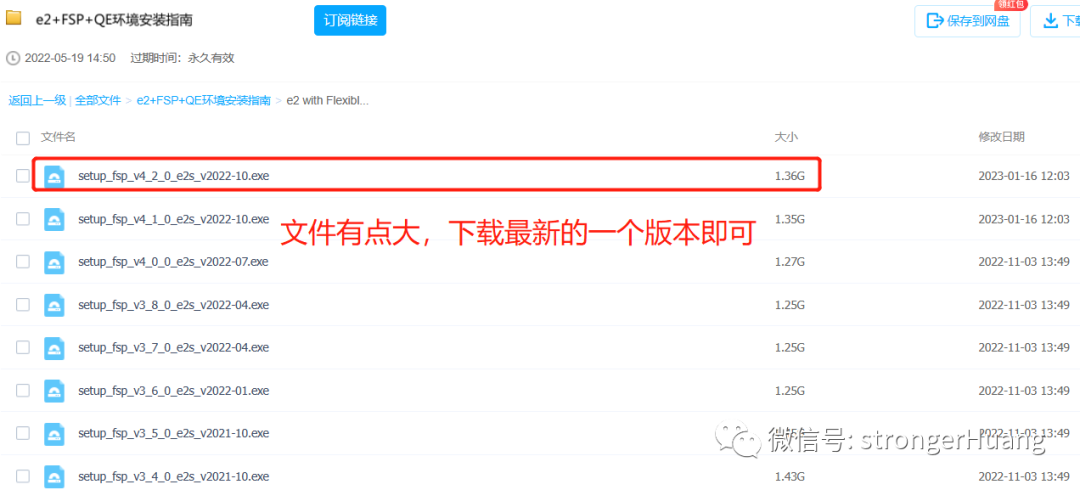
The version on the official website might be newer, but downloading from the official website requires account registration. If you find it troublesome, you can download it from the domestic ecological community.Note:The domestic ecological community provides Baidu Cloud download, which has many old versions; just download the latest version. (Don’t download all, it’s quite large).
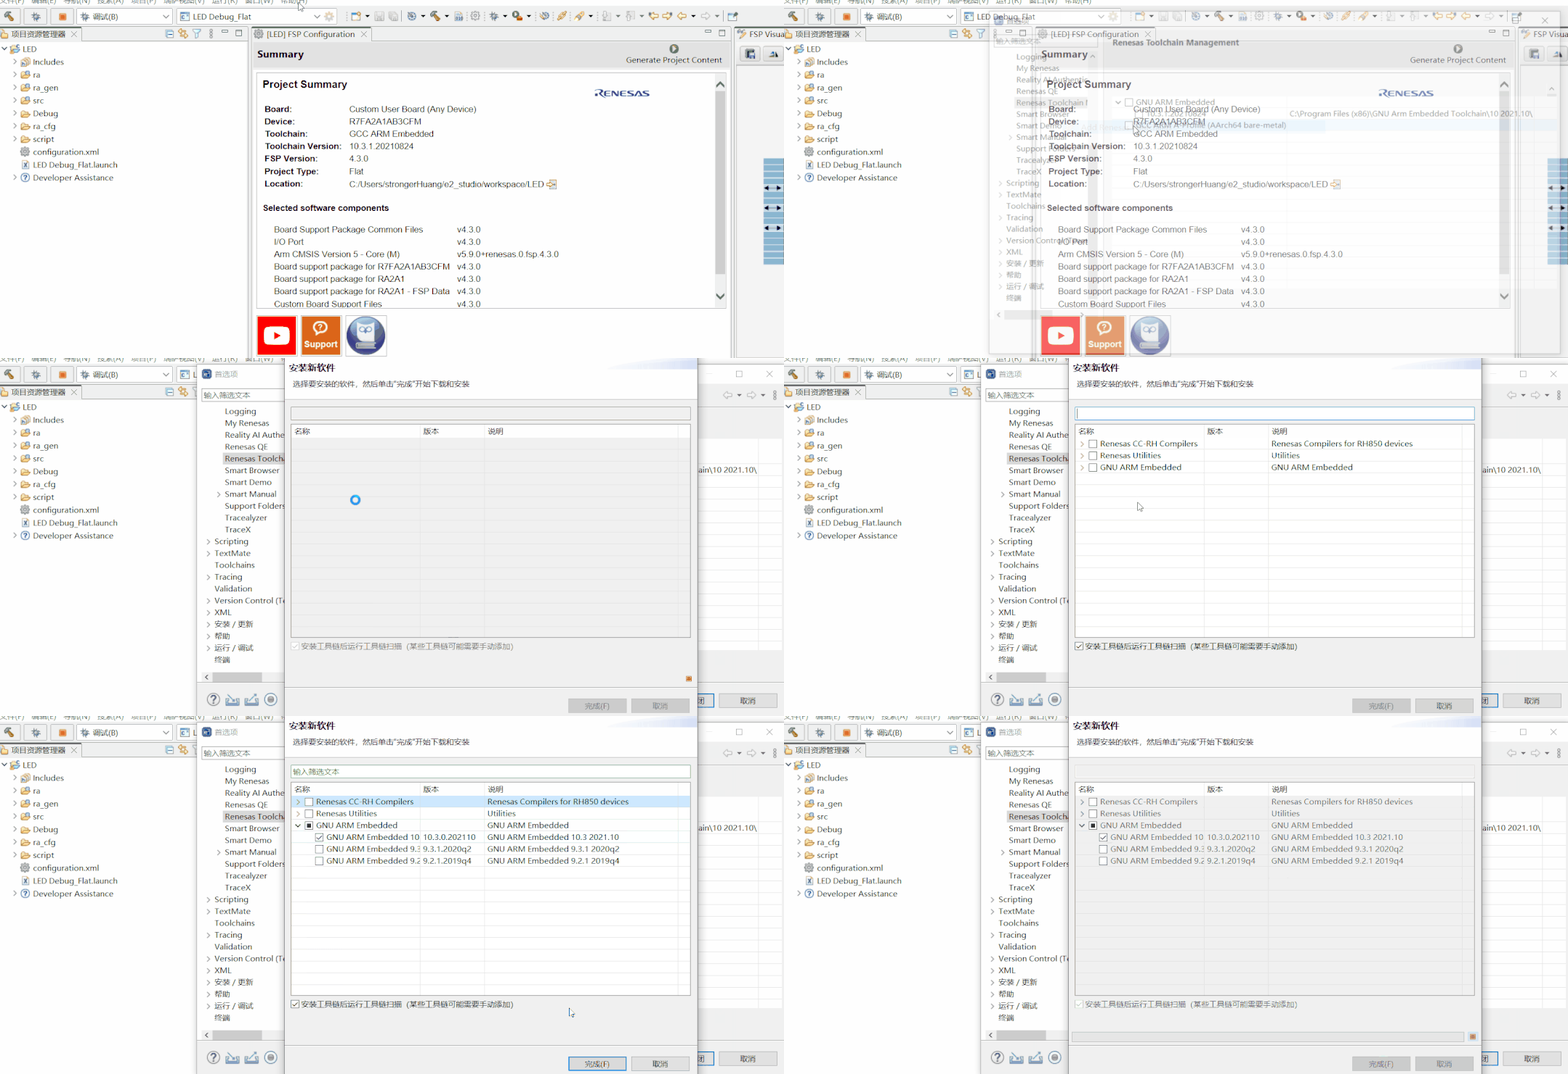
2. InstallationThe installation method is very simple; both the official website and community site provide installation methods that you can refer to.Software based on Windows can generally be installed just by clicking a few buttons, but you need to select carefully based on your needs while clicking.The installation process has no issues in the beginning, but later on, some [plugins] will be installed, such as: C++ libraries, gcc compilation tools, etc.At the same time, it will [download online] the gcc, FSP, and other installation packages. You may encounter failures while downloading online.Solution for gcc online installation failure:Open the software -> Help -> Add Renesas Toolchains -> Renesas -> Renesas Toolchain Management···This is the online installation in the software; see the animation below for specifics:
Solution for FSP software package online installation failure:Most people will try to install online, and the solution is simple: download the FSP software package and install it offline.You can refer to the video I shared for specific details on downloads and installations related to this section:
Creating a Project in e2studio
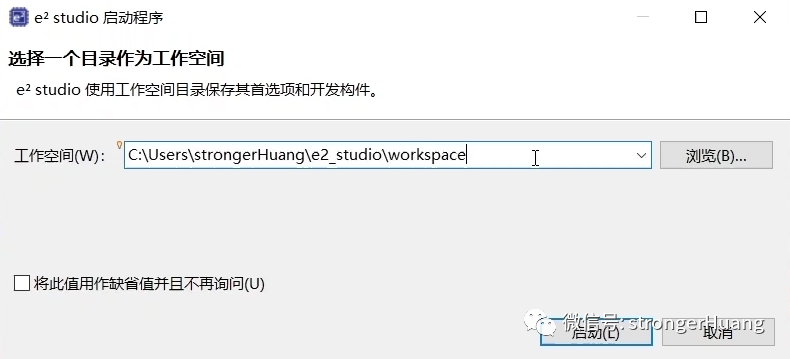
e2studio is an integrated development environment (IDE) that allows graphical configuration; you can generate a project just by clicking a few buttons, similar to STM32CubeIDE.This tool is much simpler for creating projects compared to Keil and IAR, so the official recommendation is to use their own tool (which is easier for beginners).Creating a project requires that the e2studio development environment is set up properly (as described in the previous section); if some “plugins” are not installed correctly (for example, if the C++ library installation fails), creating the project here may also fail.This section will use a classic example: lighting up an LED.1. Preliminary ContentThe first time you open e2studio, it will prompt you to set the workspace save location (you can use the default location):
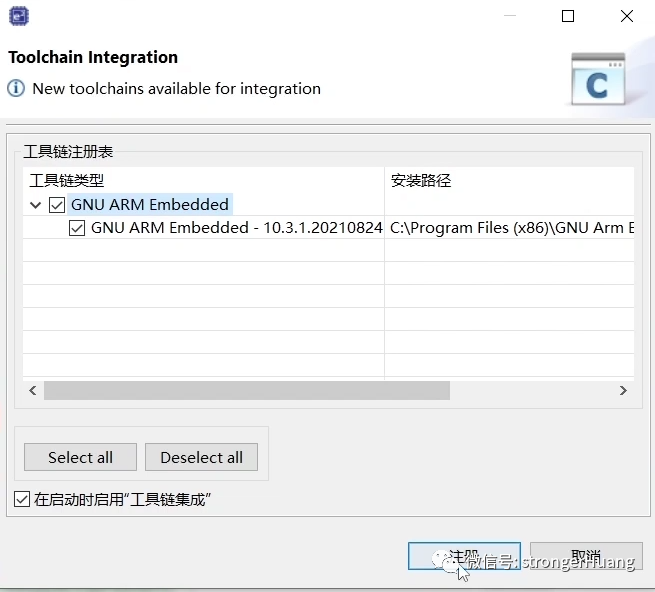
It also reminds you to register (just click to register):
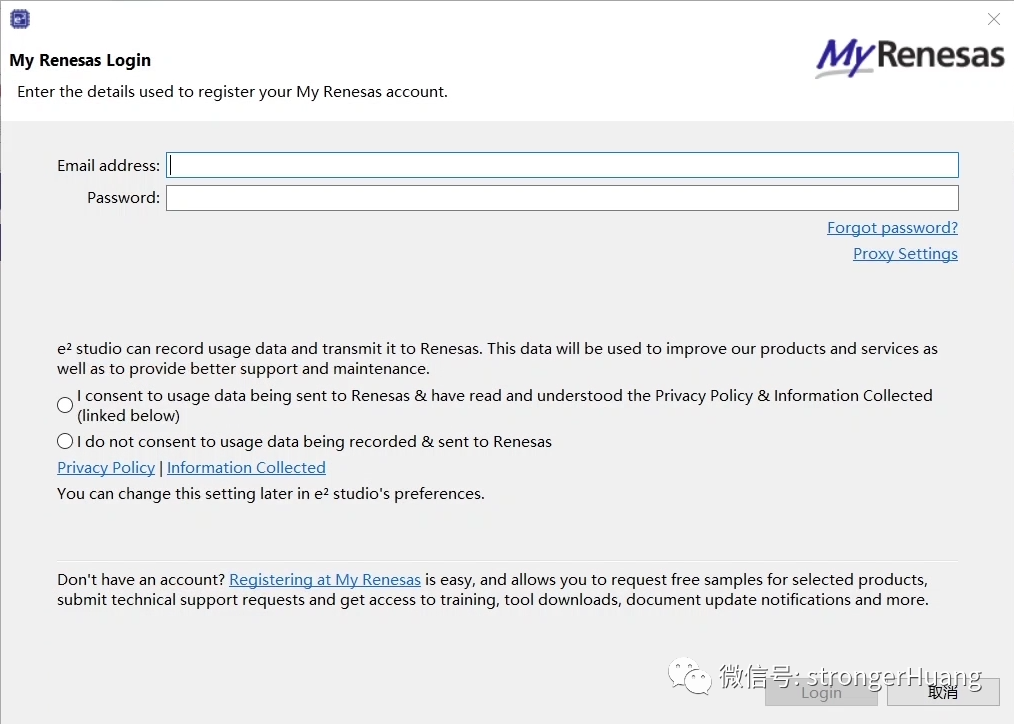
It will also remind you to log in (if you have an account, log in; if not, you can still use it without logging in):
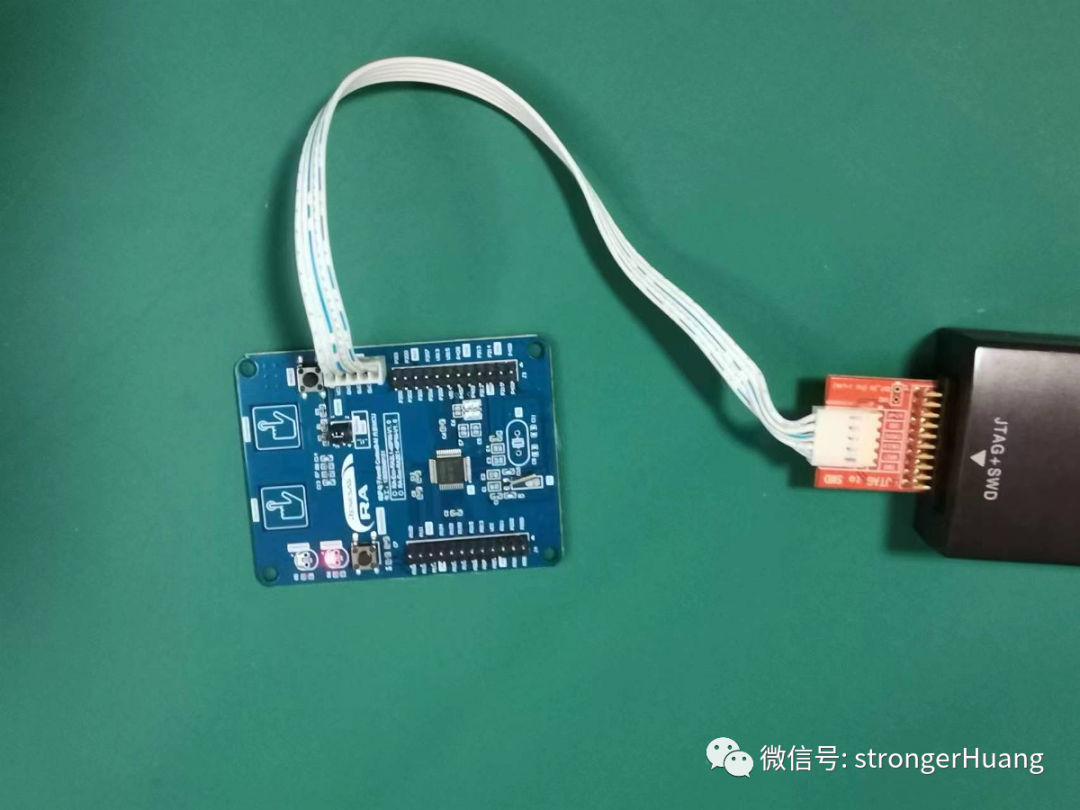
2. Creating a ProjectOnce the preparatory work is done, creating a project is very simple; with graphical configuration, you just need to click a few buttons to generate a directly usable project.You can refer to the video I shared for this section:How simple is project creation? Simple enough that you can light up an LED without writing any code:
In the video, I also added a piece of code that makes two LEDs blink alternately:
while(1){ R_BSP_SoftwareDelay(100, BSP_DELAY_UNITS_MILLISECONDS); // NOLINT R_IOPORT_PinWrite(&g_ioport_ctrl, BSP_IO_PORT_01_PIN_03, BSP_IO_LEVEL_LOW); R_IOPORT_PinWrite(&g_ioport_ctrl, BSP_IO_PORT_01_PIN_04, BSP_IO_LEVEL_HIGH); R_BSP_SoftwareDelay(100, BSP_DELAY_UNITS_MILLISECONDS); // NOLINT R_IOPORT_PinWrite(&g_ioport_ctrl, BSP_IO_PORT_01_PIN_03, BSP_IO_LEVEL_HIGH); R_IOPORT_PinWrite(&g_ioport_ctrl, BSP_IO_PORT_01_PIN_04, BSP_IO_LEVEL_LOW);}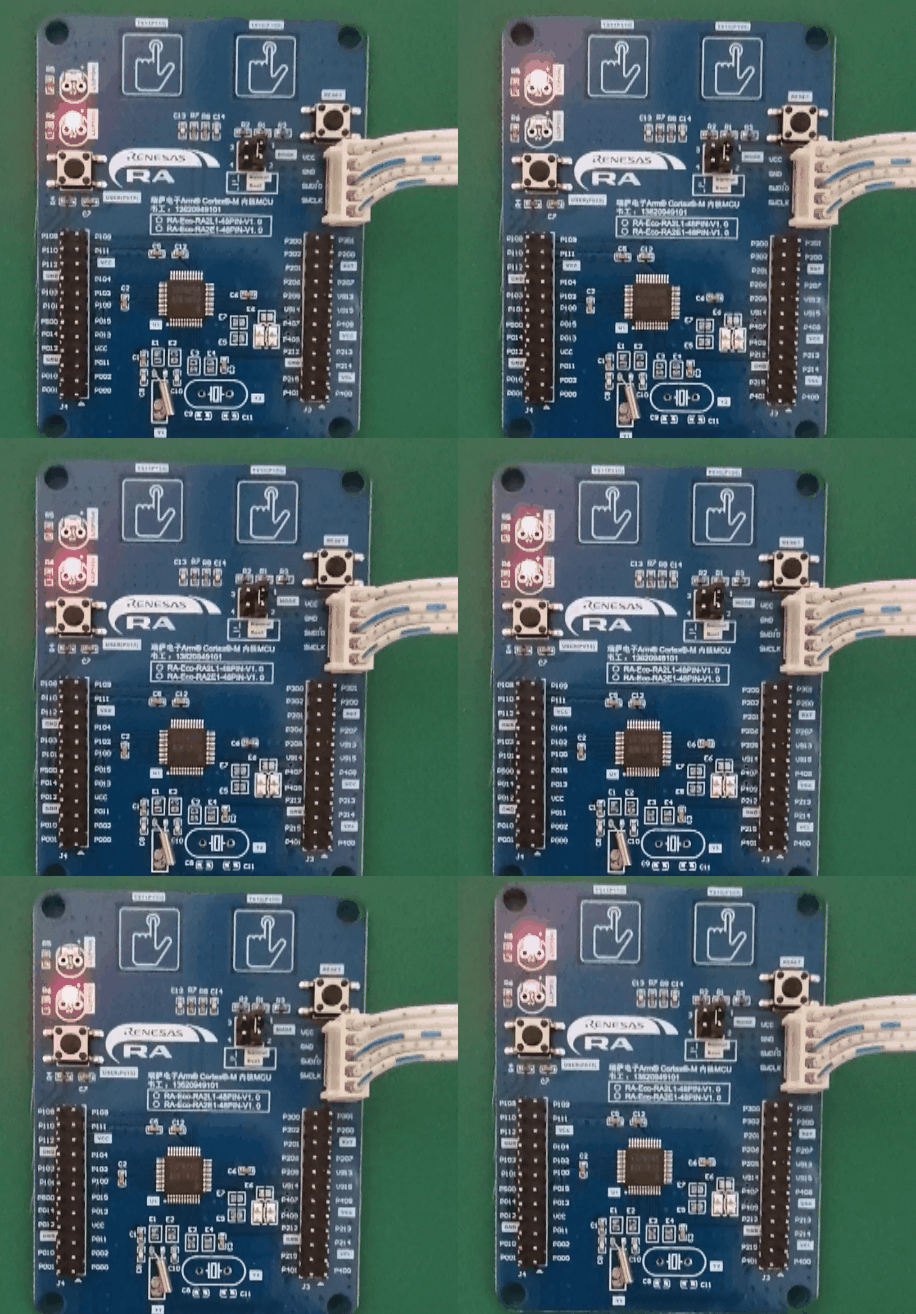
Alright, that’s all for this article. I want to say to beginners: today’s development tools are very “user-friendly” and easy to get started with, so don’t be intimidated.Of course, after getting started, your progress depends on yourself.Author | strongerHuangWeChat Public Account | strongerHuang↓↓ Apply for the Renesas development board for free by long-pressing the QR code ↓↓