Follow+Star Public Number, don’t miss out on exciting content
WeChat Public Account | strongerHuang
A couple of days ago, I shared a video on Renesas MCU, and I saw someone asking: Is it hard to learn Renesas microcontrollers?
Actually, it’s quite simple to get started; you just need a few steps (clicking with the mouse), and you can light up an LED. In other words, getting into microcontrollers is a piece of cake.
Today, I will share how to light up the first LED with Renesas MCU from scratch:
-
Setting up the development environment: Downloading and installing e2studio
-
Creating a project in e2studio: Lighting up an LED
Setting Up the Development Environment
There are many tools (IDE) for developing Renesas MCU, such as traditional Keil and IAR, which all support Renesas MCU. However, the official recommendation is to use their own tool: e2 studio
e2_studio: is Renesas’s own integrated development environment (IDE), similar to Keil MDK.
FSP: Flexible Software Package, which is the software package for Renesas MCU, similar to the packages that need to be installed in Keil MDK (Keil.STM32F1xx_DFP.2.4.0.pack).
Currently, e2_studio supports Windows and Linux operating systems; here I will take Windows 10 as an example.
You can refer to the video I shared for this section:
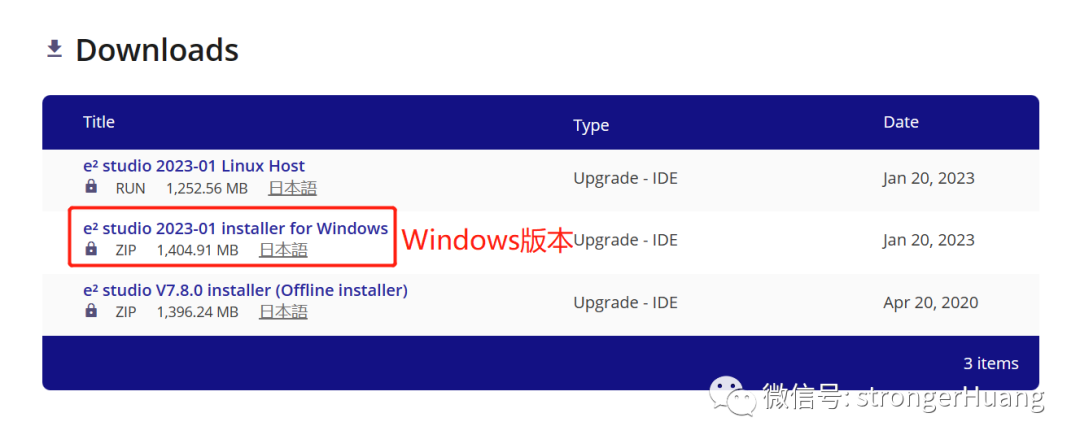
You can download it from the Renesas official website or the Renesas Chinese website.
Renesas Official Website:
https://www.renesas.com/us/en/software-tool/e-studio
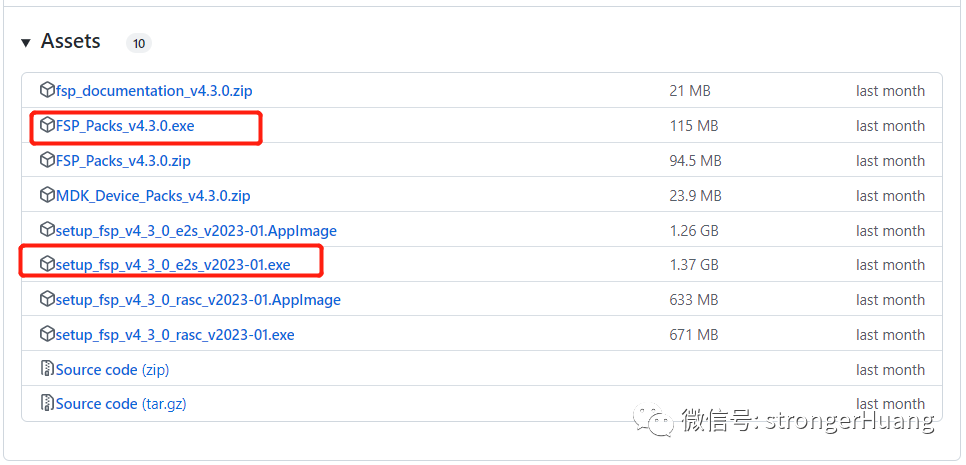
https://github.com/renesas/fsp/releases
Renesas Domestic Ecological Community:
https://ramcu.cn/lists/21.html
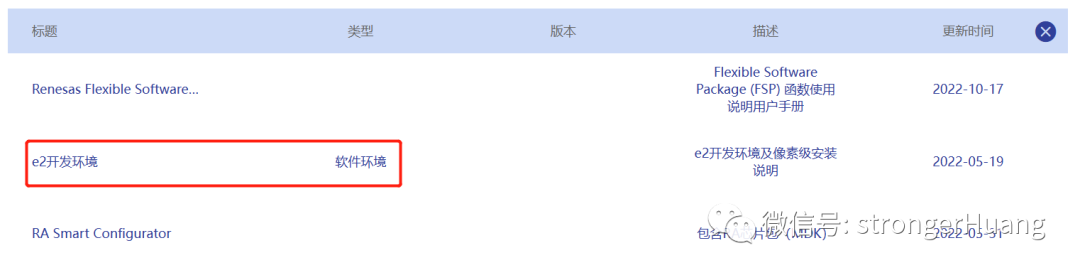
The version on the official website might be newer, but downloading from the official website requires registration, which can be cumbersome; you can download it from the domestic ecological community instead.
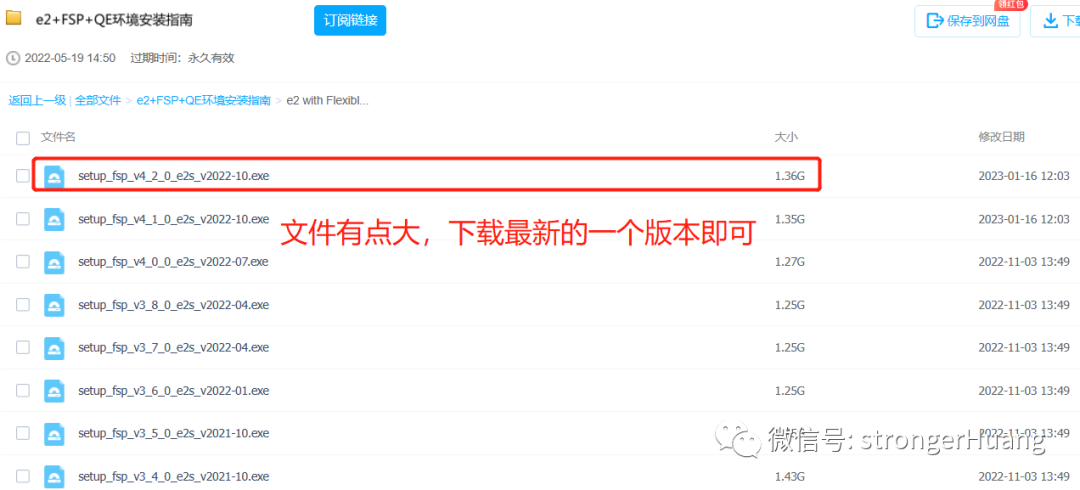
Tip:The domestic ecological community provides downloads via Baidu Cloud, where there are many old versions; just download the latest version (don’t download them all; it’s a bit large).
The installation method is very simple; both the official website and the community website provide installation methods for reference.
For Windows-based software, you can basically install it just by clicking; just be selective in your clicks according to your needs.
The early part of the installation process is straightforward, but later on, you will install some 【plugins】, such as C++ libraries, gcc compiler tools, etc.
At the same time, it will 【download online】 the gcc, FSP, and other installation packages; you might encounter failures while downloading online.
Solution for gcc online installation failure:
Open the software -> Help -> Add Renesas Toolchains -> Renesas -> Renesas Toolchain Management···
This is for online installation within the software; see the animation below for specifics:
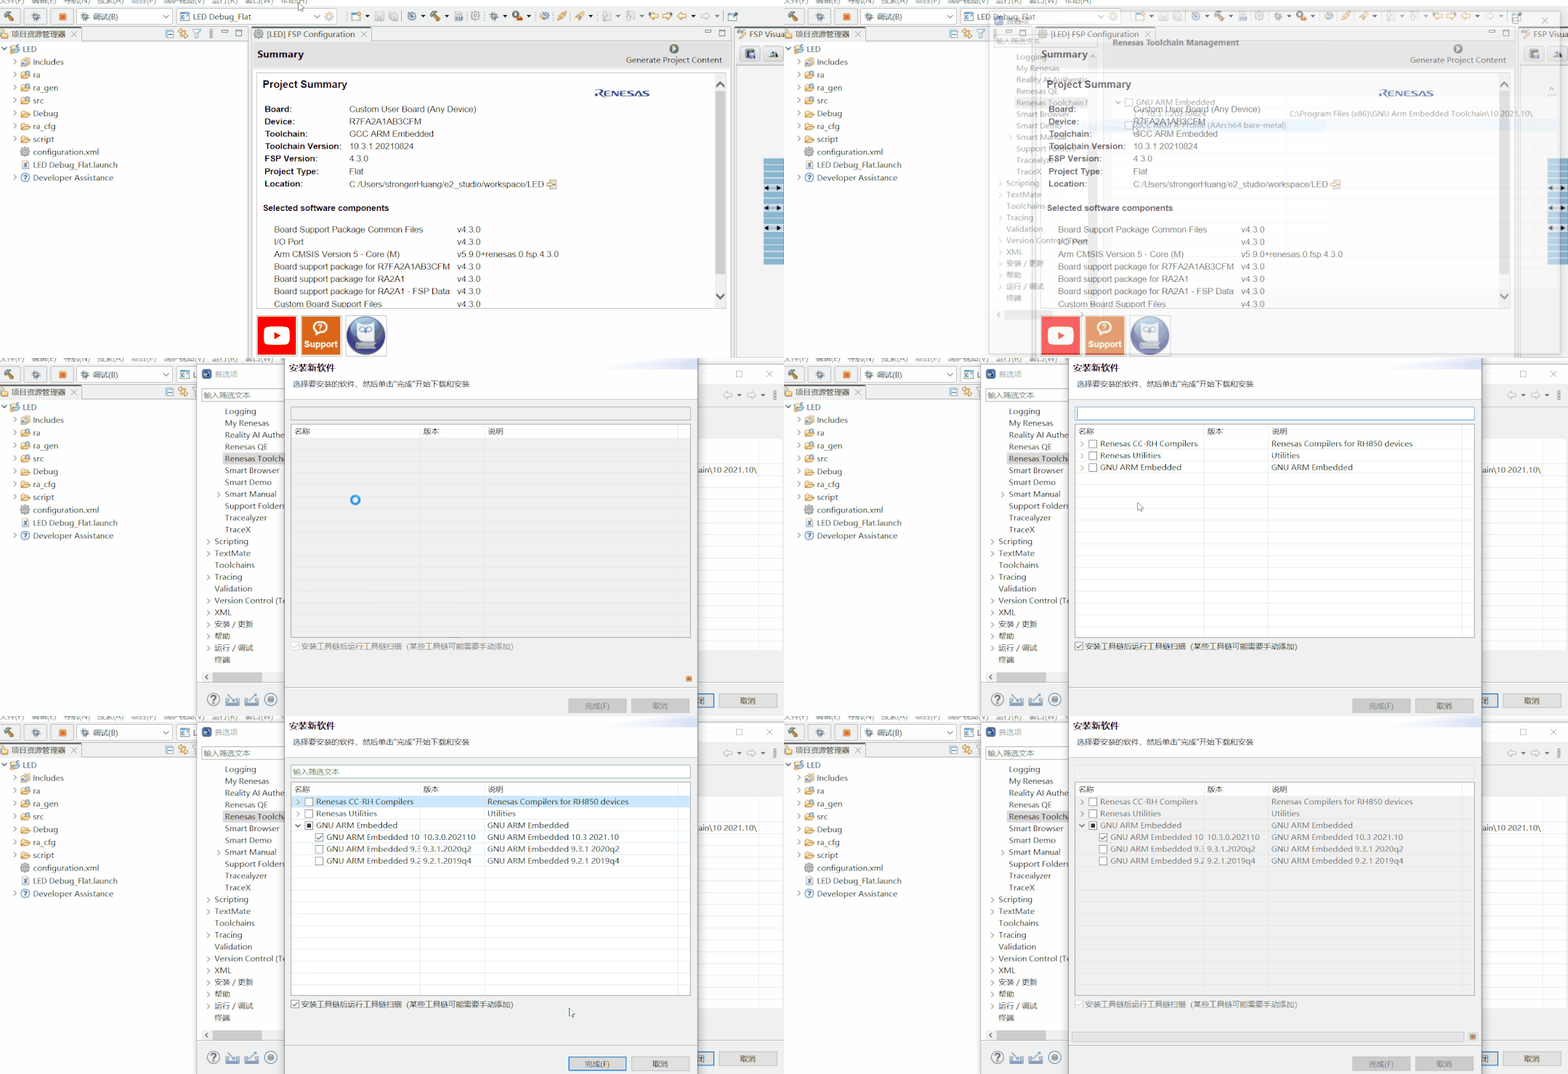
Solution for FSP software package online installation failure:
Most people will likely install online; the solution is simple: download the FSP software package and install it offline.
For specific details on downloads and installations related to this section, you can refer to the video I shared:
Creating a Project in e2studio
e2studio is an integrated development environment (IDE) that allows graphical configuration; you just need to click a few times to generate a project, similar to STM32CubeIDE.
This tool is much simpler for creating projects compared to Keil and IAR, so the official recommendation is to use their own tool(easier for beginners).
The prerequisite for creating a project is that the e2studio development environment must be set up properly (as described in the previous section); if some “plugins” are not installed correctly(like C++ library installation failure), project creation may fail here.
This section will use a classic example: lighting up an LED
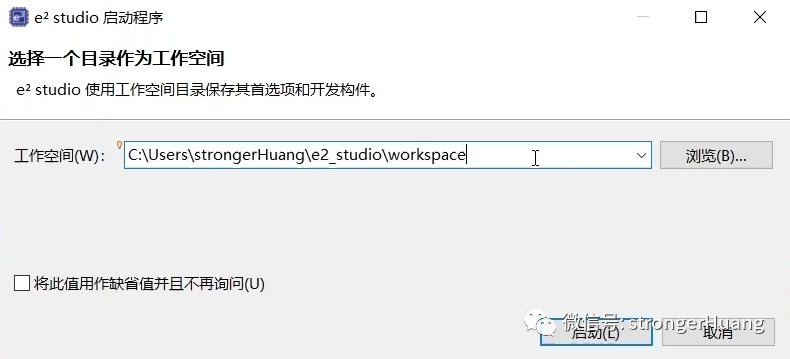
The first time you open e2studio, it will prompt you to set the workspace save location (you can use the default location):
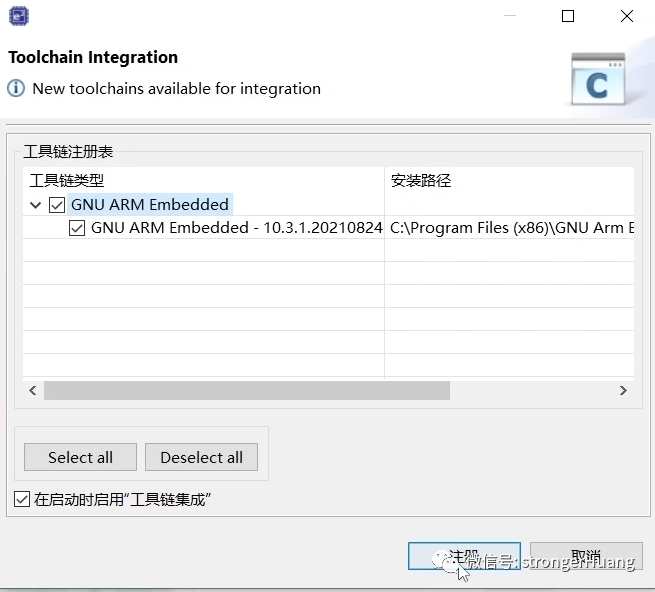
Fortunately, it reminds you to register (just click register):
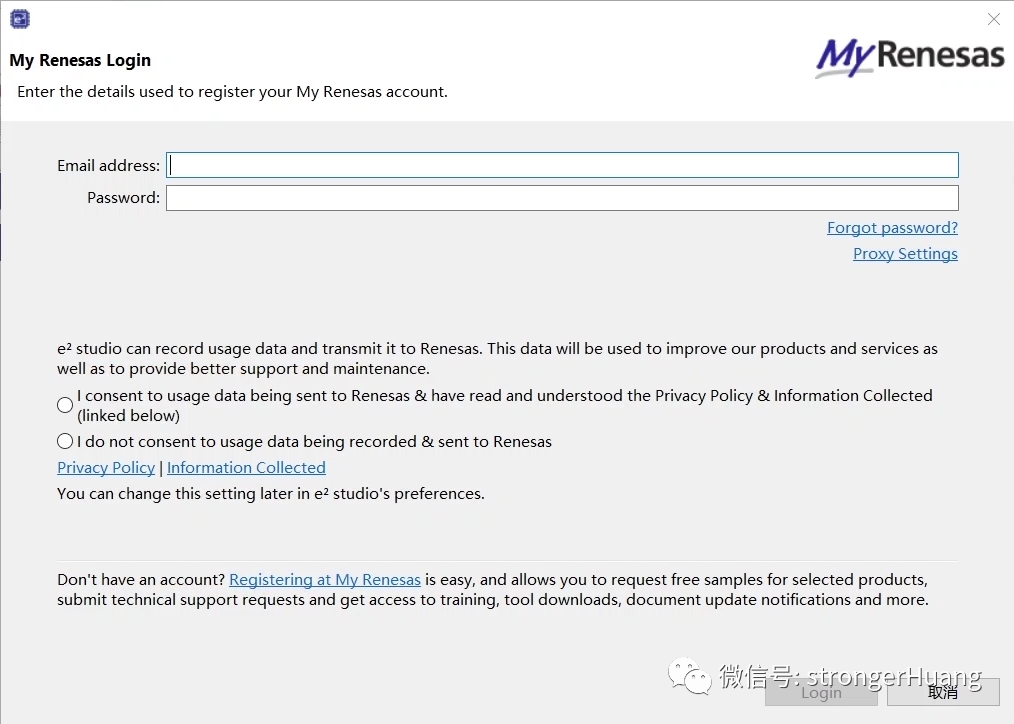
It will also remind you to log in (if you have an account, log in; if not, you can still use it without logging in):
Once the preparatory work is done, creating a project is a very simple task; graphical configuration allows you to generate a directly usable project with just a few clicks.
You can refer to the video I shared for this section:
How simple is project creation? So simple that you can light up an LED without writing any code:
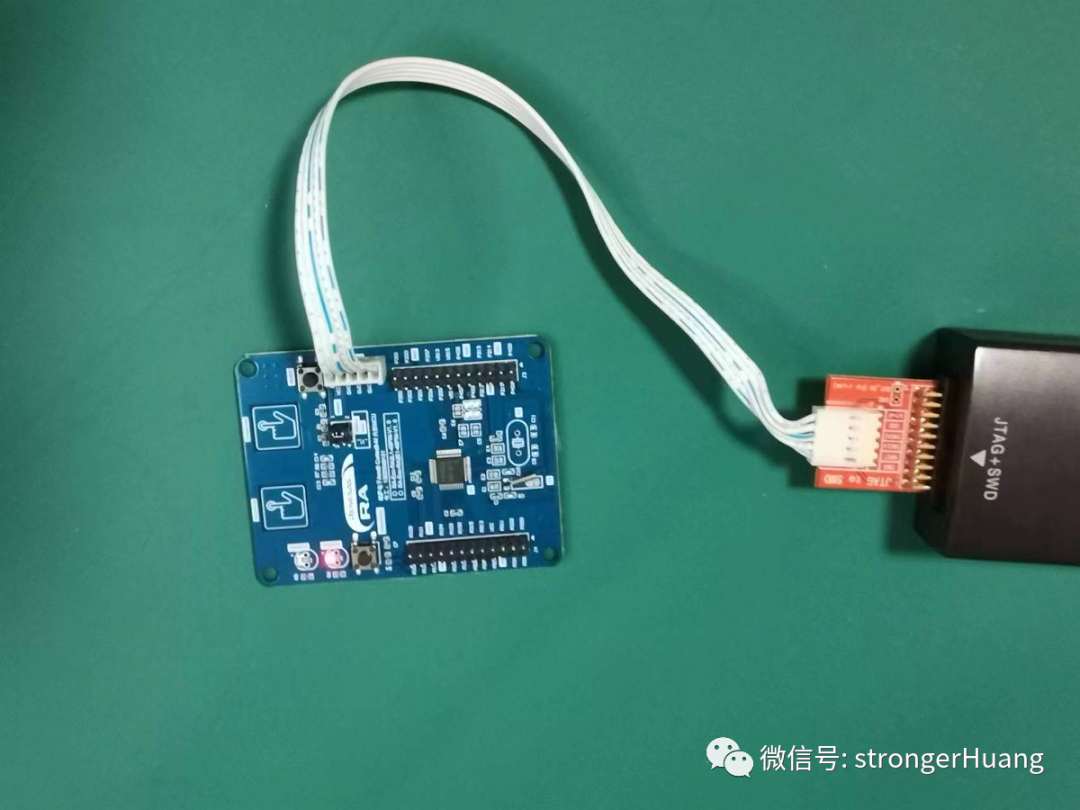
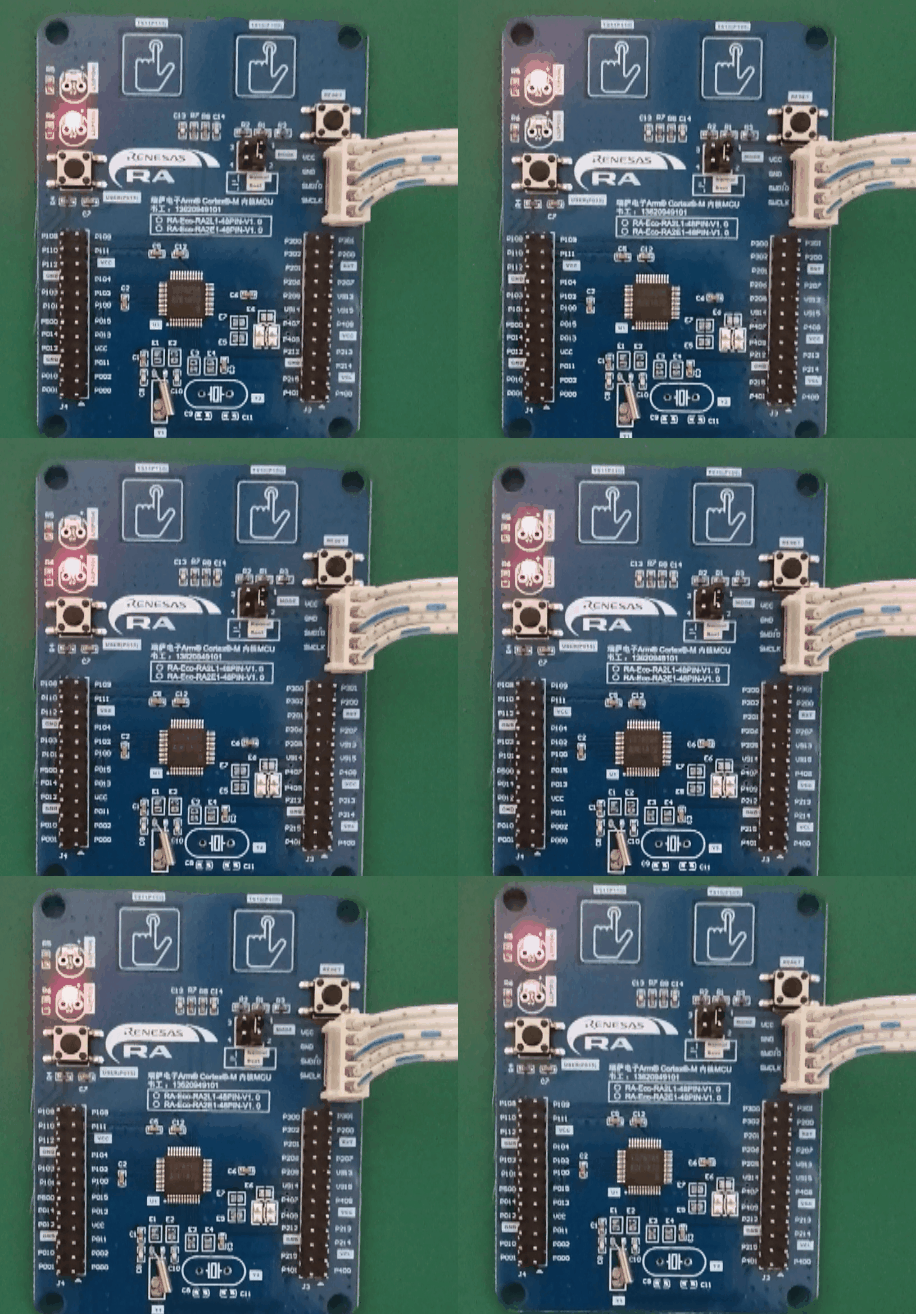
In the video, I also added a piece of code to make two LEDs blink alternately:
while(1){ R_BSP_SoftwareDelay(100, BSP_DELAY_UNITS_MILLISECONDS); // NOLINT R_IOPORT_PinWrite(&g_ioport_ctrl, BSP_IO_PORT_01_PIN_03, BSP_IO_LEVEL_LOW); R_IOPORT_PinWrite(&g_ioport_ctrl, BSP_IO_PORT_01_PIN_04, BSP_IO_LEVEL_HIGH); R_BSP_SoftwareDelay(100, BSP_DELAY_UNITS_MILLISECONDS); // NOLINT R_IOPORT_PinWrite(&g_ioport_ctrl, BSP_IO_PORT_01_PIN_03, BSP_IO_LEVEL_HIGH); R_IOPORT_PinWrite(&g_ioport_ctrl, BSP_IO_PORT_01_PIN_04, BSP_IO_LEVEL_LOW);}
Alright, that concludes this article. I want to say to beginners: the current development tools are very “user-friendly” and easy to get started with; don’t be intimidated.
Of course, after getting started, the rest depends on you.
———— END ————

● Column “Embedded Tools”
● Column “Embedded Development”
● Column “Keil Tutorial”
● Selected Tutorials from the Embedded Column
Follow the public account and reply “Add Group” to join the technical exchange group according to the rules; reply “1024” to see more content.

Click “Read the Original” to see more shares.