Click belowCard, and follow the WeChat public account “Beginner Learning Python”

-
To get started, make sure you have the following items: -
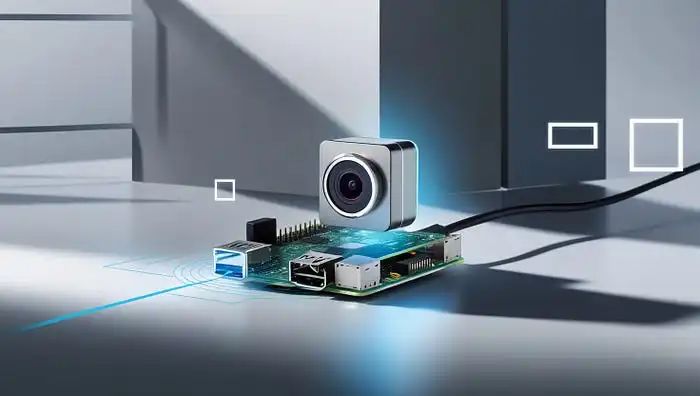
Raspberry Pi (preferably Raspberry Pi 4) -
Raspberry Pi camera module or USB webcam -
MicroSD card with Raspberry Pi OS -
Raspberry Pi power supply -
Keyboard, mouse, and monitor (for initial setup) -
Internet connection (for library installation)
-
Install Raspberry Pi OS: Download the Raspberry Pi Imager from the official website and flash the OS onto your MicroSD card. -
Boot your Raspberry Pi: Insert the MicroSD card, connect peripherals, and power on the Raspberry Pi. -
Update and upgrade: Open the terminal and run:
sudo apt-get update
sudo apt-get upgradesudo apt-get install build-essential cmake git pkg-config libjpeg-dev libtiff5-dev libjasper-dev libpng-dev
sudo apt-get install libavcodec-dev libavformat-dev libswscale-dev libv4l-dev
sudo apt-get install libxvidcore-dev libx264-dev libfontconfig1-dev libcairo2-dev
sudo apt-get install libgdk-pixbuf2.0-dev libpango1.0-dev libgtk2.0-dev libgtk-3-dev
sudo apt-get install libatlas-base-dev gfortran python3-devpip install opencv-python
pip install opencv-python-headlessimport cv2
print(cv2.__version__)-
Set up the camera: Ensure the camera is enabled by running the following command:
sudo raspi-config-
Capture video: Use this simple Python script to capture video:
import cv2
cam = cv2.VideoCapture(0)
while True:
    ret, frame = cam.read()
    if not ret:
        break
    cv2.imshow('Video', frame)
    if cv2.waitKey(1) & 0xFF == ord('q'):
        break
cam.release()
cv2.destroyAllWindows()wget https://raw.githubusercontent.com/opencv/opencv/master/data/haarcascades/haarcascade_frontalface_default.xmlimport cv2
# Load the Haar cascade file
face_cascade = cv2.CascadeClassifier('haarcascade_frontalface_default.xml')
# Start video capture
cam = cv2.VideoCapture(0)
while True:
ret, frame = cam.read()
if not ret:
break
gray = cv2.cvtColor(frame, cv2.COLOR_BGR2GRAY)
faces = face_cascade.detectMultiScale(gray, scaleFactor=1.1, minNeighbors=5, minSize=(30, 30))
for (x, y, w, h) in faces:
cv2.rectangle(frame, (x, y), (x + w, y + h), (255, 0, 0), 2)
cv2.imshow('Object Detection', frame)
if cv2.waitKey(1) & 0xFF == ord('q'):
break
cam.release()
cv2.destroyAllWindows()Raspberry Pi Documentation: https://www.raspberrypi.com/documentation/
Download 1: OpenCV-Contrib Extension Module Chinese Tutorial
Reply to "Extension Module Chinese Tutorial" on the "Beginner Learning Vision" WeChat public account to download the first Chinese version of the OpenCV extension module tutorial, covering installation of extension modules, SFM algorithms, stereo vision, object tracking, biological vision, super-resolution processing, and more than twenty chapters of content.

Download 2: Python Vision Practical Projects 52 Lectures
Reply to "Python Vision Practical Projects" on the "Beginner Learning Vision" WeChat public account to download 31 vision practical projects including image segmentation, mask detection, lane line detection, vehicle counting, eyeliner addition, license plate recognition, character recognition, emotion detection, text content extraction, and face recognition to help quickly learn computer vision.

Download 3: OpenCV Practical Projects 20 Lectures
Reply to "OpenCV Practical Projects 20 Lectures" on the "Beginner Learning Vision" WeChat public account to download 20 practical projects based on OpenCV, achieving advanced learning of OpenCV.

Group Chat

Welcome to join the WeChat reader group to communicate with peers. Currently, there are WeChat groups for SLAM, 3D vision, sensors, autonomous driving, computational photography, detection, segmentation, recognition, medical imaging, GAN, algorithm competitions, etc. (will gradually be subdivided in the future). Please scan the WeChat number below to join the group, and note: "Nickname + School/Company + Research Direction", for example: "Zhang San + Shanghai Jiao Tong University + Visual SLAM". Please follow the format for the note; otherwise, it will not be approved. After successful addition, you will be invited to enter the relevant WeChat group based on your research direction. Please do not send advertisements in the group; otherwise, you will be removed from the group. Thank you for your understanding~