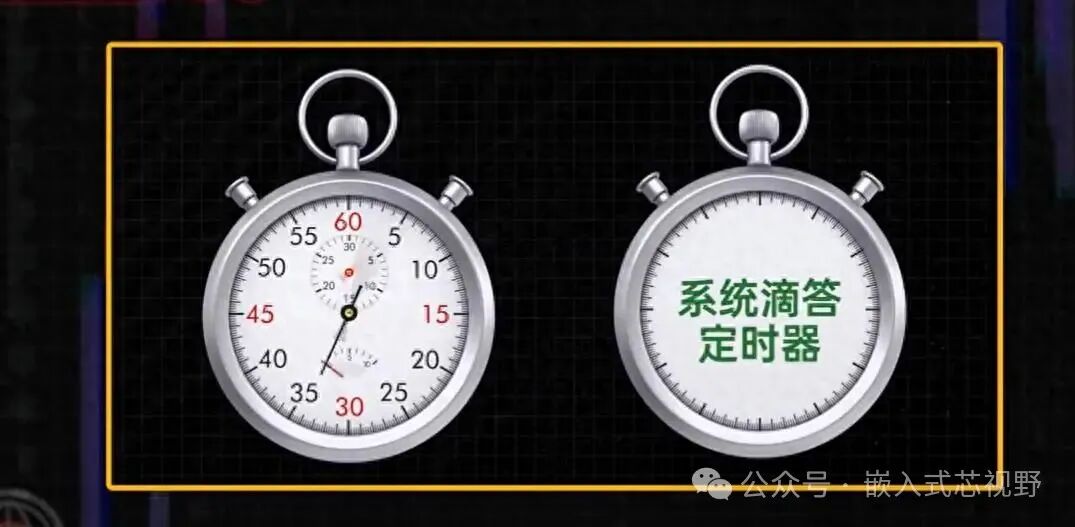
In embedded development, precise delay control is crucial for many applications, especially in scenarios such as sensor sampling and protocol timing control. Traditional methods of implementing delays often rely on simple for loops; however, this approach not only lacks precision but also wastes a significant amount of CPU resources during long delays. To improve delay accuracy and avoid wasting computational resources, utilizing hardware timers to achieve microsecond-level precise delays is a more efficient solution.
This article will explain how to use the STM32 hardware timer to escape the crude for loop, achieving high-precision microsecond-level delays through precise control of the hardware timer, and provide optimized code examples in conjunction with practical applications such as sensor sampling and protocol timing.
1. Limitations of Traditional Delay Methods
Many developers in the early stages of embedded development often use simple for loops to implement delays, for example:
for (volatile int i = 0; i < 1000; i++) {
    // Empty loop for delay
}
This method relies on the CPU’s processing speed to determine the length of the delay, but it has the following issues:
- Poor accuracy: Different compilers and optimization levels may lead to fluctuations in delay time.
- Resource waste: The CPU wastes a lot of computational resources executing the for loop and cannot handle other tasks.
- Difficulty achieving microsecond-level precision: The for loop can only produce delays over longer time frames, making it difficult to achieve precise control at the microsecond level.
Therefore, how to utilize hardware timers to achieve precise delays has become key to improving the performance of embedded systems.
2. Advantages of STM32 Hardware Timers
The STM32 series microcontrollers are equipped with various hardware timers that provide developers with high-precision and efficient timing capabilities. Hardware timers decouple timing control from CPU execution through independent counters, making delay control more precise and not reliant on the time taken by CPU instructions. Additionally, hardware timers can complete timing control tasks without occupying CPU resources, allowing the CPU to focus on other computational tasks.
STM32 timers typically have the following characteristics:
- High resolution: Can be set to microsecond-level precision, or even nanosecond-level (depending on the clock source).
- Independence: Hardware timers operate independently of the CPU, ensuring timing accuracy is not affected by CPU task switching.
- Programmability: Allows setting the timer’s counting range and overflow interrupts, providing flexible delay control.
3. How to Achieve Precise Delays Using Hardware Timers
1. Configuring the Timer
First, we need to configure the STM32 timer. Assuming we are using the STM32F4 series microcontroller, its timer can achieve high-precision timing through different clock sources. We will select timer TIM2 and set it to operate in normal mode.
Code example:
#include "stm32f4xx.h"

void Timer2_Init(void) {
    // Enable the clock for timer TIM2
    RCC_APB1PeriphClockCmd(RCC_APB1Periph_TIM2, ENABLE);

    // Configure the basic parameters of the timer
    TIM_TimeBaseInitTypeDef TIM_TimeBaseInitStructure;
    TIM_TimeBaseInitStructure.TIM_Period = 1;    // Set timer period
    TIM_TimeBaseInitStructure.TIM_Prescaler = 84 - 1;    // Set prescaler, after 84 prescaling, the counter works at 1MHz
    TIM_TimeBaseInitStructure.TIM_ClockDivision = TIM_CKD_DIV1;
    TIM_TimeBaseInitStructure.TIM_CounterMode = TIM_CounterMode_Up;

    // Initialize the timer
    TIM_TimeBaseInit(TIM2, &TIM_TimeBaseInitStructure);

    // Enable the timer
    TIM_Cmd(TIM2, ENABLE);
}
In this configuration, the clock frequency of timer TIM2 is divided from the 84MHz APB1 bus clock to 1MHz, thus the overflow period of the timer is 1 microsecond. By adjusting TIM_Period, different precision delays can be achieved.
2. Implementing the Delay Function
After configuring the timer, we can implement delays using either the timer’s overflow interrupt or polling method. Here, we will use the polling method to simplify the code.
Code example:
void delay_us(uint32_t us) {
    // Set the initial value of the timer counter
    TIM_SetCounter(TIM2, 0);

    // Wait for the timer counter to reach the target value
    while (TIM_GetCounter(TIM2) < us);
}
At this point, the delay_us() function can achieve precise microsecond-level delays, relying on the hardware counting of the timer without occupying the CPU to execute other redundant instructions.
4. Application Example: Sensor Sampling Optimization
Suppose we need to sample sensor data at certain time intervals. The traditional for loop method may not guarantee accurate sampling time intervals and may affect other tasks in the system. Using hardware timers allows us to trigger sampling tasks precisely when the sampling interval is reached.
Code example:
void sensor_sampling(void) {
    while (1) {
        // Trigger sensor sampling
        start_sensor();

        // Delay 100 microseconds (simulate sampling interval)
        delay_us(100);

        // Get sensor data
        read_sensor_data();
    }
}
In this example, a precise 100 microsecond delay is achieved through the hardware timer, ensuring the stability and accuracy of sensor sampling while avoiding redundant delay calculations by the CPU.
5. Protocol Timing Optimization
Many communication protocols (such as SPI, I2C, etc.) have strict timing requirements, especially during low-speed communication, where timing accuracy is crucial for the reliability of data transmission. Hardware timers can precisely control timing intervals during protocol data transmission, avoiding protocol errors.
For example, when implementing the SPI protocol, we can use the timer to precisely control the interval of the clock signal:
void spi_protocol_timing(void) {
    while (1) {
        // Send data
        SPI_SendData(SPI1, data);

        // Precise delay
        delay_us(100);  // Control the precise interval of the clock signal
    }
}
6. Conclusion
By utilizing the STM32 hardware timers, we can easily achieve microsecond-level precise delays, escaping the traditional for loop method, which not only improves delay accuracy but also allows for more effective use of system resources. Whether for sensor sampling, protocol timing, or other timing control tasks, hardware timers provide us with more efficient and precise solutions.
Through reasonable timer configuration and the design of delay functions, we can fully leverage the advantages of hardware timers in embedded development, achieving more stable and efficient systems.