

In a previous article titled “Daily Skill: Writing Makefile for Python Projects”, we discussed Makefile. Many students have left messages in the public account backend wanting to further understand how to write a Makefile. Thus, we have today’s article.
If you are currently using macOS or Linux, you can type the command man make in the terminal to view the help documentation for the make command, as shown in the image below:
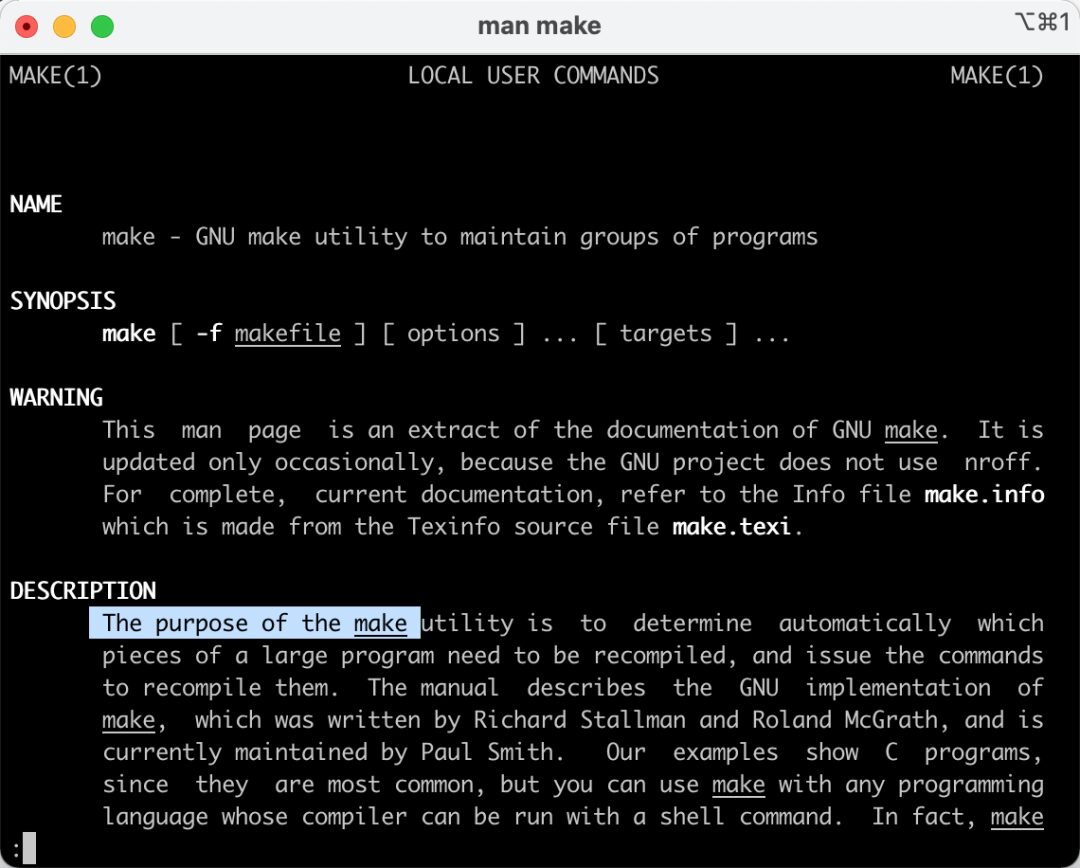
With the make command, you can quickly execute a large number of Shell commands, allowing you to compile code or format code with just one command.
To learn Makefile, you need to have a Linux or macOS system, and you need to understand two concepts: the make command and the Makefile file. The Makefile is a text file that you write yourself, named Makefile, and its case cannot be modified; it must be named exactly this way. The make command is built into macOS and Linux. When we execute the make command, it automatically reads the Makefile file to determine what actions to take.
Let’s look at a practical example. Below is a simple piece of Golang code:
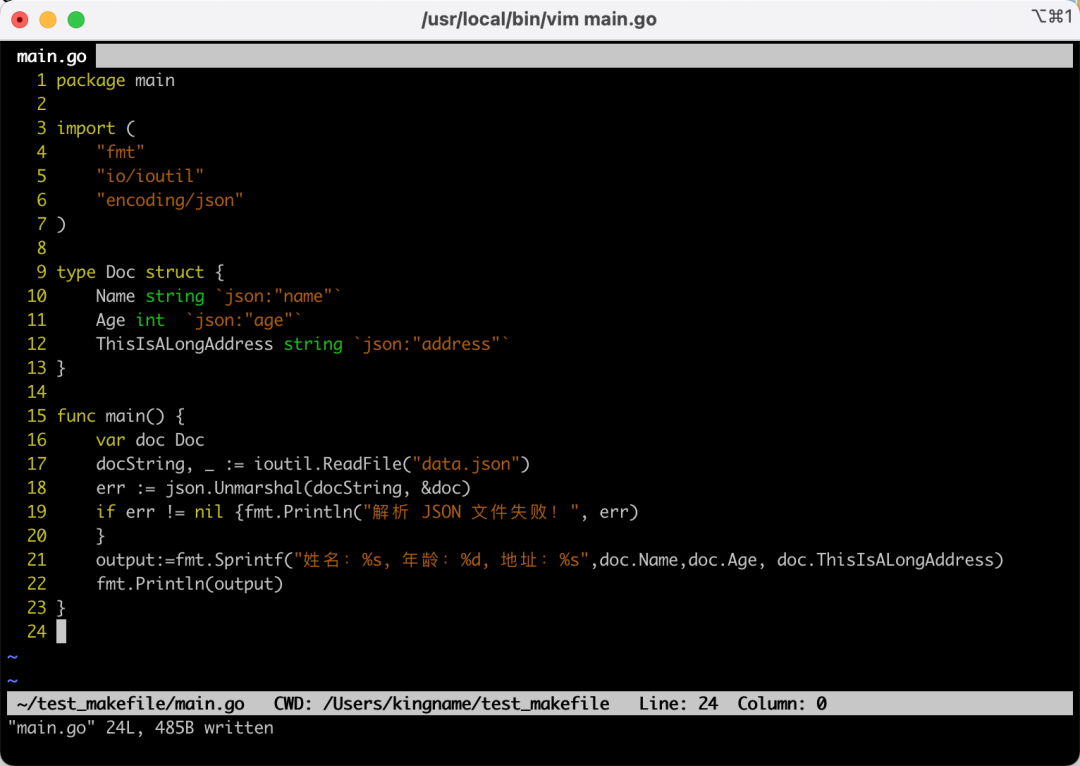
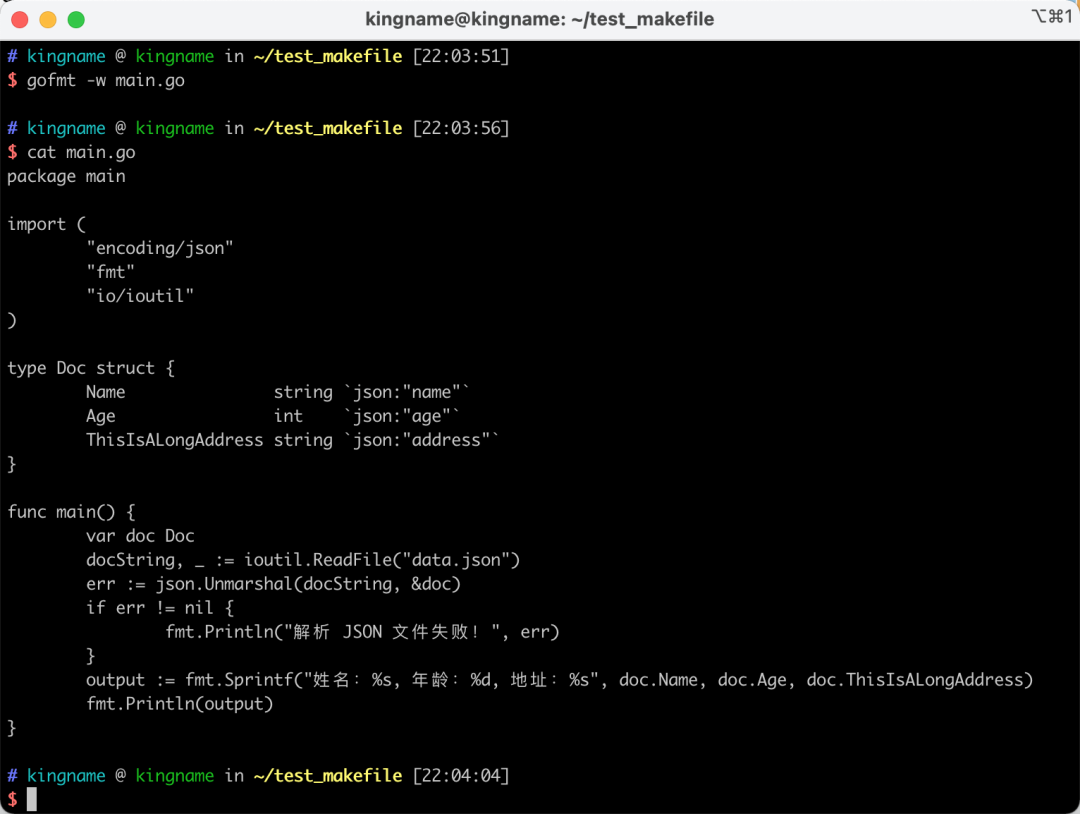
In the code, there are some commas without spaces, and the struct is unevenly written. When we want to format a .go file, we generally execute the command in the current folder:
gofmt -w xxx.go
After running, it looks like the image below:
To execute this command, you need to press the keyboard 15 times. Moreover, if your project has many .go files located in different folders, you will need to execute the command:
find . -name "*.go" | xargs gofmt -w
Then you will be pressing the keyboard even more.
At this point, we can create a Makefile in the root directory of the project with the following content:
fmt:
 find . -name "*.go" | xargs gofmt -w
As shown in the image below:
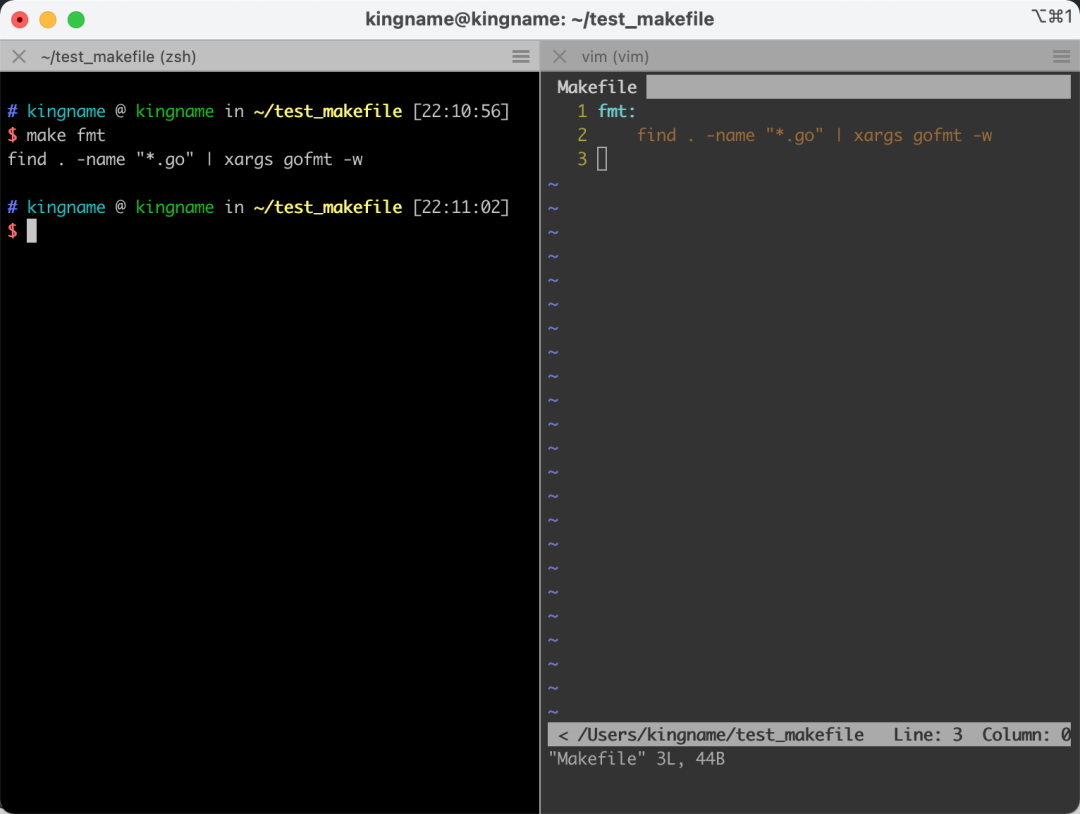
Now, when we execute the command make fmt in the root directory of the project, all .go files in the entire project will be automatically formatted.
The format of the Makefile is as follows:
Name1:
 shell command 1
 shell command 2
 shell command 3
Name2:
 shell command 4
 shell command 5
 shell command 6
Here, Name1 and Name2 are used to execute the command make Name, and each name can be followed by many Shell commands. This looks a bit like the indentation in Python. However, it is important to note that the indentation in Makefile can only use the Tab key, not spaces.
Let’s take another example. Now, I need to compile the project into an executable file and copy this executable file along with data.json into a folder called output. Our Makefile can be written as follows:
fmt:
 gofmt -w *.go

build:
 rm -rf output
 mkdir output
 go build -o JsonReader main.go
 mv JsonReader ./output/
 cp data.json ./output/
Then, when we execute the command make build, the five commands below will be executed automatically at once.
Another example: some programs need to run in a local Docker environment after completion. However, if there is already a container with the same name running, we must first stop the container, delete it, and then run it again. But with Makefile, this can be done with just one command:
deploy:
 docker build -t xxx:latest
 docker stop json_reader
 docker rm json_reader
 docker run --name json_reader --network host -d xxx:latest
In addition, Makefile also supports chaining multiple Shell commands under different names. For example, if I want to format the code first, then compile it into an executable file, and finally deploy it using Docker, our final Makefile will look like the image below:
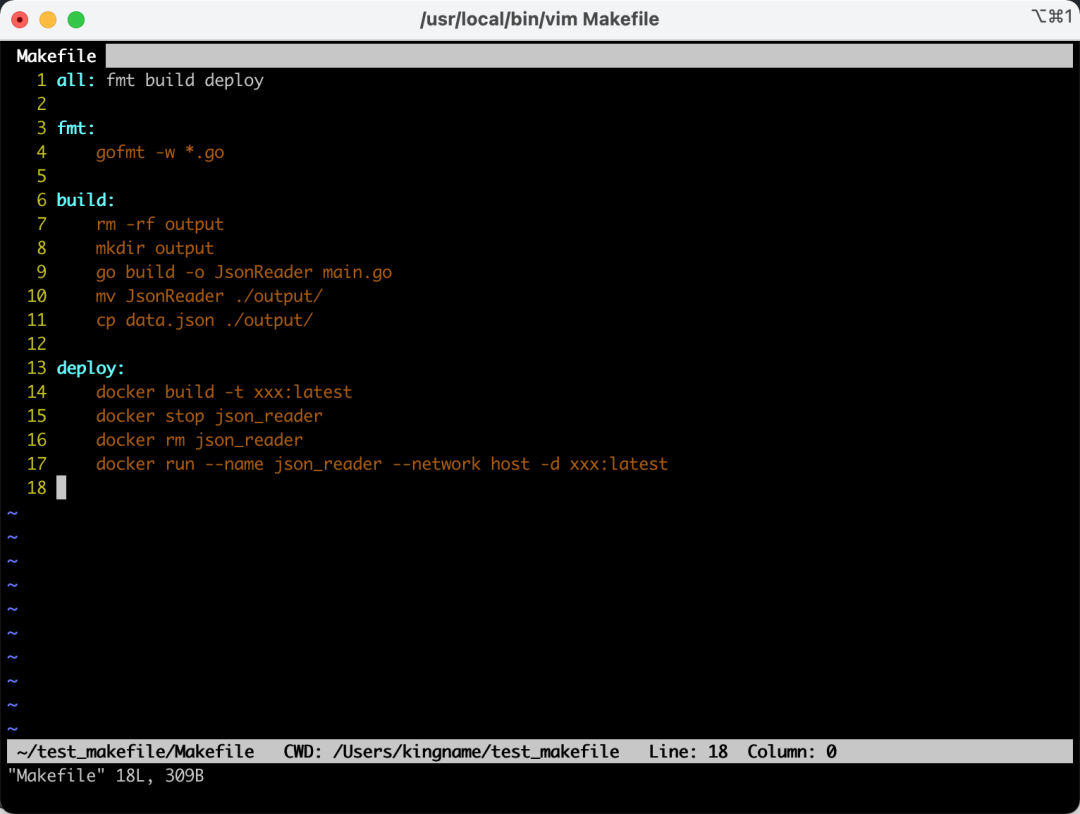
At this point, I only need to execute the command make in the root directory of the project, without any parameters, and all Shell commands under fmt, build, and deploy will be executed in order. This greatly reduces our workload.
It can be said that whether it is a Golang project, Python, or other projects, using Makefile to automate the execution of some tedious and repetitive commands is a one-time solution.