🔥 Opening Soul Question: Have you been tormented by these GUI development pain points?
**
- Cross-platform adaptation difficulties: After writing the Windows version, do you have to rewrite it for Linux and embedded devices?
- Low development efficiency: Changing a button style or animation effect requires modifying dozens of lines of underlying code?
- High resource consumption: A simple interface relies on a large framework that embedded devices can’t handle?
- High learning cost: Complex APIs and scattered documentation, do you have to digest tens of thousands of words of technical manuals just to get started?
If you resonate with more than two of these points, then today’s article might completely change your development rhythm—because what we are going to discuss, AWTK (Another Toolkit), is a “GUI development tool” born to solve these pain points!
📌 First, let’s understand: What exactly is AWTK?
AWTK is an open-source cross-platform GUI framework, simply named “Another Toolkit” (the name is plain, but the strength is hardcore). It is developed by a domestic team with the core goal of: enabling developers to quickly build beautiful, efficient, cross-platform graphical interfaces with minimal code.
In simple terms, it is like a “GUI building block library”:
- It comes with a wealth of ready-made components (buttons, input boxes, lists, charts, animations, etc.), so you don’t have to reinvent the wheel;
- Code once, and it directly adapts to Windows, Linux, macOS, Android, iOS, and various embedded systems (such as STM32, ESP32, Linux MCU);
- Extremely low resource consumption, requiring only a few dozen KB of RAM, and can run smoothly on microcontrollers;
- Supports multi-language development including C, C++, Lua, and JS, catering to both traditional embedded developers and front-end developers.
✨ Why do we recommend using AWTK? 3 Core Advantages Addressing Pain Points
1. Cross-platform “seamless switching”, say goodbye to repetitive work
The biggest nightmare in traditional GUI development is “adaptation”—the control styles, event mechanisms, and rendering logic differ across systems, often requiring a separate codebase for each platform.
AWTK achieves “one development, all-platform deployment” through a unified underlying rendering engine and a component abstraction layer. For example, if you wrote a temperature control interface in C, you can run it directly on:
- PC (Windows/Linux/macOS) for debugging;
- Embedded Linux devices (like Raspberry Pi);
- Microcontrollers (like STM32F4);
- Android tablets (via JNI calls).
2. Maximum development efficiency, even beginners can quickly get started
The most user-friendly design of AWTK is its visual development tool (AWTK Designer)—just like using Photoshop to create graphics, drag and drop components, set properties, and preview effects, all through visual operations.
For example, to create a login interface with sliding animation, traditional development might require:
- Writing control creation code (50+ lines);
- Writing layout adaptation code (30+ lines);
- Writing animation logic code (40+ lines);
- Debugging adaptation issues for different screens (1-2 hours).
However, using AWTK Designer:
- Drag and drop the “input box” and “button” components (1 minute);
- Set font, color, and corner radius in the properties panel (2 minutes);
- Check the “sliding animation” option and set the duration (30 seconds);
- One-click to generate C/Lua code, compile and run directly (1 minute).
The entire process takes no more than 5 minutes, and it automatically adapts to all screen sizes!
3. Lightweight and efficient, a “blessing” for embedded devices
Many GUI frameworks seem powerful but have extremely high resource consumption (often hundreds of KB of RAM + several MB of Flash), making them impossible to run on microcontrollers. AWTK’s design philosophy is “good enough, extremely streamlined“:
- Minimum memory usage: only 32KB of RAM (excluding fonts and images);
- Minimum Flash usage: core library only 150KB (C language version);
- Smooth operation: on a 168MHz STM32, animation frame rates can reach 30fps+;
- Supports low power consumption: configurable sleep mode to reduce device power consumption.
Whether it’s a control panel for smart home devices, touch screens for industrial equipment, or operation interfaces for medical instruments, AWTK can easily handle it.
🚀 Beginner’s Guide: 3 Steps to Start Your First AWTK Project
Feeling excited after reading? Actually, getting started with AWTK is super easy. Follow these 3 steps, and you can run your first project in 10 minutes:
Step 1: Download the Tools
- Core library + documentation: download from the AWTK open-source repository (supports GitHub, Gitee);
- Visual tool: download AWTK Designer (available for Windows/Linux/macOS);
- Sample projects: the repository comes with 100+ examples (from simple controls to complex interfaces, covering various scenarios).
Step 2: Create Your First Interface
- Open AWTK Designer, create a new “project”, and select the target platform (like STM32, Linux);
- Drag and drop the “button” and “textbox” components onto the canvas, setting the title to “My First AWTK Interface”;
- Click “Generate Code”, choose C language, and generate the project files.
Step 3: Compile and Run
- Open the generated project with compilers like Keil, GCC;
- Compile the code (no errors, even beginners can succeed on the first try);
- Flash it to the device, or run it on a computer simulator, and you will see your interface!
💡 Final Thoughts
AWTK is a “down-to-earth” open-source framework—there are no complex concepts, no steep learning curves, and the core is to help developers “write less code and do more things”.
Currently, AWTK has been widely used in smart home, industrial control, medical devices, and automotive systems, and the open-source community is continuously growing, with documentation, examples, and tutorials becoming increasingly comprehensive.
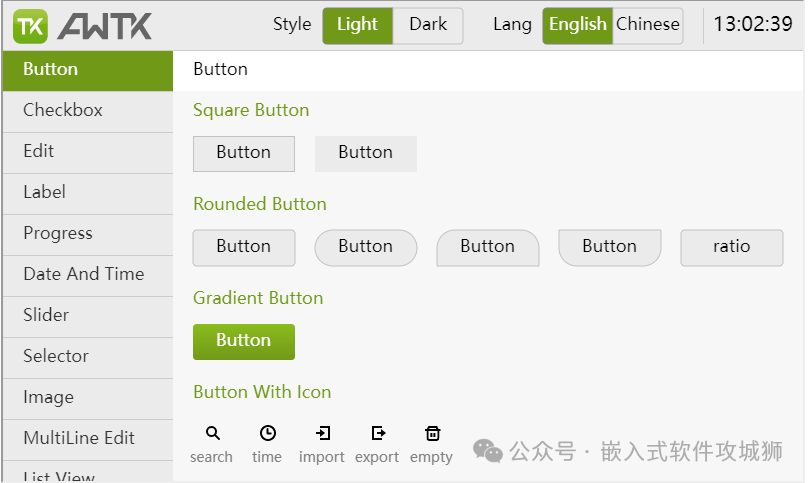
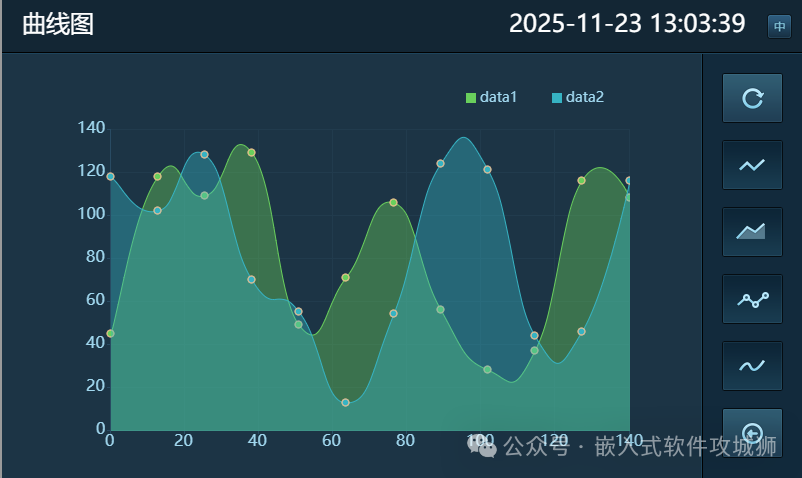
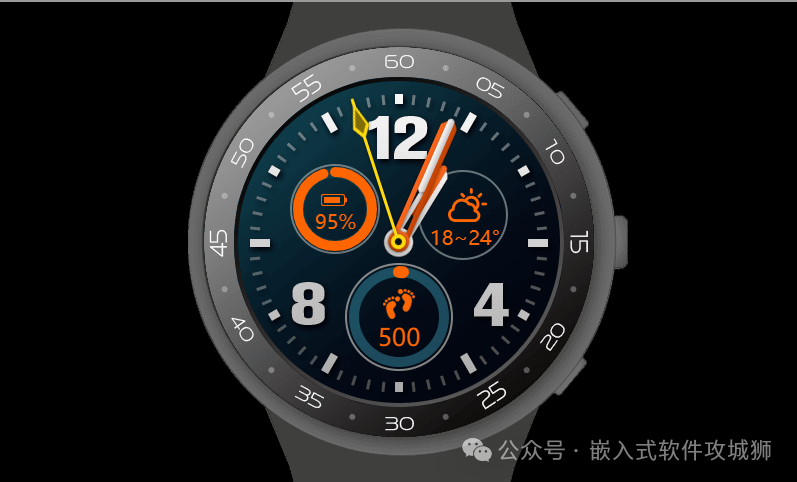
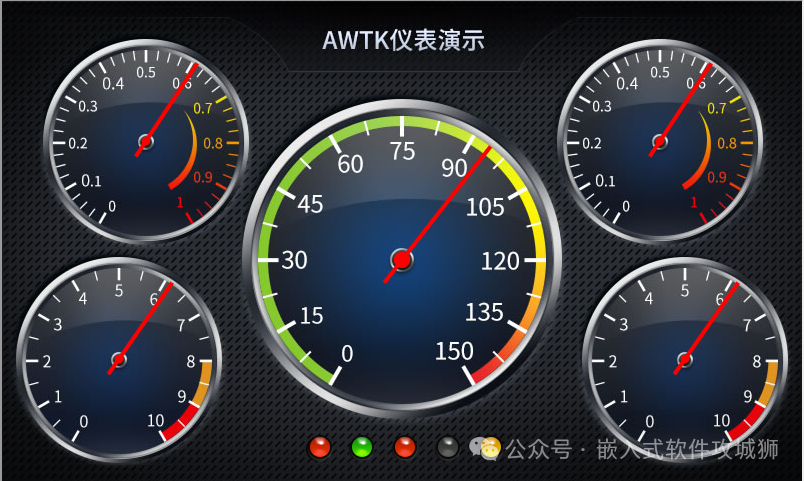
Here are some official examples
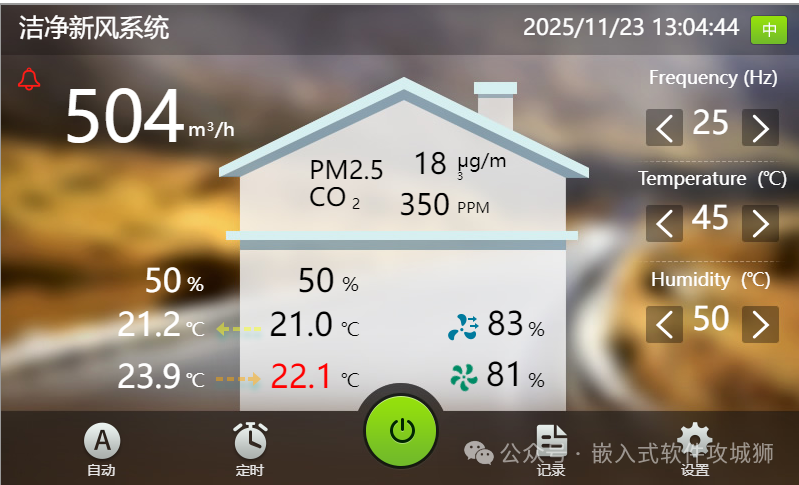
In the next issue, we will detail the usage tips for AWTK Designer, teaching you how to quickly create stunning animated interfaces using visual tools!
If this article was helpful to you, don’t forget to like + follow + share! Leave a comment saying “AWTK Beginner” to get a beginner’s exclusive learning material package!