If you have always wanted to create a game but found programming too complex or didn’t know where to start, this article is prepared for you.C++ is the core language of many game engines (such as Unreal Engine), not only because of its fast execution speed but also because it allows you to have deeper control over the underlying logic of the game. In this section, we will start from scratch, introducing you to the basic syntax of C++, setting up the development environment, and writing your first simple mini-game, laying a solid foundation for further advancement.First, you need to prepare:
- A PC or laptop, almost any CPU and GPU will do
- Windows 10 (32-bit or 64-bit)
-
Visual Studio 2019 Community Edition, installed with default settings
01
Launch Visual Studio 2019
When you first launch Visual Studio 2019, you will see the following window:
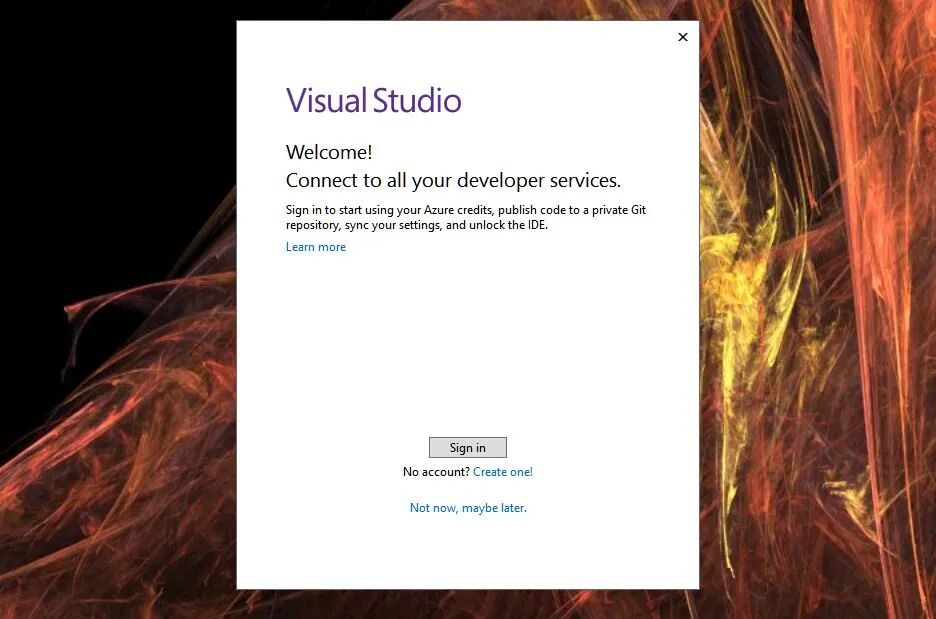
Whether to log in to Visual Studio installation startup screen – that’s a question…
You can choose to log in later, and in the next window, you can select a theme. As shown in the window, you can change the theme at any time, so we choose“Dark”. Now we can finally enter the Integrated Development Environment (IDE)02Create a New Program
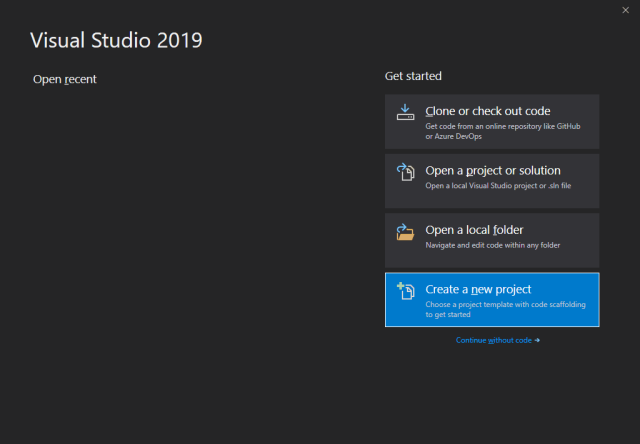
Now that you have launched Visual Studio, please select the 4th optionCreate a new project, as shown:
 Then, you need to select the project type. Since we are building a very simple project, please select“Empty Project”, as shown:
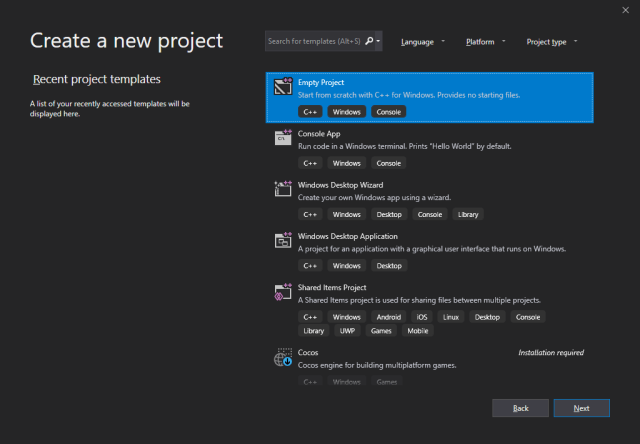
Even an empty project can create sufficient directories. By using this option, you will have x86 (32-bit) and x64 (64-bit) options – essentially a C++ console application. When selecting an empty project, we want to avoid adding any ATL, MFC, or SDL code.
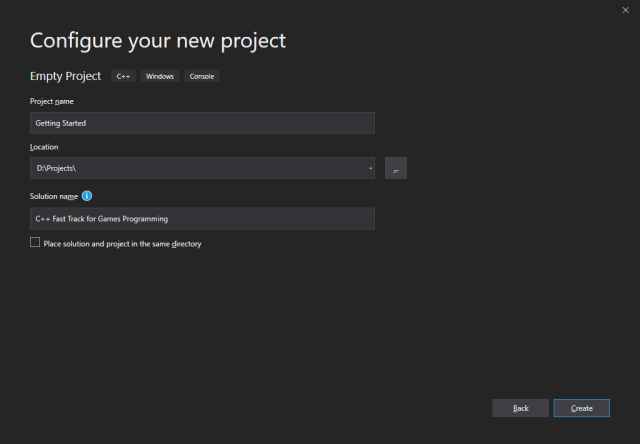
Set the project name to <span>Getting Started</span>
Set the location to <span>C:\my_projects</span> (or any folder where you save all programming projects).
It is not recommended to save projects in the Desktop folder (C:\Users\[username]\Desktop) or Documents (C:\Users\[username]\Documents) folder, as these folders have been indexed by Microsoft Indexing Service to improve search performance. The indexing service can negatively impact the performance of the build process, so it is recommended to save projects in folders that are not indexed by the indexing service.
Set the solution name to <span>C++ Fast Track for Games Programming</span>
Click the “Create” button to create your new project!
You should see something similar to the screenshot below👇️
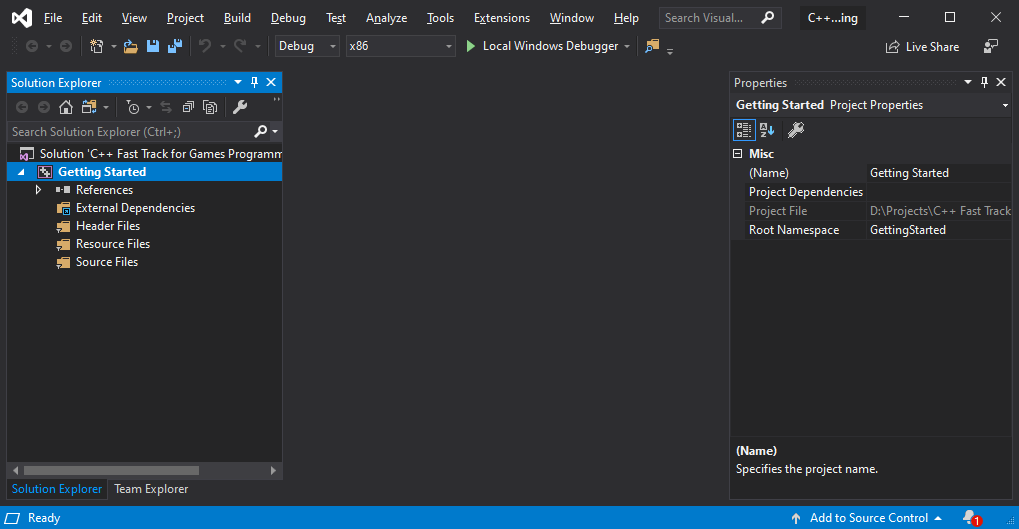 03Organizing the IDE
This section is completely optional, but we prefer to organize the IDE to free up space to view the C++ source code.You can also choose to go directly to the Hello World section.
As you can see, there is a lot of content on the screen. Let’s free up some space:
-
Click on “Team Explorer” and then close it to remove it. You can also hide Team Explorer by selecting “View” > “Team Explorer” from the main menu.
-
Do the same for the Toolbox and Properties.
-
Drag the Solution Explorer to the left side of the screen.
-
If you don’t like the toolbar and its buttons, then on the main menu, click “View”, go to “Toolbars”, and then uncheck “Standard”.
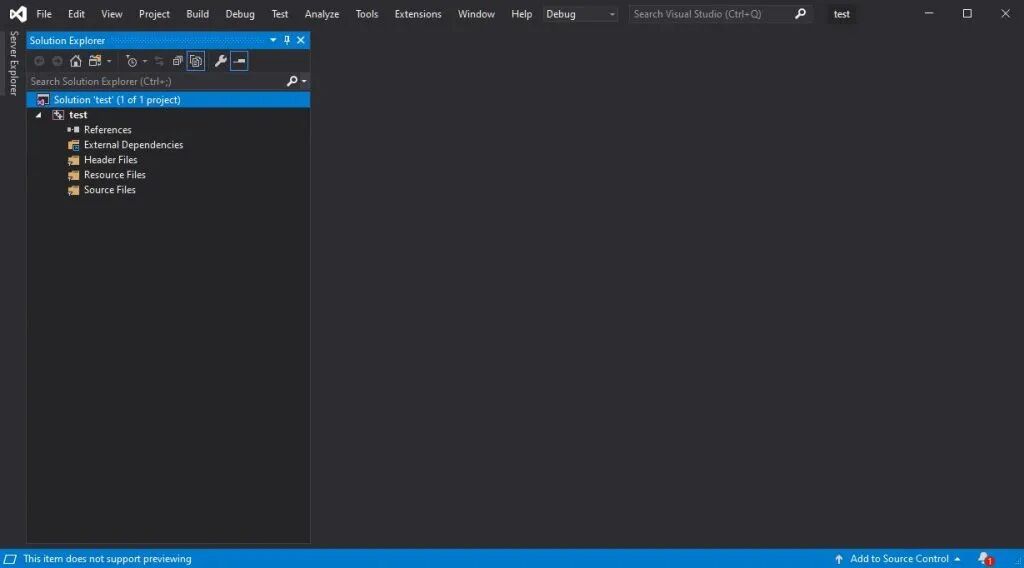
You should now have something like this:

I often see people taking up operational space due to too many toolbars (not just while programming): this layout avoids that. We haven’t removed anything necessary and have taken control of the software in the process.
The only thing we are missing is two dropdowns. We can place them next to the menu bar so that they don’t need a separate toolbar.
In the main menu, select“Tools” > “Customize”, then select“Commands” tab. Now click on“Add Command”, select“Build category, then select“Solution Configuration” command. This will add the dropdown to the left side of the menu bar; click the“Move Down button a few times until it moves completely to the right. Repeat this for the“Solution Platform” command.
The top of the screen should now look like this:
The IDE is now very tidy.
04Organizing the “Solution” Explorer
Your Solution Explorer should currently look like this:
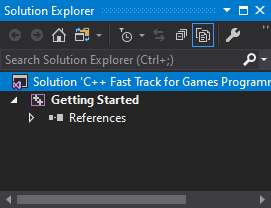
Your “Solution” should now look like this.
Now, let’s delete some things we don’t need: select the three folders (Header Files, Resource Files and Source Files) and delete them.
From the main menu, selectTools > Options, then expandText Editor > C/C++ > Advanced options, or search for in the options“Disable External Dependencies Folder”Ctrl+E ( )
Set the “Disable External Dependencies Folder” option to true.
Your Solution Explorer should now look like this:
Your Solution Explorer should now be completely clean.
Before we continue:
This is the first article in the series, starting from the second part, you will focus on writing code instead of downloading, installing, and adjusting settings.
Let’s start coding!
Now we can finally add a C++ source file to work with. In theSolution Explorer, right-click on the project“Getting Started”, then select“Add” > “New Item”.
In the appearing“Add New Item” dialog, select“C++ File (.cpp)” and name it<span><span>main.cpp</span></span> (or any other name, as long as it ends with<span><span>.cpp</span></span>).

The new file will open immediately, and we can start coding.
05Hello World
If there is no “Hello World” example, the C++ tutorial is not complete, so let’s get started. Enter the following program:
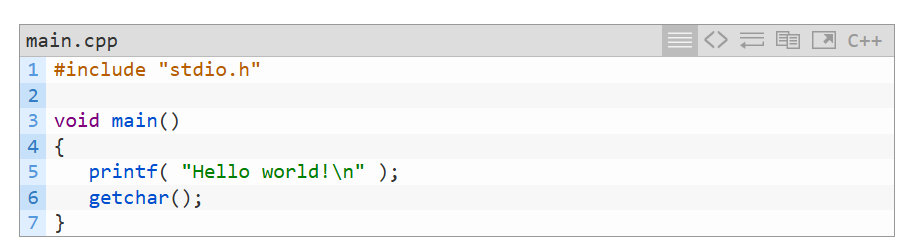
You can start the program by clicking F5. Visual Studio will ask you if you want to build the program; if you do, click“Yes”.
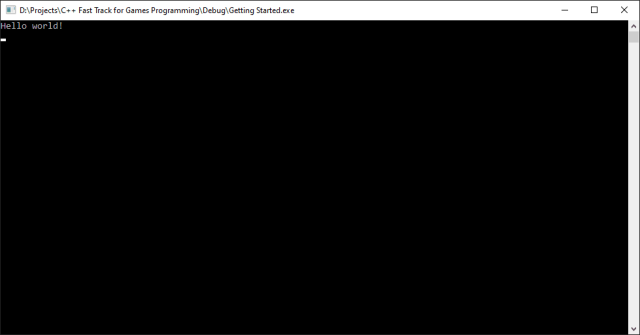
<span>Hello world!</span>You should see a console window displaying the text.
PressEnter (when the console window is focused) to close the console window.
Discussion
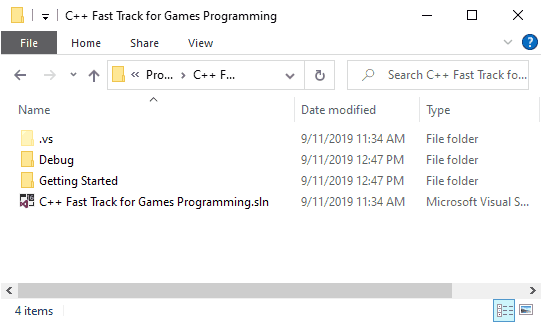
When you open<span><span>D:\Projects\C++ Fast Track for Games Programming</span></span> (or any location where you saved the Visual Studio solution file), you will see that Visual Studio has created a lot of files for you. The most interesting file is located in theDebug folder, named<span><span>Getting Started.exe</span></span>. When you launch this application, you will see it is your own creation.
Besides this file, we also have:
<span><span>C++ Fast Track for Games Programming.sln</span></span>: yoursolution file that points to<span><span>Getting Started.vcxproj</span></span>: yourproject file that points to<span><span>main.cpp</span></span>:source code file.
A project can have multiple source files, and a solution can have multiple projects. Other files:
<span><span>Getting Started.vcxproj.filters</span></span>: stores references to all source files in the project;<span><span>Getting Started.VC.db</span></span>and<span><span>opendb</span></span>: some internal information for Visual Studio;- Various other files in the Debug folder:
<span>.obj</span>,,<span>.ilk</span>。<span>.pdb</span>
It can be quite confusing, but what matters now is the files in the folder<span><span>.cpp</span></span> in<span><span>Projects\C++ Fast Track for Games Programming\Getting Started</span></span> and the executable built from it.
It’s always good to understand the purpose of each file – especially when determining which files to include on GitHub or Perforce (hint: never submit compiler-generated content to version control!).
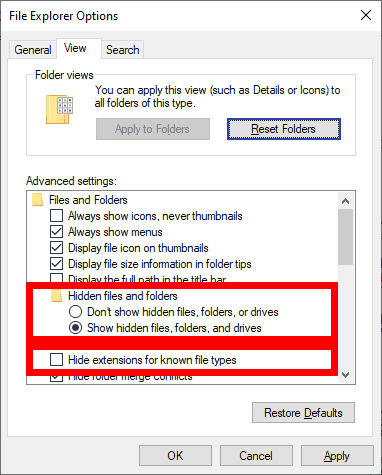
If you do not see the.vs folder as shown above, make sure to select“Show hidden files, folders, or drives” in the File Explorer options in the Windows Control Panel.
To change this setting, open the Windows Control Panel and go to File Explorer options, then select the View tab and choose the radio button for Show hidden files, folders, and drives.
If you do not see file extensions (.sln、.ccp and .h) in File Explorer, make sure the option to hide extensions for known file types is unchecked, as shown in the screenshot below.
Now, why not give it a try!
This course was originally offered for the Breda University of Applied Sciences (formerly the Dutch National Sports and Recreation University, abbreviated IGAD) game program; recently, the course has also been updated to the Utrecht University curriculum. Image source: https://www.3dgep.com/cpp-fast-track-1-getting-started/#starting-visual-studio-2019
Translation: Mark Pen Design Study Abroad