1. Teaching Objectives
2. Master Joystick Control: Students will be able to use the joystick module on the Arduino Uno experiment kit to control the movement of the butterfly character up, down, left, and right through the Mind+ programming software.
3. Button Shooting Function: Students will be able to configure and use the button module to implement the shooting action of the butterfly through Mind+ programming.
4. Clone Bullet Logic: Students will be able to use the cloning feature of Mind+ to make the bell act as a bullet fired from the butterfly character, which will automatically delete itself upon hitting the stage edge.
5. Bat Movement and Collision Detection: Students will be able to design the automatic generation and leftward movement logic of the bat character, and implement the effect of the bat disappearing when hit by the bell bullet.
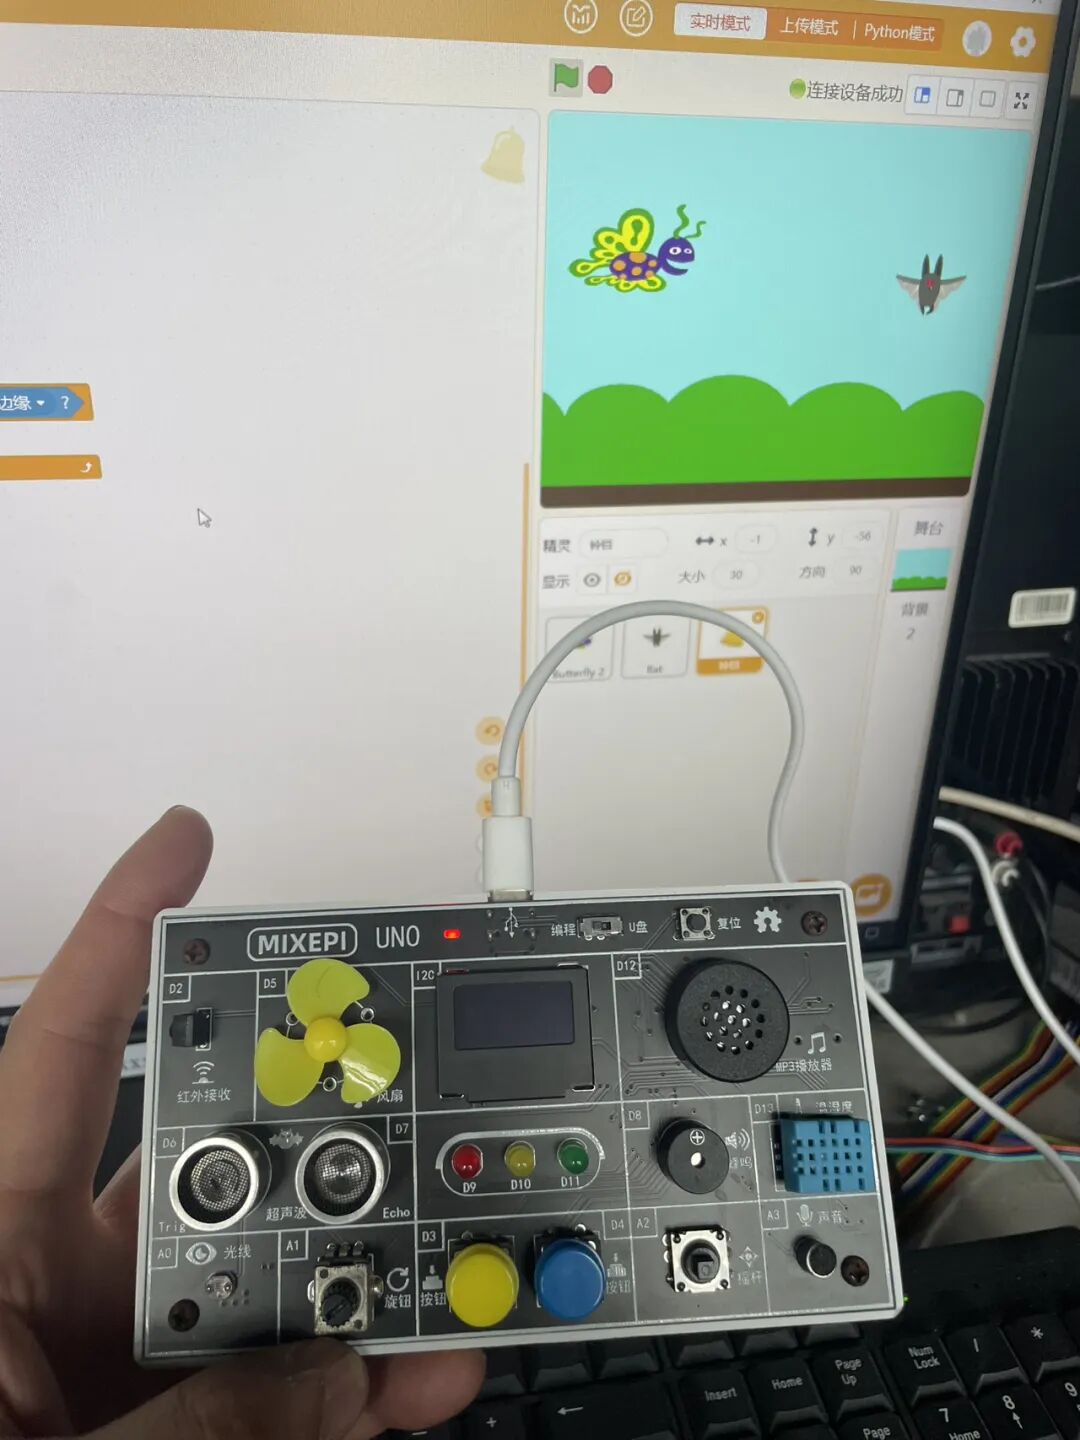
2. Teaching Preparation
• Hardware Preparation: Arduino Uno experiment kit, joystick module, button module, several connecting wires.
• Software Preparation: Mind+ programming software, with Arduino extension module installed.
• Characters and Background: Images of the butterfly, bell, and bat characters, as well as background images.
3. Teaching Content and Steps
1. Hardware Connection and Initialization
• Connect the Joystick Module: Connect the VCC, GND, X (left/right), and Y (up/down) pins of the joystick module to the 5V, GND, A0, and A1 pins of the Arduino Uno, respectively.
• Connect the Button Module: Connect one pin of the button module to a digital pin on the Arduino Uno (e.g., D2) and the other pin to GND.
• Configure Hardware in Mind+: Open the Mind+ software, add the Arduino Uno device, and configure the joystick and button modules.
2. Butterfly Character Movement Control
• Read Joystick Data: Use the “Read Analog Value” block in Mind+ to obtain the X and Y axis values of the joystick.
• Write Movement Script: Control the butterfly character’s movement up, down, left, and right based on the joystick’s X and Y axis values.
3. Implement Butterfly Shooting Function
• Configure Button Event: Set the button click event in Mind+.
• Write Shooting Script: Trigger the logic for the butterfly to shoot the bell bullet when the button is clicked.
4. Clone Bell Bullet
• Create Bullet Clone: In the butterfly’s shooting script, use Mind+’s cloning feature to generate clones of the bell bullet.
• Set Bullet Properties: Set initial position, speed, and other properties for the clones so that they are fired from the butterfly.
• Write Bullet Deletion Script: In the bell bullet’s script, delete the clone when it hits the stage edge.
5. Bat Character Setup and Collision Detection
• Generate Bats: Use a loop statement to randomly generate multiple bat characters on the stage.
• Write Movement Script: Write a script for the bat character to continuously move left. When the bat hits the left edge of the stage, it can either be regenerated or disappear.
• Write Collision Detection Script: Write collision detection logic for the bell bullet and bat character, deleting both the bat character and the bullet clone when the bullet hits the bat.
4. Teaching Methods and Strategies
• Intuitive Demonstration: Through teacher demonstrations and student observations, understand the basic steps of hardware connection and software configuration.
• Group Practice: Divide students into small groups, with each group responsible for implementing a part of the functionality, such as hardware connection, script writing, etc.
• Problem Guidance: Guide students to think by asking questions like “How do you read the joystick value?” and “How do you detect the collision between the bullet and the bat?”
• Project Display and Evaluation: Encourage students to showcase their projects and conduct peer and self-evaluations to promote mutual learning and improvement.
5. Teaching Resources and Support
• Hardware Connection Diagram: Provide detailed hardware connection diagrams and instructions to help students connect the hardware correctly.
• Teaching Videos and Documents: Provide tutorials on using Mind+ programming software, configuring the Arduino extension module, and specific steps for project implementation.
• Character and Background Materials: Provide images of the butterfly, bell, bat, and background images for students to quickly import.
6. Teaching Assessment and Feedback
• Process Assessment: Focus on students’ performance in hardware connection, script writing, and problem-solving processes.
• Outcome Assessment: Evaluate students based on the completion of their projects, including functionality, creativity, and stability.
• Self-Reflection: Encourage students to reflect on their learning process, summarize their gains and shortcomings, and suggest improvements.
Through this teaching design, students will be able to implement the interactive programming project ‘Butterfly Shooting Bat’ based on the Arduino Uno experiment kit and Mind+ programming software, thereby mastering key skills such as joystick control, button shooting, bullet cloning, and collision detection.