Introduction to GitLab:
A very popular open-source project that supports self-hosting and provides a rich feature set, including CI/CD.
The GitLab Community Edition is open-source and free, allowing users to download and install it on their local servers.
Official Website:
https://packages.gitlab.com/gitlab/gitlab-ce
GitLab Download Links:
https://mirrors.tuna.tsinghua.edu.cn/gitlab-ce/yum/el9/
https://packages.gitlab.com/gitlab/gitlab-ce/packages/el/9/gitlab-ce-17.7.2-ce.0.el9.x86_64.rpm/download.rpm
Upload the installation package
gitlab-ce-17.7.2-ce.0.el9.x86_64.rpm
to the server in the /opt directory
1. Operating System: Rocky Linux-9.x
Rocky Linux 9.x system installation configuration tutorial
https://www.osyunwei.com/archives/14859.html
# Check if the grubby package is installed
# Add selinux=0 to the kernel command line
grubby –update-kernel ALL –args selinux=0
# Check the result should be Disabled
3. Firewall configuration
The default port for GitLab is configured to be 80
Here we use iptables as the firewall
systemctl stop firewalld.service
systemctl disable firewalld.service
3.2 Install iptables firewall and open the corresponding port
yum -y install iptables-services # Install
vi /etc/sysconfig/iptables
# Sample configuration for iptables service
# You can edit this manually or use system-config-firewall
# Please do not ask us to add additional ports/services to this default configuration
-A INPUT -m state –state RELATED,ESTABLISHED -j ACCEPT
-A INPUT -p icmp -j ACCEPT
-A INPUT -p tcp -m state –state NEW -m tcp –dport 22 -j ACCEPT
-A INPUT -p tcp -m state –state NEW -m tcp –dport 80 -j ACCEPT
-A INPUT -j REJECT –reject-with icmp-host-prohibited
-A FORWARD -j REJECT –reject-with icmp-host-prohibited
systemctl enable iptables.service # Set firewall to start on boot
systemctl restart iptables.service # Start the firewall to apply the configuration
rm -rf /etc/localtime # First delete the default timezone setting
ln -s /usr/share/zoneinfo/Asia/Shanghai /etc/localtime # Replace Asia/Shanghai as the default timezone
vi /etc/sysconfig/clock # Add timezone
timedatectl set-local-rtc 0
hwclock –systohc -u # Sync system clock and hardware clock, the current system timezone is not UTC, it’s CST time, so add -u parameter
date # Display system time
date -s “2025-01-15 15:24:00” # Modify time
watch -n 1 date # Display real-time time
#pool 2.rocky.pool.ntp.org iburst # Commented out
server ntp.aliyun.com iburst # Added
systemctl enable chronyd # Restart service
systemctl restart chronyd # Restart service
chronyc sources -v # View time synchronization information
5. System parameter optimization
vi /etc/security/limits.conf # Add the following code to the last line
vi /etc/sysctl.conf # Add the following code to the last line
# Check if GitLab is currently installed
yum install policycoreutils-python-utils perl
# yum install policycoreutils-python perl # This command is used for rhel-7 series
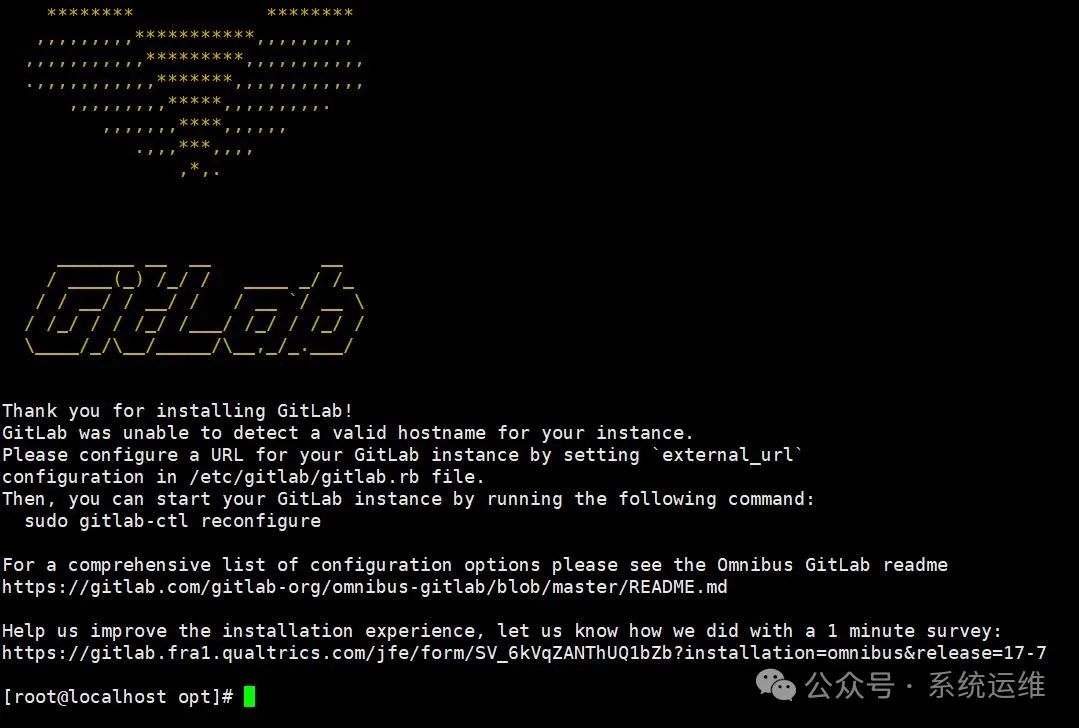
rpm -ivh gitlab-ce-17.7.2-ce.0.el9.x86_64.rpm # Install
2. Modify the configuration file
mkdir -p /data/server/gitlab # Create a directory for GitLab data storage, default is /var/opt/gitlab
cp /etc/gitlab/gitlab.rb /etc/gitlab/gitlab.rb.bak # Backup before modification
vi /etc/gitlab/gitlab.rb # Modify or add configuration information
external_url ‘http://192.168.21.190:80/’ # Set external URL
gitlab_rails[‘time_zone’] = ‘Asia/Shanghai’ # Set timezone
gitlab_rails[‘locale’] = ‘zh-CN’ # Set language
# Set data storage directory
“path” => “/data/server/gitlab” # Set GitLab data storage directory
# Uncomment the following 3, reduce worker processes, minimum is 2
puma[‘worker_processes’] = 2
gitlab_rails[‘gitlab_ssh_host’] = ‘192.168.21.190’
gitlab_rails[‘gitlab_shell_ssh_port’] = 22
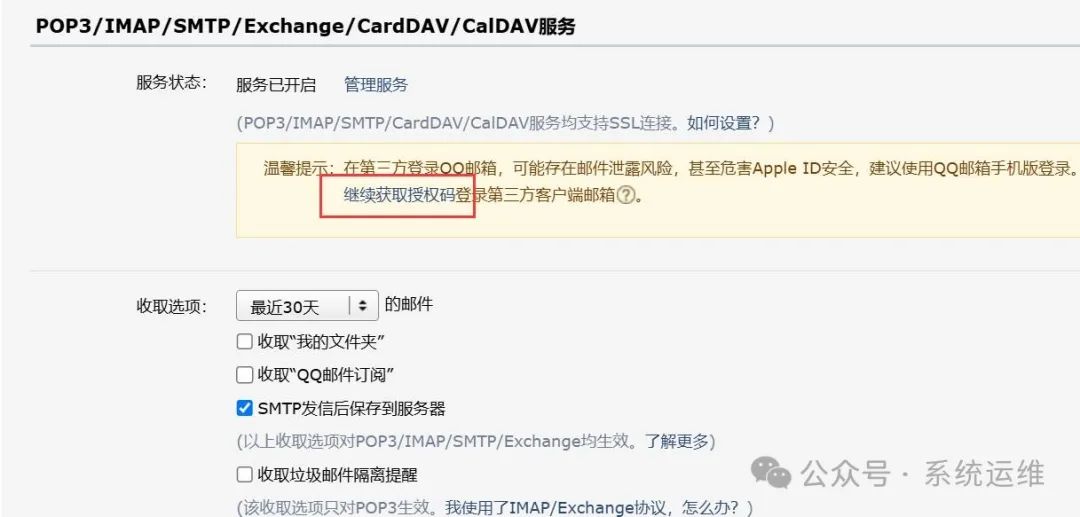
# Email settings edit configuration file
# We use QQ email, smtp_password is the authorization code, not the email login password, pay special attention
gitlab_rails[‘smtp_enable’] = true
gitlab_rails[‘smtp_address’] = “smtp.qq.com”
gitlab_rails[‘smtp_port’] = 465
gitlab_rails[‘smtp_password’] = “xxxxxxxxxx”
gitlab_rails[‘smtp_domain’] = “smtp.qq.com”
gitlab_rails[‘smtp_authentication’] = “login”
gitlab_rails[‘smtp_enable_starttls_auto’] = false
gitlab_rails[‘smtp_tls’] = true
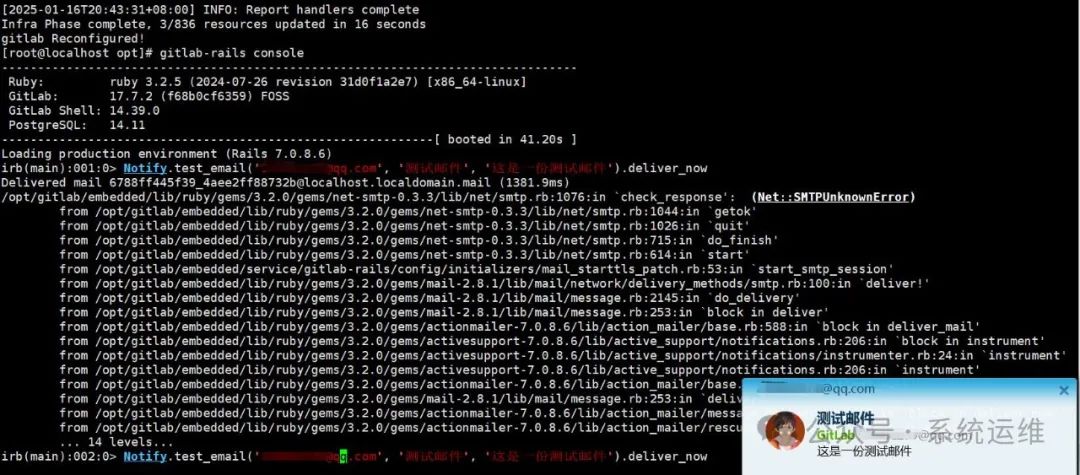
gitlab-ctl reconfigure # Reload configuration
Notify.test_email(‘recipient email’, ‘email title’, ‘email body’).deliver_now # Template
Notify.test_email(‘[email protected]’, ‘Test Email’, ‘This is a test email’).deliver_now
If you can receive the email, it means the configuration is successful
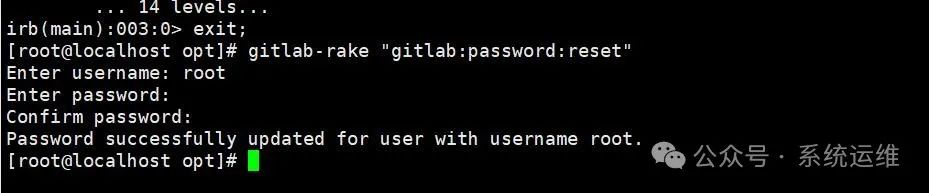
gitlab-rake “gitlab:password:reset” # Change the password of the admin user root, fill in according to the prompt, the root user is built-in
gitlab-rails console # Enter console
user = User.find_by(username: ‘root’) # Find user
# Make configuration file effective
systemctl enable gitlab-runsvdir
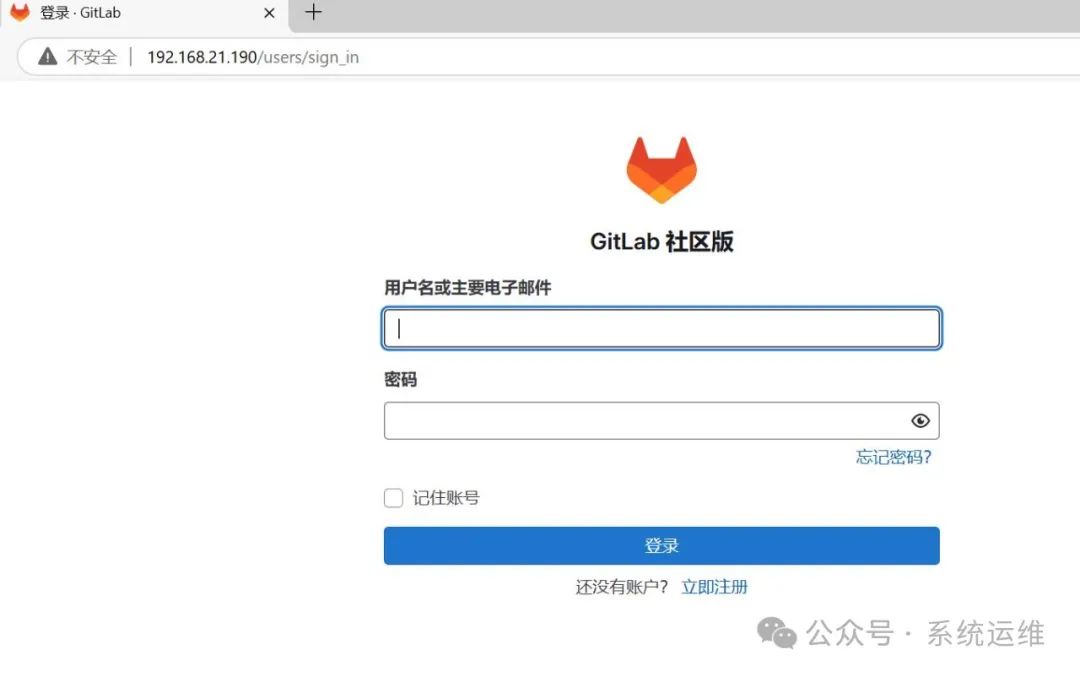
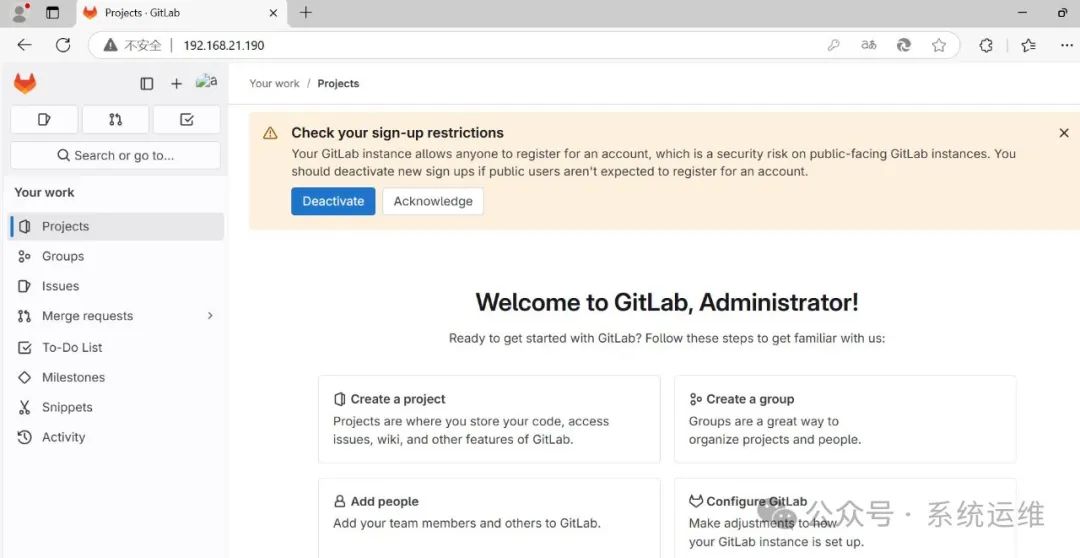
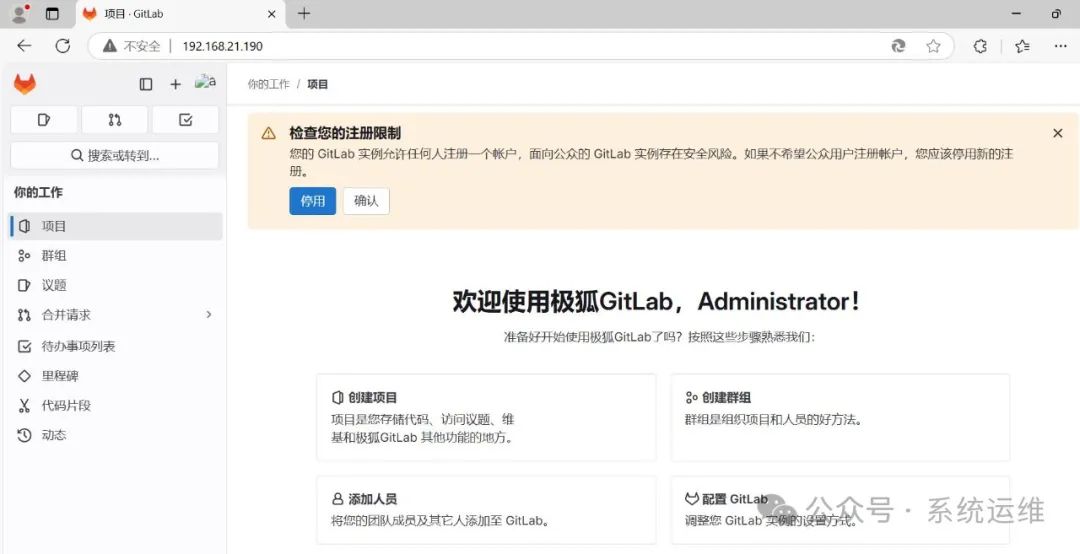
Enter username and password to log in
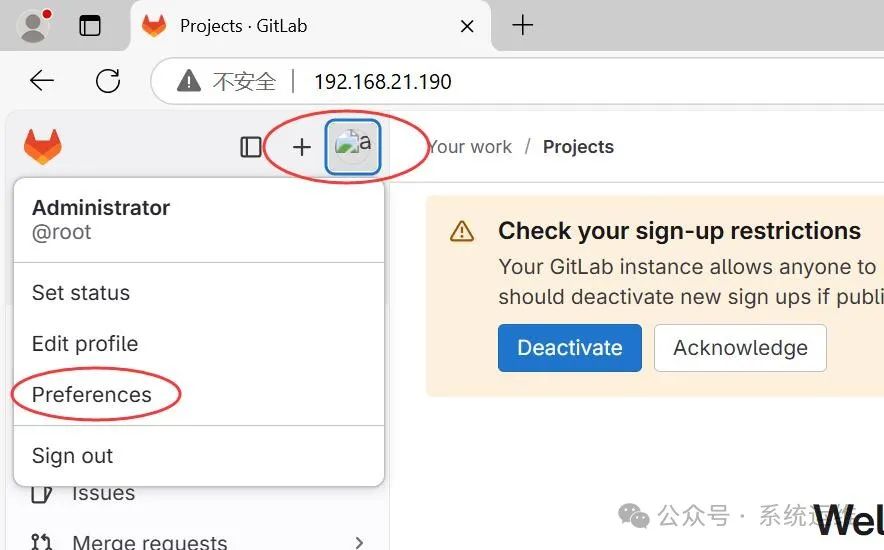
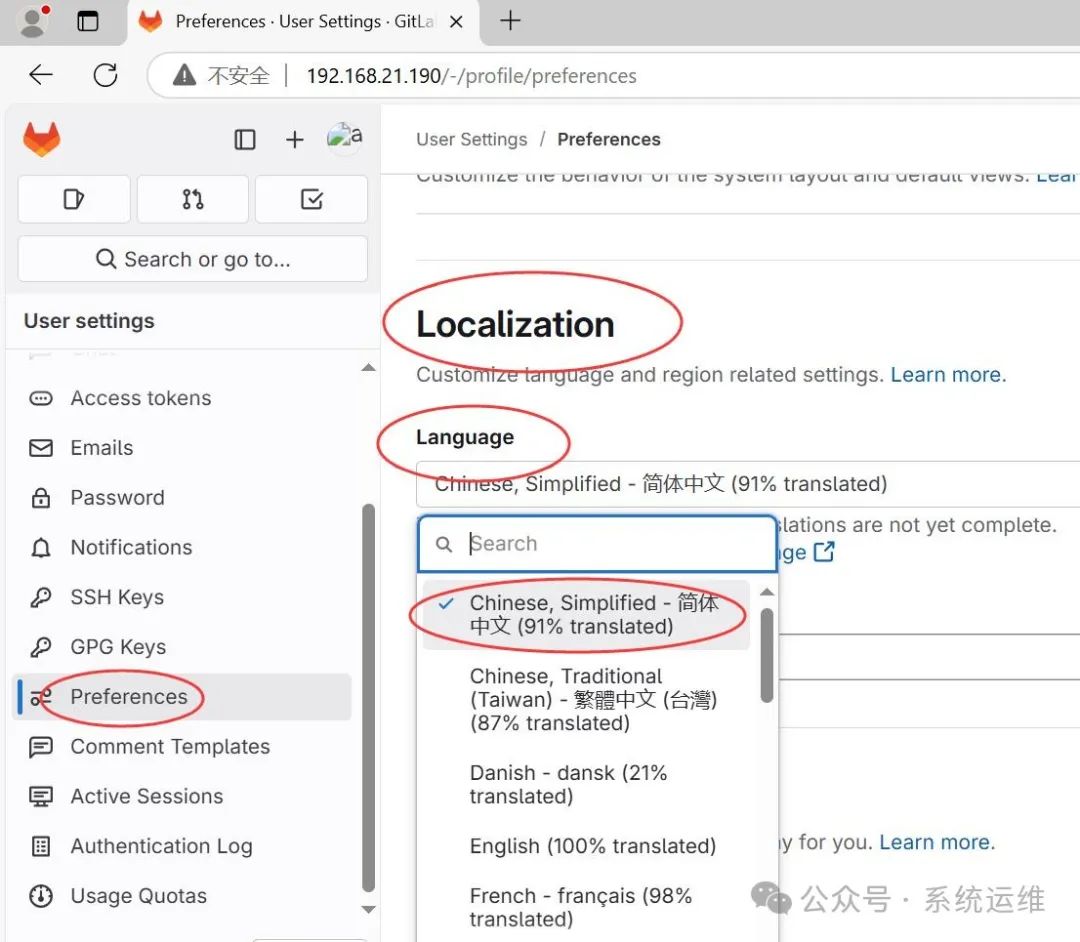
Finally, refresh the page, and it is displayed in Chinese.
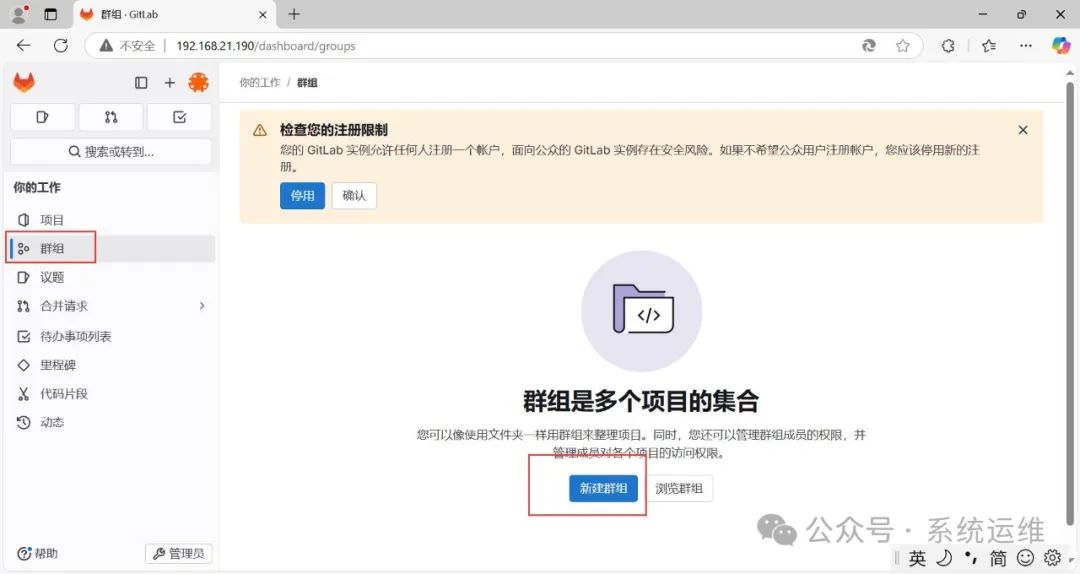
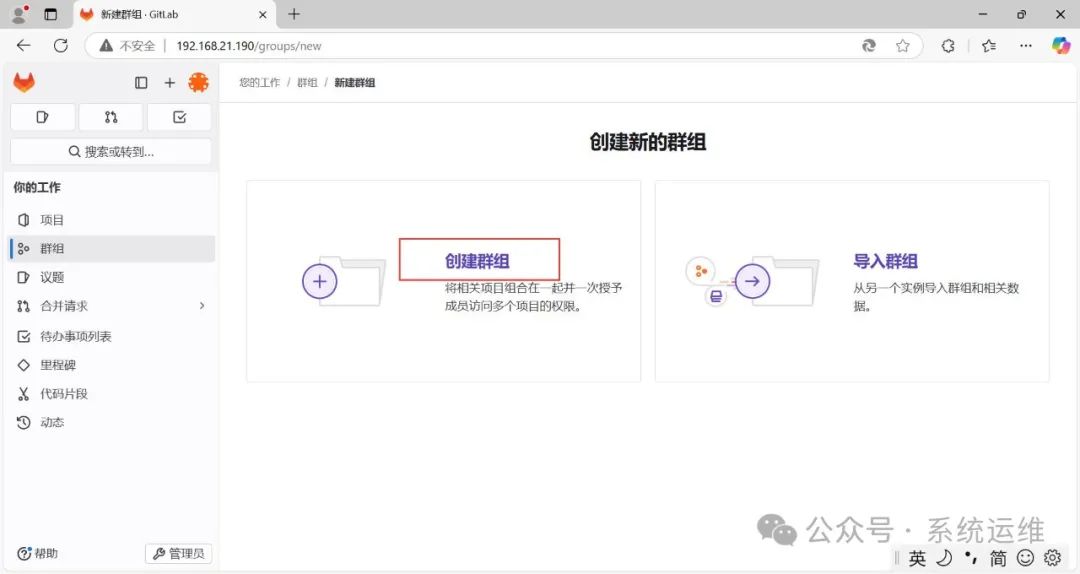
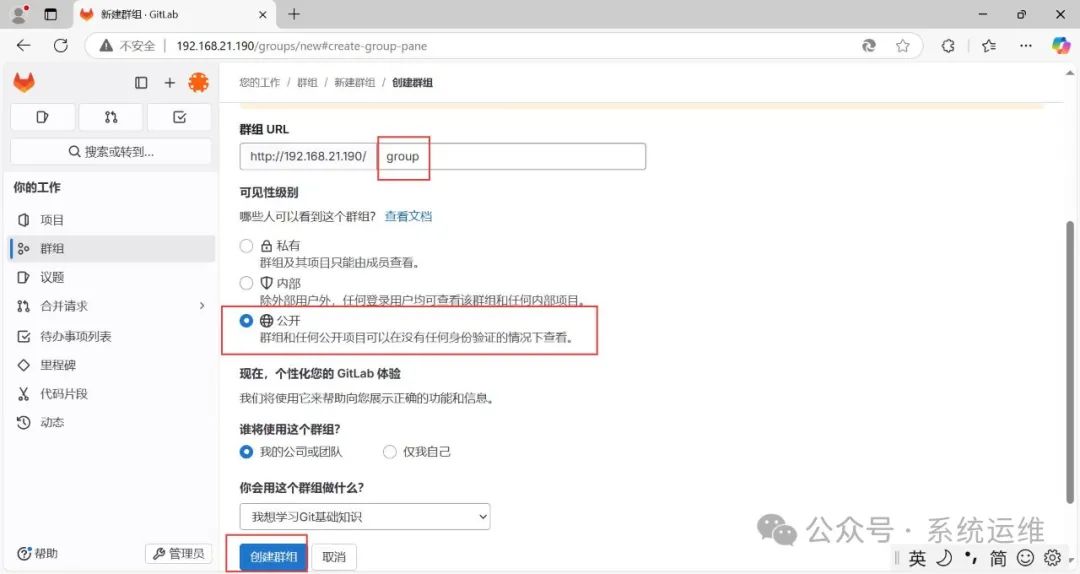
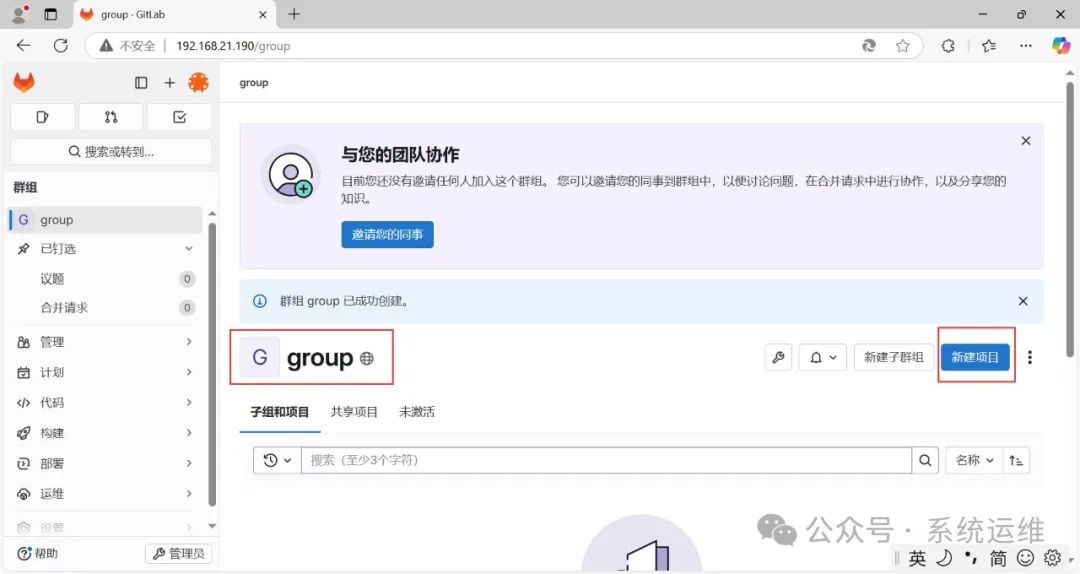
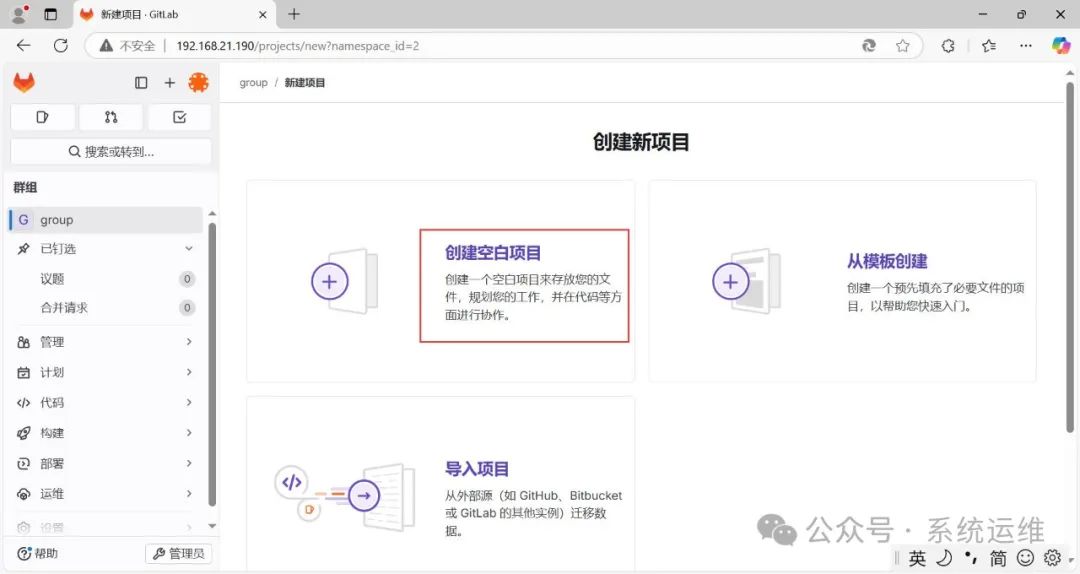
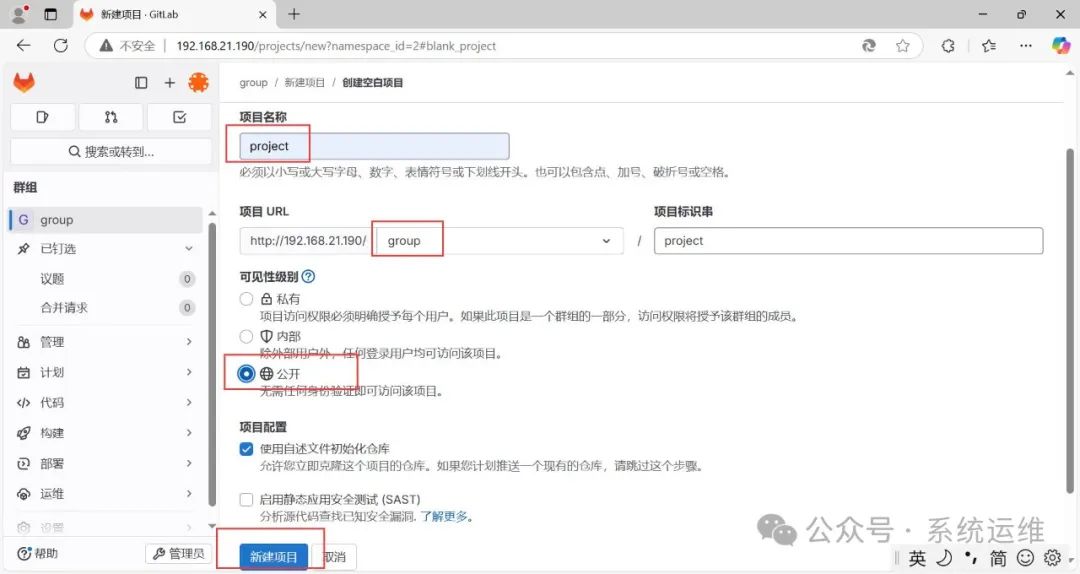
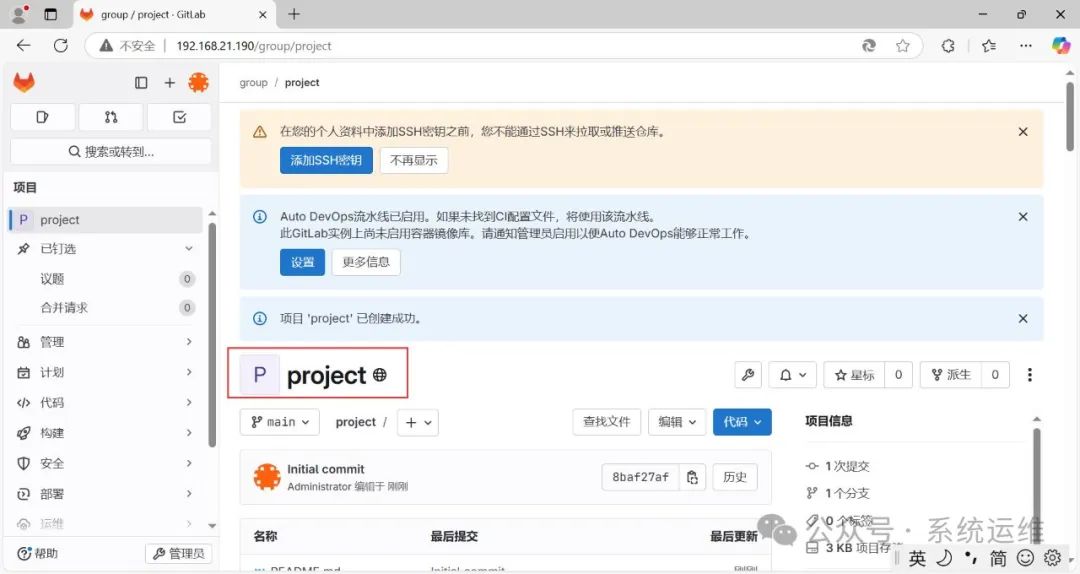
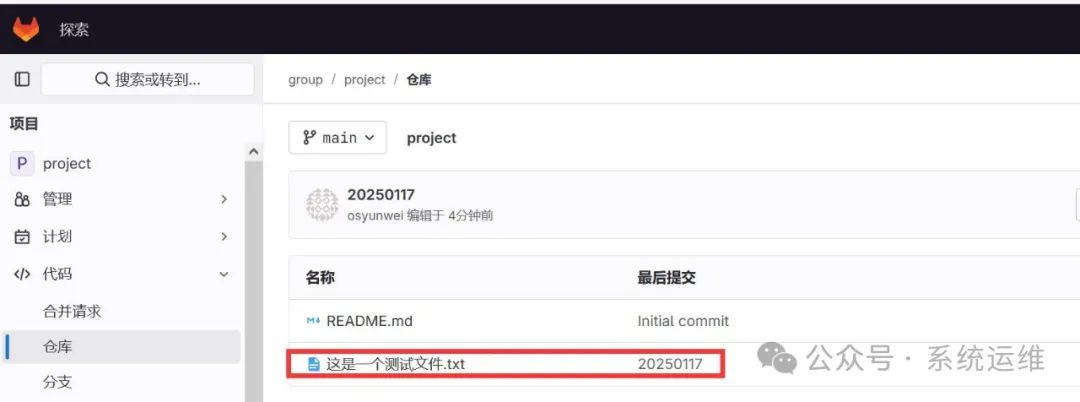
Continue to create a project
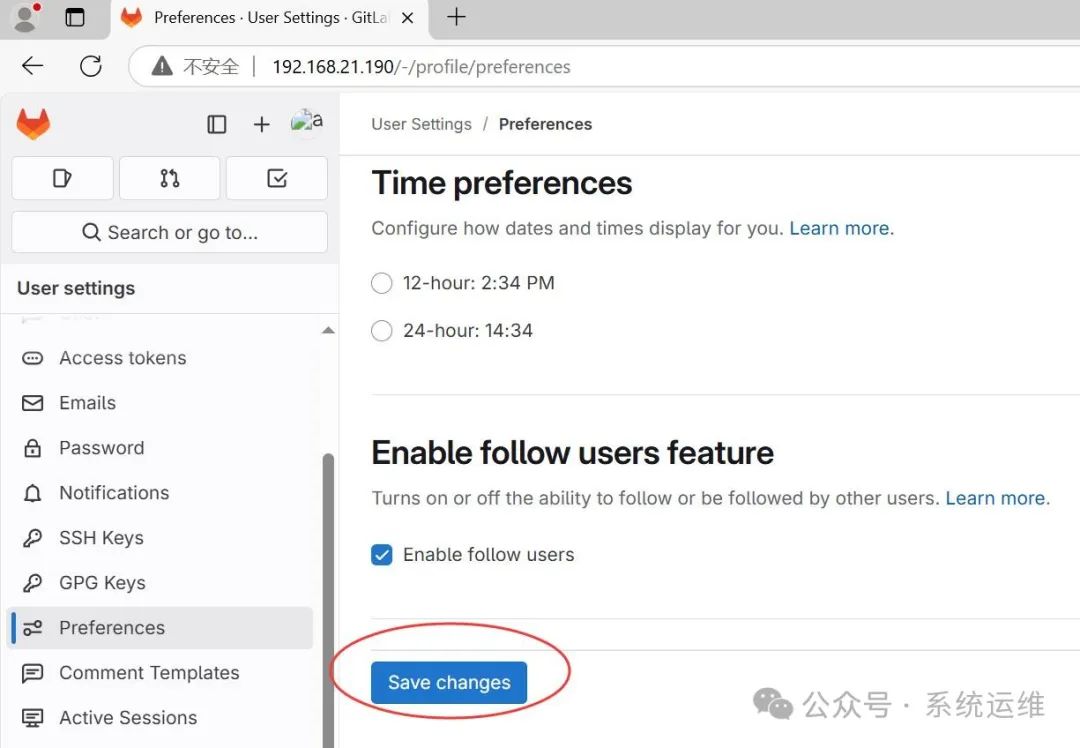
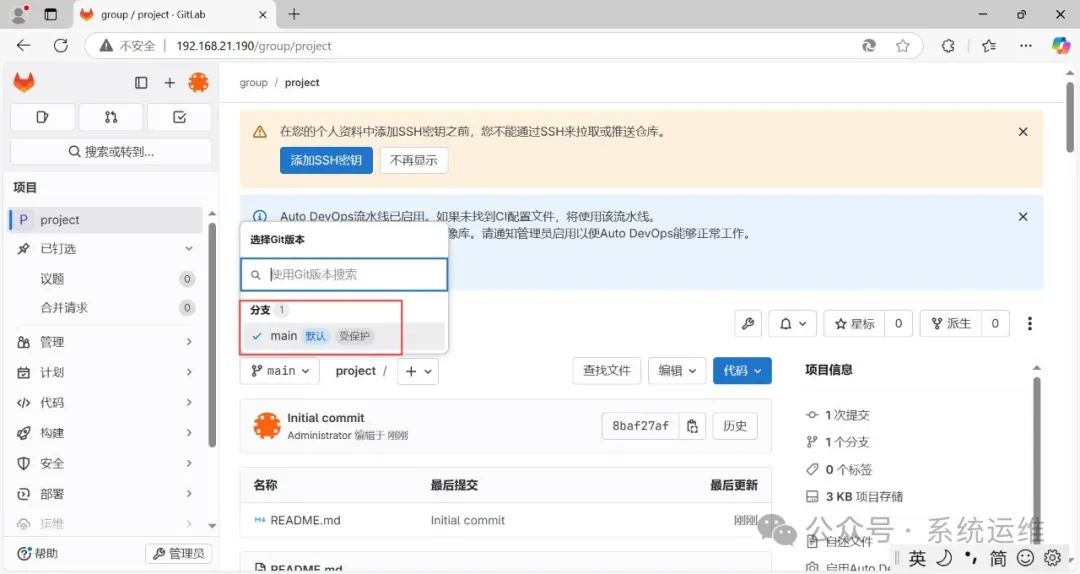
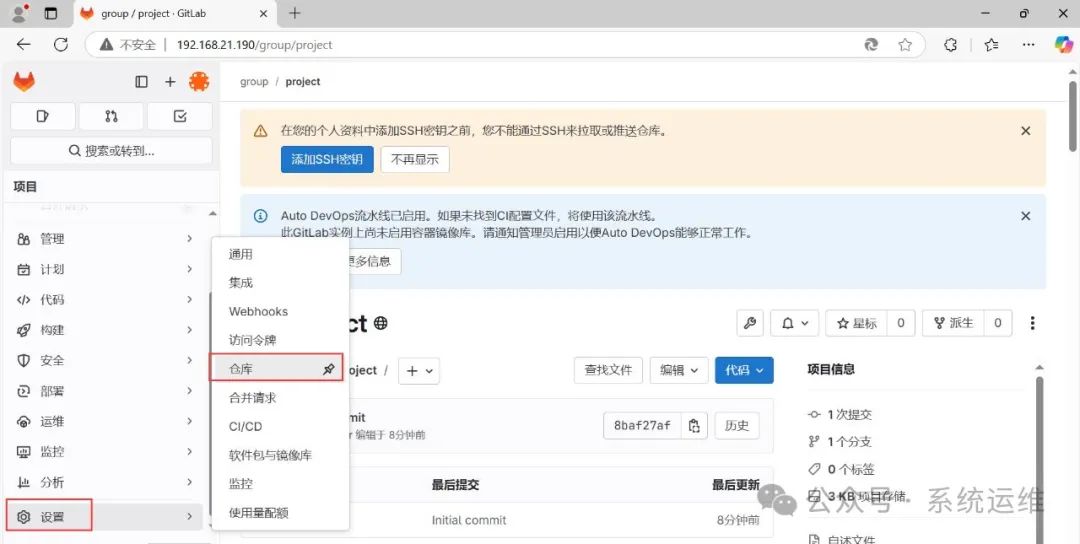
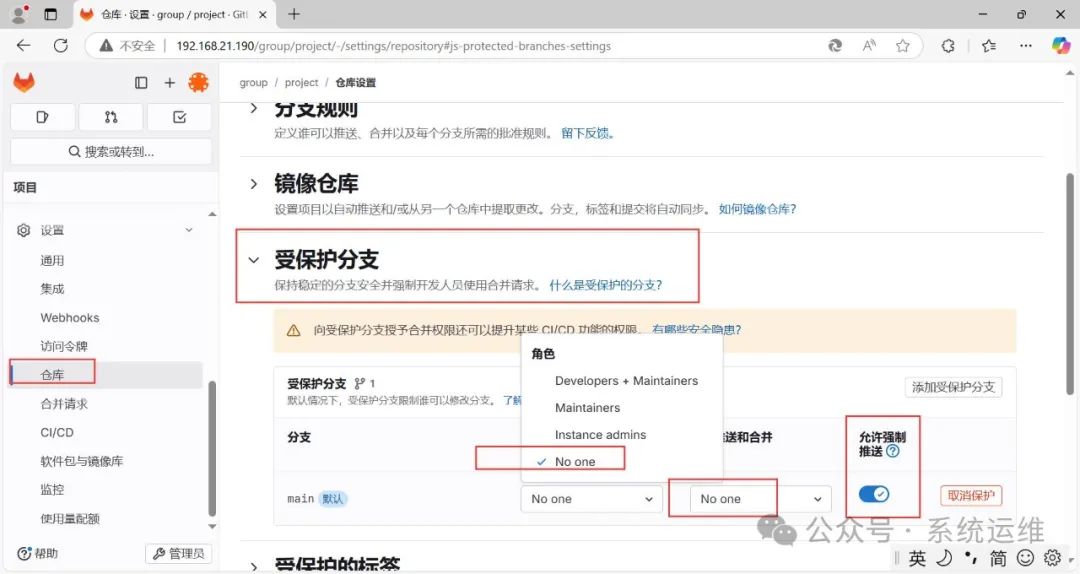
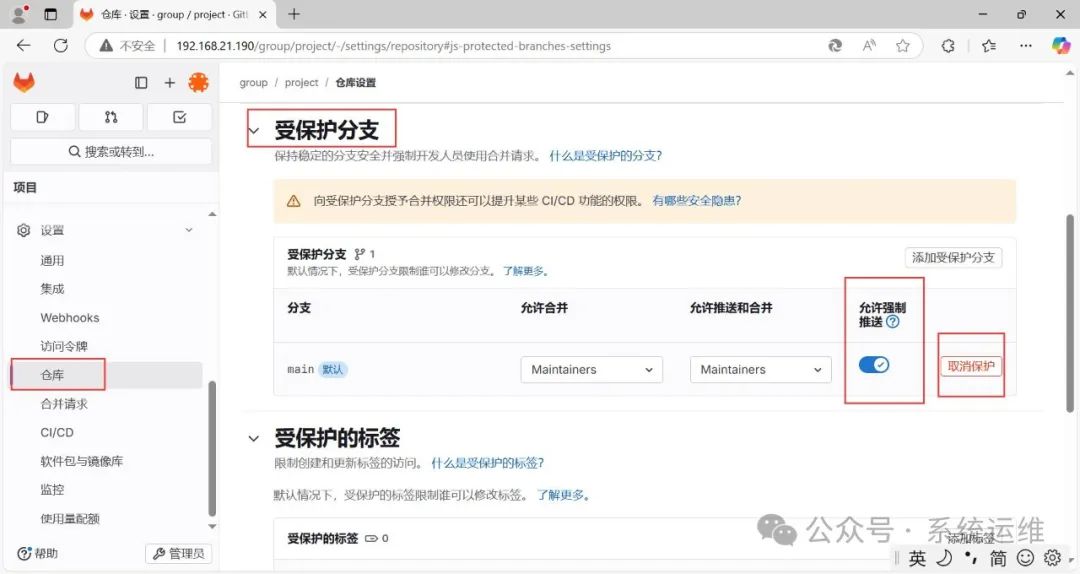
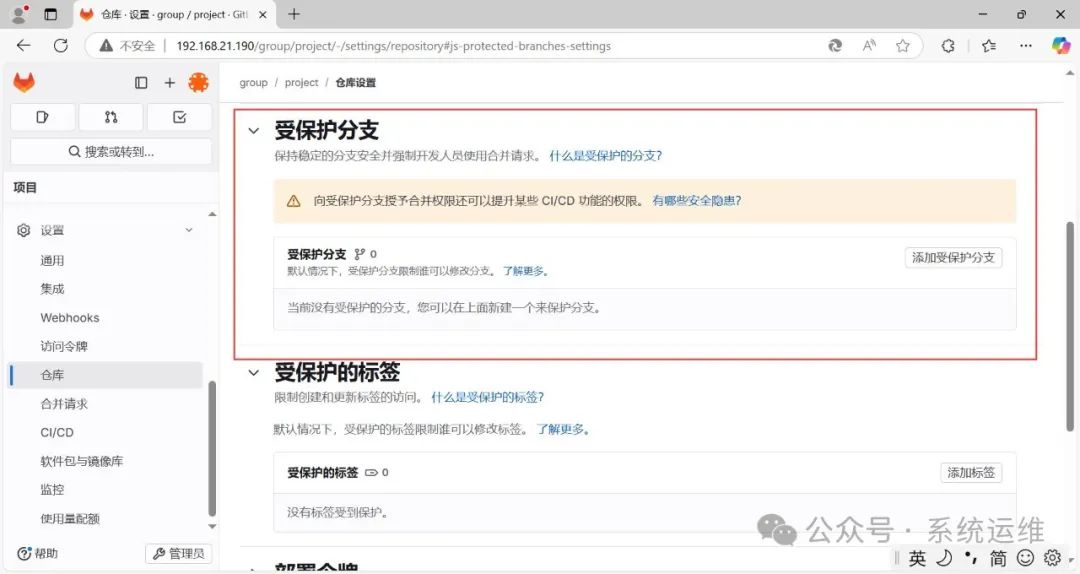
The default created project main branch is protected, now cancel the restriction.
This cancels the restriction
rpm -ev –nodeps `rpm -qa | grep gitlab`
# Delete directories and files
rm -rf /opt/gitlab /etc/gitlab /var/opt/gitlab /var/log/gitlab
# Related directory description
# Configuration file directory
4. Use Git to commit and pull code
Install Git software: https://git-scm.com/downloads
Here we use the Windows client, just download and install it by default
Before committing and pulling code, you need to configure the SSH key
Right-click on the desktop – Open Git Bash here
# osyunwei is your username, you can customize it, it will be displayed in the commit records
git config –global user.name ‘osyunwei’
git config –list # View configuration
# The information generated in the last two steps will create a .gitconfig configuration file in C:\Users\your_account, note that this file cannot be deleted, it records the account and email
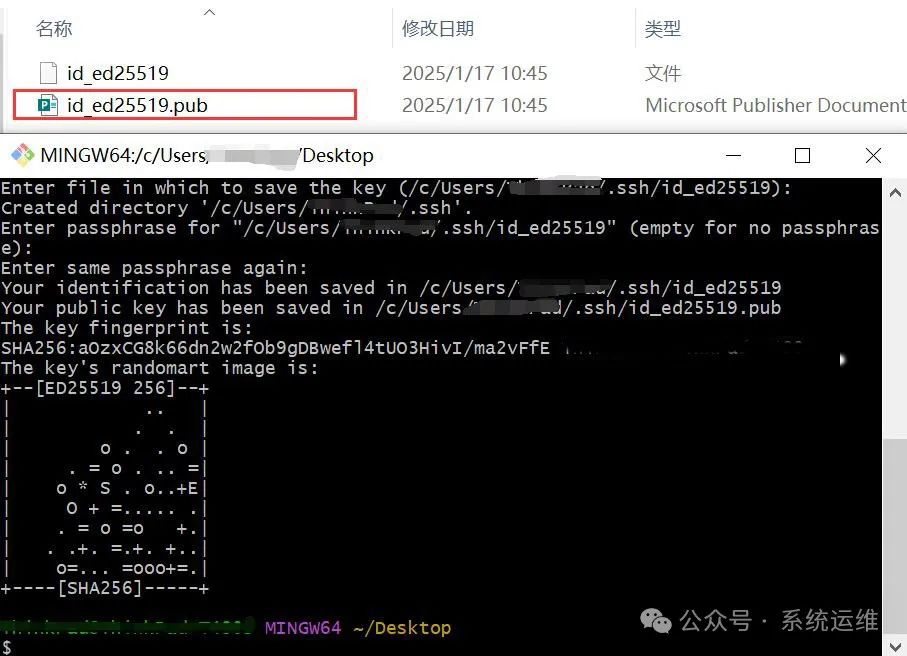
4.3 Use Git to generate SSH key pair, press enter three times during command execution
4.4 In the C:\Users\username\.ssh directory, a .ssh folder will be generated, which contains the following two files
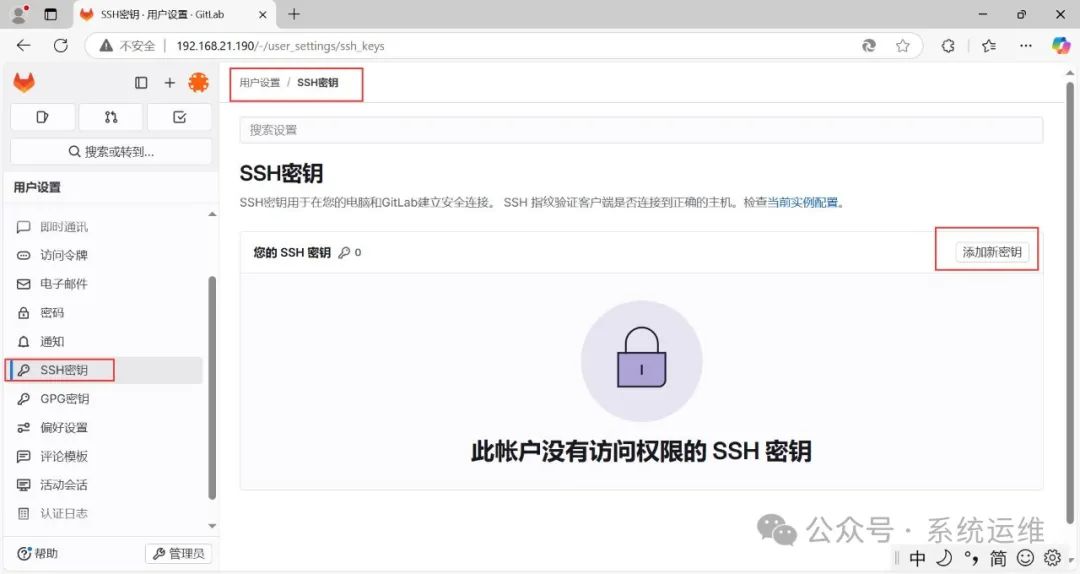
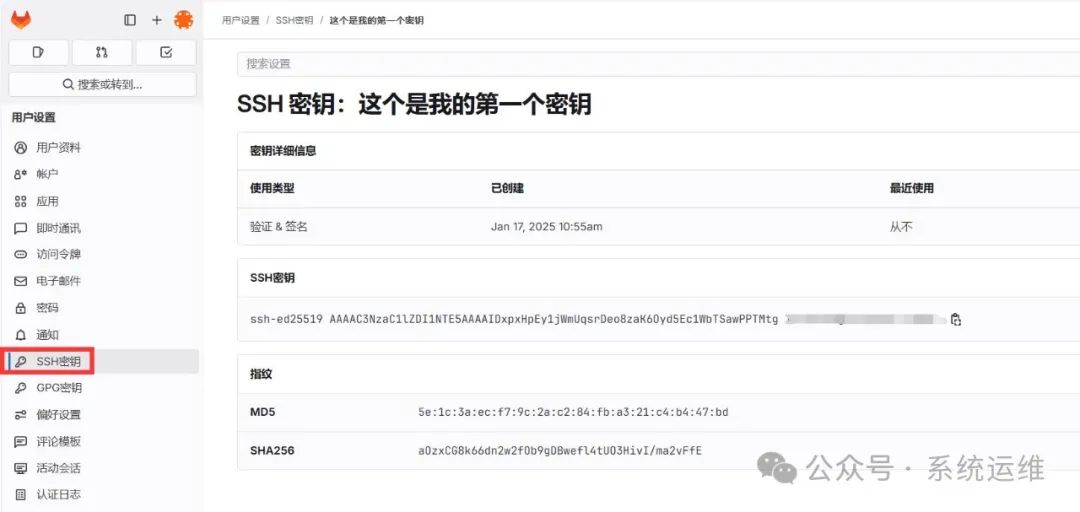
You need to add the public key (id_ed25519.pub) in the folder to the GitLab management platform
As shown in the figure, add it
Now the SSH key has been added
4.5 Clone the remote repository to the local, then upload and pull code
Create a new directory D:\work, right-click on the work folder – Open Git Bash here
Clone the remote repository to the local
A folder named project will be created in the current directory, and the origin remote repository address will be automatically set
Check the directory D:\work\project, there is already a README file
Create a test file in this directory, then upload the code
Right-click on the D:\work\project folder – Open Git Bash here
Link to the remote repository, since the code has been pulled before, the remote repository information already exists
View existing remote repository information
Remove existing remote repository
# Add remote repository information
# Upload code to the repository
git fetch origin # Get the latest information from the remote repository
git push -uf origin main # Push code
git pull origin main # Pull the latest code from the remote repository
4.6 Create a new repository locally, initialize the repository, and upload and pull code
Create a new directory D:\newwork, create a test file in this directory, then right-click on the newwork folder – Open Git Bash here
git init # Initialize a new Git repository
git checkout -b main # Create and switch to the main branch
# Add remote repository address
git remote -v # View remote repository information
# Upload code to the repository
git commit -m 20250117new
git fetch origin # Get the latest information from the remote repository
git push -uf origin main # Push code
git pull origin main # Pull the latest code from the remote repository
git branch -m main # Rename local branch to main
Thus, the installation and deployment of GitLab Community Edition on Linux is complete.