Porting LittlevGL on RT-Thread for Raspberry Pi 3B
-
1. Overview
-
2. Resource Preparation
-
3. Getting Started
-
4. Seamless Integration of RT-Thread and LVGL
-
5. Conclusion
1. Overview
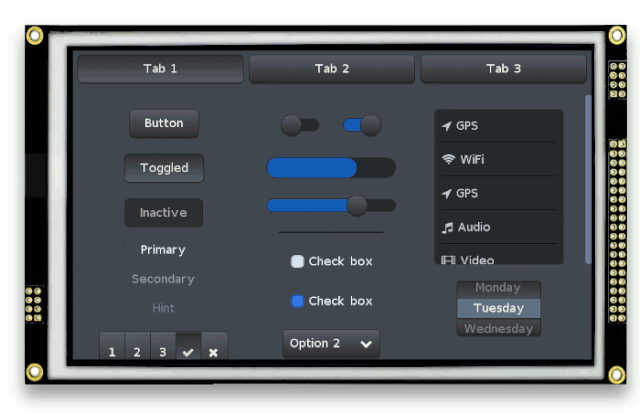
This article mainly describes the process of porting LVGL on RT-Thread for Raspberry Pi 3B. It implements the process of RTT porting LVGL in the simplest way. You only need to add a few files to use the latest version of the LittlevGL graphics library.
This article can also be tested on Raspi QEMU, allowing you to learn about LittlevGL development and RT-Thread development without actual hardware development boards.
2. Resource Preparation
Hardware Resources:
Raspberry Pi 3B + HDMI screen
Or use Raspberry Pi’s QEMU for simulation. You can follow my WeChat public account for related articles that teach you how to set up the Raspberry Pi RTT environment and the QEMU environment. I won’t elaborate on that here.
Software Resources:
Get the RTT source code:
https://github.com/RT-Thread/rt-thread
Enter the BSP directory related to Raspberry Pi 3B
rt-thread/bsp/raspberry-pi/raspi3-64/
Next, get the LVGL source code
https://github.com/littlevgl/lvgl
3. Getting Started
Step 1: Download the Source Code
https://github.com/bigmagic123/lvgl
This is a fork of the original LVGL project, with only a few files added, which will be described in detail later.
Place it in the rt-thread/bsp/raspberry-pi/raspi3-64/applications folder:

Among them, lv_conf.h is located in the lvgl/lv_rtt_port folder;
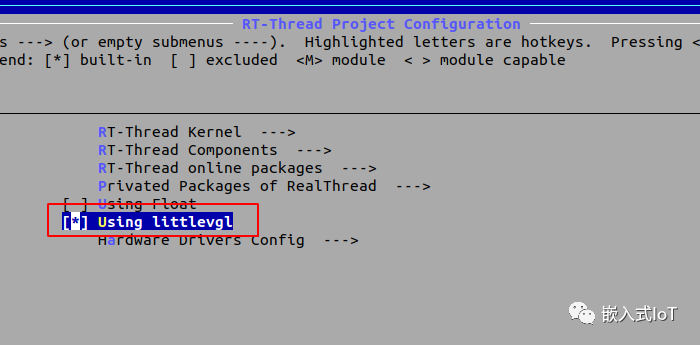
Step 2: Configure RTT to Use LVGL
In rt-thread/bsp/raspberry-pi/raspi3-64, input scons --menuconfig. Alternatively, you can directly input menuconfig in the env tool.
Step 3: Compile
In the console, input scons to start the compilation.
CC build/kernel/src/scheduler.o
CC build/kernel/src/signal.o
CC build/kernel/src/thread.o
CC build/kernel/src/timer.o
LINK rtthread.elf
aarch64-elf-objcopy -O binary rtthread.elf kernel8.img
aarch64-elf-size rtthread.elf
   text    data     bss     dec     hex filename
 308672    3856   95872  408400   63b50 rtthread.elf
scons: done building targets.
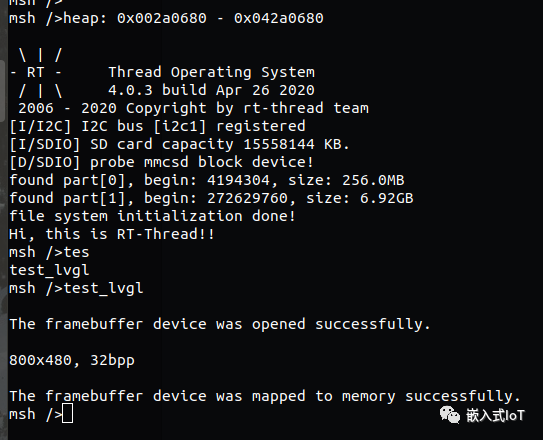
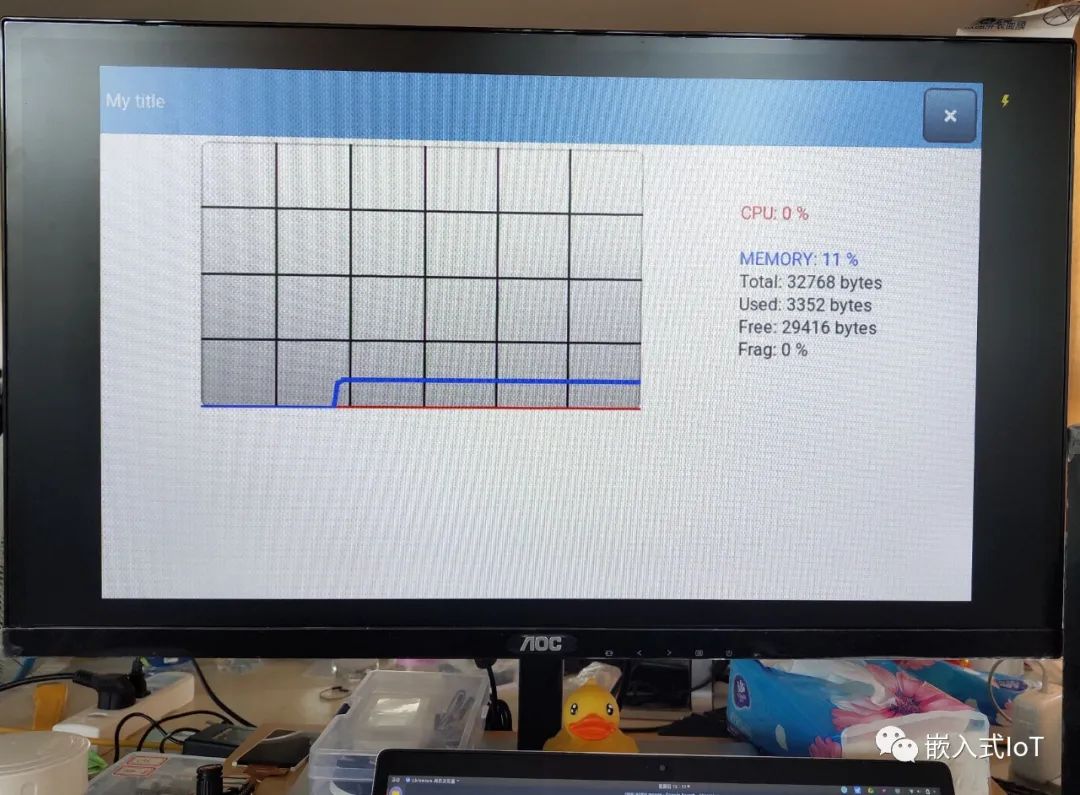
Place the generated kernel8.img on the SD card of Raspberry Pi 3B, and enter test_lvgl in the serial console to see the output.
The display effect on the screen is as follows:
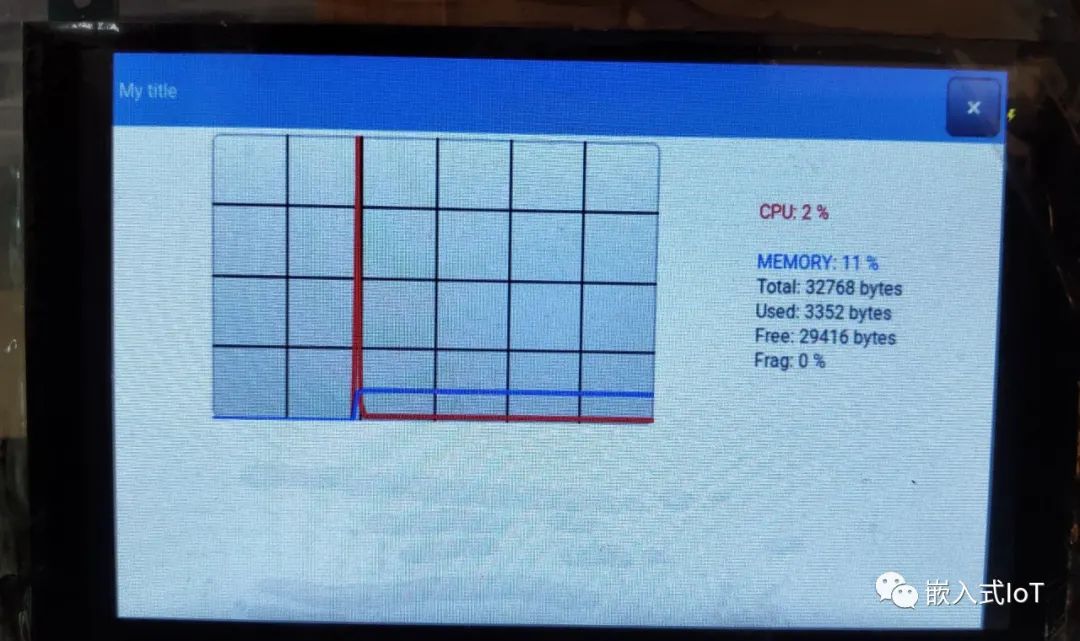
It looks clearer on a larger screen.
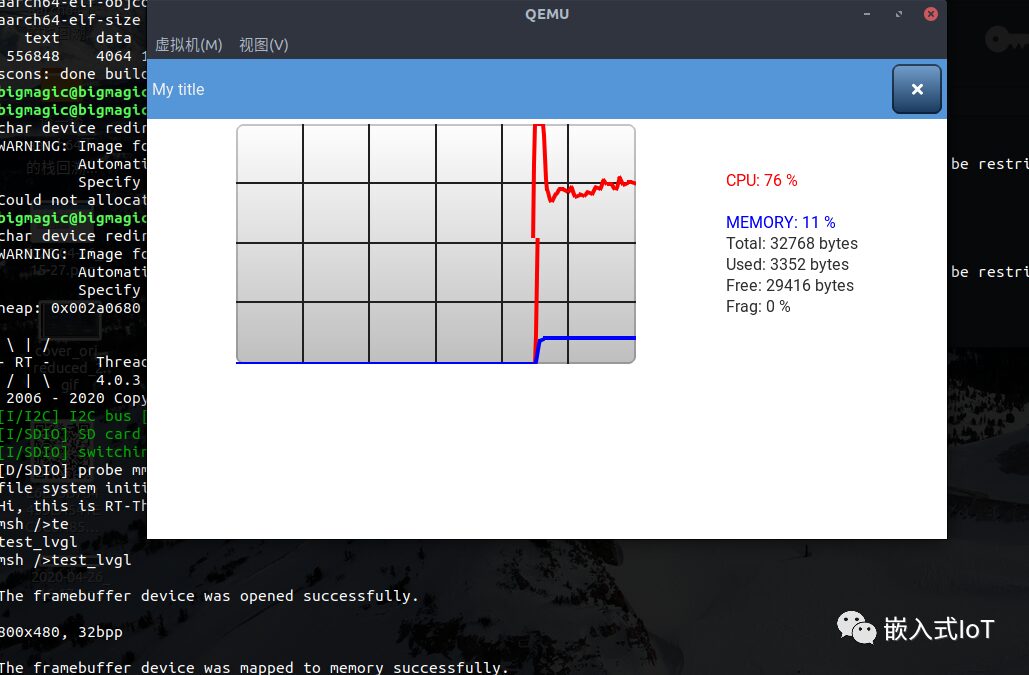
Of course, if you don’t have Raspberry Pi hardware, you can also experience it through QEMU. First, install the latest version of QEMU. You can create the following run script.
if [ ! -f "sd.bin" ]; then
dd if=/dev/zero of=sd.bin bs=1024 count=65536
fi
qemu-system-aarch64 -M raspi3 -kernel kernel8.img -serial null -serial stdio -sd sd.bin -monitor pty
The execution effect is as follows:
4. Seamless Integration of RT-Thread and LVGL
This step is crucial, as it requires understanding the driver framework model of LVGL and RTT to achieve seamless integration with minimal modifications.
First, RTT uses SCons for compilation, while LittlevGL uses Makefile. You just need to add a few SConscript scripts.
In the LVGL project, add the following SConscript script:
# RT-Thread building script for bridge

import os
from building import *

cwd = GetCurrentDir()
objs = []
list = os.listdir(cwd)

if GetDepend('RT_USING_LVGL'):
	for d in list:
		path = os.path.join(cwd, d)
		if os.path.isfile(os.path.join(path, 'SConscript')):
			objs = objs + SConscript(os.path.join(d, 'SConscript'))

Return('objs')
The above script searches for subdirectories in the current directory to find SConscript scripts.
Next, also add the above script in lvgl/src.
Then, in the lvgl/src subdirectory, add the following script in lv_core, lv_draw, lv_font, lv_hal, lv_misc, lv_objx, and lv_themes:
from building import *

cwd = GetCurrentDir()
src = Glob('*.c') + Glob('*.cpp')+ Glob('*.a')

CPPPATH = [cwd, str(Dir('#'))]

group = DefineGroup('lv_hal', src, depend = [''],CPPPATH = CPPPATH)

Return('group')
This script means to compile all files in the directory. This way, you can use SCons to compile LVGL.
Next, write the integration driver. To avoid modifying too many LVGL-related files, I created a directory called lv_rtt_port specifically for LVGL integration.
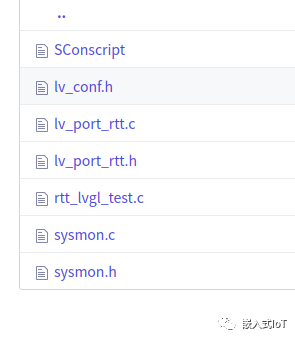
Among them, lv_conf.h is a modified version of lv_conf_template.h under the LVGL project, mainly modifying the screen width and height, as well as BPP.
lv_port_rtt.c is the implementation of the LCD driver framework of RTT and the integration part with LVGL.
sysmon.c is a demo program from https://github.com/littlevgl/lv_examples, located in the lv_apps directory.
rtt_lvgl_test.c is a test program implemented on RTT to test LVGL, which opens a GUI thread.
This part is complete.
Additionally, there is only one modification in RTT, which is to integrate the tick driver.
void rt_hw_timer_isr(int vector, void *parameter)
{
#ifdef BSP_USING_CORETIMER
    rt_hw_set_gtimer_val(timerStep);
#else
    ARM_TIMER_IRQCLR = 0;
#endif

#ifdef RT_USING_LVGL
    lv_tick_inc(1);
#endif

    rt_tick_increase();
}
This is the hardware timer, which generates an interrupt for every tick. Since currently no other timers are used, this uses the same tick as the operating system. You can also use an independent tick or software timer to implement it.
After completing these operations, LVGL can run on RTT.
5. Conclusion
Porting LittlevGL on RTT is actually very easy. You just need to understand the file organization of RTT and use SCons to organize the files properly. The integration of LVGL can be summarized in three steps:
1. Integrate the LCD framebuffer
2. Integrate the tick
3. Integrate touch
Then implement the drawing functionality.
In the future, I will port the SPI interface screen on Raspberry Pi 3B, which will include touch functionality, making it easier to play with Raspberry Pi, LittlevGL, and learn RT-Thread.