How to set up a web server on your Raspberry Pi? When setting up the server, it is necessary to install updates, but as you may know, the default mirror source for Raspberry Pi is in the UK, which can be slow to access from within China. Therefore, you need to change the mirror source to a domestic one. The official website provides 9 domestic mirror sources, 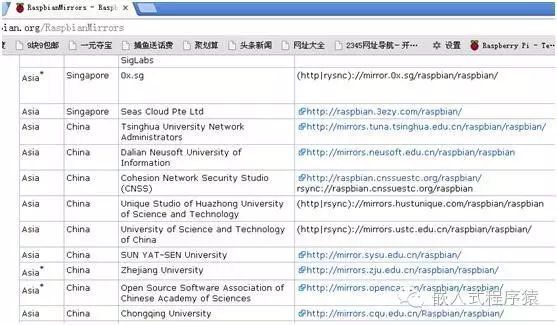
Connect to the Raspberry Pi via SSH over the network, and use nano to open the /etc/apt/sources.list file for editing.
First, back up the source file before editing.
Change the system’s mirror source to domestic using the cp command to back up the source file /etc/apt/sources.list to /etc/apt/sources.list.old.
Change the contents of sources.list as follows; change to the domestic Tsinghua University mirror site, then press ctrl+O to save and ctrl+x to exit.
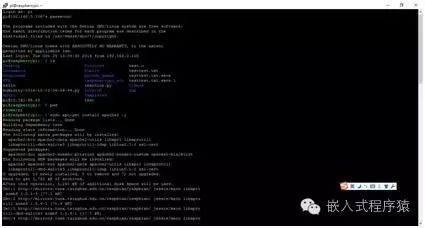
Nowadays, Apache has slowly become the most popular web server software on the Internet, so we will use apache2 to set it up. First, install apache2.
In the command line terminal, enter the command sudo apt-get install apache2 -y.
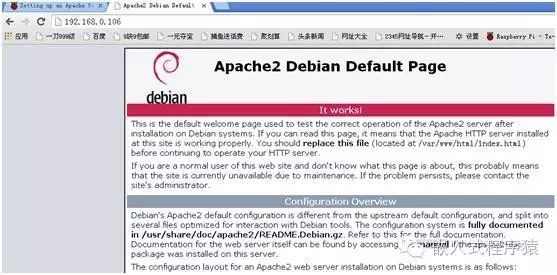
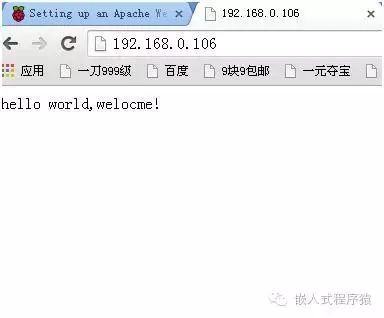
Enter your Raspberry Pi’s IP address in the browser. If the following test page appears, it means the Apache software is working properly.
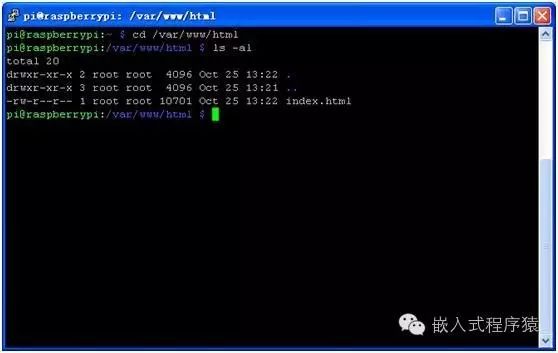
In fact, the entire displayed interface is an html file located in the /var/www/html folder.
You can edit the html file, refresh the browser page, and see the changes.
Delete the original test index.html file and create a new index.php.
You can write the following code:
<?php echo "hello world,welcome!"; ?>Save and exit, then refresh the browser.
Modify the content of index.php to show the time, allowing dynamic refresh to observe changes in the browser.
If you need our Apache server to process PHP files, you need to install PHP5.
The installation command is:
sudo apt-get install php5 libapache2-mod-php5 -y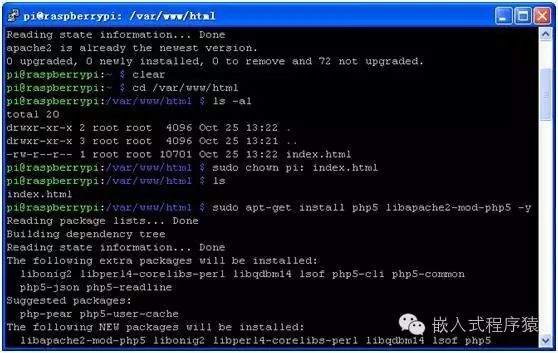
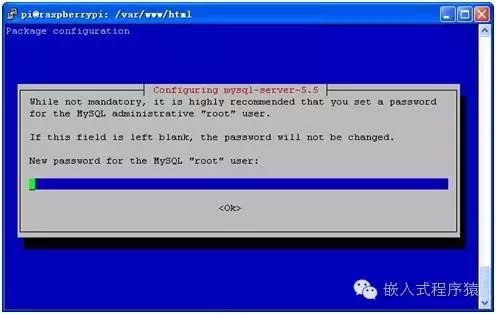
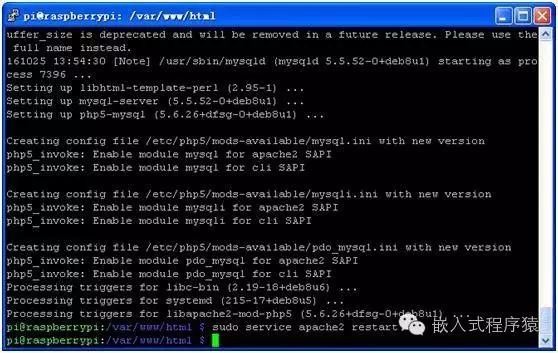
Install mysql.

Enter the password.
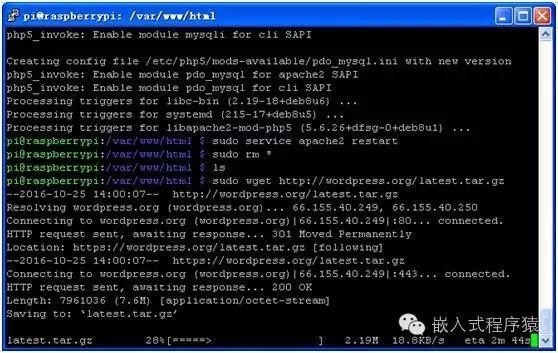
Restart apache2.
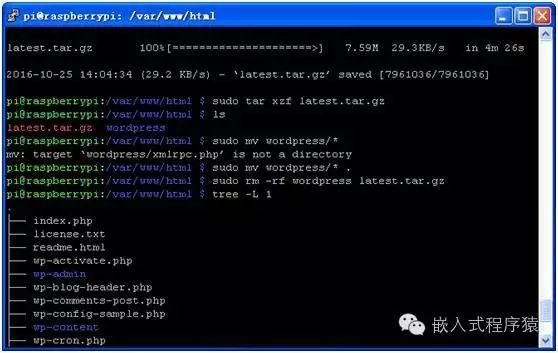
We also need WordPress, so download and install WordPress.
Unzip.
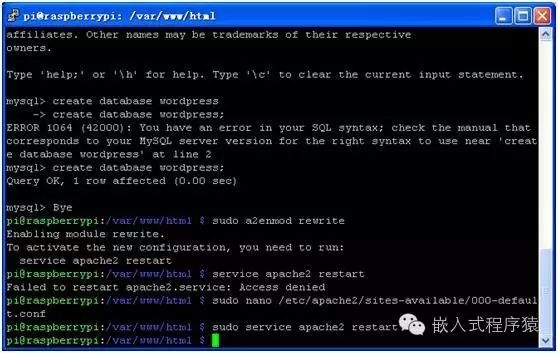
Create a database and set a password if possible.
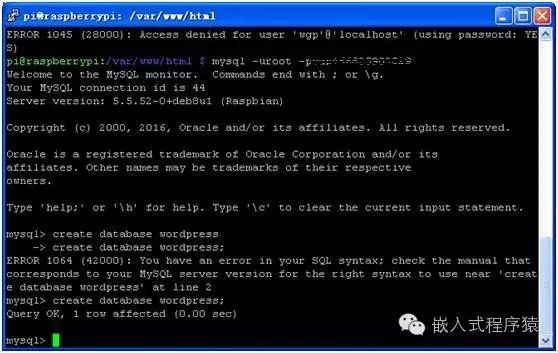
Press ctrl+D to exit the MySQL command line.
Configuration:
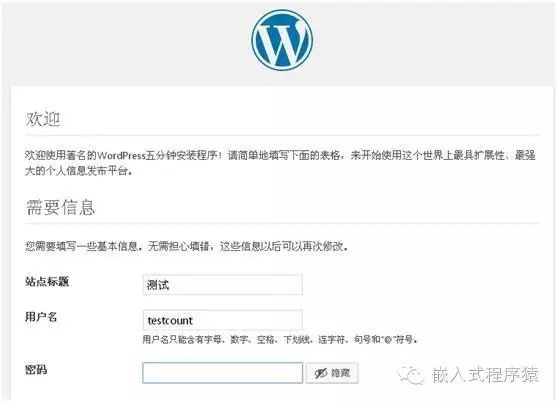
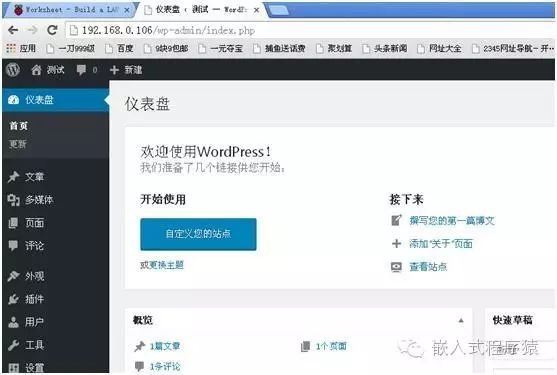
In the browser, enter your PI‘s IP address and wait for the language selection to appear below.
 Click continue and fill in the username and password.

Log in 
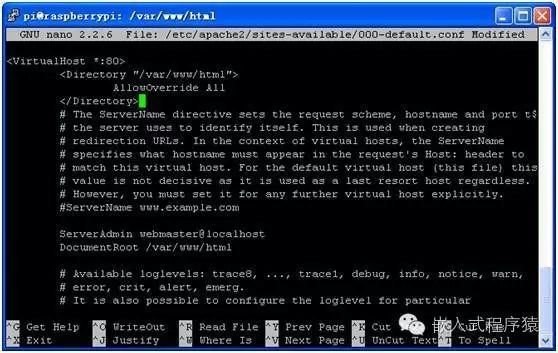
 Edit the configuration file.
Restart apache2.
 All done, refresh the browser and test our results.
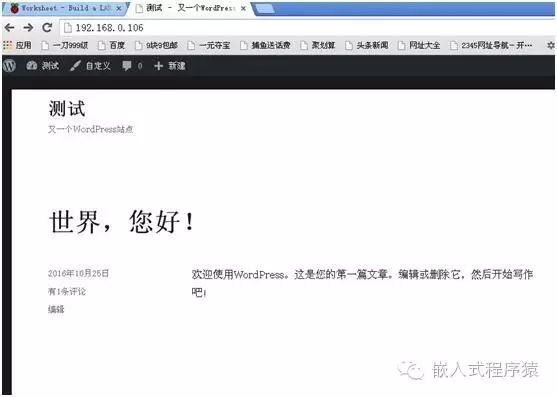
Add new interfaces and change the background color. You can also add more elements to make your site more attractive.
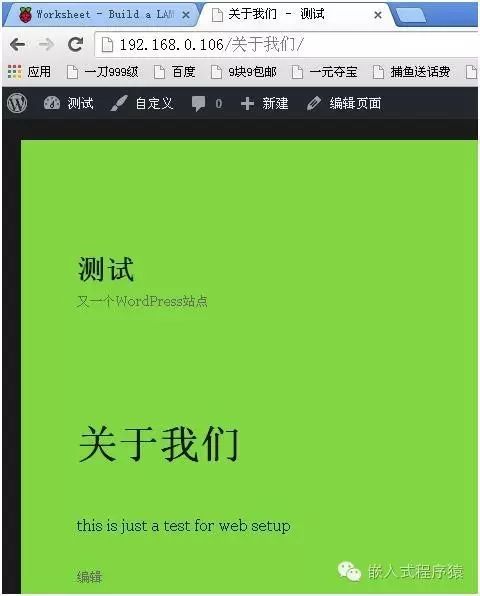
Alright, this proves that our setup is successful. This tutorial contains a lot of content and requires various software installations and configurations. Those interested should study it thoroughly. Stay tuned for more exciting content from the Embedded Programmer.