Today, I will teach you how to run a RISC-V Linux on the QEMU emulator.
A RISC-V Linux includes:
-
opensbi -
linux -
root filesystem
1. Download RISC-V Toolchain
Downloading the toolchain source code and compiling it can lead to incorrect options, so we will use the precompiled toolchain instead.
Website: https://toolchains.bootlin.com
This site provides some precompiled toolchains, and we can download from there.
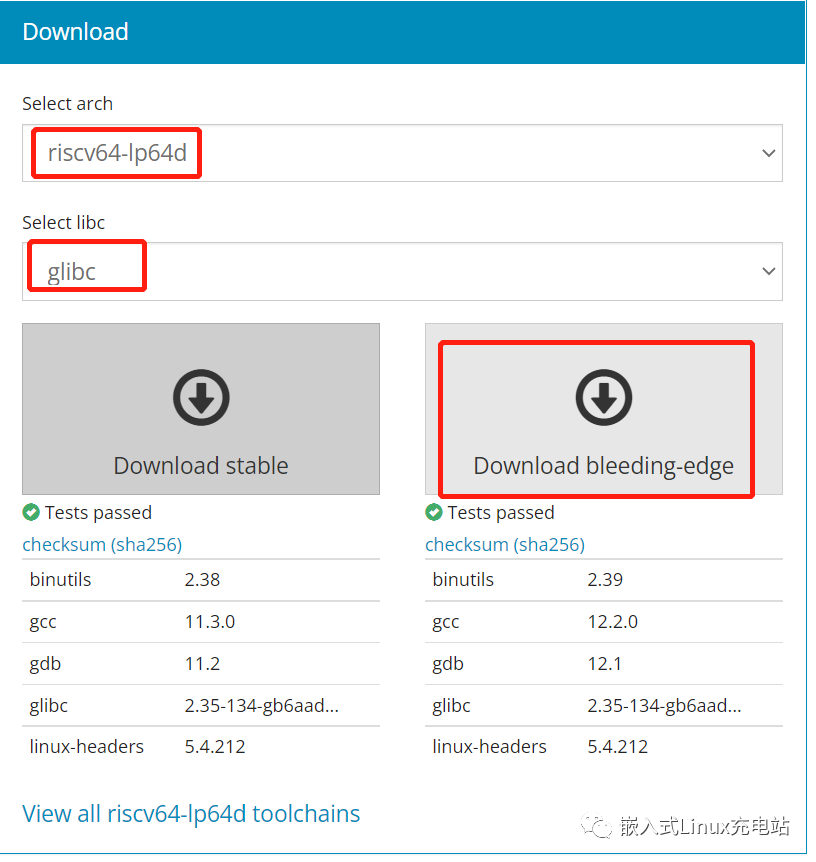
Select arch as riscv64-lp64d and libc as glibc, then click download.
Stable is the stable version, and bleeding-edge is the latest, choose according to your needs; here we choose bleeding-edge.
After downloading, extract:
tar -jxvf riscv64-lp64d--glibc--bleeding-edge-2022.08-1.tar.bz2 Add the path riscv64-lp64d--glibc--bleeding-edge-2022.08-1/bin to the PATH environment variable:
export PATH=/home/yjx/workspace/toolchain/riscv64-lp64d--glibc--bleeding-edge-2022.08-1/bin:$PATH2. Install QEMU
QEMU official site: https://www.qemu.org/
Download and install:
wget https://download.qemu.org/qemu-7.1.0.tar.xz
tar xvJf qemu-7.1.0.tar.xz
cd qemu-7.1.0
./configure
make
3. Compile OpenSBI
Download OpenSBI:
git clone https://github.com/riscv-software-src/opensbi.gitCompile:
export CROSS_COMPILE=riscv64-linux-
make PLATFORM=generic
The firmware generated after compilation is located in the build/platform/generic/firmware/ directory:

The generated firmware has three types: dynamic, jump, and payload.
-
dynamic: firmware with dynamic information -
jump: specifies the next boot address to jump to -
payload: contains the binary content for the next boot, usually uboot/linux
Here we will use the jump type firmware. After OpenSBI runs, it can directly jump to the kernel.
Since OpenSBI itself is a bootloader, there is no need to use uboot to boot the kernel. Using OpenSBI’s jump firmware, we can directly jump to kernel startup.
4. Compile Kernel
Linux kernel official site: www.kernel.org
Select the current stable version 5.19.16 to download.

Extract the kernel:
tar -xf linux-5.19.16.tar.xz
cd linux-5.19.16
Compile:
export ARCH=riscv
export CROSS_COMPILE=riscv64-linux-

make defconfig
make -j8
After compilation, the Image is generated in arch/riscv/boot:

5. Create Root Filesystem
The filesystem can be created using tools like busybox or buildroot. Busybox requires manual step-by-step creation, which is quite troublesome. A more convenient way is to use buildroot, which can automate the process for us.
Download link: https://buildroot.org/download.html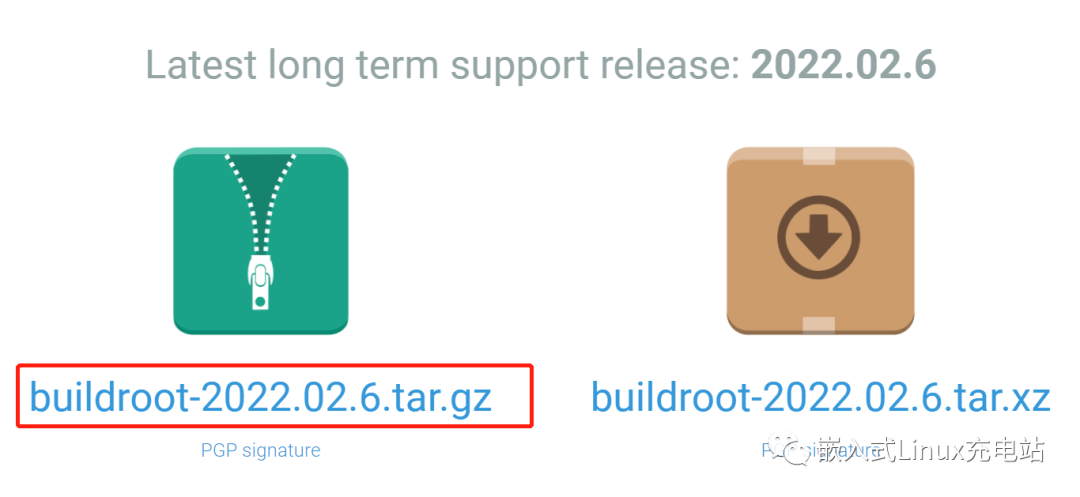 After downloading, extract:
tar -xvf buildroot-2022.02.6.tar.gzEnter the buildroot menu configuration interface:
cd buildroot-2022.02.6
make menuconfig
Select RISC-V architecture:
Target options  --->
   Target Architecture (i386)  --->
      (X) RISCV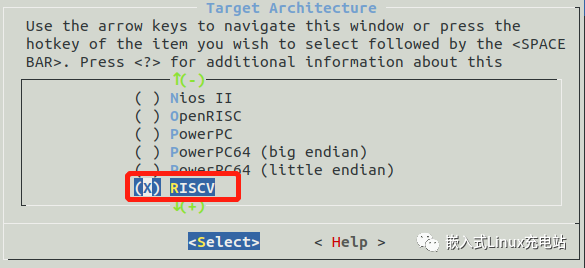
Select ext filesystem type:
Filesystem images  --->
[*] ext2/3/4 root filesystem 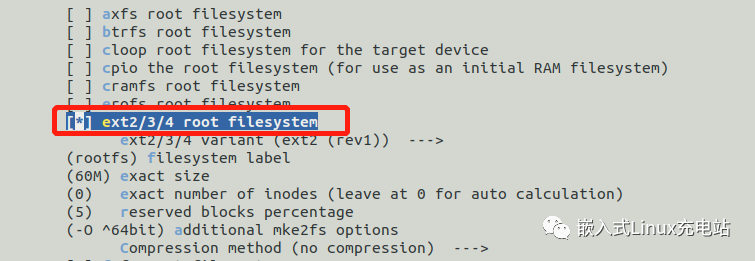
After saving, compile:
make -j8The compilation will take some time, as buildroot spends most of the time compiling the toolchain. After compilation, the generated files are located in the output/images directory:

rootfs.ext2 is what we need.
6. Run
Copy fw_jump.elf, Image, and rootfs.ext2 to the current directory:

Create a start-qemu.sh script and input the following content:
#!/bin/sh

qemu-system-riscv64 -M virt \
-bios fw_jump.elf \
-kernel Image \
-append "rootwait root=/dev/vda ro" \
-drive file=rootfs.ext2,format=raw,id=hd0 \
-device virtio-blk-device,drive=hd0 \
-netdev user,id=net0 -device virtio-net-device,netdev=net0 -nographic
Modify permissions:
chmod 777 start-qemu.sh
Run start-qemu.sh to start RISC-V Linux:
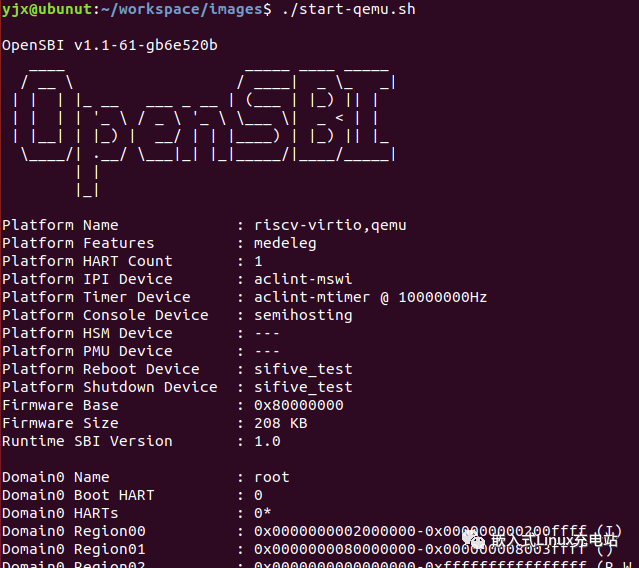
Enter root and press enter to log in:
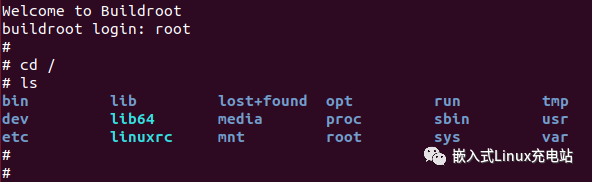
Successfully entered Linux!
7. Buildroot Environment Setup
Earlier we used buildroot to create the filesystem, but buildroot can actually help us set up a complete environment, including toolchain, OpenSBI, Linux, filesystem, etc., with simple configurations, it can automatically complete everything, which is very convenient. Below I will teach you how to use buildroot to set up a qemu riscv64 linux system.
Compile using the default qemu_riscv64 configuration:
cd buildroot-2022.02.6
make qemu_riscv64_virt_defconfig
make -j
Next is a long wait, which may take several hours. After compilation, the generated files are in the output/images directory:

You can see that OpenSBI, Image, and rootfs have all been prepared, including the automatic download and compilation of QEMU. You can directly run start-qemu.sh:
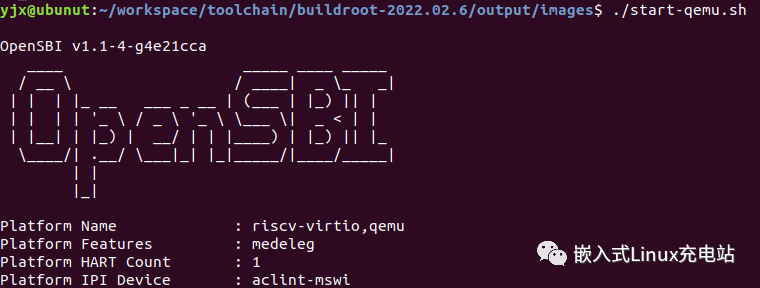
Using buildroot to set up the environment requires almost no effort, which is very convenient! Just ensure that the network is smooth; if the network is unstable, buildroot may be interrupted.
8. Conclusion
Learning to set up the RISC-V Linux environment is the first step; with the environment, you can better track the source code and debug. Of course, having a development board would be even better. The above is my summary of setting up RISC-V Linux on QEMU, and I hope it can help everyone.

END
→Follow for updates←