This article is authorized for reprint by AI new media Quantum Bit (Public account ID: QbitAI), please contact the source for reprint.

This article is approximately 1300 words long and is recommended to be read in 5 minutes.
This article introduces the story of using a Raspberry Pi retro camera to open source and write your own algorithms.
Is taking pictures with your phone not satisfying enough, and carrying a DSLR is too heavy?
Try making a Raspberry Pi retro camera, the kind where you can also write your own processing algorithms —
It costs less than 700 yuan.
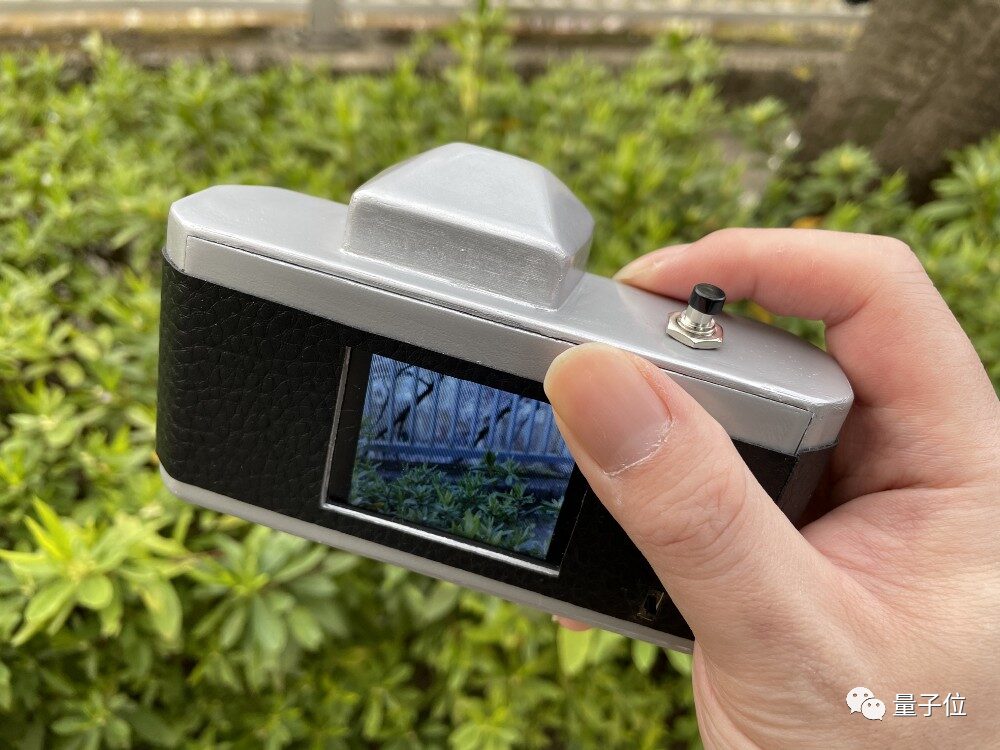
That’s right, it looks great, and the photos taken can also be stunning:
You can also quickly get started and make one.
How to Make a Raspberry Pi Retro Camera
Currently, the code, hardware list, STL files (for 3D printing), and circuit diagrams for this camera have all been open-sourced.
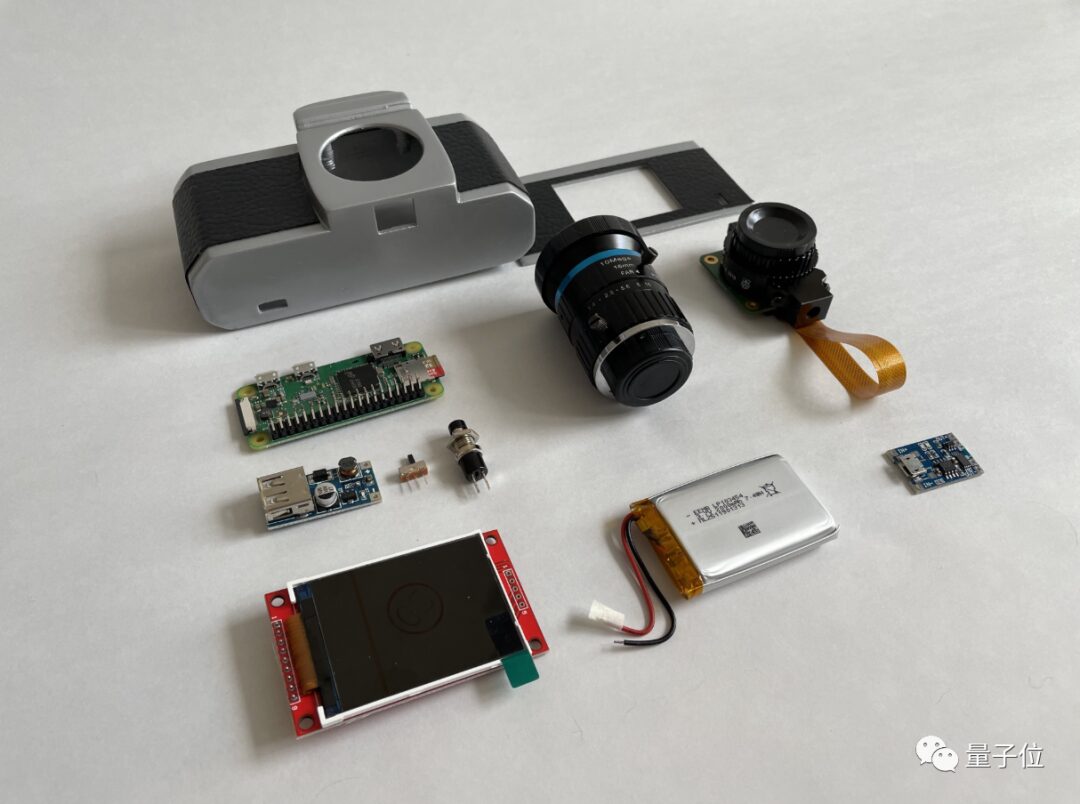
First, let’s look at the hardware part.
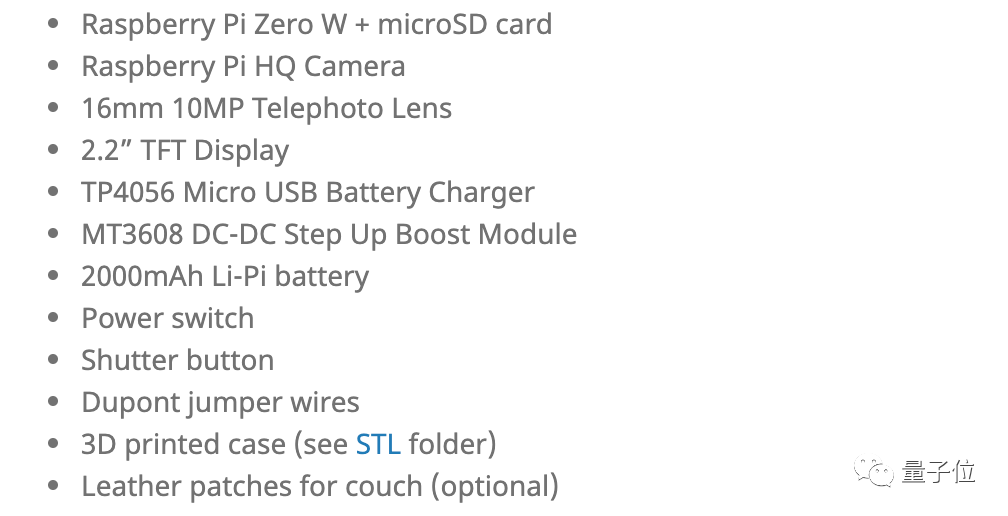
The hardware list for this retro camera is as follows:
Raspberry Pi Zero W (with microSD card), Raspberry Pi HD lens module, 16mm 10MP telephoto lens, 2.2-inch TFT display, TP4056 micro USB battery charger, MT3608, 2000mAh lithium battery, power switch, shutter button, Dupont wires, 3D printed camera case, black leather patch (optional)
As for the 3D printed camera case, the author has already open-sourced the necessary STL files, so you can print them directly.
Once you have all the materials, you can quickly get started making it~
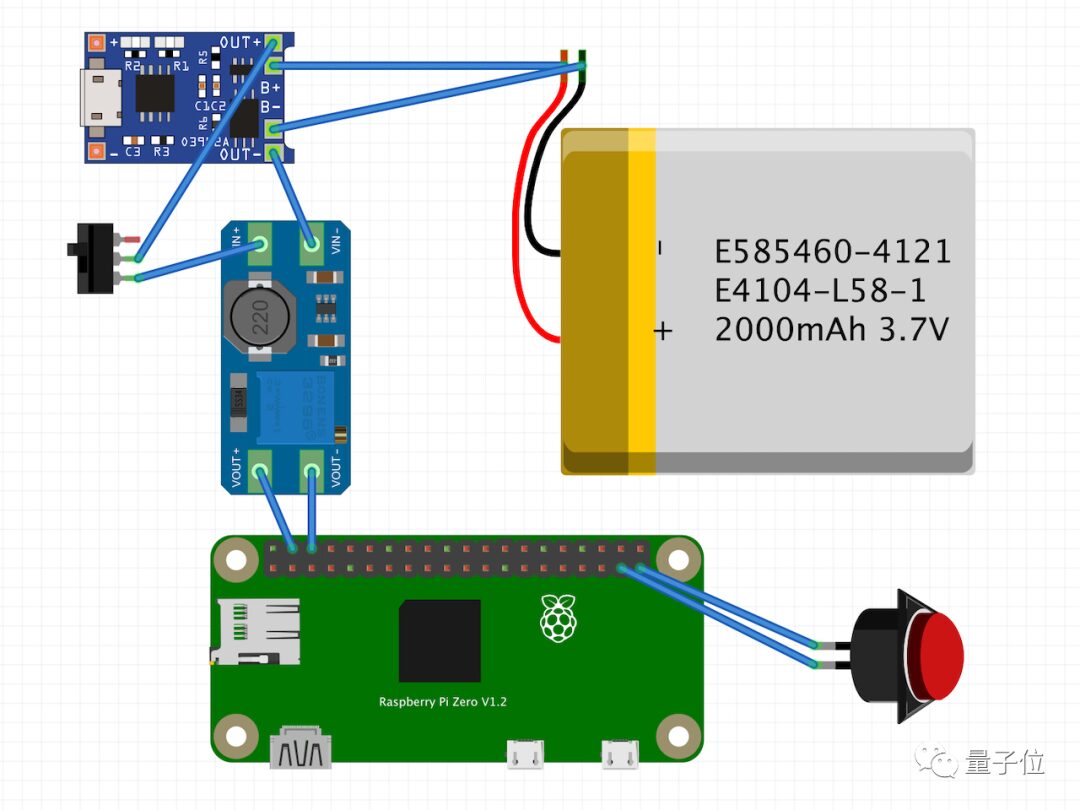
The internal circuit diagram looks like this:
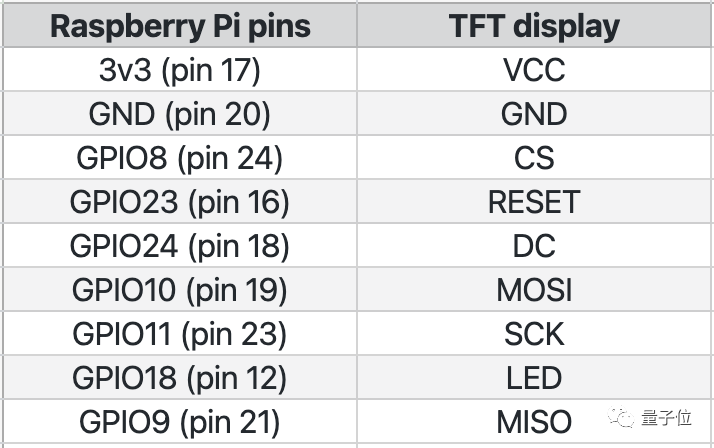
The specific pinouts are as follows:
After building, the overall circuit looks like this:
With the 3D case (sprayed with silver paint) and lens, a simple Raspberry Pi retro camera is completed.
As for the software part, it is also very simple.
First, after flashing the Raspberry Pi operating system onto the microSD card, add the following code to the configuration file.
// Add the following code to config.txt
gpu_mem=256
dtoverlay=rpi-display
display_rotate=2
Second, after the Raspberry Pi camera starts, execute the following script:
from gpiozero import Button
from picamera import PiCamera
import time
button = Button(26)
with PiCamera() as camera:
    camera.resolution = (4056, 3040)
    camera.framerate = 5
    frame = int(time.time())
    camera.start_preview()
    while True:
        button.wait_for_press()
        camera.capture('/home/pi/Pictures/%03d.jpg' % frame)
        frame += 1
Of course, you can also further modify the code to add other modules you want, including custom image processing algorithms, WiFi automatic image transfer, etc.
So, what is the use of such a retro camera?
“With Raspberry Pi, Anything Can Be Created”
The reason given by the author is very simple: he has never waited for the same camera.
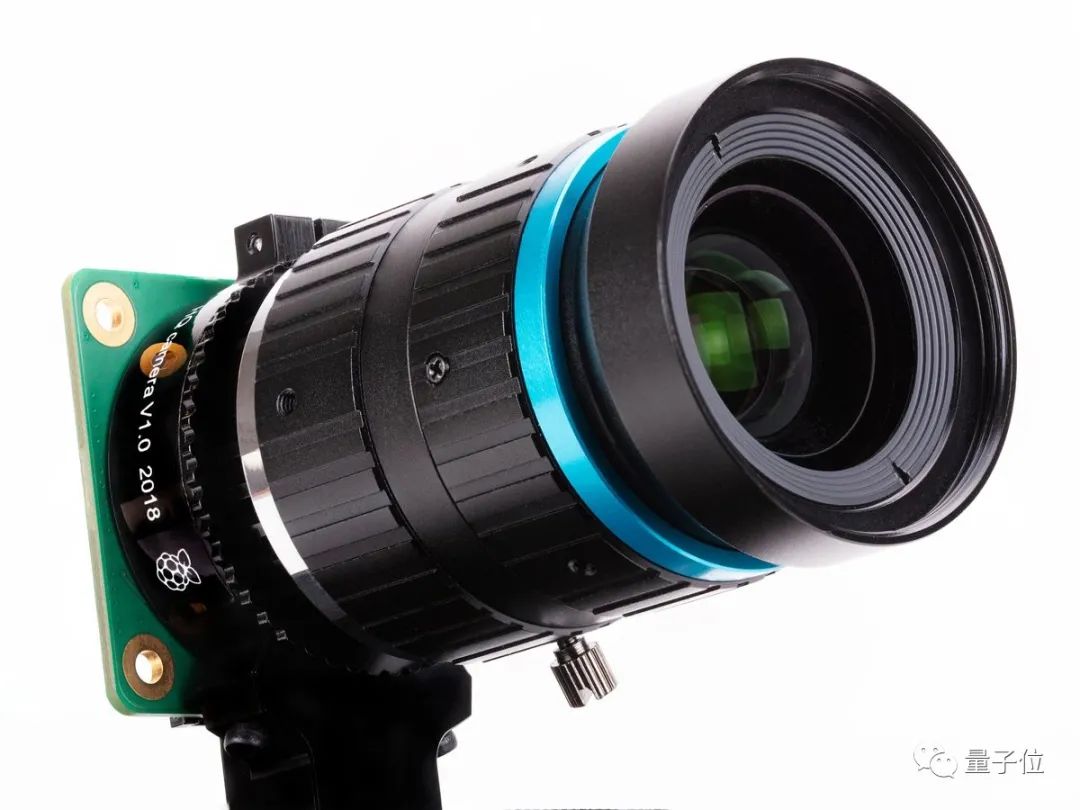
Last year, the official Raspberry Pi released a new Pi HQ Camera lens module, which he was very interested in.
However, half a year passed, and no one used it to DIY a camera, so he had to do it himself.
The retro camera unexpectedly became quite popular.
One netizen expressed that he was a bit moved. This camera just solved his problem of not being able to take good photos with his phone and not wanting to carry a mirrorless/DSLR camera.
But he also raised a few questions:
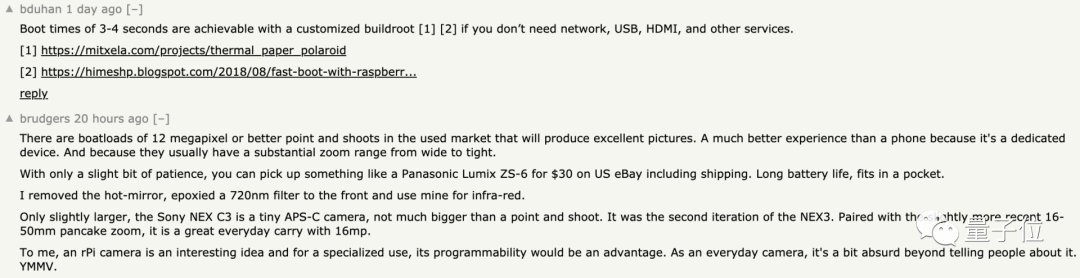
First, the Raspberry Pi startup time is too long, which may cause you to miss what you want to shoot; second, is the 2000mAh battery capacity not durable?
However, immediately a netizen pointed out: this is a programmable camera!
This means that you can achieve a faster startup through buildroot (a framework for building embedded Linux systems).
As for the battery capacity, you can always swap for a larger one.
In addition to taking pictures, many netizens also had creative ideas, thinking of using the Raspberry Pi camera to make an “automatic scanner” for homework.
If you take a random picture with the camera, and the Raspberry Pi is equipped with an AI model, it can automatically adjust the brightness of the paper, remove shadows, and so on. Wouldn’t that be very convenient?
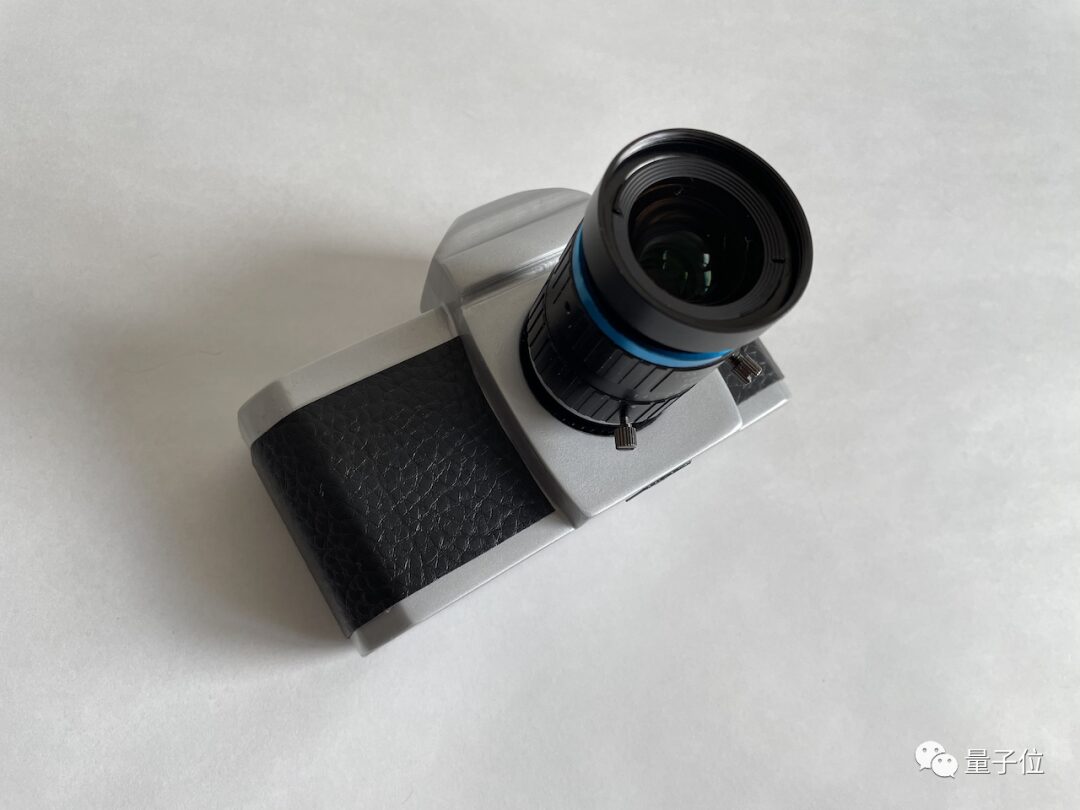
In addition, this Raspberry Pi retro camera has also attracted hardcore DIY enthusiasts in astronomical photography.
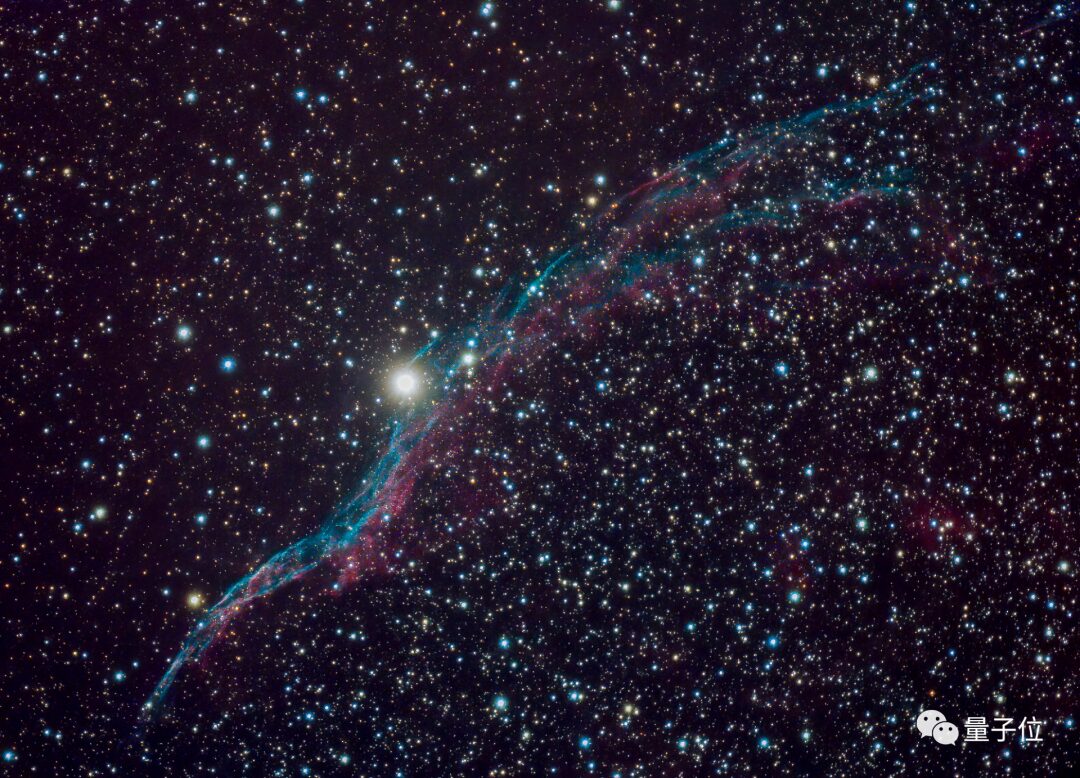
This netizen posted his astronomical camera made with Raspberry Pi, star sensor, and optical devices:
Although the device looks plain, the results are surprisingly good:
With Raspberry Pi, indeed anything can be created.
About the Author
The author of the Raspberry Pi retro camera, Penk Chen, currently lives in Tokyo and describes himself as an “internet celebrity engineer” who enjoys DIY various small parts.
This camera, named RUHAcam, was a small gift he made for his girlfriend Ruha Cheng, and was named after her.
Are you a bit moved? Hurry up and give it a try~
RUHAcam project address: https://github.com/penk/ruha.camera
[1]https://penk.medium.com/[2]https://news.ycombinator.com/item?id=26859058[3]https://terramex.neocities.org/astro/[4]https://ruha.camera/
Proofreader: Lin Yilin