As I walk along the waves, occasionally looking back, though I cannot see the marks, I can still glimpse the distant shore. Since graduating in 2015, it has been eight years. I have worked in hardware for eight years, and my love for it runs deep. I still remember a friend I met in the student union during college, who one day suddenly recommended a microcontroller development board to me. At that time, I was in my sophomore year, and I learned that microcontrollers would be a course starting the next semester. I felt it was a fateful arrangement, so I spent a fortune to buy Guo Tianxiang’s microcontroller development board. By some strange twist of fate, I found myself studying until one or two in the morning during those loose college days! It was also because of that development board that I passed the computer level two exam twice (though later I realized it was not very useful). My previously unclear understanding of hardware also became clear. Later, I participated in several competitions organized by the school and at the national level, and I began to fall in love with hardware. At that time, I also became the professional representative of my class, but graduation always caught me off guard. After a busy period, I entered my current company. I remember I was hesitant to write “hardware engineer” on my resume and ended up writing “PCB engineer” instead. Perhaps I was also doubtful about my hardware design abilities. When I first joined, I mostly familiarized myself with the products, so I repaired the company’s old boards, looked at schematics, and checked information, most of which I had to figure out on my own. Then came PCB design, learning Cadence software, and designing my first interface board. A little over a year passed, and designing five or six-layer boards became easy. I remember once evaluating PCB dimensions and interface positions corresponding to product appearance. I was forced to learn the simplest SolidWorks operations. I also dabbled in structural design, and later when our structural design engineer left, I took on that work. Historically, hardware and structure have always been intertwined. The combination of PCB and structure produced a perfect product. Just like that, four years passed, and as someone working in hardware, I had never even worked on a schematic, which was quite regrettable. Just when I was about to coast along, I didn’t know why my boss started to hand me various schematic designs and essentially taught me step by step, but time was only given to me for a month because he was leaving and wanted me to take over. It was a mix of joy and sorrow. The joy was a promotion and a raise, but the sorrow was that two projects came in at the same time. Schematics, PCBs, structures… I had to start seriously with the schematics, as there was no other way. So I referenced the reference design, thinking that deleting some components would complete the task, but when I tried to delete a capacitor, I got stuck, with questions swirling in my mind: Why was this capacitor chosen with this capacity? Why is the voltage rating this? Why is there no material specified for this capacitor? Why are there so many types of capacitors in this area? Forget it, I’ll delete the resistors instead, and then more questions arose: What resistance value? What precision? What package size? Then there were inductors… In the end, I kept everything as it was; after all, it worked, so I didn’t change it. This ultimately led to issues like BOM costs and oversized boards. I could do this the first time, and the second time as well, but when the product came out, similar products on the market had our pricing quite high, so my boss invited me to his office for tea. The message was simple: reduce BOM costs. The road ahead is long and winding.This is the “Renesas RA2E1 32-bit Arm Cortex-M23 Development Board” evaluation activity from the Breadboard Community, a series of evaluations by wind_west, shared here for your reference.Table of Contents (1) Lighting up the LED (2) Hardware IIC driving LCD and LM75 temperature sensor (3) Displaying menu based on U8G2 (4) Infrared decoding – ignoring communication protocols (5) Infrared transmission – stable control of home air conditioning (6) Air conditioning control project – summary post
The previous sections recorded the development process of various modules for air conditioning control. This post summarizes the previous development process, including circuit introduction, process demonstration, and firmware, with the beginning mainly introducing Flash operations. Confirm the Flash address used for storage
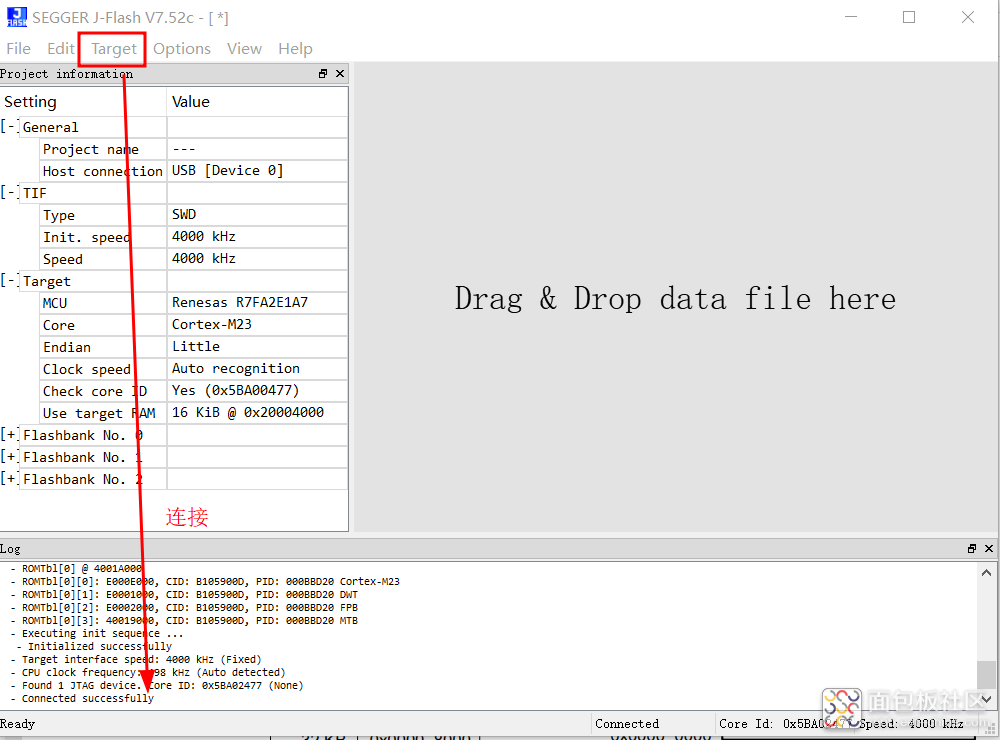
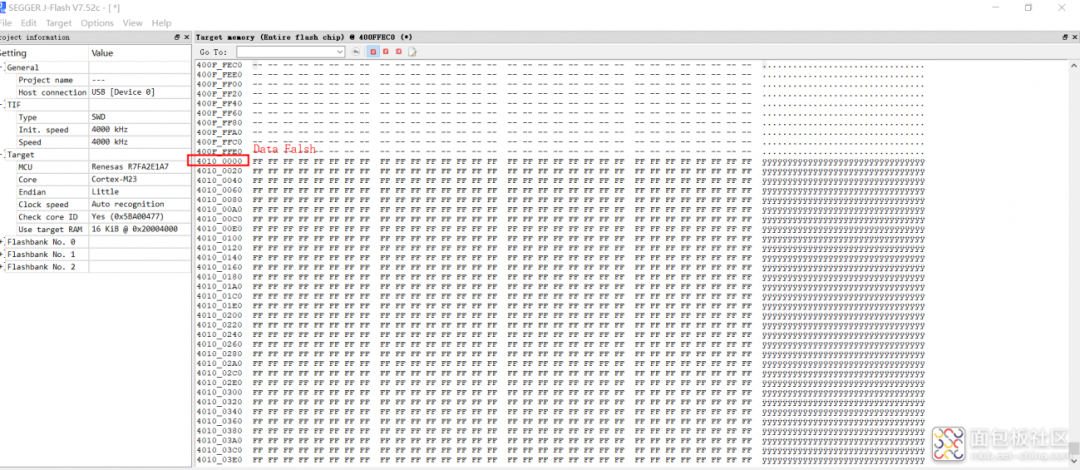
1. Viewing Flash:
Using Jlink to view Flash data.
Connecting the chip:
Reading the entire Flash:
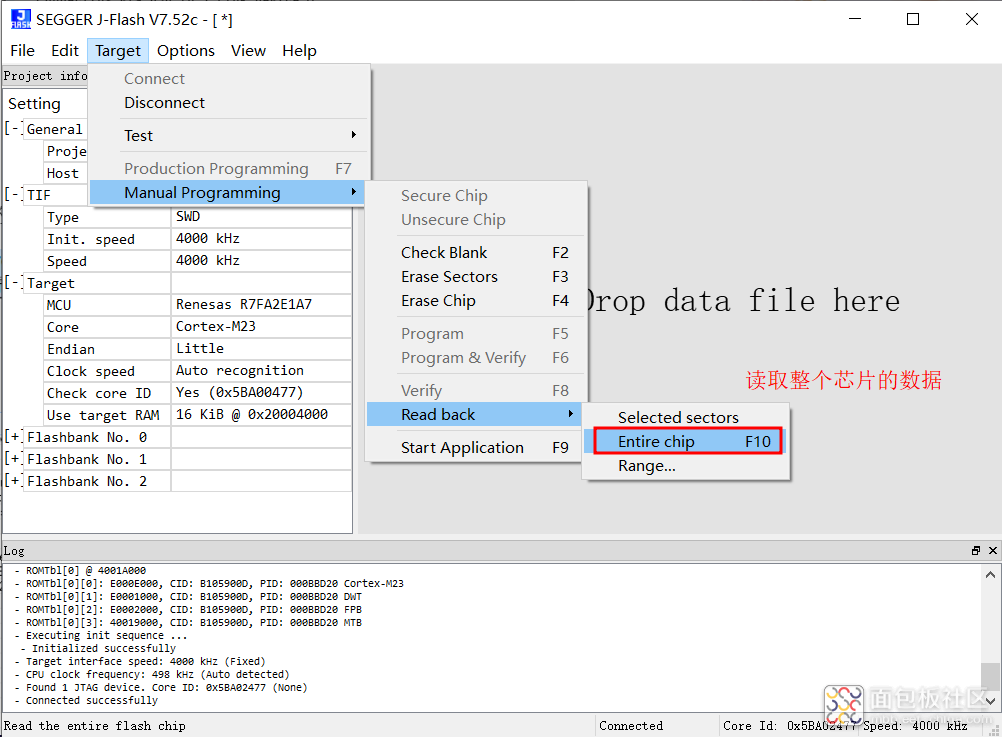
Viewing the Data Flash area:
The program for writing Flash cannot run: R_FLASH_LP_bgo_example(). The materials used by Wildfire and the official documentation are based on external Flash, which has limited reference value. Ultimately, I referred to the examples included in the FPS package for Flash operations.2. Reference example for reading and writing Data Flash
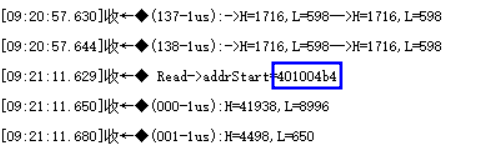
Current solution: Using the system API with added delay, Flash write succeeded (write address: 0x4010_0000U):

Key code for Flash operations (Note: Erase check removed, delay added!):
void R_FLASH_LP_basic_example (void){/* Initialize p_src to known data */vTaskDelay (10);for (uint32_t i = 0; i < TRANSFER_LENGTH; i++){g_src = (uint8_t) ('A' + (i % 26));}/* Open the flash lp instance. */err = R_FLASH_LP_Open(&g_flash0_ctrl, &g_flash0_cfg);assert(FSP_SUCCESS == err);vTaskDelay (10);/* Erase 1 block of data flash starting at block 0. */err = R_FLASH_LP_Erase(&g_flash0_ctrl, FLASH_DF_BLOCK_0, 1);assert(FSP_SUCCESS == err);vTaskDelay (10);/* Write 32 bytes to the first block of data flash. */err = R_FLASH_LP_Write(&g_flash0_ctrl, (uint32_t) g_src, FLASH_DF_BLOCK_0, TRANSFER_LENGTH);assert(FSP_SUCCESS == err);vTaskDelay (10);memcpy((uint32_t)g_dest, FLASH_DF_BLOCK_0, FLASH_LP_EXAMPLE_WRITE_SIZE);///< Send data via serial buff_len = FLASH_LP_EXAMPLE_WRITE_SIZE;//strlen(g_dest);err = R_SCI_UART_Write(&g_uart0_ctrl, g_dest, buff_len);if(FSP_SUCCESS != err) __BKPT();while(uart_send_complete_flag == false){}uart_send_complete_flag = false;}3. Using a union to store floating-point data
Reference: https://code84.com/454972.html
4. Current storage issues encountered
There are issues with reading and writing stored data; the data read back does not match the written data.
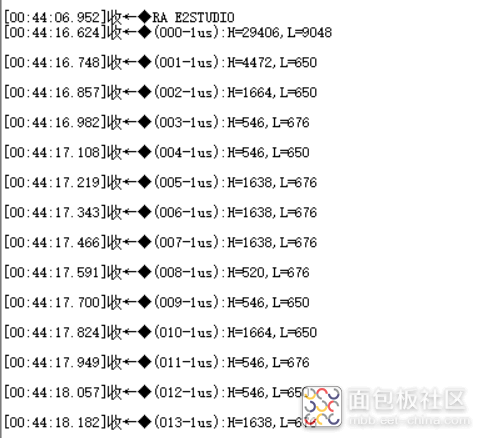
The data stored is:
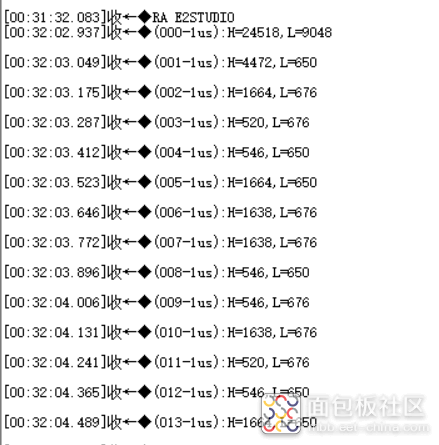
The data read:
|
|
|
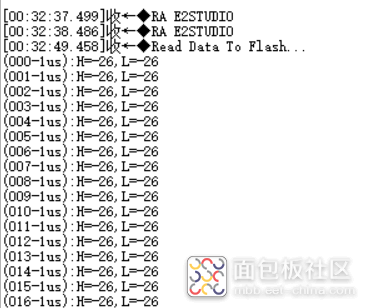
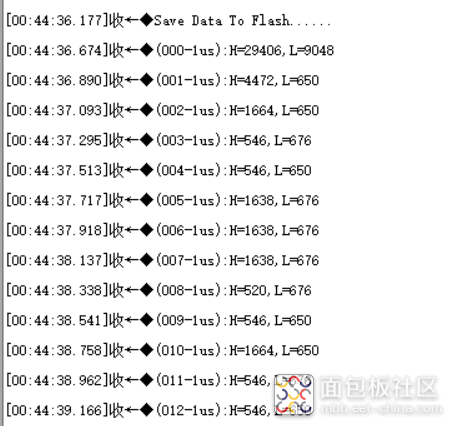
First, locate: The issue actually occurred during the data saving (Flash write operation):

After modifying the code, the current saved data has no issues:
| Decoded data | Saved data |
|
|
|
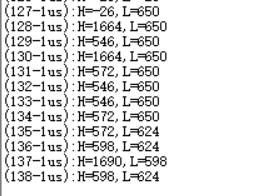
Error when saving data to 127 (data read back is 144):
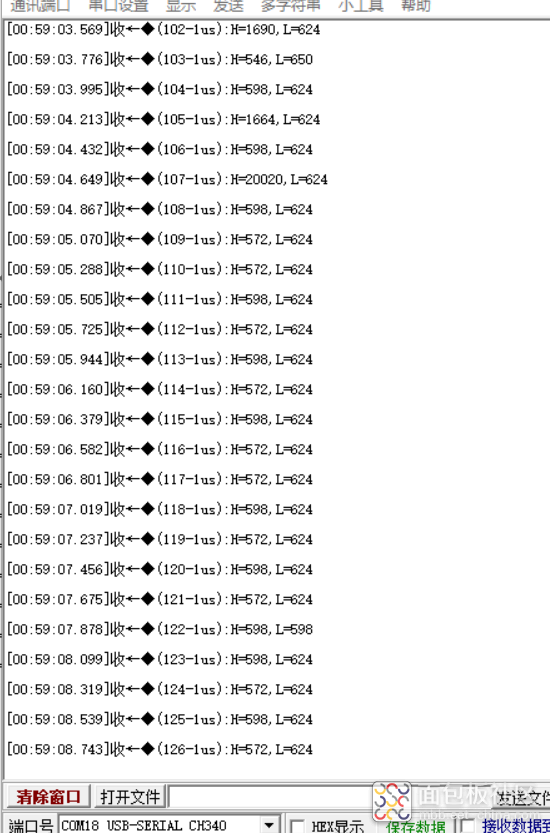
Identifying the cause: The current data volume is too large; one sector is 1024 bytes, and one temperature data point is as high as 600 bytes. Each time, only one sector is erased by default, so data outside the 1K address was not erased before writing, causing the error.5. Set each level’s time to 32 bits, using 4 bytes for storage
Storage address for the command at 26 degrees Celsius:
In fact, according to the storage of high and low levels, each control command’s storage byte is 1200 bytes (I will find a way to compress it later).
Each level’s storage time uses 32-bit data, which is 4 bytes. Currently, the default command consists of 139 PWM signals, and to reserve some space, each command allocates 150*2*4 bytes for storage.
Currently, in Data Flash, three areas have been allocated to store two temperature commands and one shutdown command.
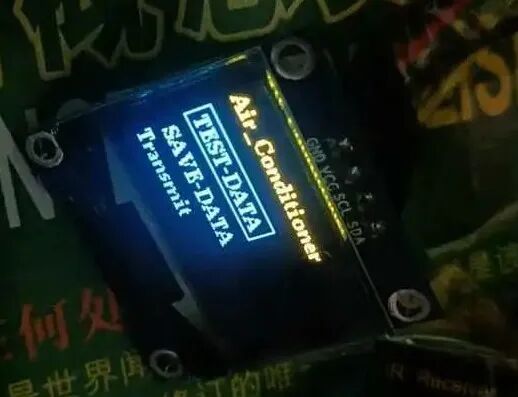
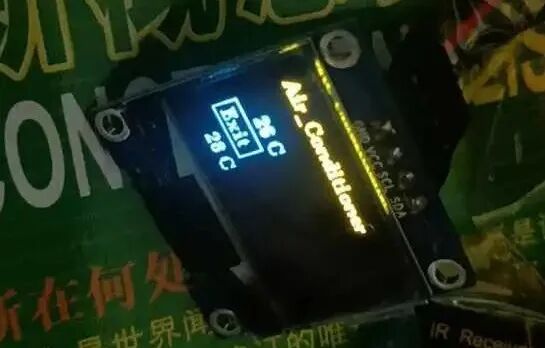
6. Temperature control logic
1. Decode temperature data, test commands to successfully control the air conditioning; it can successfully control, save the data to Flash, and read the data during temperature control, waiting for signal control.
2. If the temperature is above 27 degrees Celsius, turn on the air conditioning; if the temperature is below 26 degrees Celsius, turn off the air conditioning.
Saving temperature data:
Selecting the address for saving data:
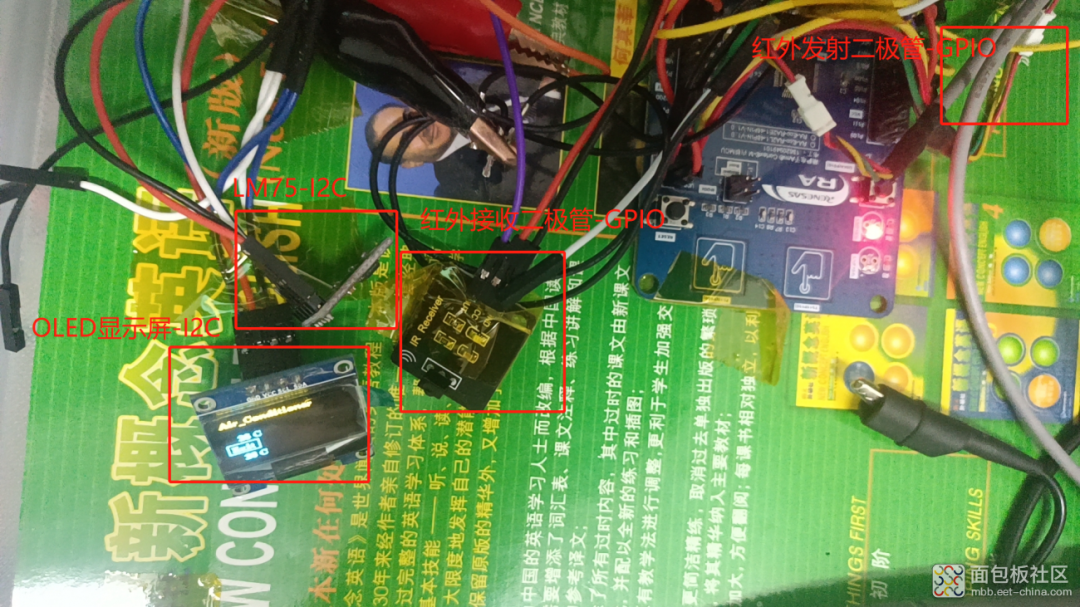
7. System Composition
The entire system is designed for easy addition or removal of modules in the future, using Dupont wires to connect various modules. Since the effective distance of the infrared transmission module is less than 3 meters, an extension cable is used for the module as previously introduced.
Pin allocation: I2C pins: SDA0-P401, SCL0-P400; Infrared receiving GPIO pin: P102 -INPUT; Infrared transmitting GPIO pin: P213 -PWM;
Firmware code:
 oled12864.zip(60.26 KB)
oled12864 – code.zip(9.43 MB)
Copy the link https://mbb.eet-china.com/forum/topic/130402_1_1.html, or click to read the original post to download.
END