What is FreeMaster
FreeMaster is a data visualization debugging software developed by NXP, provided free of charge to users. Its main function is to provide a data visualization interface on a PC, displaying data variables from the MCU through communication interfaces such as SWD, UART, and CAN.
When using the J-Link debugging tool for connection, FreeMaster does not require any source code related to FreeMaster to be included in the target project. You only need to create the variables you want to display in real-time as global variables or static local variables, which allocates a fixed address in the MCU’s memory. After that, FreeMaster will read the values from memory via the SWD communication interface and display them in real-time on the FreeMaster interface.
Accessing memory through the SWD interface is one of the basic methods for debugging ARM core MCU code programs, similar to the operation of commonly used online debugging tools. MDK debugging also supports displaying and modifying memory variables, but its visualization capabilities are relatively limited. FreeMaster enhances basic data read/write functionalities with many visualization features, such as waveform display.
The image below shows the visualization debugging software for NXP’s own motor control system on FreeMaster 3.1. For more information, you can visit the official website: https://www.nxp.com.cn/design/software/development-software/motor-control-application-tuning-mcat-tool%3AMCATSW
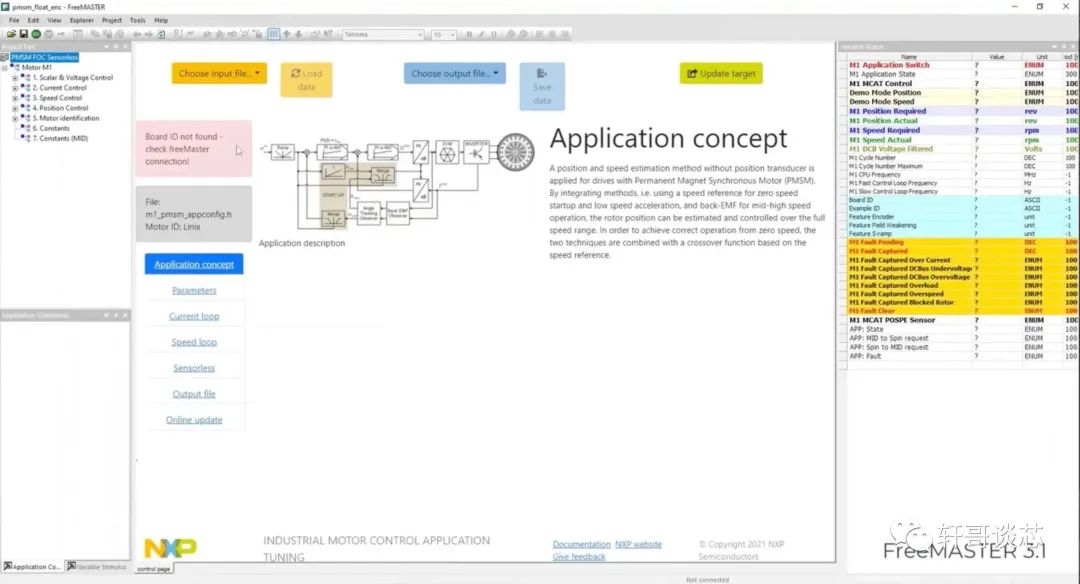
Here is the official introduction, which is quite clear. You can experience it here: https://www.nxp.com.cn/design/software/development-software/freemaster-run-time-debugging-tool:FREEMASTER
Downloading FreeMaster
FreeMaster has many versions, from 2.0 to the latest version 3.2.
FreeMASTER tool 3.x, in addition to the traditional FreeMASTER host, also includes a FreeMaster Lite, which can communicate remotely via the web and supports third-party applications using JSON-RPC.
FreeMaster tool 2.x is the traditional FreeMASTER host, with versions 2.5 and 2.0 available on the official website.
For general debugging, it is recommended to use version 2.0 or 2.5, as software versions above 3.0 are quite large, and many of the added features may not be necessary. (The start/pause function in the toolbar of FreeMASTER 2.0 uses the same button, making it difficult to determine FreeMASTER’s status; version 2.5 is recommended.)
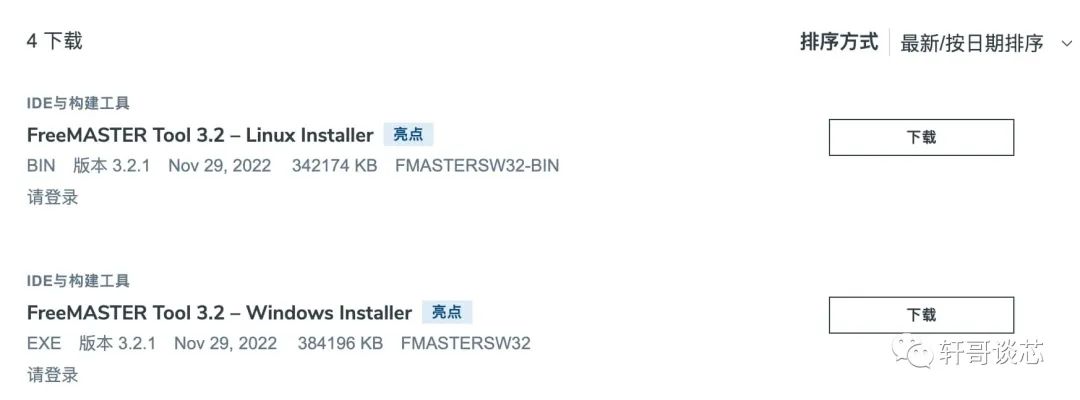
I have downloaded it and will provide the link so that everyone does not need to register and log in to the official website to download.
Download links for various versions of FreeMaster (click to read the original text for the link)
Basic FreeMaster Setup
After installing FreeMaster, the interface looks like this:
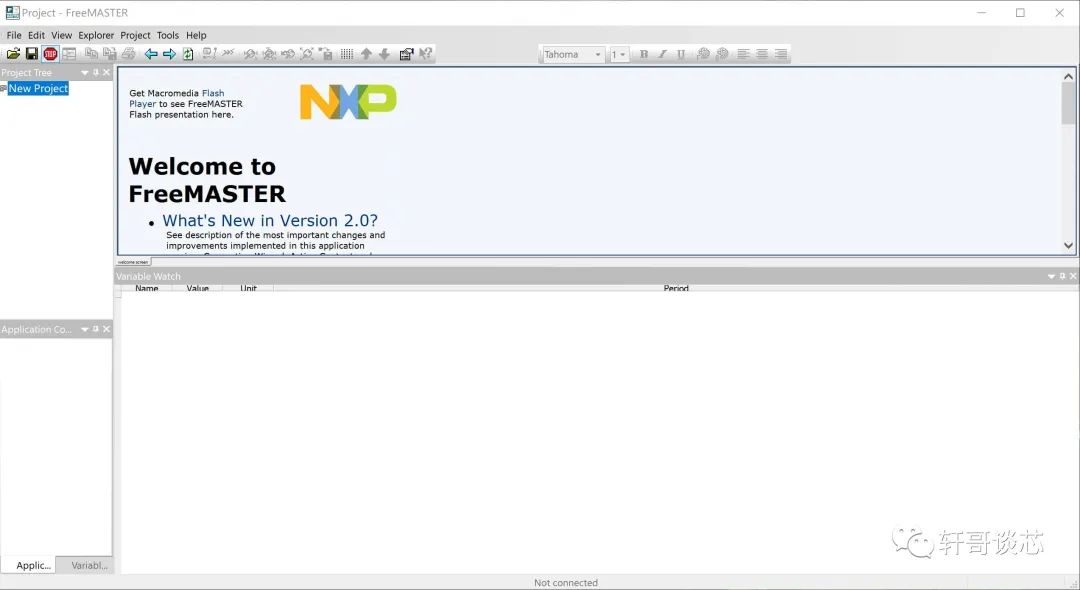
First, you should create a new project so that our subsequent settings will be saved in a separate file. The next time you use it, you can directly double-click the file to open it. We can save this project file in the directory of the project we want to debug, allowing us to update it together with git.
After creating the project, we need to set the communication method between FreeMaster and our debugging project. When using SWD, the logic is very simple; we do not need to change any settings or code in the original project. We just need to select the communication method as J-Link in FreeMaster, and after compiling the project we want to debug, we will import the axf file into FreeMaster. FreeMaster actually records the path of the axf file, and as long as we update the project and generate a new axf file, FreeMaster will automatically update.
After creating the project, we can configure FreeMaster through the menu bar by going to Project → Option.
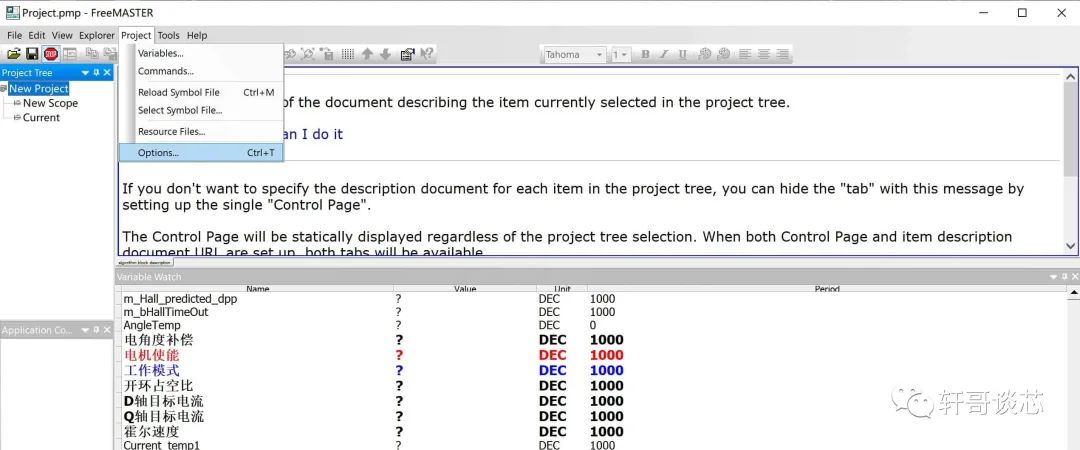
In the Options, when we are just starting out, we only need to focus on the first two tabs. The first is the selection of the communication method, which has two modes: one is the RS232 serial port interface. This method requires including FreeMaster’s driver in our project, which will disrupt our code project, so it is not recommended.