
Today’s experiment mainly involves developing a small function based on STM32 that can obtain weather and time in real-time. This function can be applied to devices that need to display weather and time, and the hardware cost is very low. If anyone is interested, feel free to check it out!
1. Summary
There are a total of four experiments in this project;
Experiment 1 – Obtain weather data via AT commands;
Experiment 2 – MCU obtains weather data;
Experiment 3 – MCU obtains and displays weather data;
Experiment 4 – MCU obtains and displays time data;
The weather data source is from “Xinzhi Weather”
2. Hardware Preparation
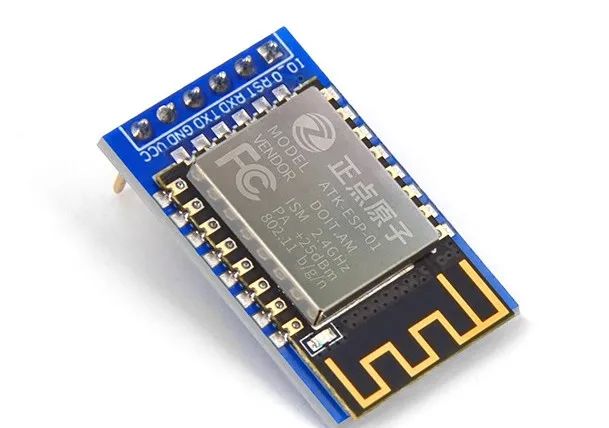
2.1, WIFI Module
I am using the Zhen Dian Yuan Zi’s ESP8266 module. The ESP8266 available on the market are quite similar, so you can choose any.
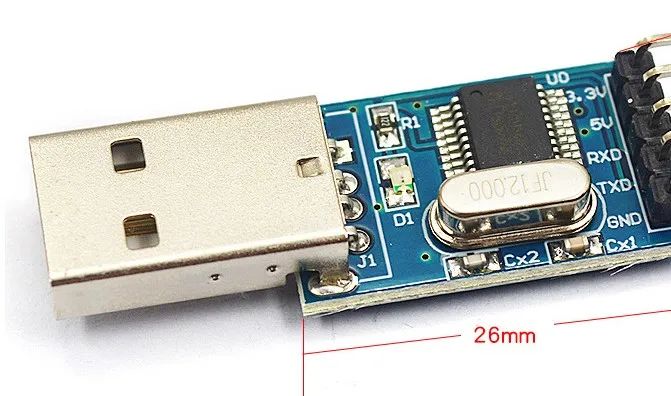
2.2, USB to TTL Module
2.3, Hardware Requirements
Minimum system board:
USB to TTL (there are many types, just pick one; I used the CH340 chip)
ESP8266 OLED (I used a 0.96-inch 4-pin, I2C interface)
ST-Link V2 download cable
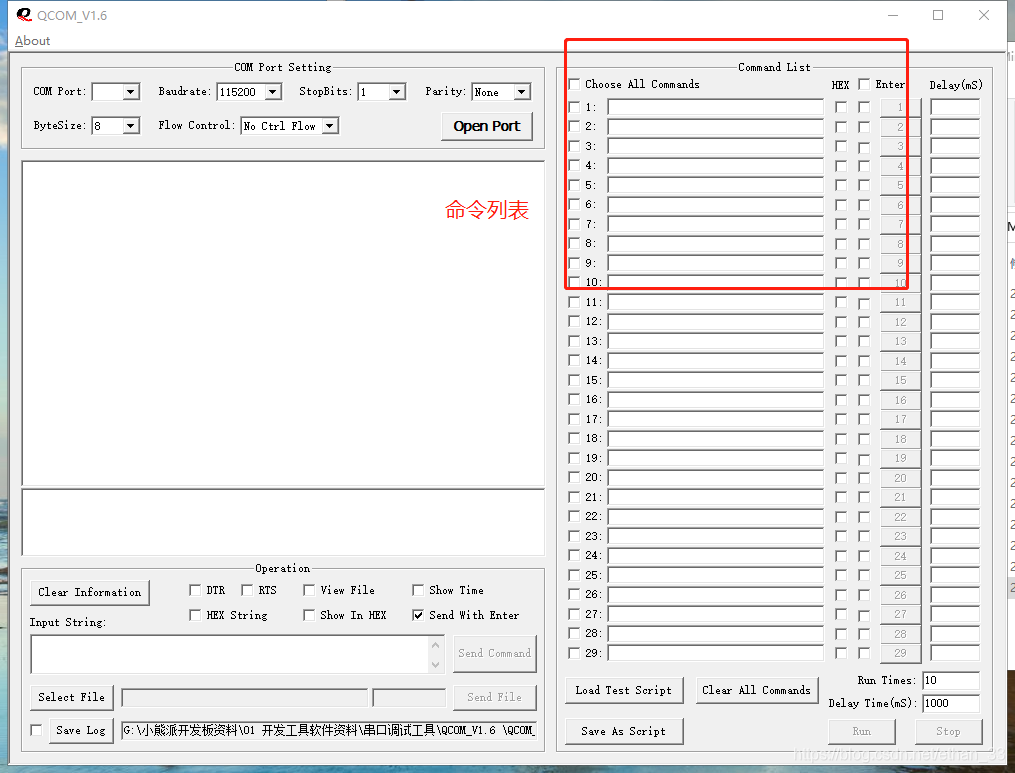
3. Software Preparation
This chapter only requires a serial debugging assistant; I use “QCOM” because it has a function to save commands;
You can download it by searching on Baidu;
4. Register for Xinzhi Weather
Log in to the Xinzhi Weather official website and register
https://www.seniverse.com/
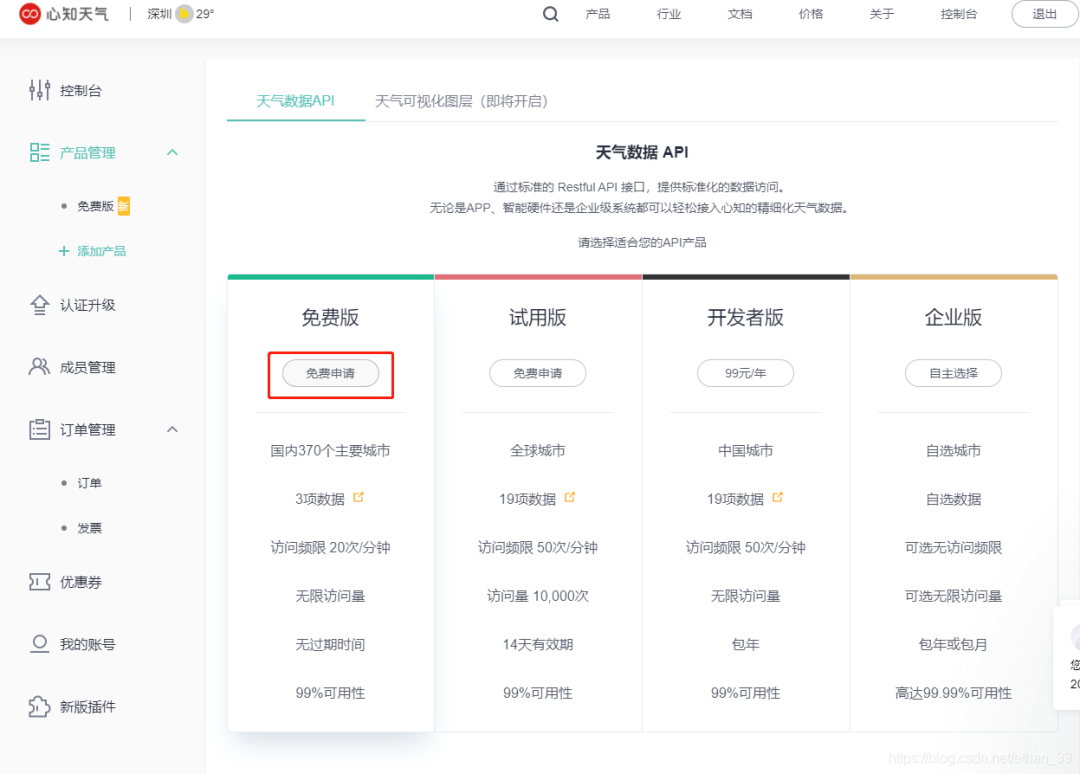
After registration, click on “Products” to enter “Weather Data”
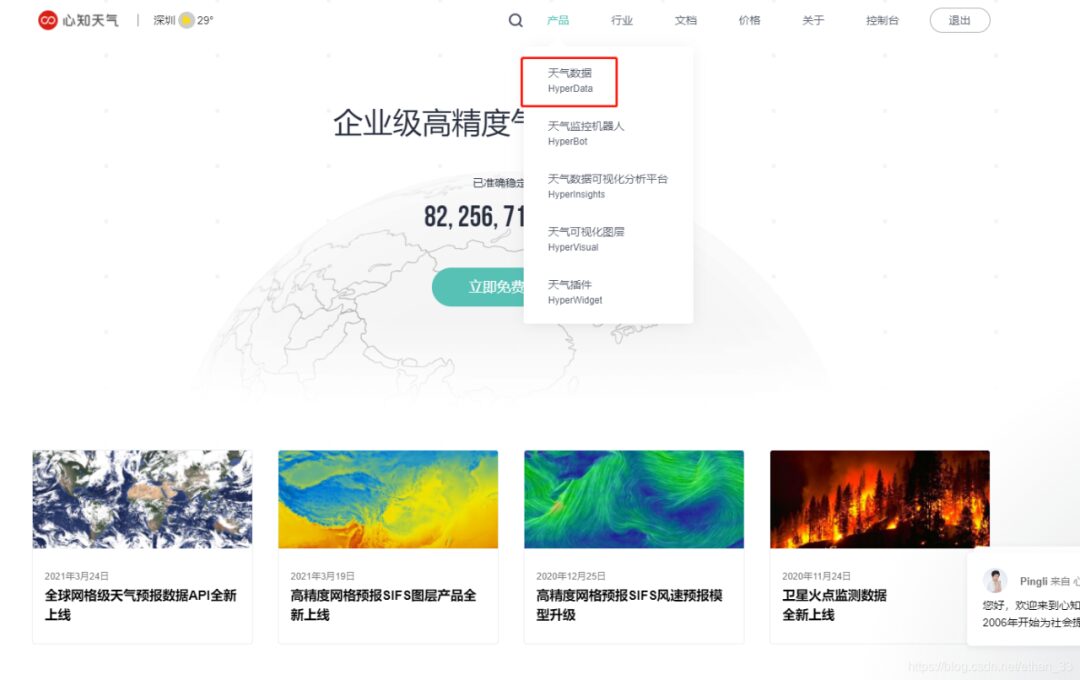
Click on “Try it for free now”.

Click on the free version’s “Free Application”.
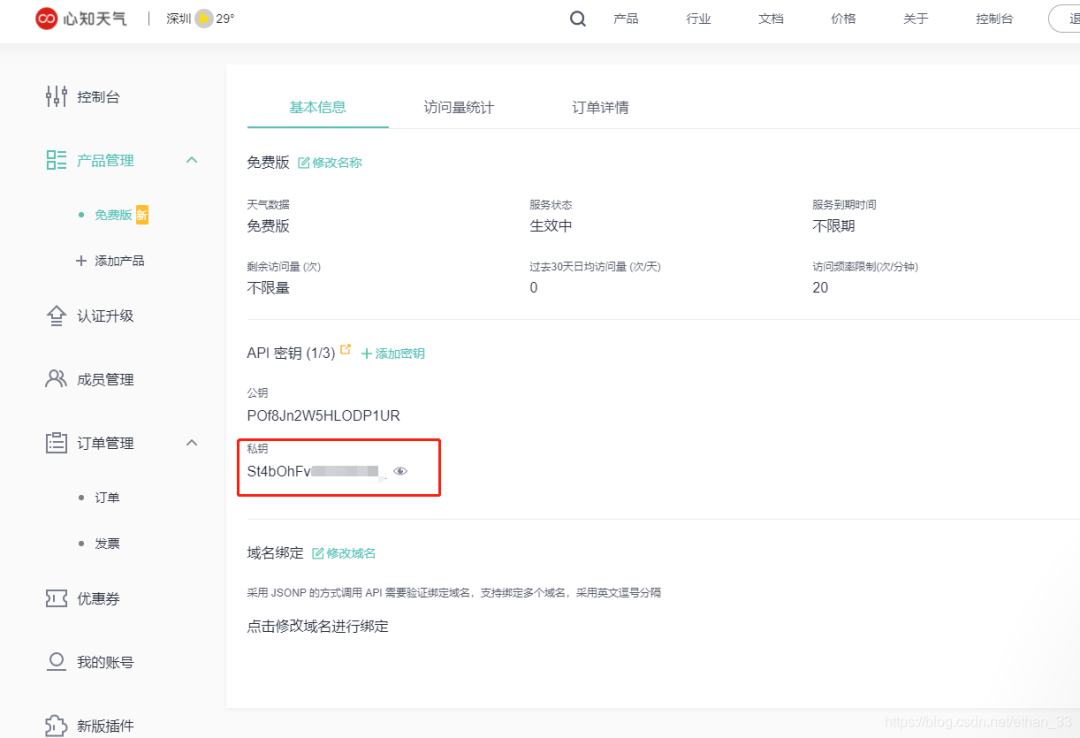
After applying, you can see your private key (save it as it will be needed later).
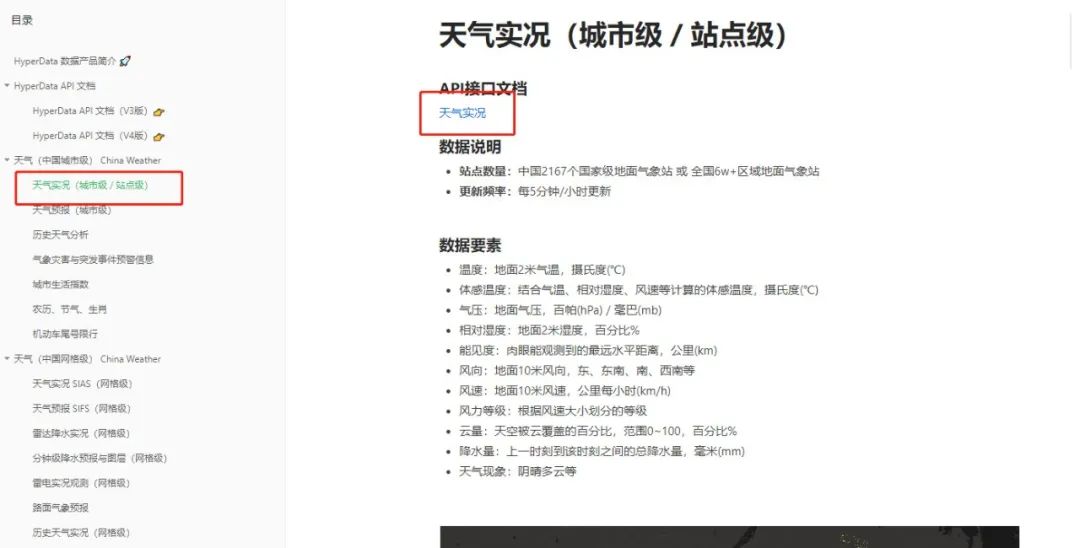
Click “Products” again -> “Weather Data”, then click “View API Documentation”.

5. Experiment 1 Hardware Wiring
Connect the ESP8266 to the USB to TTL module to start the experiment
Wiring instructions:

The ESP8266 also has two interfaces “IO_O” and “RST”; here connect directly to 3.3V. I connected it to the MCU’s 3.3V
IO: low level for programming, high level for use
RST: low level for reset, high level for normal operation
6. Serial AT Debugging
This chapter uses AT commands to obtain weather conditions; here are the corresponding AT commands. Set the baud rate of the serial assistant to 115200, and other settings can remain default.
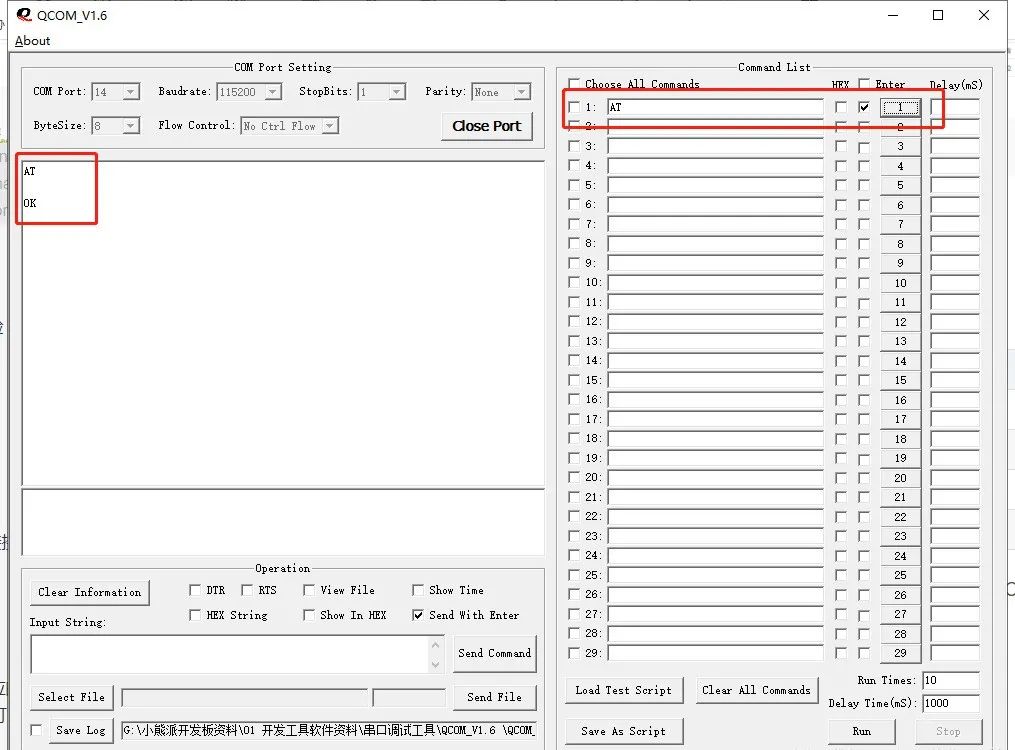
6.1, AT Test
Send “AT”: if it starts normally, it will respond with “OK”.
6.2, Set WiFi Mode
Use the serial to send command AT+CWMODE=1 to set the module’s Wi-Fi application mode to Station mode.
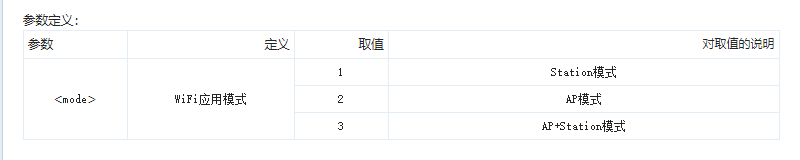
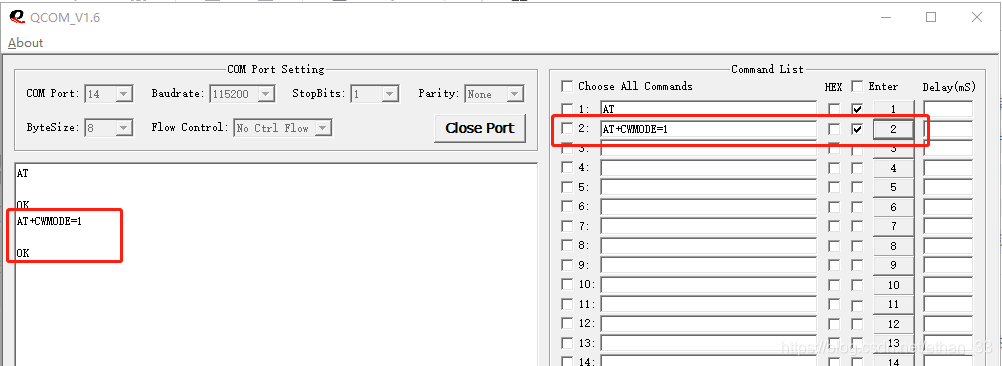
AT+CWMODE=1
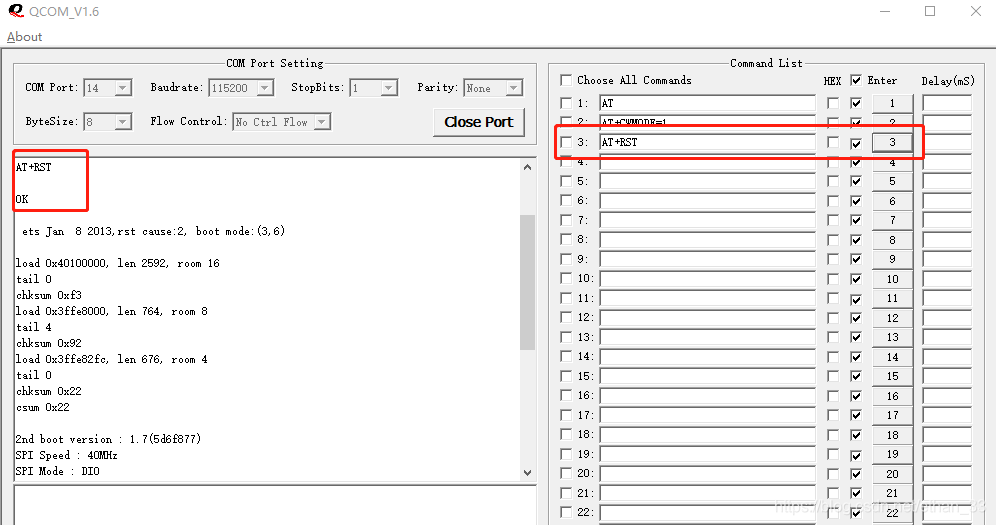
6.3, Restart Module
Send command AT+RST to restart the module, and wait a while after rebooting.
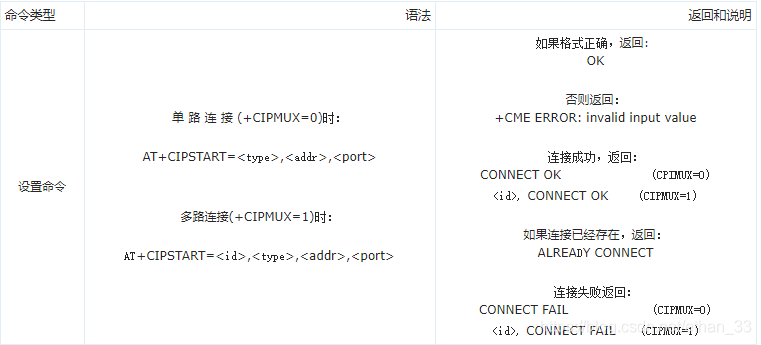
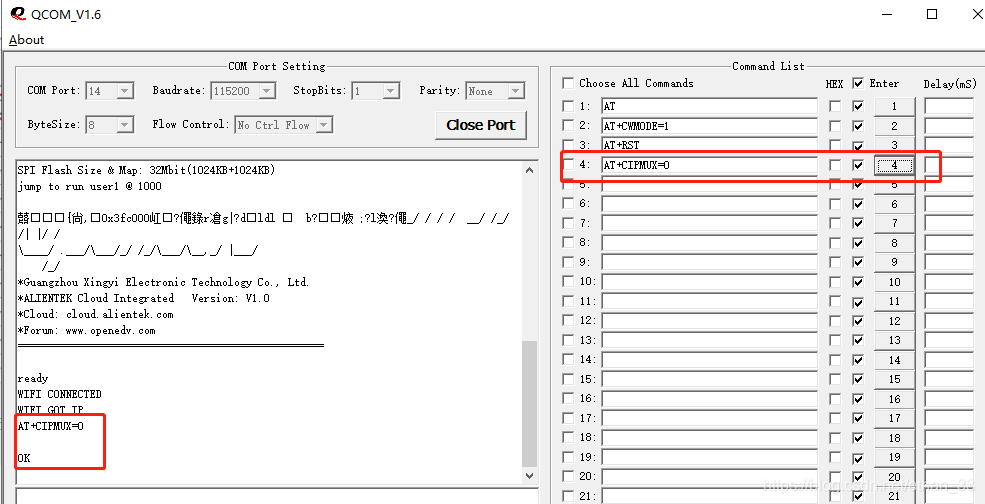
6.4, Set Connection Mode
Send command AT+CIPMUX=0 to set the module to single connection mode.
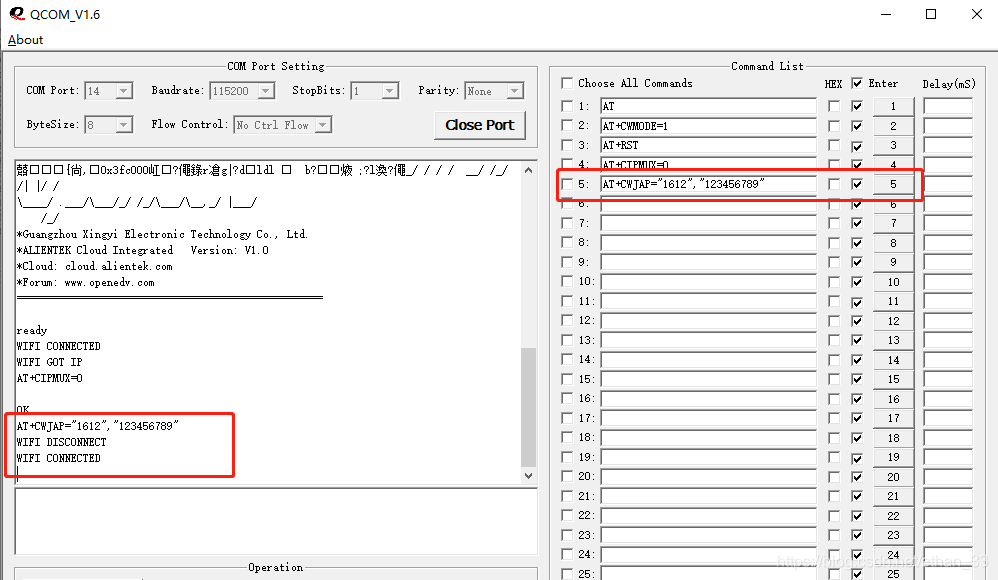
6.5, Connect to WIFI
Send command AT+CWJAP=”ssid”,”pwd”, where ssid is the name of the WiFi you want to connect to, and pwd is the password.
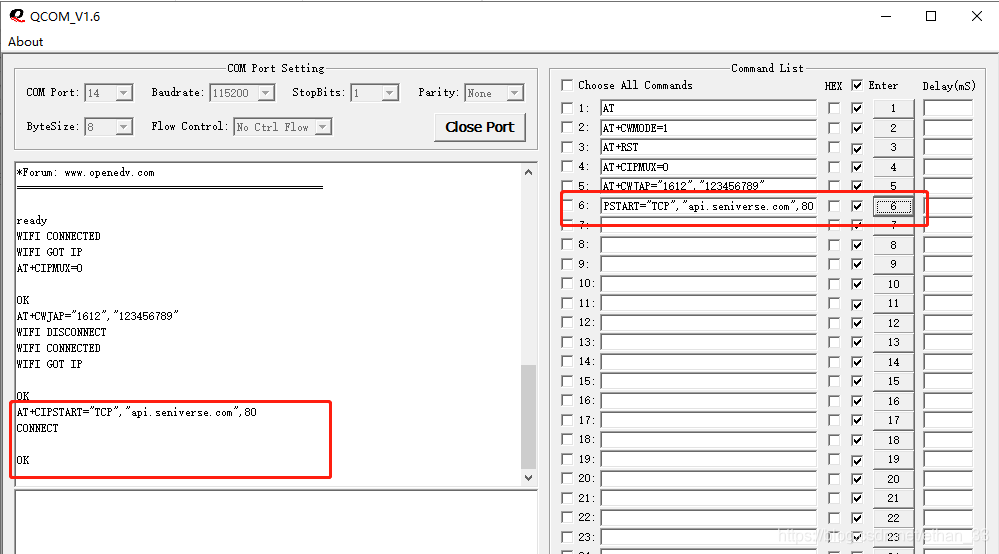
6.6, Establish TCP Connection
Send command AT+CIPSTART=”TCP”,”api.seniverse.com”,80 to establish a TCP connection with Xinzhi Weather.
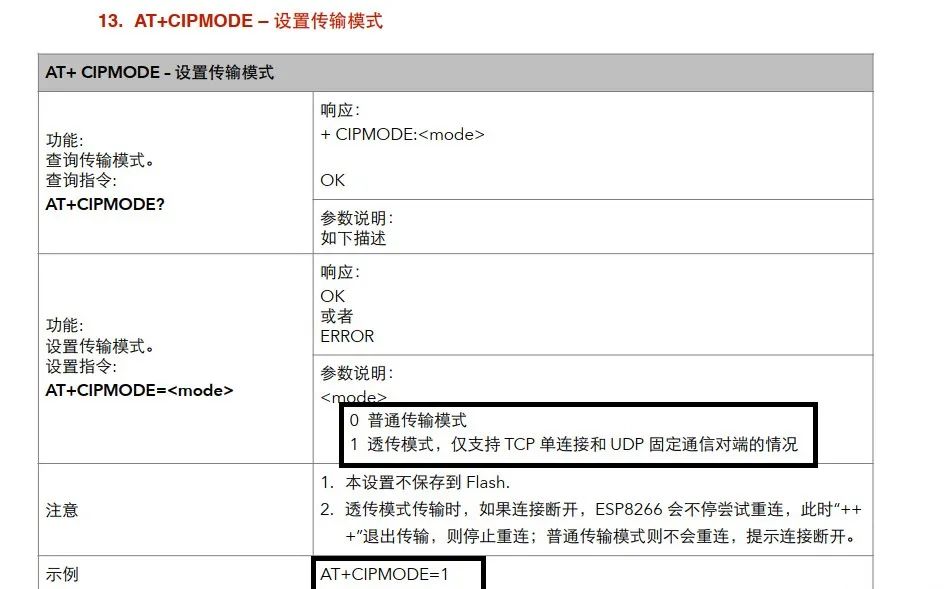
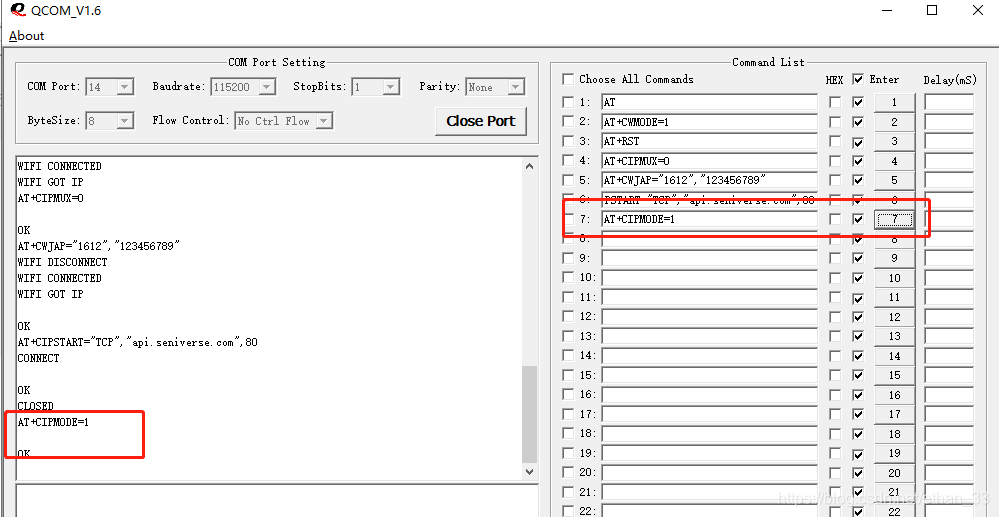
6.7, Enable Transparent Transmission Mode
Send command “AT+CIPMODE=1”. If successful, it will return OK.
6.8, Start Transparent Transmission
Send command “AT+CIPSEND” to start transparent transmission.
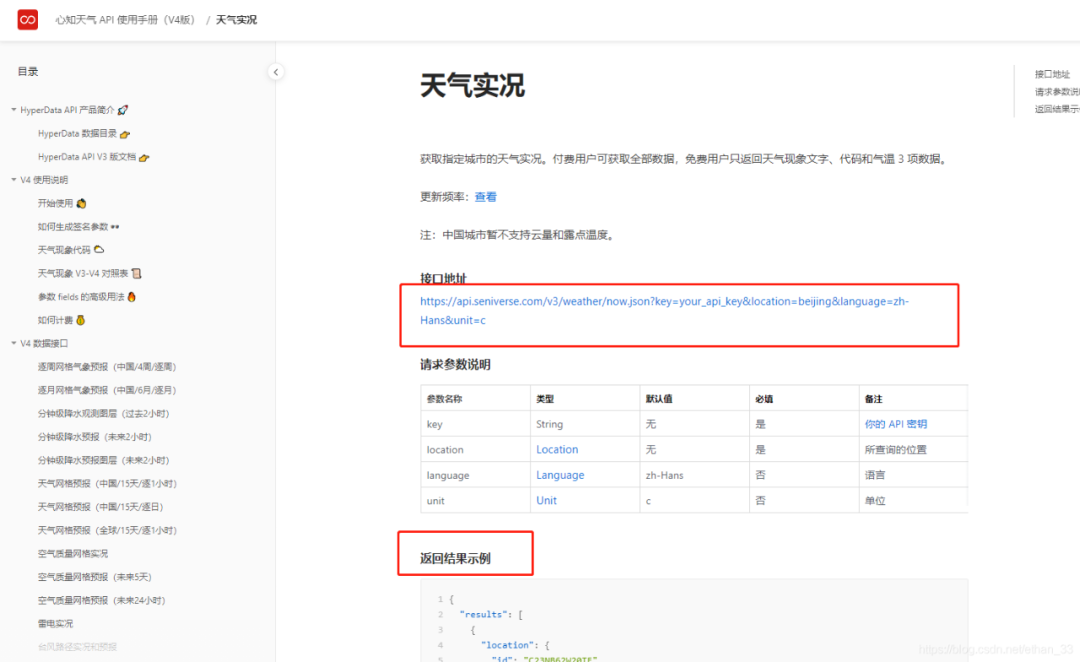
6.9, Make Request
Send “GET https://api.seniverse.com/v3/weather/now.json?key=private_key&location=city_pinyin&language=zh-Hans&unit=c” to make a request to the URL, where location can be changed to your city; mine is Shenzhen (shenzhen), and the private key is obtained from Xinzhi Weather, with the language set to Chinese (zh-Hans). This part can be checked on the Xinzhi Weather official documentation.
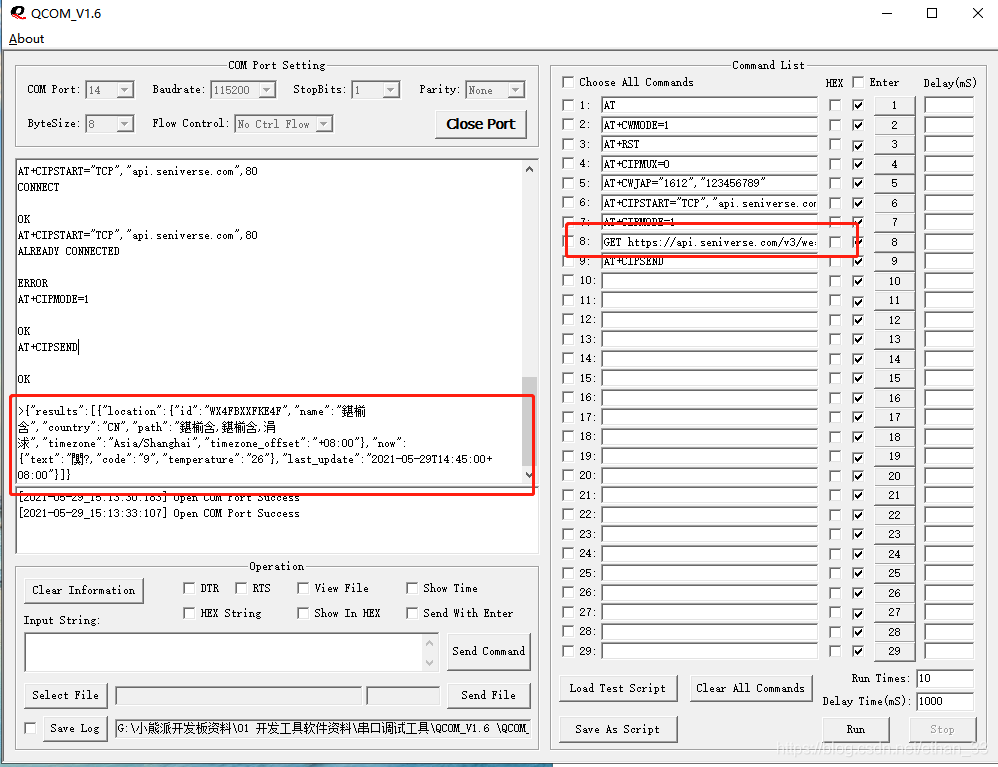
Successfully received data. Due to different encoding methods, there may be garbled text, but it won’t affect us as we will process this data later in our code.
From the received data, we can see that the current temperature is 26 degrees Celsius.
Experiment 1 Successful – Weather Data Obtained!

Do you have any questions about this article?
You can scan the QR code below for consultation.
