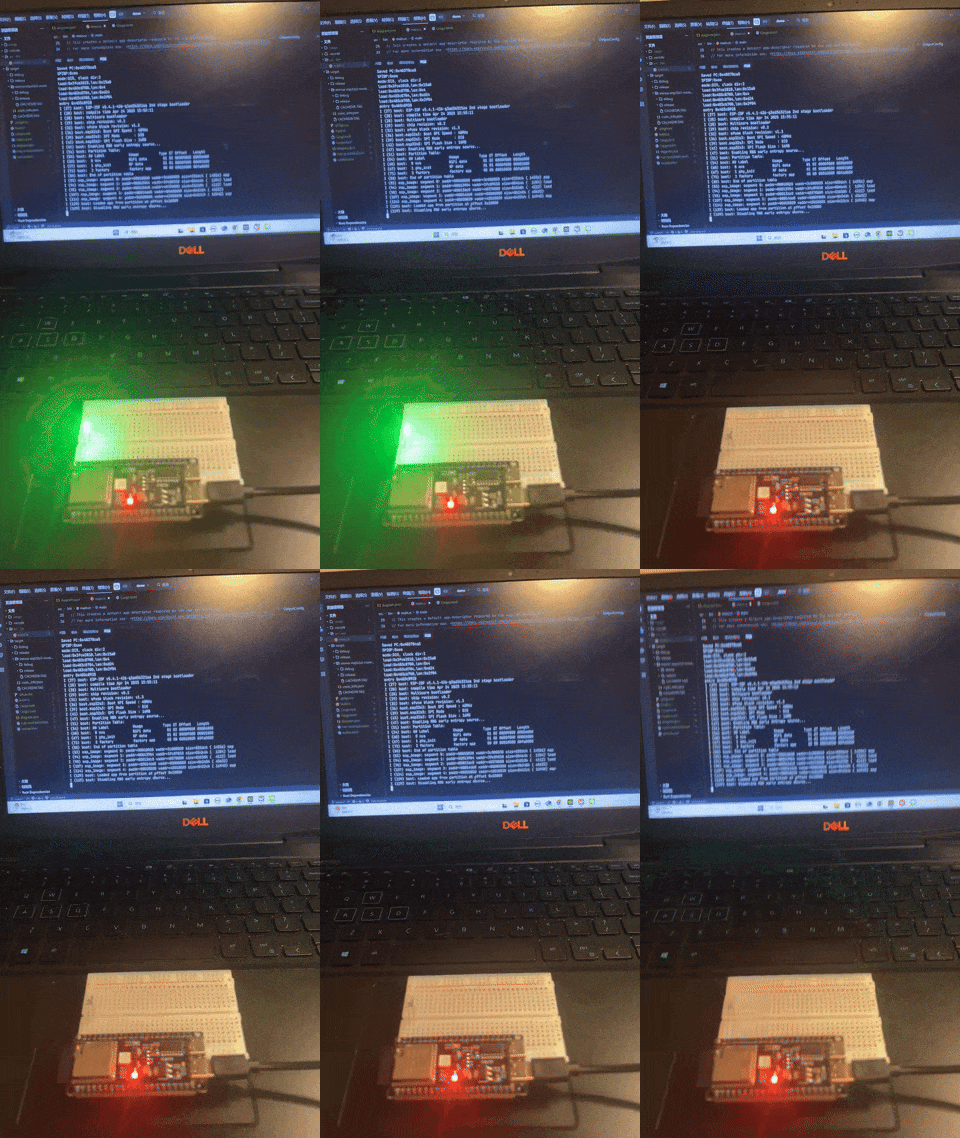
ESP32 Microcontroller LED Control with Rust
When you step into the world of Rust embedded development, controlling the ESP32 microcontroller to light up an LED and make it blink regularly feels like your first conversation with hardware.
Based on the previous Rust embedded ESP32 “Hello World”, we will modify the code.
Modify the Code
Add Pin Configuration
use esp_hal::{
    clock::CpuClock,
    gpio::{Output, OutputConfig, Level}, // New pin configuration
    main,
    time::{Duration, Instant},
};
Declare Pin Variables
<span>config</span>: Default output pin configuration
<span>Level::High</span>: High voltage output
<span>peripherals.GPIO1</span>: Bind to G1 pin
    ...
    let peripherals = esp_hal::init(config);
    let config = OutputConfig::default(); // Declare default output pin configuration
    let mut led = Output::new(peripherals.GPIO1, Level::High, config); // Bind G1 pin and configure high voltage output
    ...
Control LED Blinking
<span>led.toggle()</span>: Switch between high and low voltage
 ...
    loop {
        led.toggle(); // Switch voltage output mode
        let delay_start = Instant::now();
  ...
Complete Code
#![no_std]
#![no_main]
#![deny(
    clippy::mem_forget,
    reason = "mem::forget is generally not safe to do with esp_hal types, especially those \
    holding buffers for the duration of a data transfer."
)]

use esp_hal::{
    clock::CpuClock,
    gpio::{Output, OutputConfig, Level},
    main,
    time::{Duration, Instant},
};
use esp_println::println;

#[panic_handler]
fn panic(_: &core::panic::PanicInfo) -> ! {
    loop {
        println!("111 world!");
        println!("Panic!");
    }
}

// This creates a default app-descriptor required by the esp-idf bootloader.
// For more information see: <https://docs.espressif.com/projects/esp-idf/en/stable/esp32/api-reference/system/app_image_format.html#application-description>
esp_bootloader_esp_idf::esp_app_desc!();

#[main]
fn main() -> ! {
    // generator version: 0.5.0
    let config = esp_hal::Config::default().with_cpu_clock(CpuClock::max());
    let peripherals = esp_hal::init(config);
    let config = OutputConfig::default();
    let mut led = Output::new(peripherals.GPIO1, Level::High, config);

    loop {
        led.toggle();
        let delay_start = Instant::now();
        while delay_start.elapsed() < Duration::from_millis(500) {}
    }

    // for inspiration have a look at the examples at https://github.com/esp-rs/esp-hal/tree/esp-hal-v1.0.0-rc.0/examples/src/bin
}
Hardware Connection
Connect one end of the LED to <span>G1</span>, and the other end to <span>GND</span> (ground).
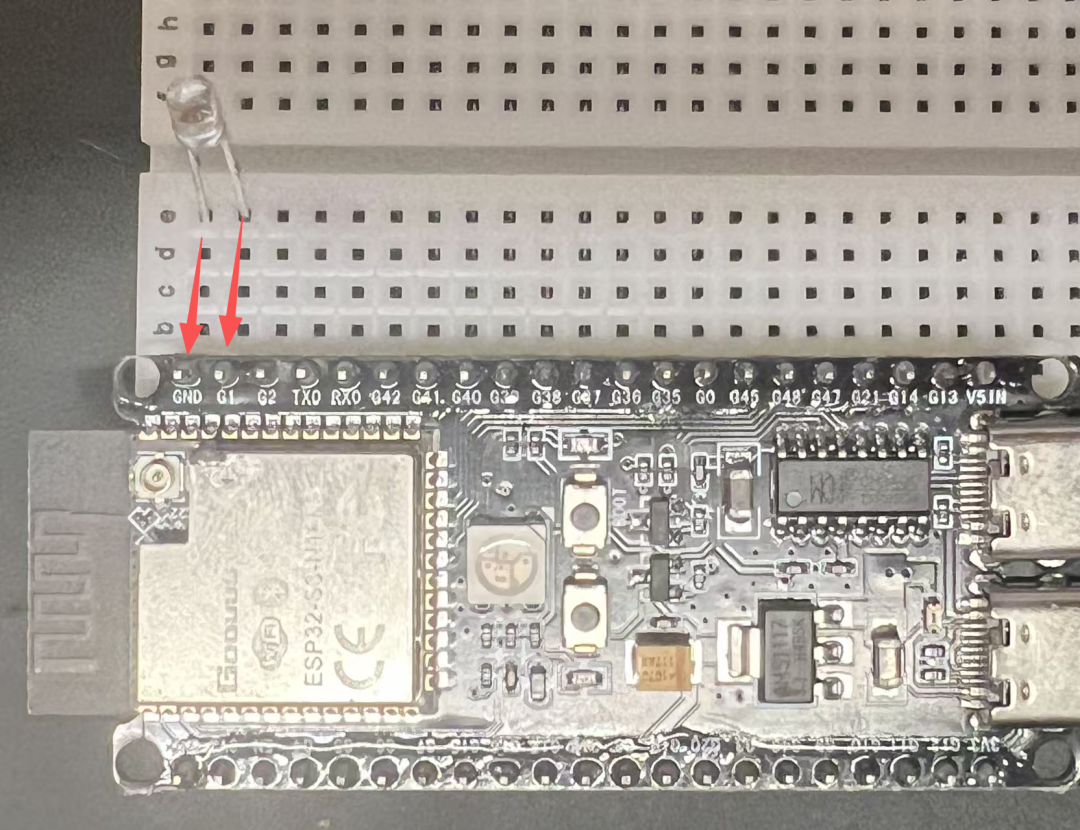
USB Connection to Computer
Run the command
cargo run The result is shown in the figure below
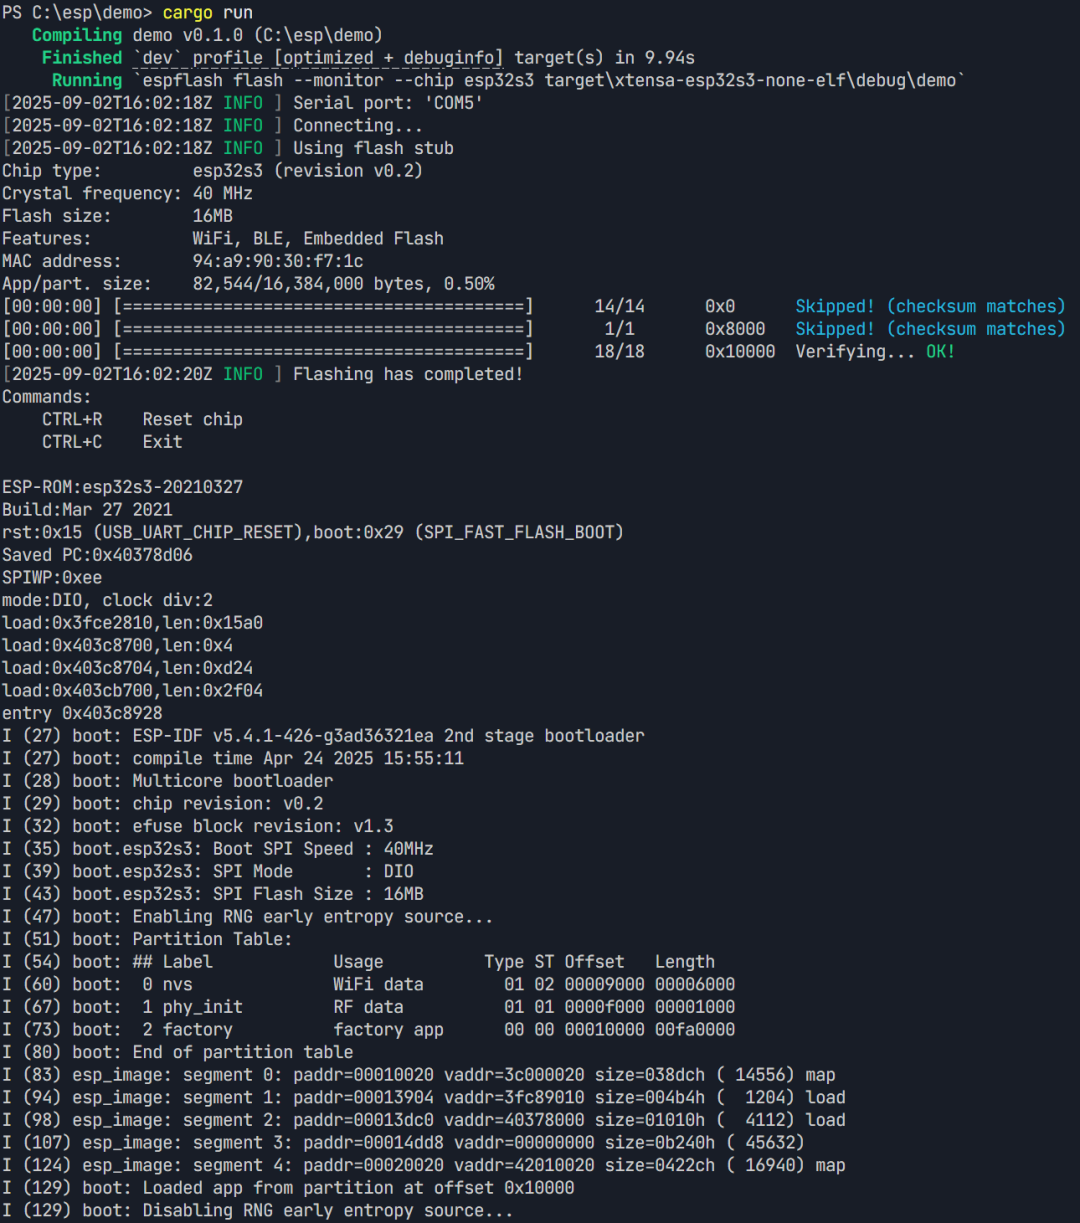
Results Display