Technology Guidance Teacher
Zheng Hongbo
Kids, have you ever helped your parents with housework? With the development of technology, various smart home appliances have appeared in our lives, freeing us from tedious labor.
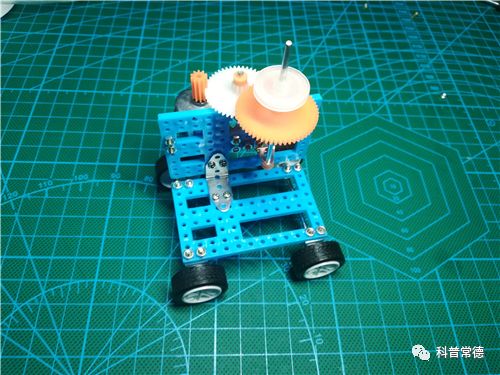
Today, we will apply mechanical principles to DIY a robotic vacuum cleaner. Let’s get hands-on with the teacher!
Video Demonstration
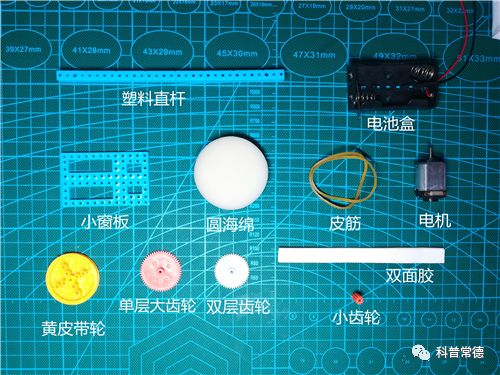
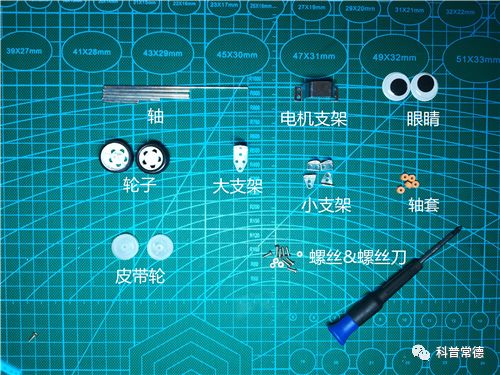
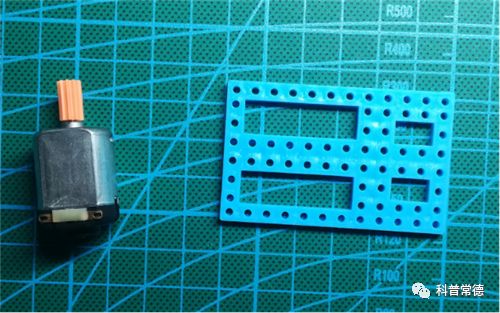
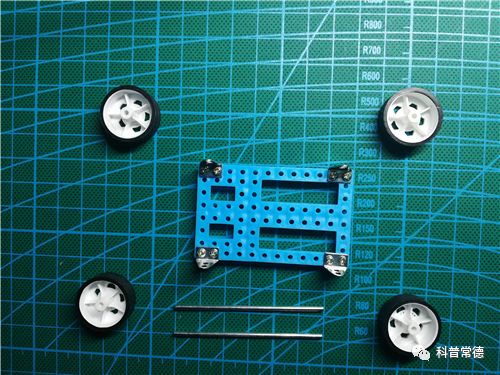
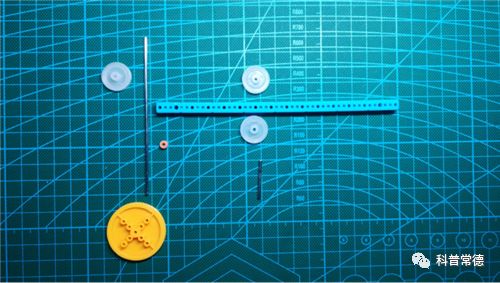
Materials Preparation
Production Steps
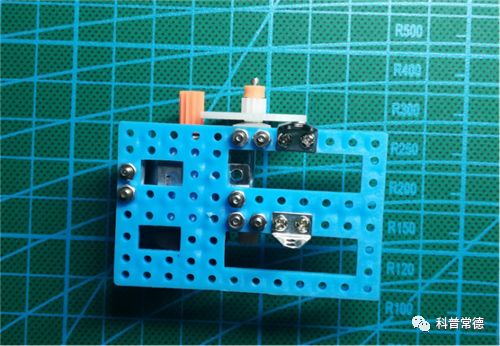
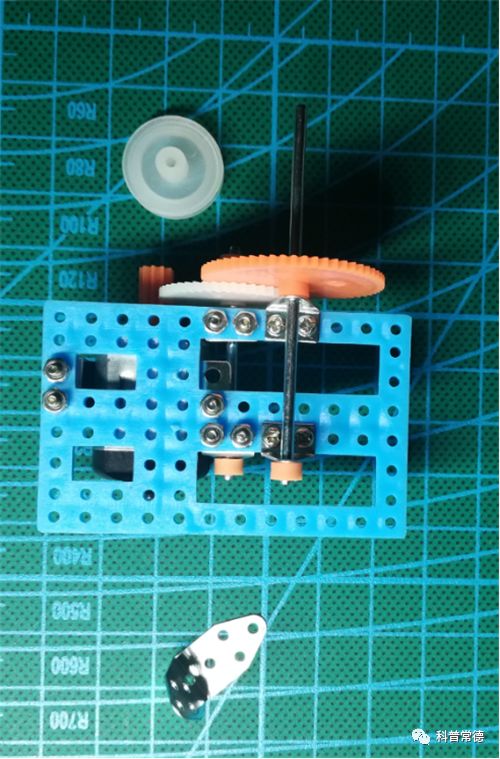
1. Connect the gears as shown in the figure and fix the motor to the small window panel using a bracket.
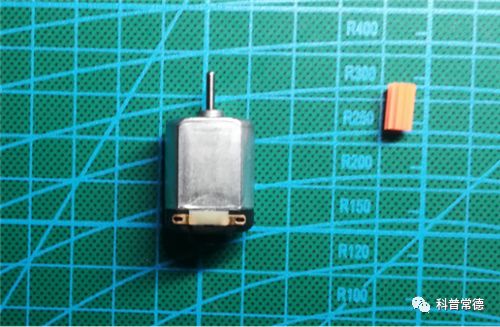
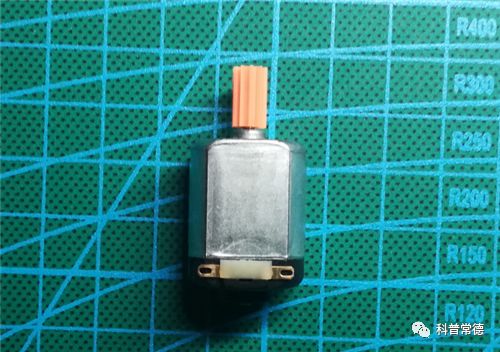
Connect the small gear to the motor shaft
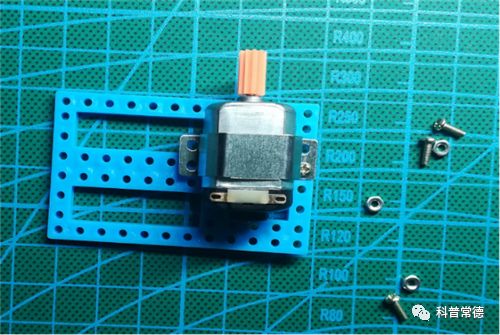
Fix the motor to the small window panel using the motor bracket
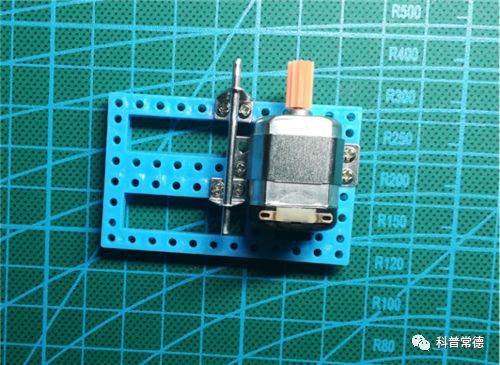
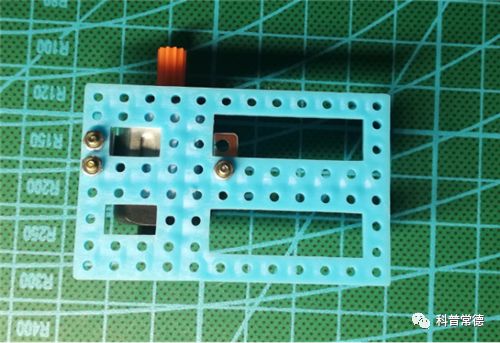
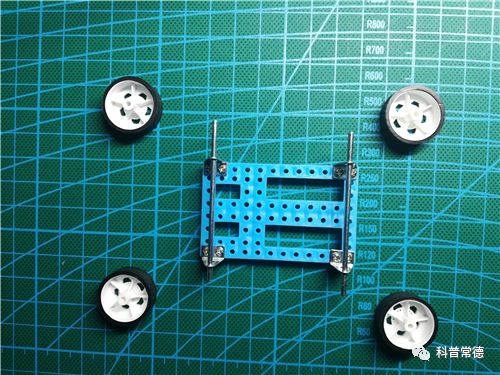
Install two small brackets and an axle on the left side of the motor
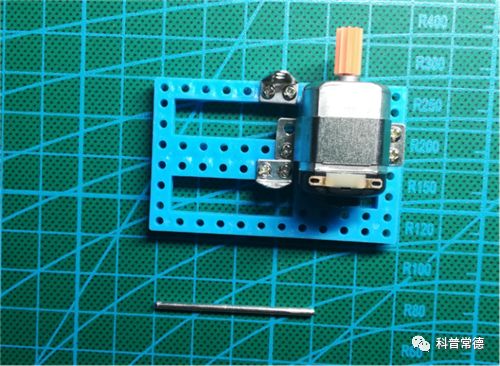
2. Fix the large gear with the axle and mount it on the small window panel using brackets, ensuring the gears mesh properly.
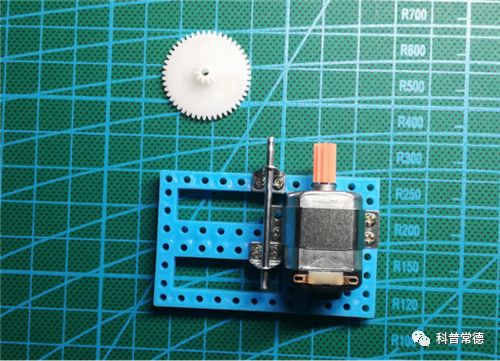
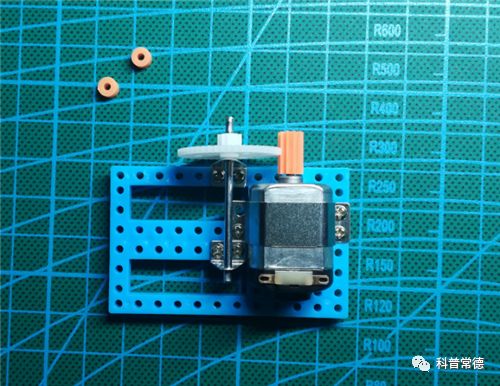
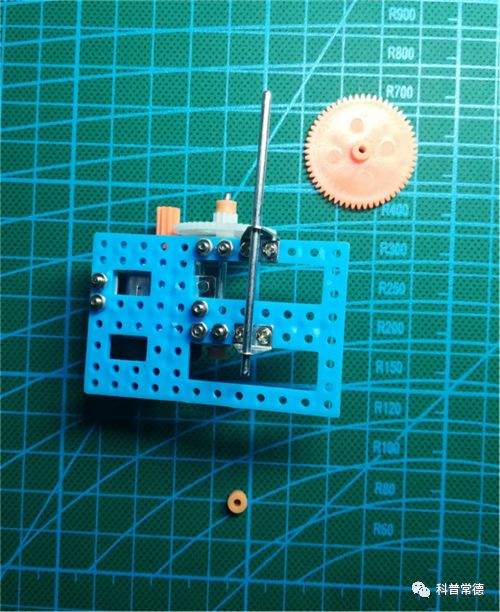
Install the orange gear on the other side of the small window panel, ensuring the tightness of the meshing of the three gears.
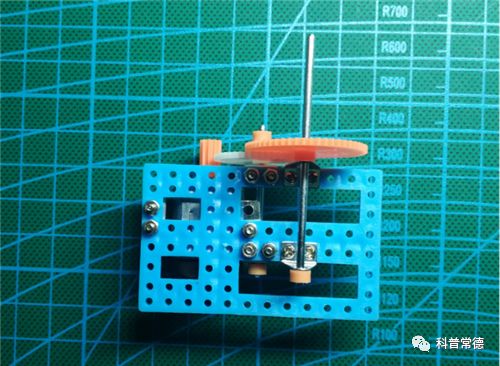
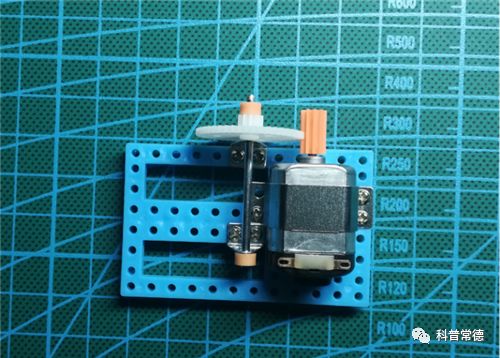
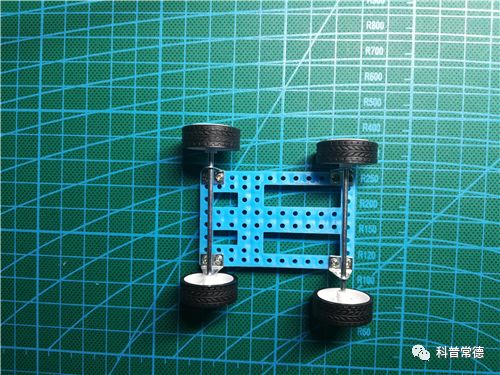
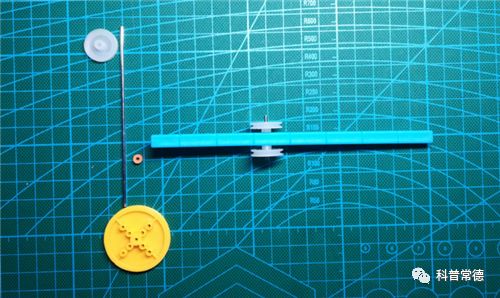
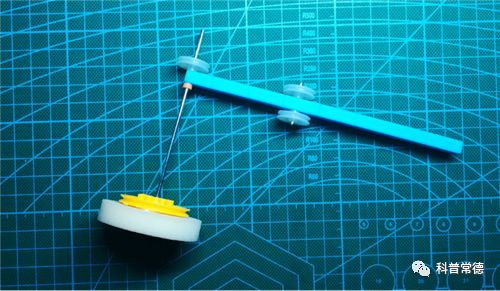
3. Install the pulley and 90° bracket.
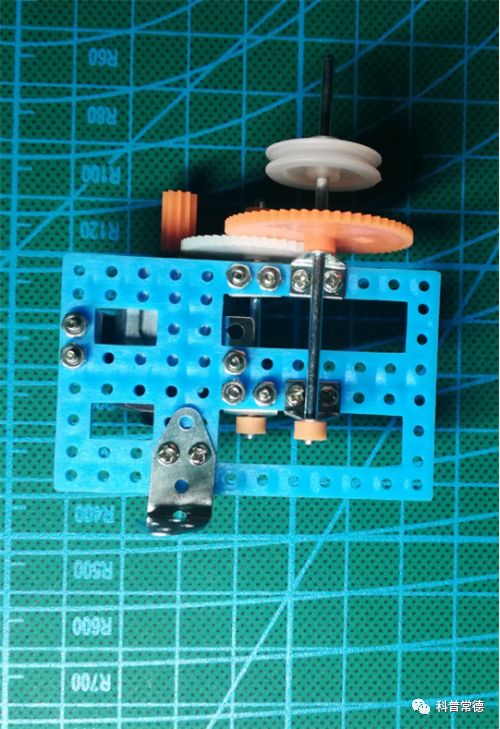
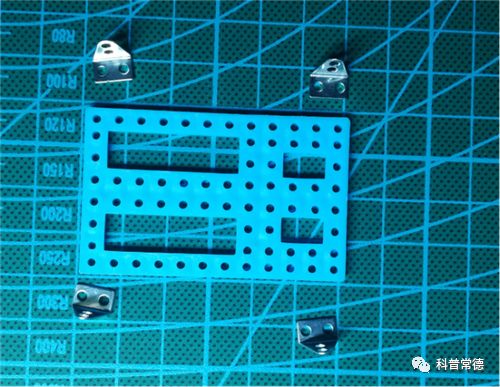
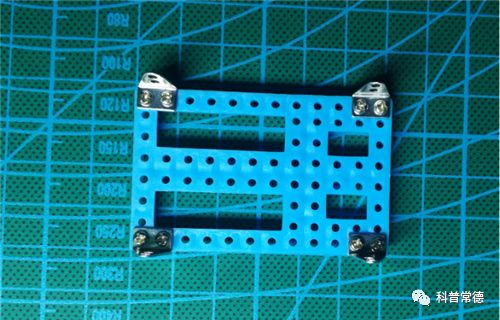
Install 4 right-angle brackets on another small window panel
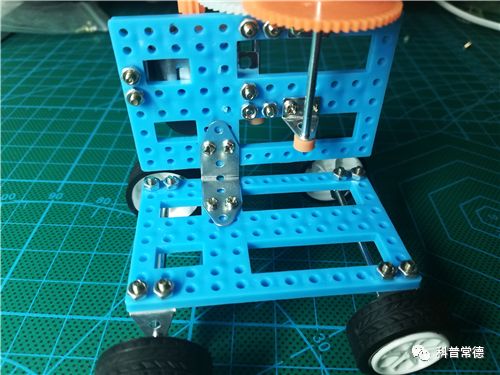
Use the large bracket to fix the two small window panels
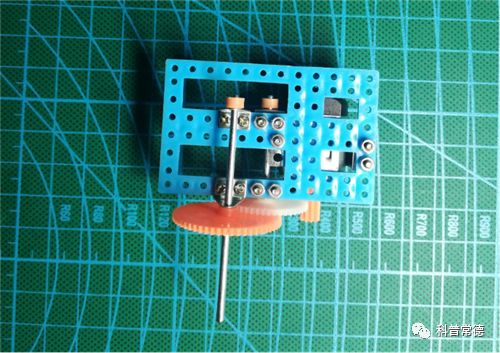
4. As shown, install the vacuum sweeping arm and the pulley, ensuring the sponge is facing down.
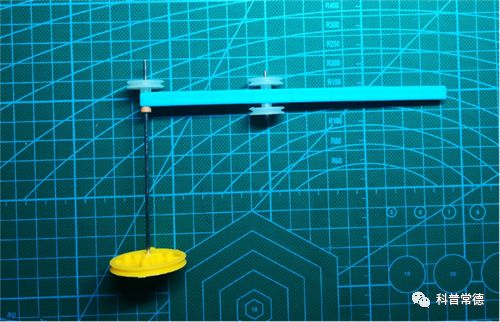
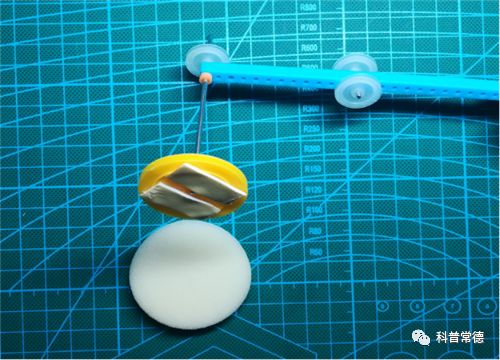
5. Connect the battery box to the motor circuit, adjust the vacuum sweeping arm so that the sponge just touches the ground, and power it on for a test run.

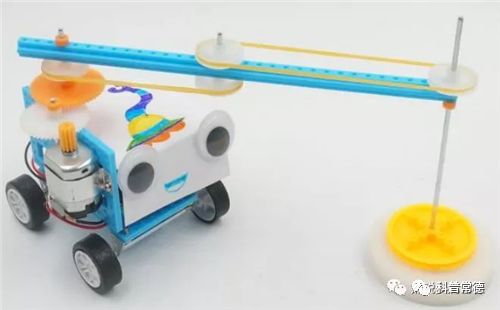
Finally, insert the No. 5 battery and check if the gear set and pulley can rotate freely.
[Basic Principles]
This production utilizes the mechanical principles of gears and belt transmission.
Consider: the relationship between the size of gears and their rotational speed.
[Operating Method]
Assemble and debug, adjusting the tightness of the belt.
Try to make the robotic vacuum cleaner perform different actions such as turning and moving forward.
Please pay attention to safety during the installation and operation process!


Training Nature: Public service, completely free, no training fees, material fees, or any other costs.
Training Description:
1, The materials kit for this micro-course can be obtained by clicking “Read the Original” at the bottom left of this page to register online. With a copy of your ID (or household registration book), you can receive the materials kit for free, allowing learners to study independently at home. (Materials can only be collected after successful registration)
2, Students can take photos or videos during the experiment and production process, upload them to the science museum’s public account, and the museum will regularly showcase the students’ wonderful images through the public account.
3, Collection Address: Training Department, Changde Science and Technology Museum, 2nd Floor (within Baima Lake Park)
Contact number: 7256797, 7256798
4, Please come to collect during staff working hours (valid for one month): Wednesday to Sunday 8:30—12:00, 14:00—17:00.
Friendly Reminder: The science museum is closed on Mondays and Tuesdays!
 Join the registration now!