Why does He Tongxue love 3D printers so much? Those who have seen his latest video know the answer: passion. 3D printers can create all sorts of strange yet interesting works. If you get your hands dirty, wouldn’t it be even better to make your own 3D printer~~
Today, I will share a DIY 3D printer made by a foreign guy, and the complete making process is recorded in the video below——
To make the 3D printer shown in the video above, let’s first take a look at the necessary electronic components:
-
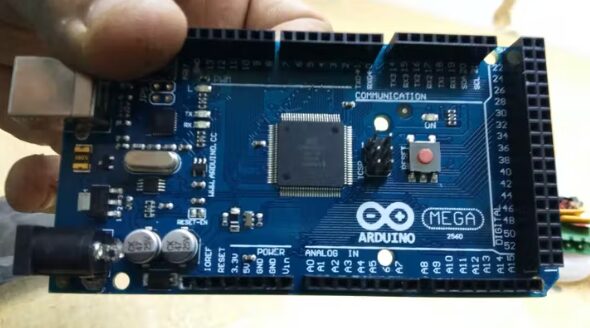
Arduino Mega 2560 development board x1
-
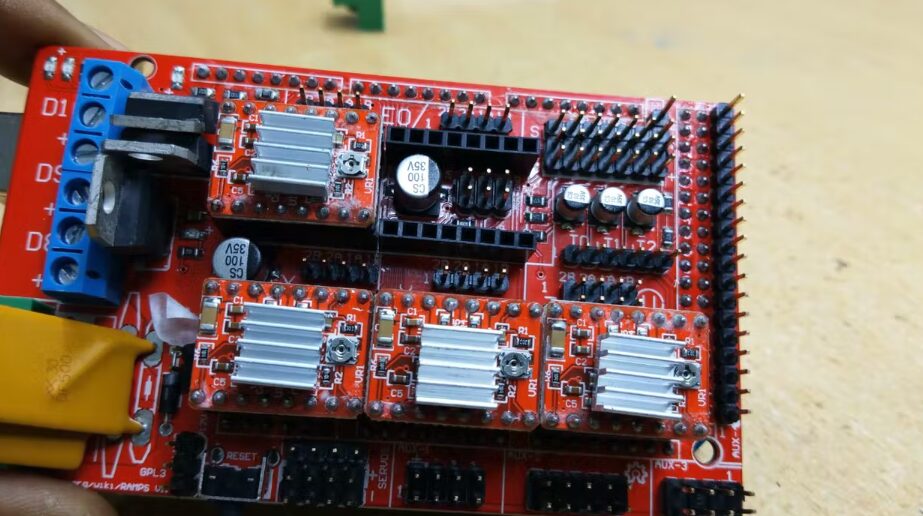
Ramps 1.4 3D printer controller board x1: used to connect terminal switches, stepper motor drivers, heated bed, hot end, etc. with Arduino
-
Optical endstop switch x3: A sensor switch that has NO or NC (normally open or normally closed) switches, which triggers when the 3D printer’s XYZ axis reaches its end position. There are generally two types of limit switches: optical and simple mechanical, which can be selected as needed.
-
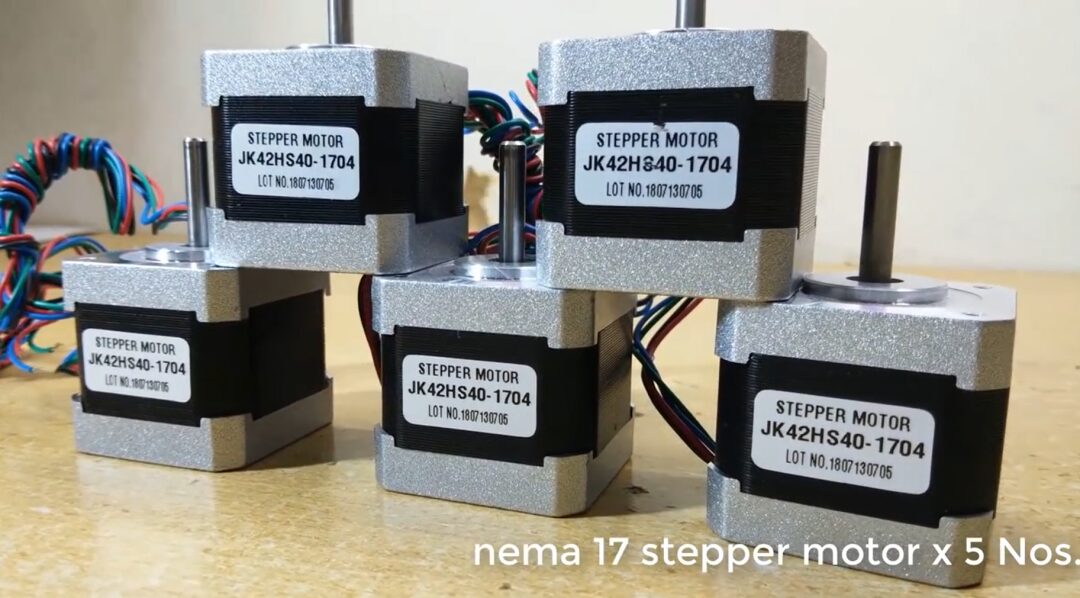
NEMA 17 stepper motor x5: The stepper motors used have 200 steps, with a 1.8-degree step per rotation.
-
PCB heated bed x4: The heated bed keeps the extruded plastic warm and prevents warping.
-
E3D v6 hotend x1: It has a 0.4 mm nozzle, heating the filament through a temperature sensor/thermistor, with the filament extruding from the nozzle.
-
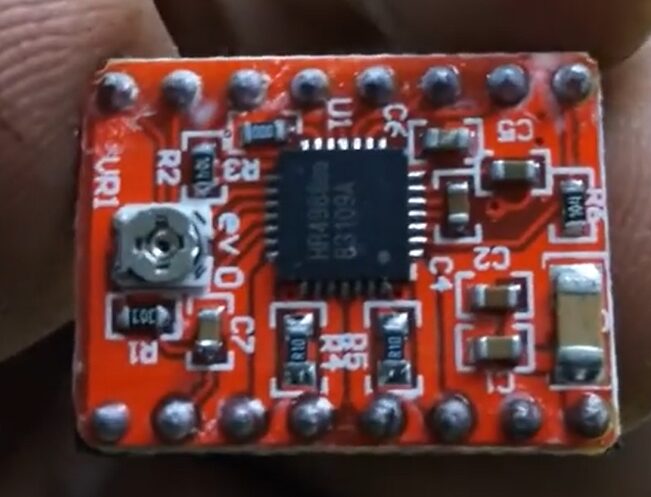
A4988 stepper motor driver x4: Required for the driving circuit, as the stepper motors operate at 12V/24V while the Arduino pins output 5V.
-
Power supply 12V/20A x1: Each stepper motor consumes about 1.2 A per phase, using a total of 5 stepper motors, and other electrical components also consume a certain amount of current, so the rated current should be at least 20 A.
Mechanical components needed:
-
Aluminum profile pipe 38mmx38mmx02mm
-
Acrylic board 3mm thick
-
12mm diameter steel rod 696mm x2
-
8mm diameter steel rod 562mm x2
-
8mm diameter steel rod 507mm x2
-
3mm aluminum plate
-
SC8UU 8mm linear motion ball bearing sliding bush x0
-
SC12UU 12mm linear motion ball bearing sliding bush x4
-
SK12UU linear guide shaft x4
-
SK8UU linear guide shaft x4
-
Base bearing 8mm KP08 x2
-
T8 8mm lead screw with nut 500 to 550mm x2
-
Stepper motor coupler 5mm to 8mm x2
-
GT2 20-tooth flanged pulley for 5mm shaft x2
-
Nema17 mounting bracket x2
-
Extruder x1
-
1.75mm PLA filament for 3D printer x1kg
-
GT2 belt x 4m
After introducing all the components, let’s get started!
Step 1: Build the Frame
First, I built a frame according to the CAD model dimensions, and attached a 26-page PDF file with the dimensions and quantities of different parts ( Reply ‘3D Printer’ on Dal Wen Shuo WeChat for reference). The parts and their sizes can be modified according to your needs.
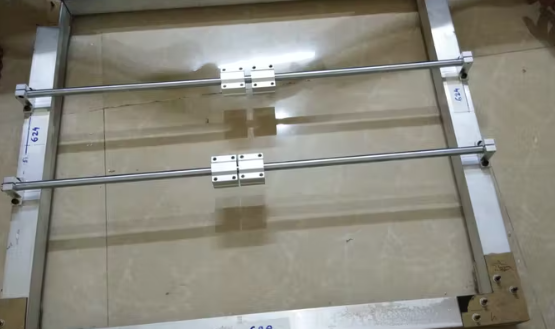
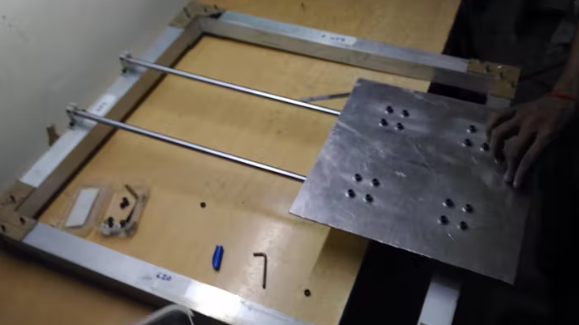
You can see the assembly process in the video above.
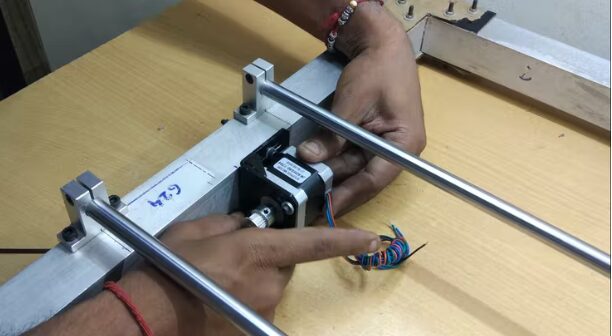
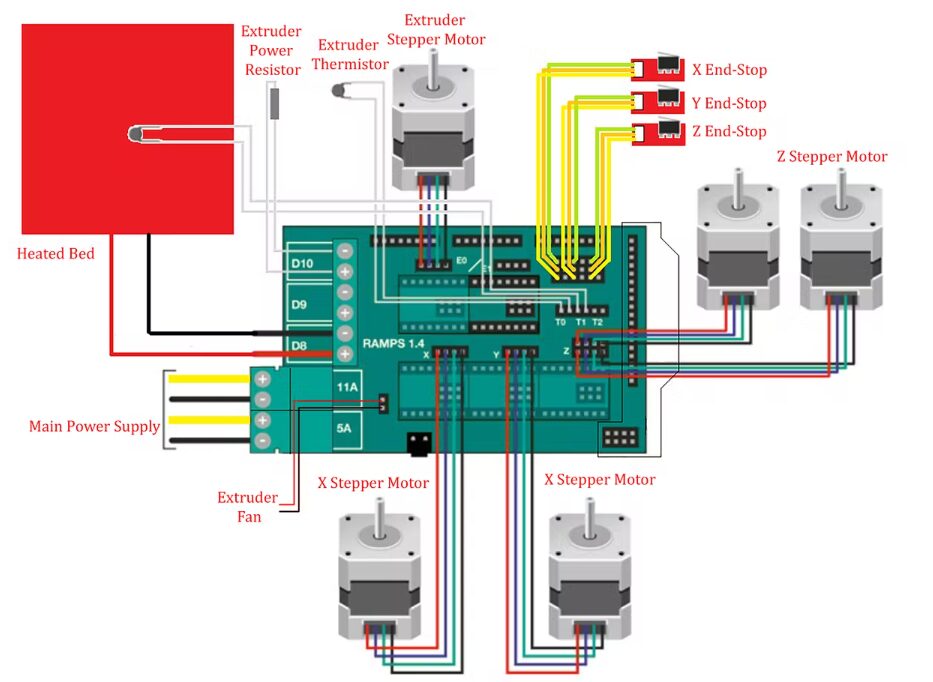
Step 2: Electrical Connections
In this step, I connected all the necessary components based on the schematic and circuit diagram images. For the main power supply, I used a 12V, 20A DC power supply. For more reference, please see the video from 30:57 to 33:15.
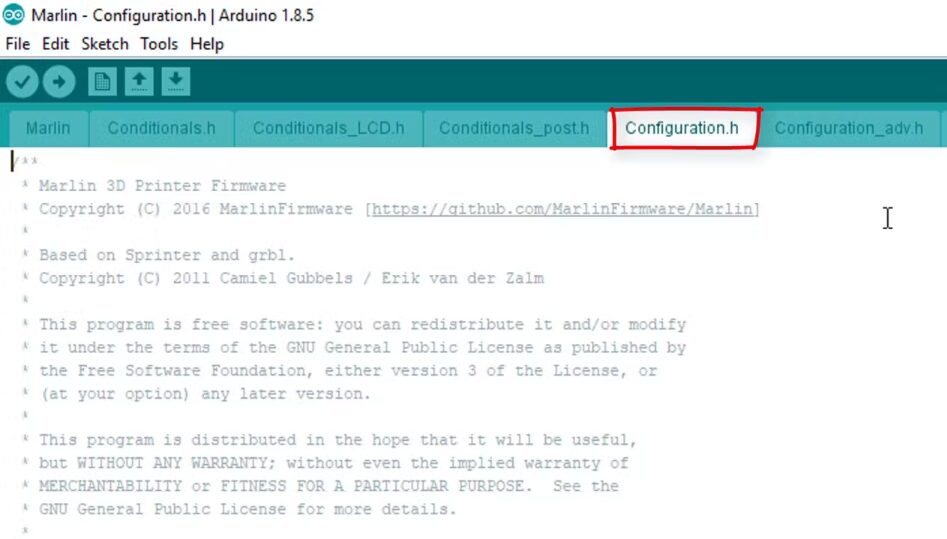
Step 3: Code Writing
For the coding part, I used the Arduino IDE software and the Marlin firmware.
-
Arduino IDE:https://www.arduino.cc/en/Main/Software
-
Marlin firmware: http://marlinfw.org/
For details, refer to the video from 33:18 to 37:51.
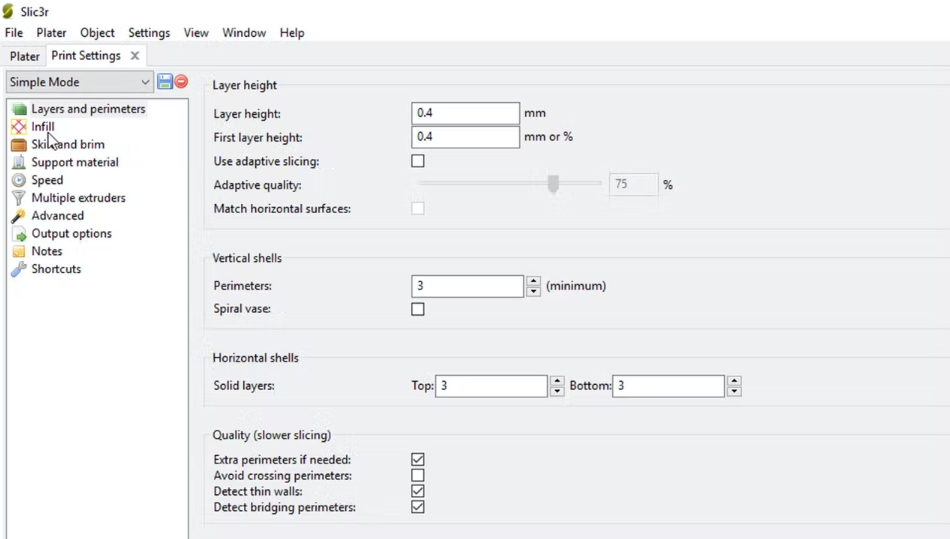
Step 4: 3D Printing Software
There are many more open-source slicer applications available, such as:3D Slicer, Slic3r, Ultimaker Cura, Repetier-Host.
-
Slic3r:https://slic3r.org/
-
Print running: http://www.pronterface.com/
Refer to the video from 38:24 to 43:10.
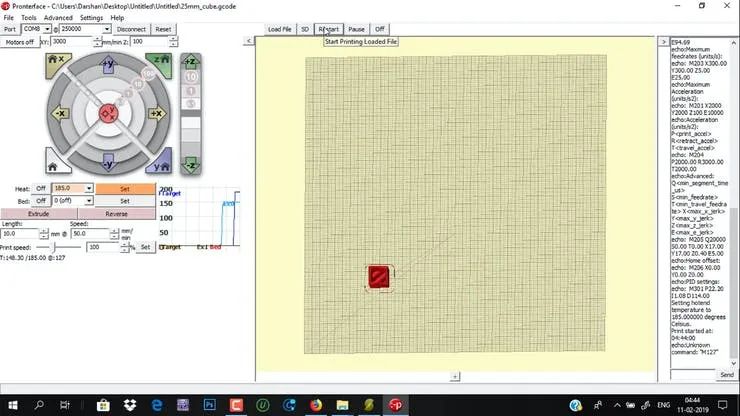
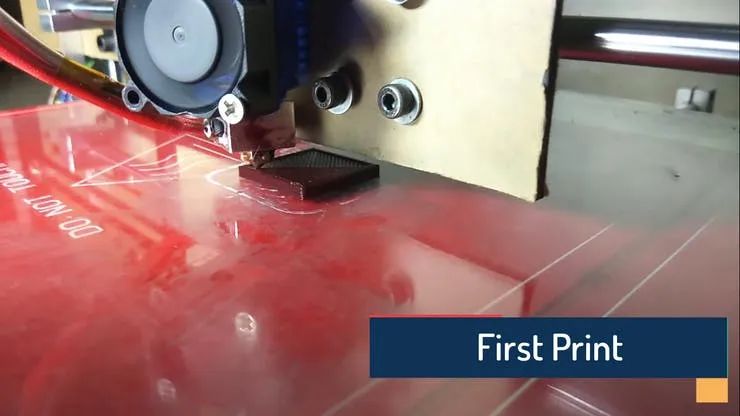
Step 5: Output Results
After completing all the work, you can start the printer and prepare for printing. The following images show the results of the 3D printer’s first print.
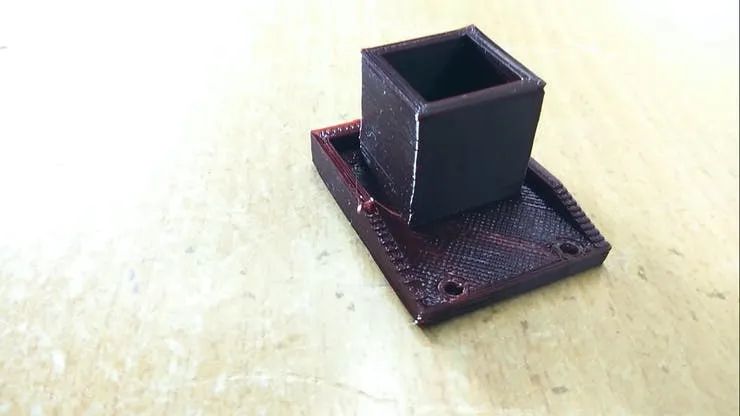
Did you see that? Your mind is ready, but your hands aren’t? Download the design files and give it a try. Relevant information about this 3D printer can be obtained by replying ‘3D Printer’ on Dal Wen Shuo WeChat.
Get started and make a 3D printed piece just like He Tongxue!
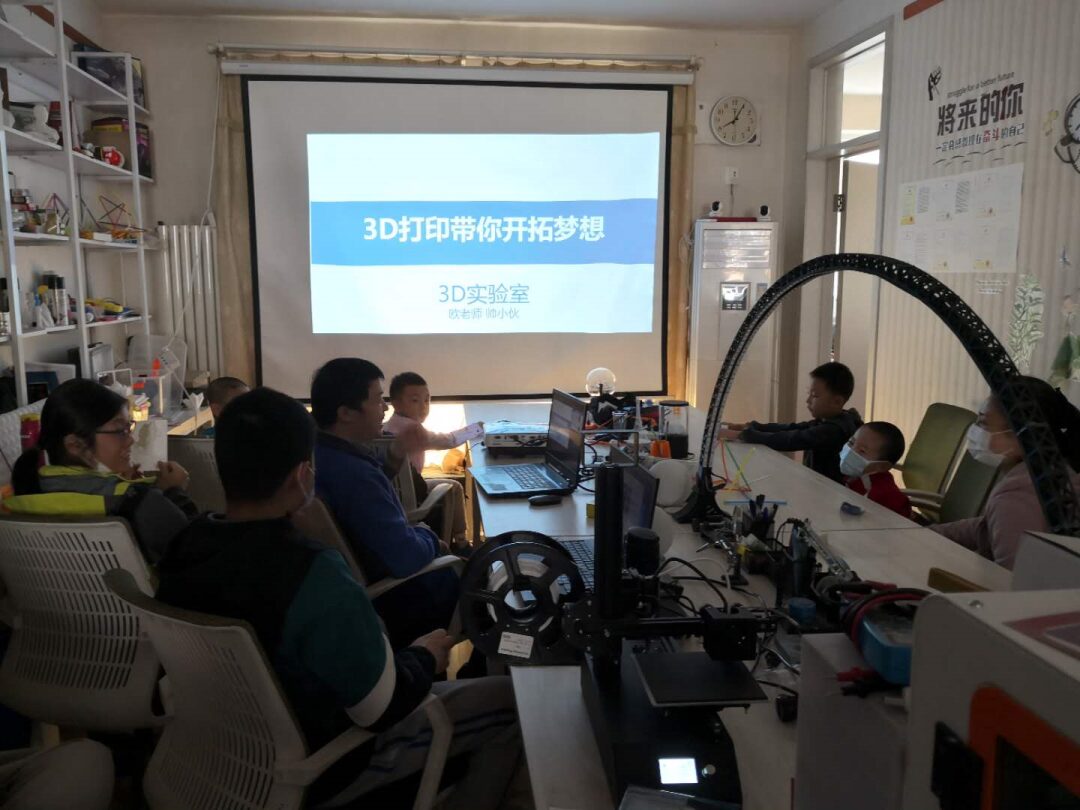
In the summer of 2022, the 3D lab teamed up with Beijing Western Point Training Camp and MEL Science to create a 7-day, 6-night “3D Printing Technology Military Summer Camp”.
The 3D Printing Technology Military Summer Camp is about to embark on a creative journey full of infinite possibilities, using an engaging teaching model to inspire children’s curiosity, imagination, and creativity. During the camp, children will start learning three-dimensional creation from basic geometric knowledge of points, lines, surfaces, and solids, integrating dynamic math software Geogebra, physics simulation software Algodoo, and 3D modeling software Tinkercad. This will allow children to gain knowledge, experience, and friendships while opening the door to technology + design, creating while having fun, and learning while creating!
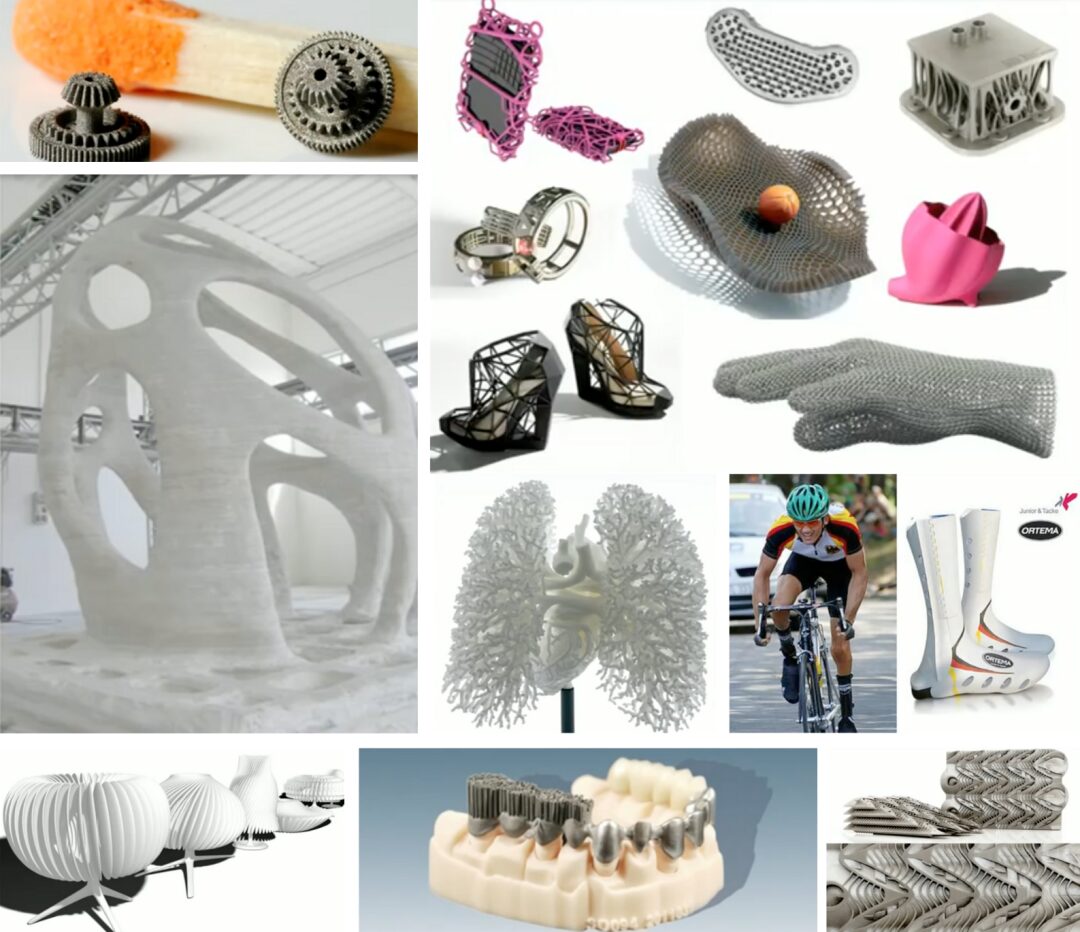
3D printing, also known as rapid prototyping or additive manufacturing, is a technology that constructs objects based on 3D digital model files by layering materials such as plastics, resins, and metal powders. 3D printing technology has been widely used in various fields such as scientific research, industrial processing, aerospace, art design, medicine, and architecture.
As a technology based on design data, this data comes from various disciplines such as mathematics, physics, biology, art, and history. By applying interdisciplinary knowledge to solve problems in projects, children can cultivate comprehensive abilities such as creativity, design thinking, hands-on skills, collaboration, and leadership.
There are dozens of commonly used 3D modeling software, and the ones often used by Teacher Ou and the handsome guy include Solidworks, TinkerCAD, OpenSCAD, Rhino (including Grasshopper), MATLAB, etc. Among them, TinkerCAD is a modular block-style 3D modeling software, very suitable for beginners and middle school students.
Previously, in the first episode of the very popular educational documentary “Hello Future Humans”, British elementary school students used 3D printing to learn history, using TinkerCAD modeling software.
Education is undergoing a revolution. While we are still chasing prestigious schools and worrying about scarce educational resources and endless educational arms races, students in Tel Aviv, Israel are already building robots to serve society, and elementary school students in London are experiencing what the Earth really looks like through VR, learning history with 3D printing in the classroom.
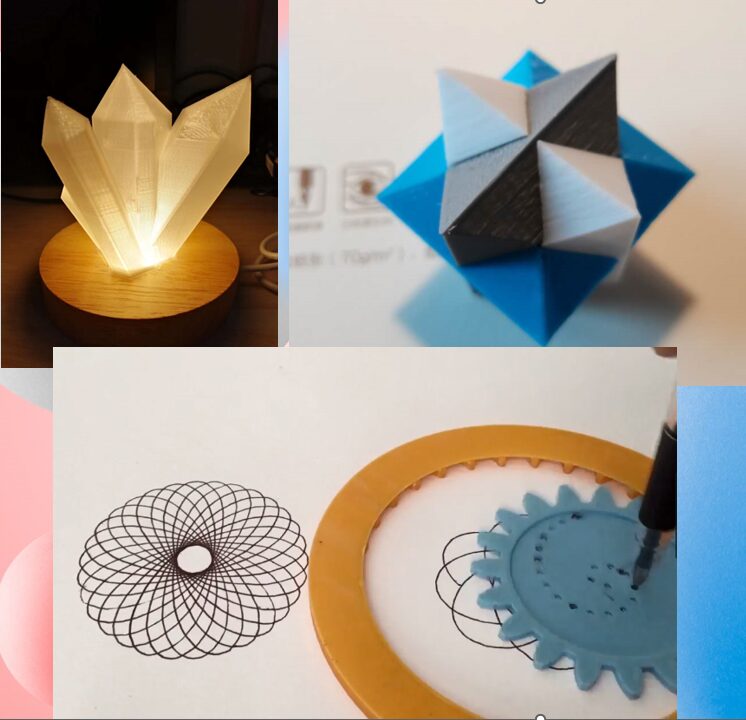
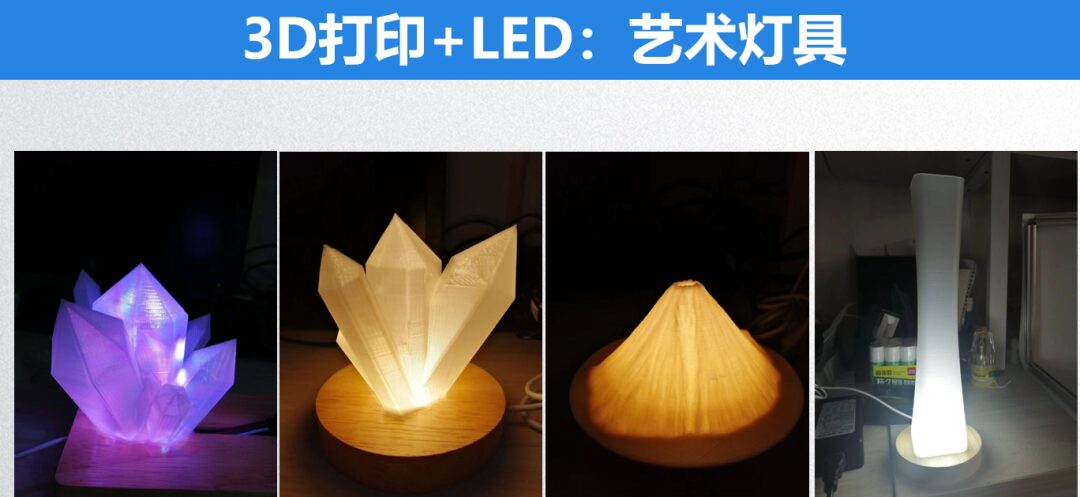
During the 7-day, 6-night 3D Printing Technology Military Summer Camp, Teacher Ou and the handsome guy will share the principles and applications of 3D printing; let children try to assemble a 3D printer; and use 3D modeling and 3D printing to create crystal lamps, mortise structures, and curve tracing devices, etc.
With these basics of 3D modeling and printing, children can participate in various maker competitions and 3D printing contests and win awards, developing their technological specialties.
The handsome guy has created models of the Olympic ice and snow venues and various buildings, cars, rockets, and other models he is interested in using 3D modeling and printing.
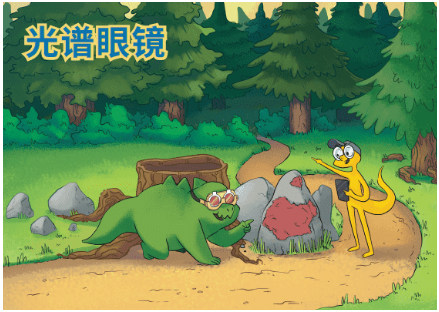
We have partnered with MEL Science from the UK to perfectly integrate AR/3D technology into the learning process of the summer camp. It includes five major themes: spring force car, magic gyroscope, hydraulic lift, spectral glasses, and projectile cannon, covering knowledge points from the five major STEAM fields: science, technology, engineering, art, and mathematics.

We have also carefully prepared five exquisite science boxes.
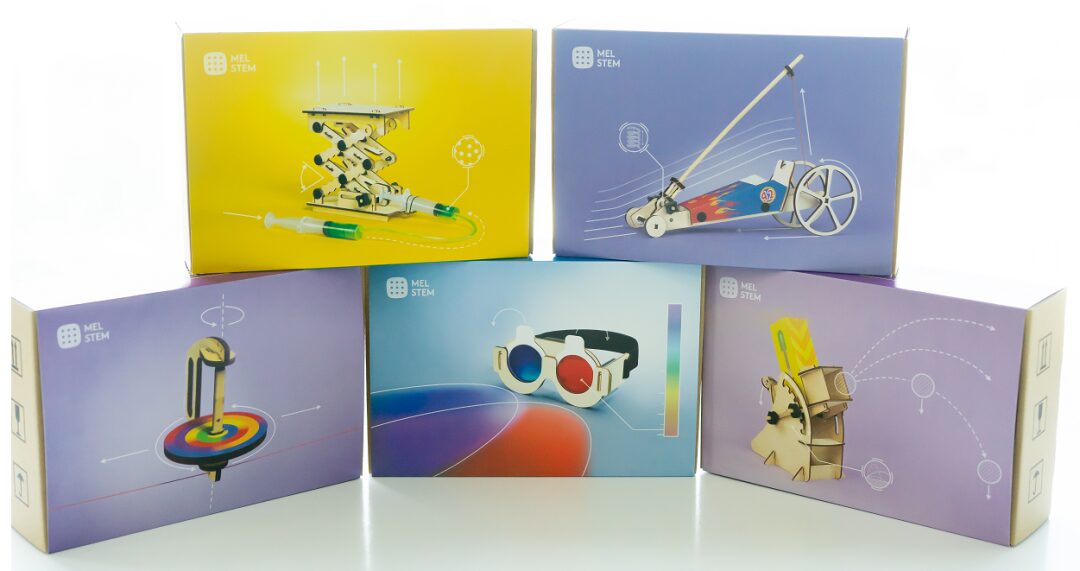
Our scientific exploration story begins with the exquisite and interesting storybooks in the boxes, along with 3D scientific principle explanation videos, helping children open the door to explore the mysteries of science, making complex and bitter knowledge points vivid, interesting, intuitive, and easy to understand, and making children love learning even more.
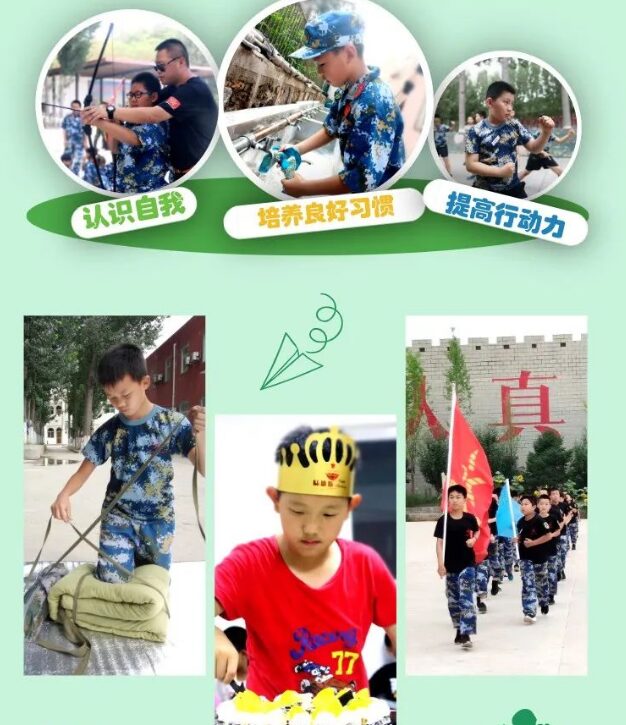
In addition, we have partnered with Beijing Western Point Training Camp to cultivate lifelong beneficial habits for young people through military thinking, using experiential and situational training to enhance the overall quality of young people. The 108 habits are embedded in the summer camp curriculum system from seven aspects: morality, behavior, intelligence, thinking, learning, life, and survival habits, reinforcing different good habits at each stage, progressively enhancing both internal and external habits, allowing young people to gain different growth experiences and perseverance in the 3D printing technology military training camp!
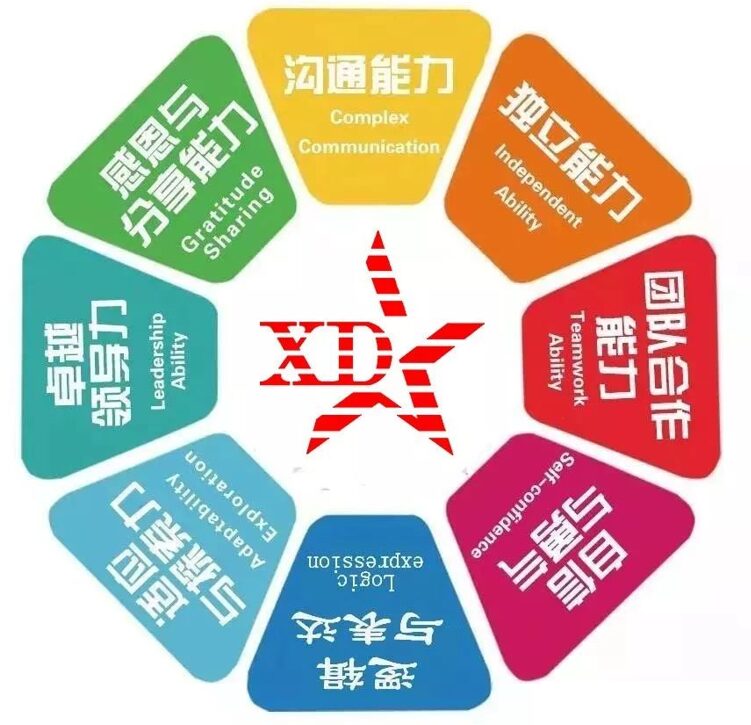
★ 3D Printing Technology Military Summer Camp Enhances Children’s 8 Major Abilities ★
We will focus on children’s 8 Major Abilities
Communication Skills ● Independence
Teamwork ● Creativity
Confidence & Courage ● Adaptability & Exploration
Leadership ● Gratitude & Dedication
Registration Information
Registration
Target Audience
Students aged 10-15
Camp Dates
First Session July 24 – July 30 (Basic Class Fee 7980/person)
Second Session August 14 – August 20 (Advanced Class Fee 8980/person)
The basic class is suitable for students without a foundation in 3D printing. In the basic class, the main focus is on learning the basics of 3D printing and 3D modeling, using 3D printing to create artistic lamps and other content.
Using the physics simulation software Algodoo to study the formation principle of rainbows and the physical principles in the MEL Science science box, allowing students to “create rainbows” and truly feel the mysteries of science, cultivating students’ physics scientific thinking ability.
The advanced class is suitable for students with a certain foundation in 3D printing. In the advanced class, we will introduce Arduino programming combined with 3D printing to create technological works, such as laser harps.
Using math software Geogebra and physics simulation software Algodoo together to study projectile motion, helping students understand and apply how to jump further in long jump; what actions athletes in shot put, discus, and javelin should take to achieve better results…
Combining mathematics, physics, and scientific experiments, applying what is learned is the real good teaching!
Friends who are interested are welcome to scan the QR code below to add the WeChat account, indicating “Summer Camp” for group communication.