| This is Special Summer Project the5th original article |
| Fun Play Series — A Step-by-Step Guide to Transforming Cardboard into Robots |
Since we recently released two DIY cardboard toy tutorials, the comments and discussions in the community have perfectly illustrated that many of you have quite a few delivery boxes at home, reflecting a fact — families with kids are often those that shop online crazily all year round…
At this point, regretting won’t help, so let’s adopt a positive mindset, pick up those delivery boxes, and prepare for the challenges ahead, such as the school DIY robot activity your child will inevitably face —

Think it’s too hard? Not sure how to make your child’s project stand out quickly and effectively?
Come on, from easy to difficult, 9 DIY robot tutorials will take you on a journey.
(For parents who haven’t felt the power of school DIY assignments yet, listen to a fellow parent: please save this, as what needs to come will eventually come ……)
……)
1
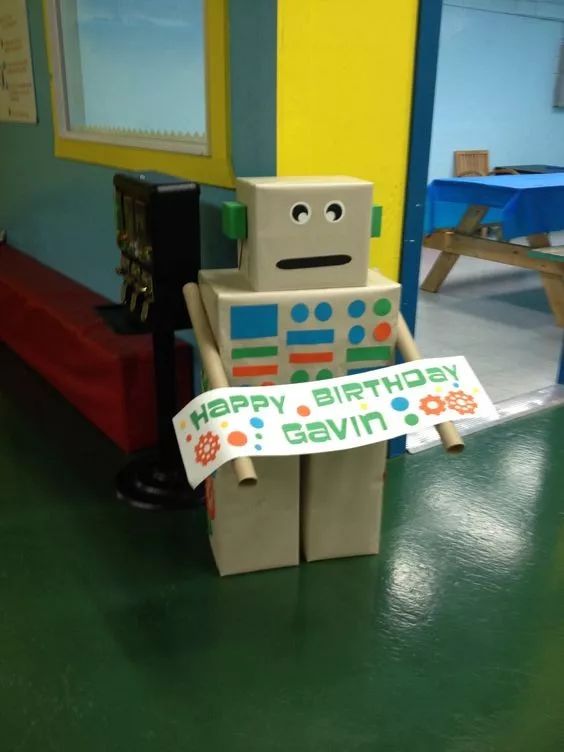
Super Simple Cardboard Robot
Many people often mention in the comments that some DIY projects are just too difficult, and those with two left hands feel helpless. So let’s start with an ultra-simple, zero-failure, basic robot that even the clumsiest can master.
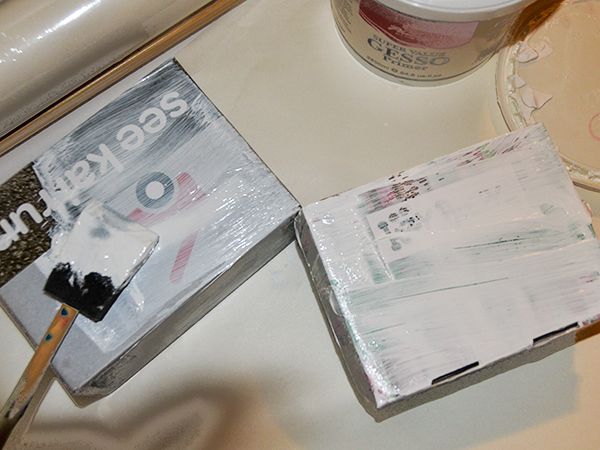
Find cardboard boxes that are suitable for the head, body, and limbs, and glue them together.

Paint it with colors.
Add eyes and decorations, and it’s done!

Uh-oh, something seems off? Did I miss a few steps?

This feels familiar…
No, rest assured, I will help to the end, [DIY Robot Decorative Stickers Printable Resource] is here for you!
Cut it out and stick it on the cardboard box, and it will instantly transform into a high-end robot!
[See the end of the article for resource acquisition methods]
2
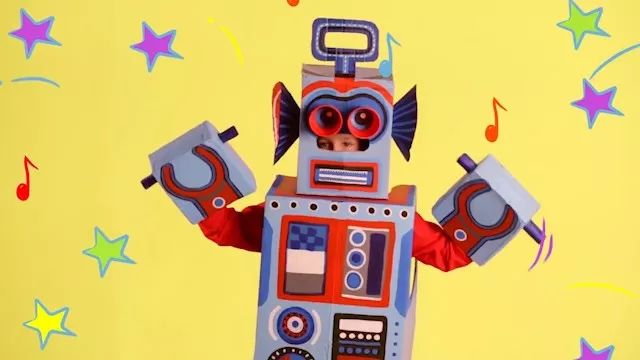
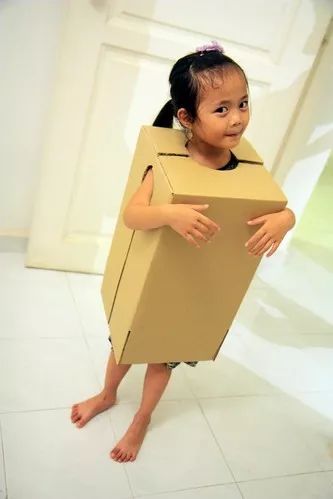
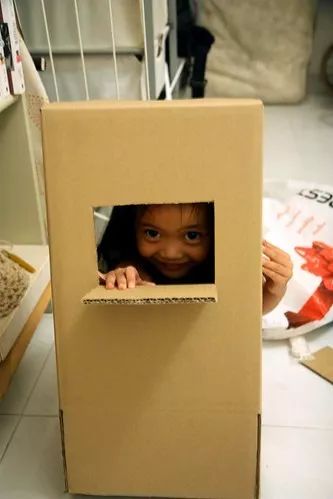
Simple Robot Costume
Making a robot is nothing, but transforming into a robot is cool! If you have a large cardboard box at home, you must try this method to instantly turn your child into a stylish robot.
First, remove the bottom of the cardboard box, cut out eye-sized holes on the front side, which will serve as the robot’s mouth.
Cut the bottoms off two paper cups and cut flower shapes on top, fold them down to create the robot’s eyes.
Cut a cross in the center of a round cardboard, fold the four corners outwards to form a horn shape, and tape it securely to create the robot’s ears.
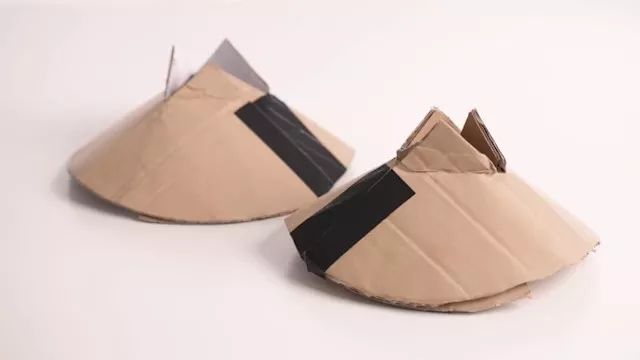
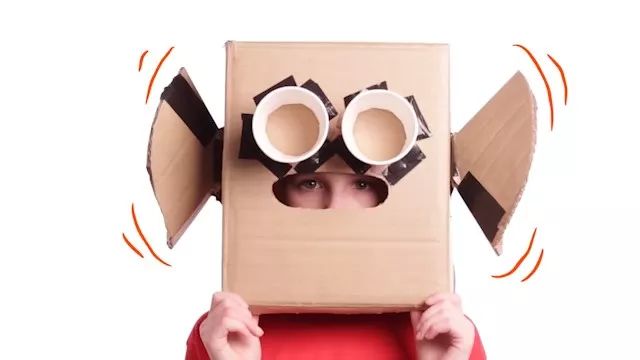
Add an antenna on top.
Cut holes in the large cardboard box for the head and hands to go through, serving as the body.
Roll up a cardboard tube to create small sticks, insert them into small cardboard boxes to serve as the robot’s hands.
Then paint and decorate, and a decent robot cosplay outfit is ready! Let’s dance the robot dance together!
3
Simple Movable Arm Robot
Our DIY robot doesn’t want to be just a decoration; it should be able to move, taking it to the next level.
The following method for creating a movable robot arm is simple and effective, let’s take a look.
First, cut a double door in the middle of a cereal box.
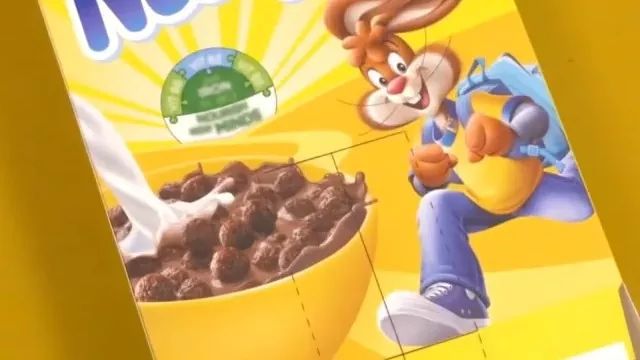
Fold the cut-out part inwards, tape it down to create the robot’s two legs.

Poke small holes in both the paper tube and the side of the cereal box.
Take two legs from a two-legged nail, bend them, insert them into the cereal box, and poke one end out to connect with the small hole in the cardboard tube.
Now you’ve got a movable arm!
Don’t forget to add the robot’s head!
4
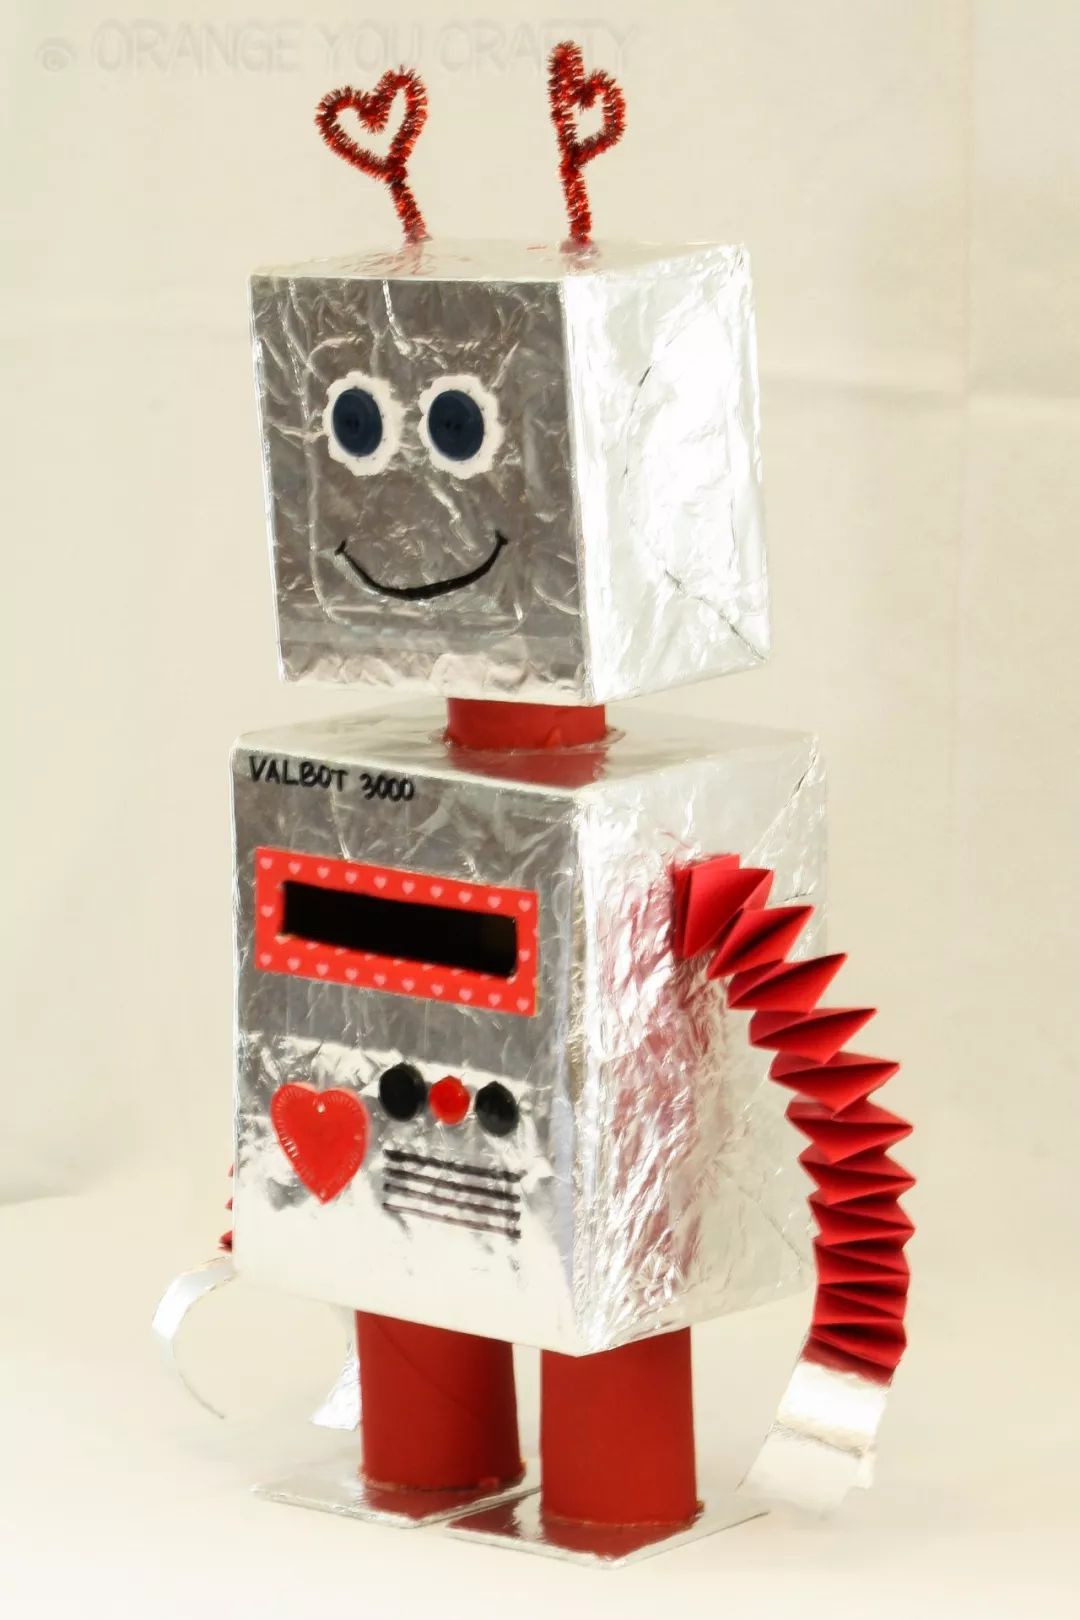
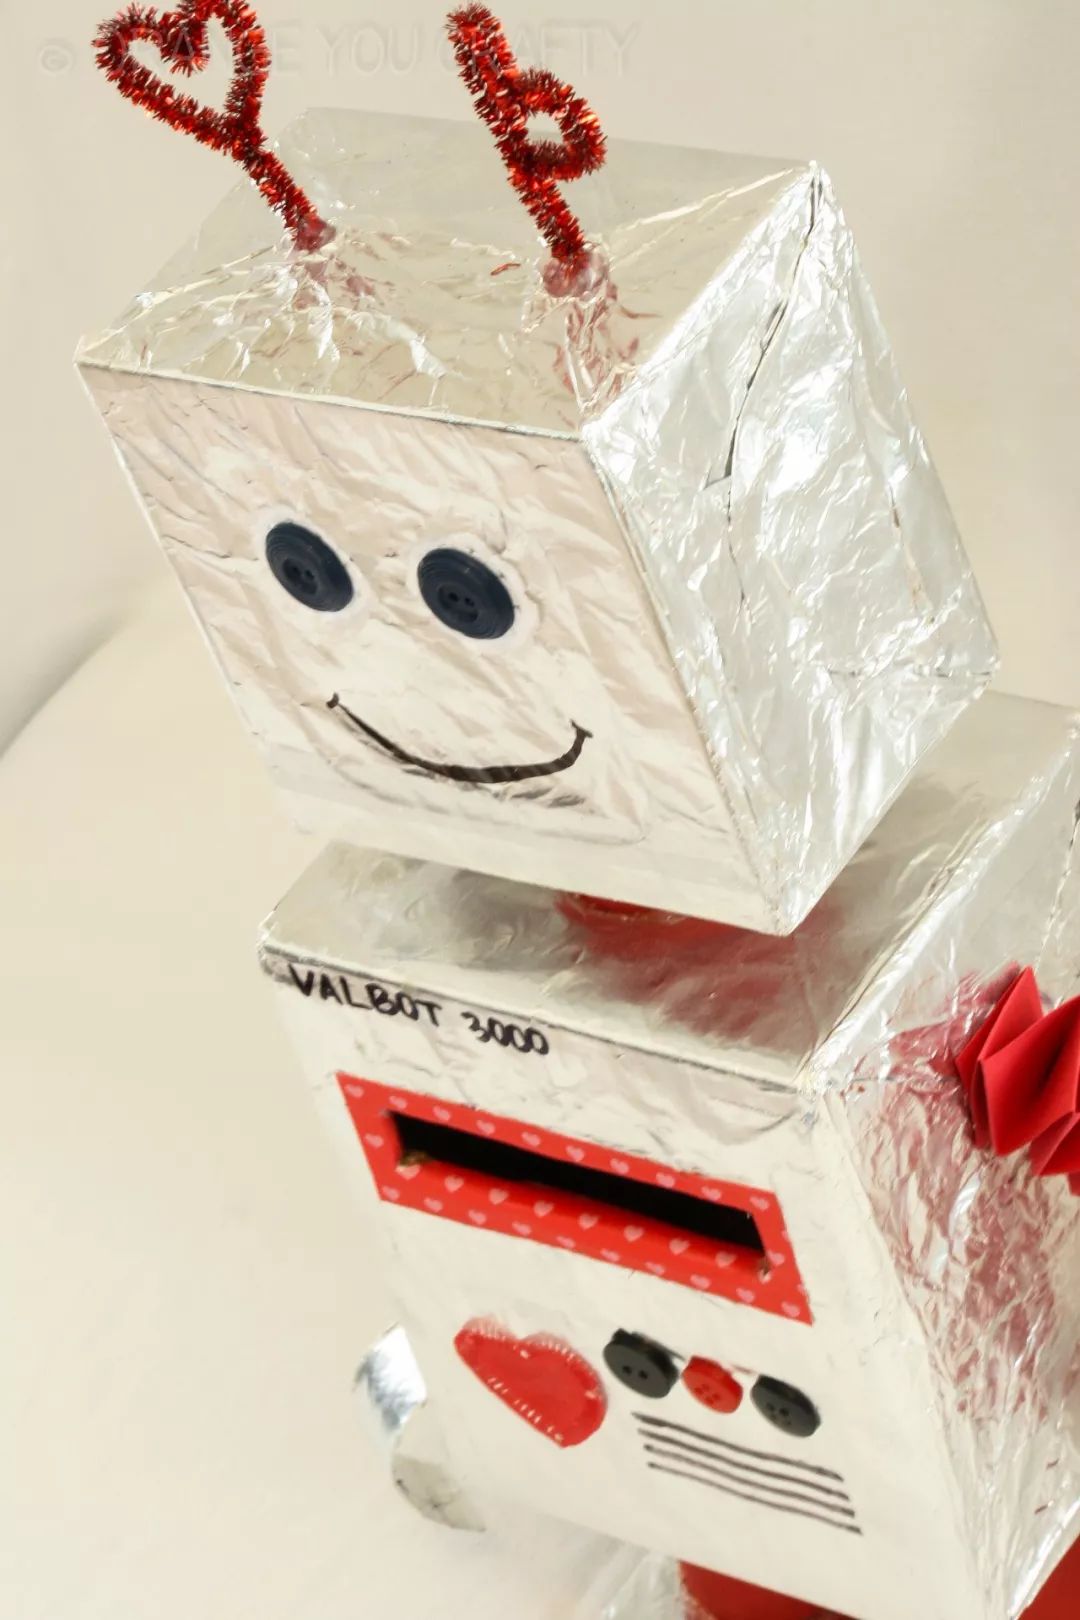
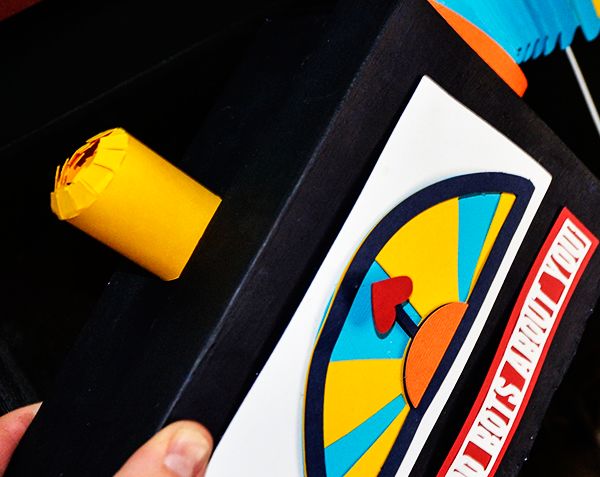
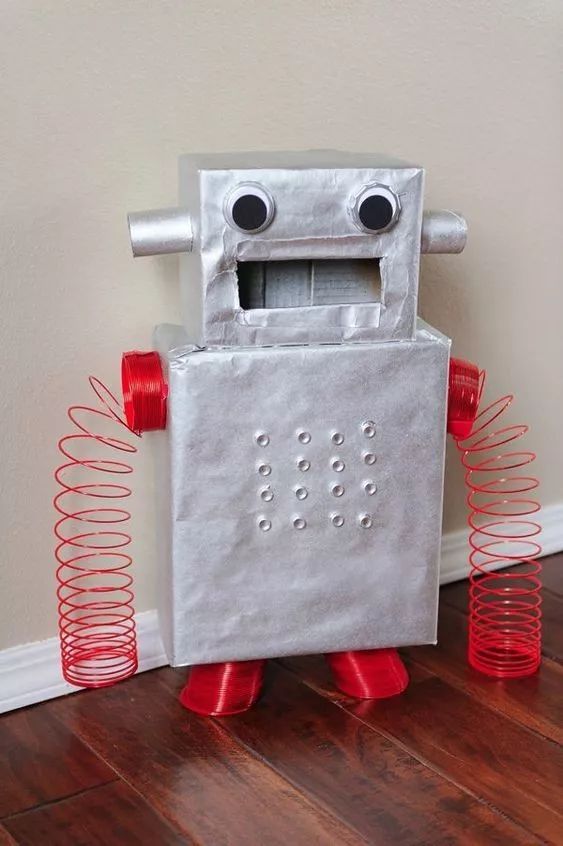
Heart Mailbox Robot
If you could invent a robot, what functionality would you want it to have?
I hope it can convey love and express affection.
Let’s make a Heart Mailbox Robot.

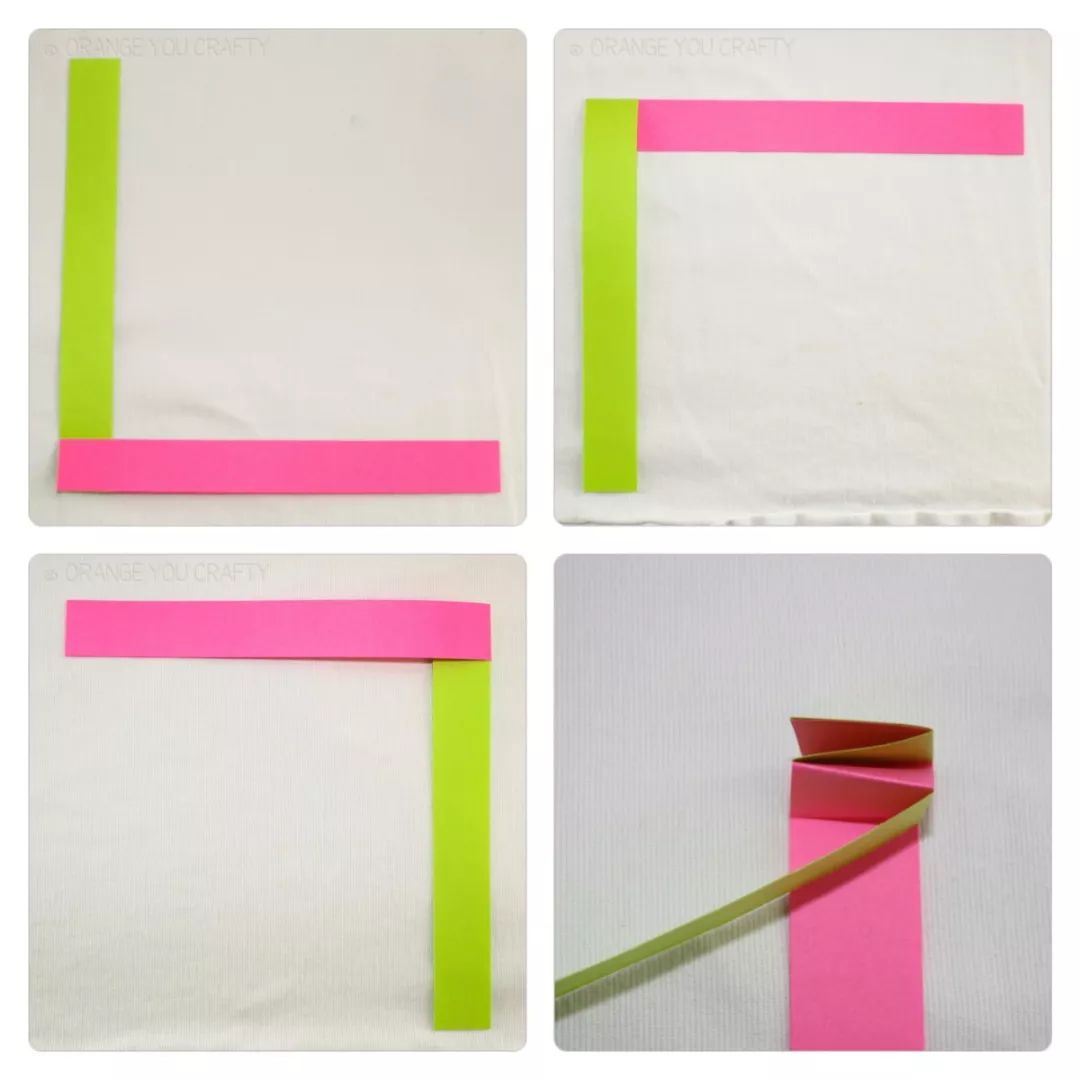
Glue two strips of paper into an L-shape, continuously alternate folding them to create a paper spring, serving as the soft arms of the love robot.

Dig out a hole in the middle of the body for mail delivery, wrap it in foil or paint it, and add decorations to complete it.
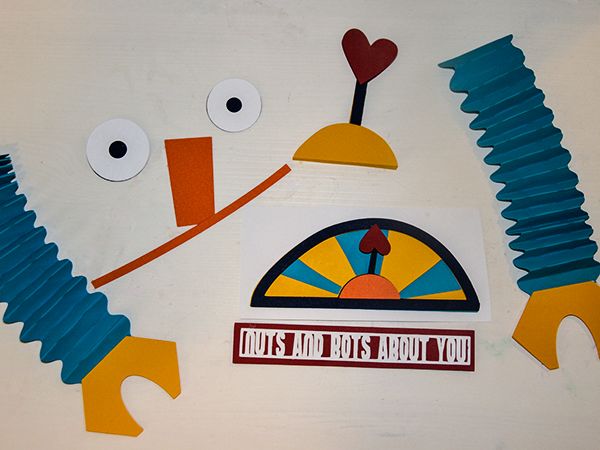
5
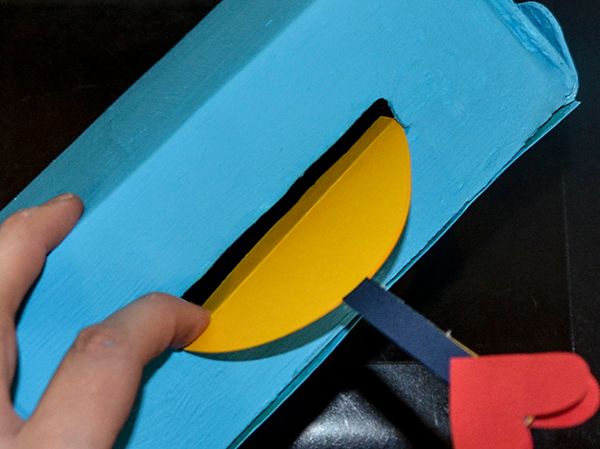
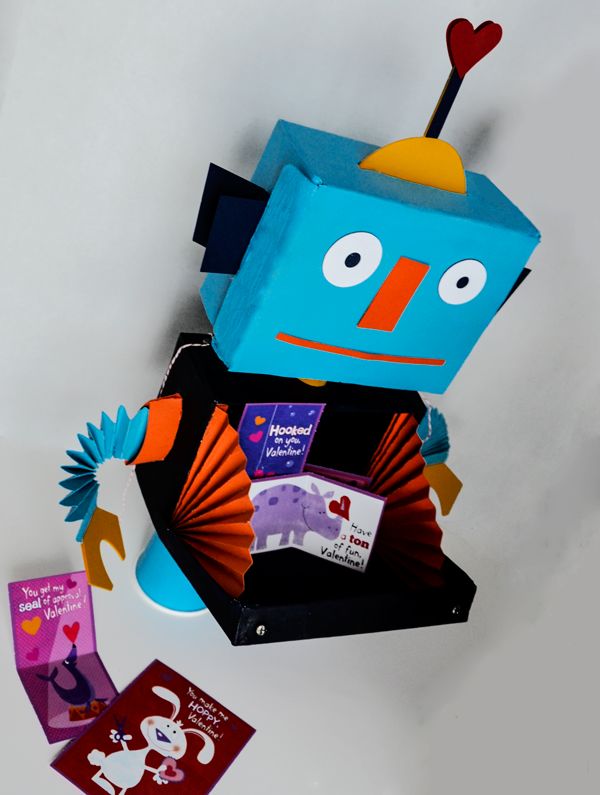
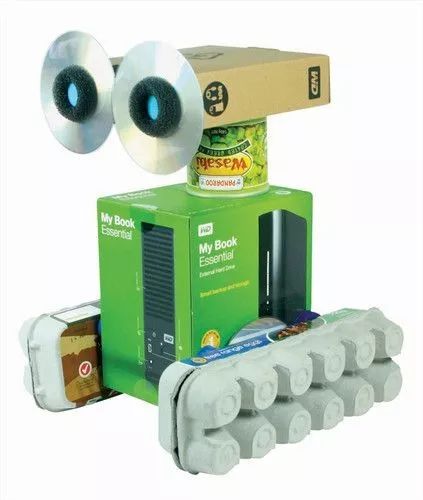
Storage Robot
The primary function of a household robot is of course to do housework, and a storage robot would be a great helper for kids.
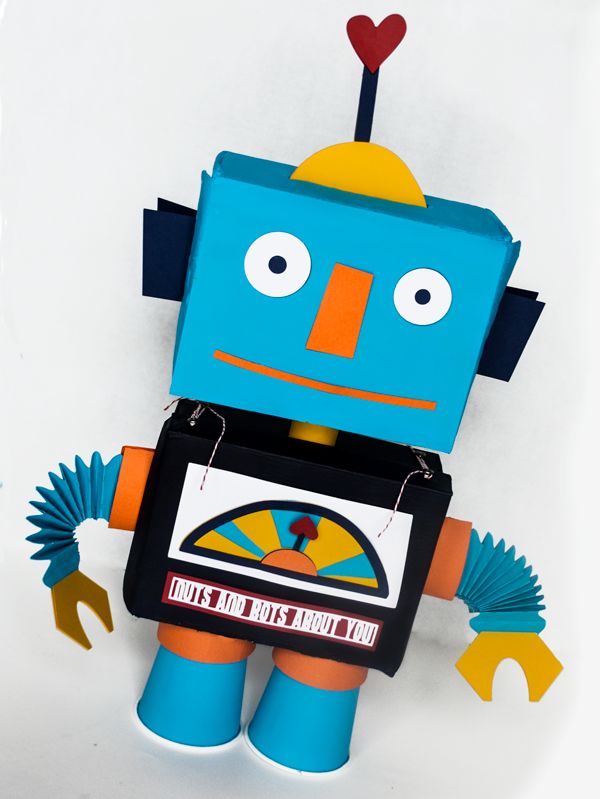
The previous steps still involve painting cardboard boxes and adding accessories. Everyone should learn to think outside the box, flexibly apply methods from different tutorials to their own creations.
Next, pay close attention.
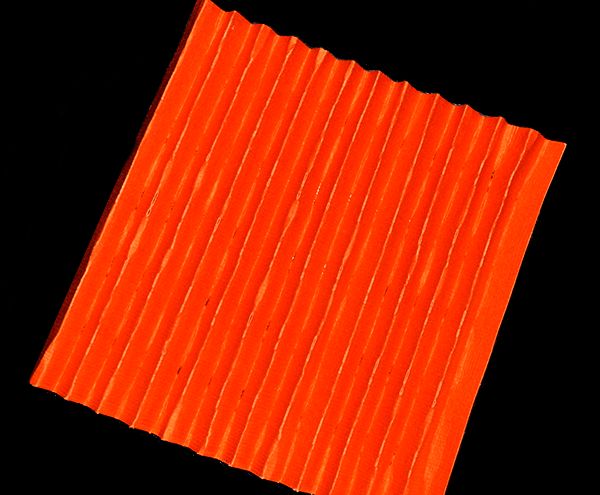
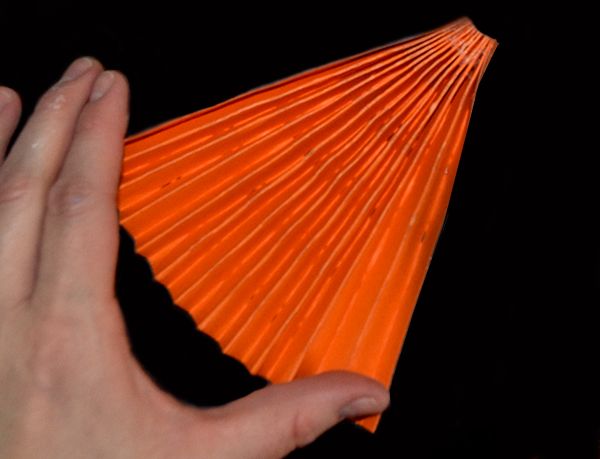
Fold two small fans from cardstock to serve as side panels for the storage box.
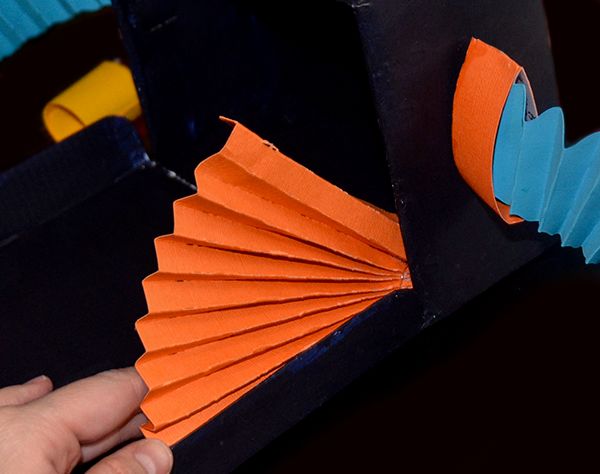
Cut a flap from the front of the body part of the box, connect it with a small fan, allowing it to open and close flexibly.
You can place some small items in the storage box; it adds a sense of ceremony.
6
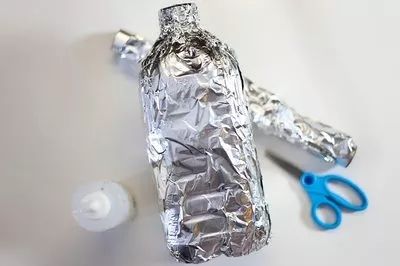
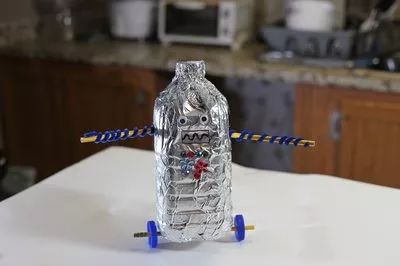
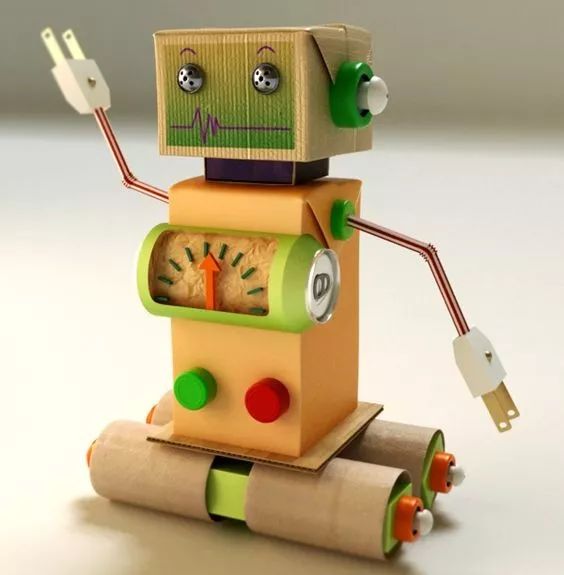
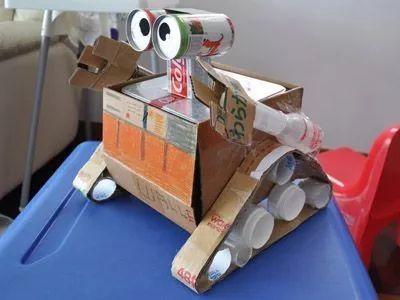
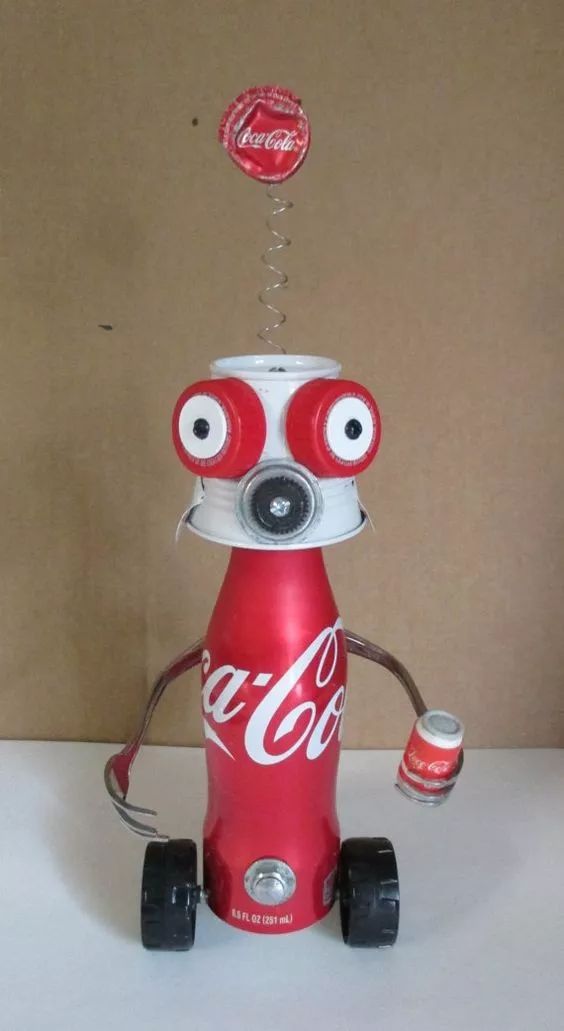
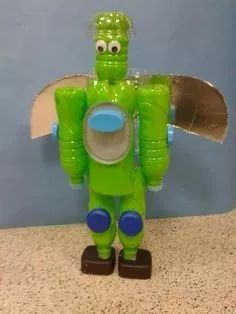
Rolling Water Bottle Robot
After making a movable arm, let’s create a robot with wheels to make it run!
Wrap a plastic bottle in foil to serve as the body.
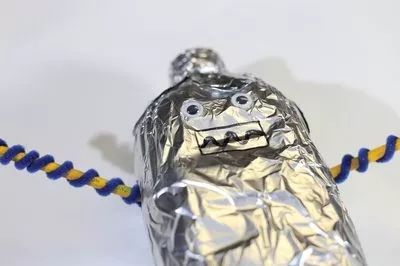
Wrap twist ties around a stick to create arms, securing them to the body.

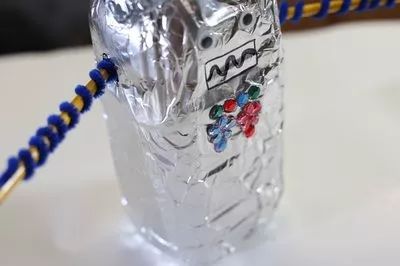
Add facial features and decorations.
Make small holes in the plastic bottle caps, thread them onto the ends of the stick, and secure with a hot glue gun (ensuring the wheels can spin). Tape the stick to the bottom of the bottle, and you’re done.
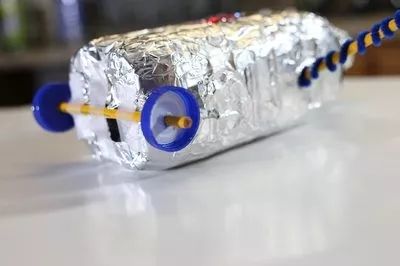
Try to make it roll while maintaining balance~
7
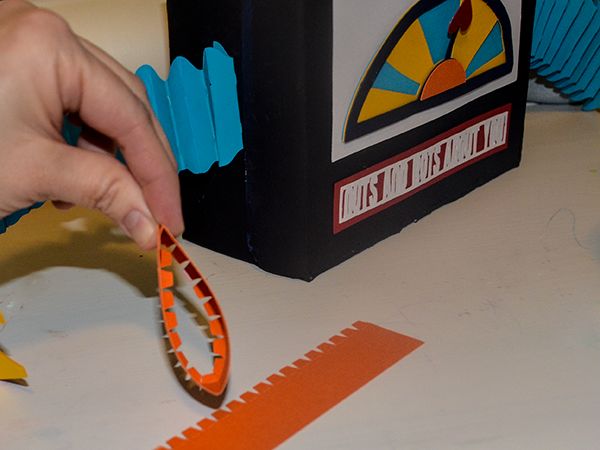
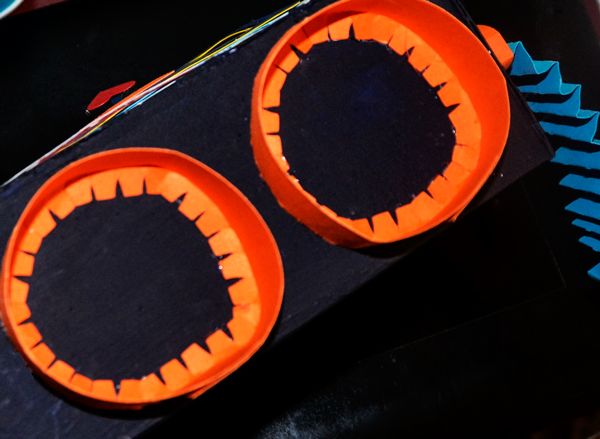
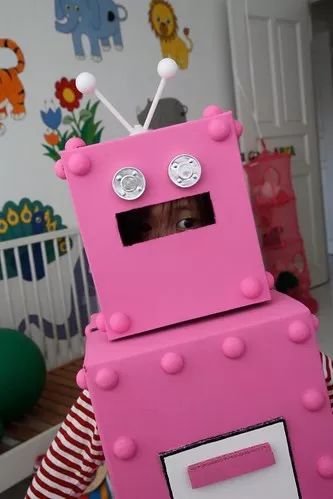
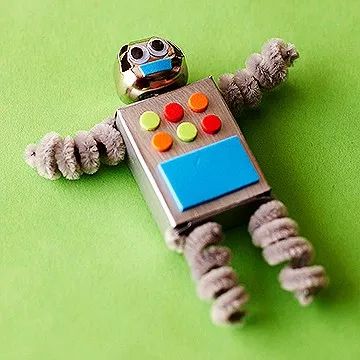
Pink Rivet Pocket Robot
Robots are not just for boys; pink robots can also capture the hearts of little girls.
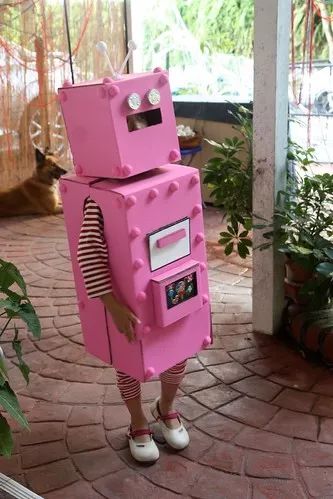
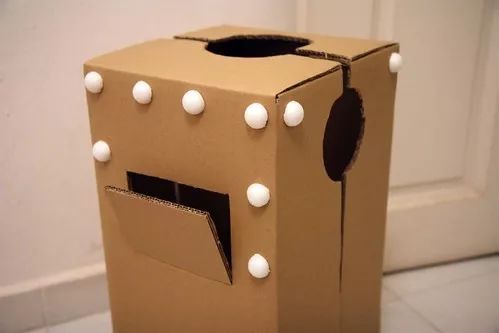
Same old routine, remove the bottom and cut a hole.
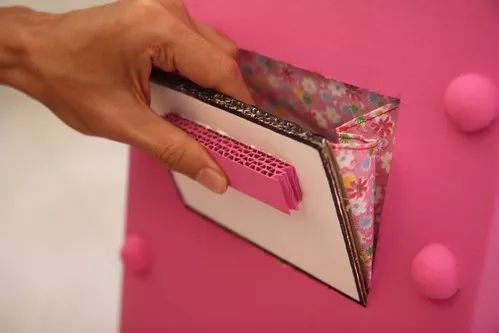
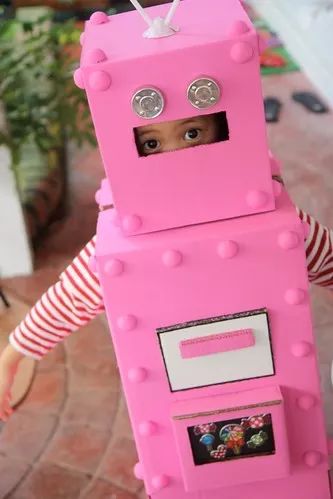
Cut a downward flap on the front to serve as a pocket.
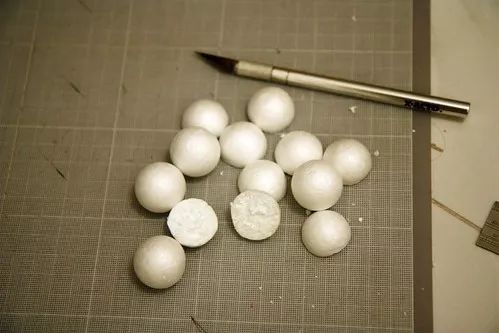
Cut a Styrofoam ball in half (available cheaply online) and stick it along the edge of the box as rivet decoration.
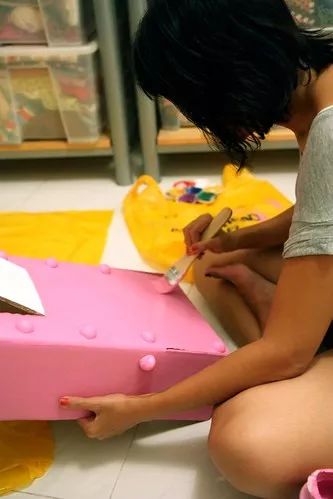
Paint it pink (acrylic paint is recommended).
Attach a small piece of cloth to the inside of the box, connecting it to the edge of the outer flap to create a small opening that can open and close.

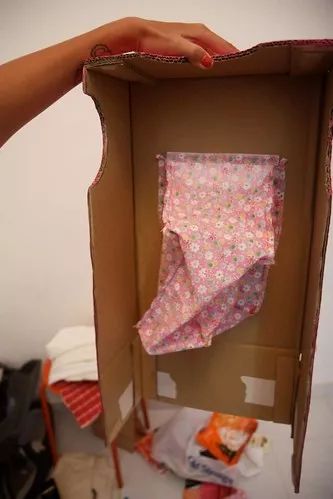
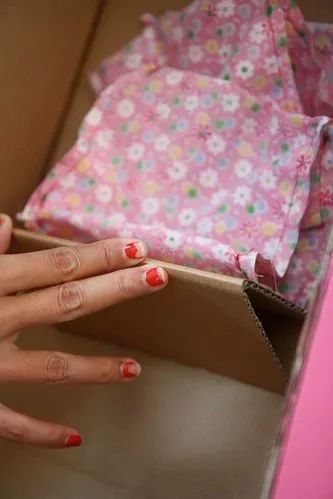
Add decorations, and you’re done!

8
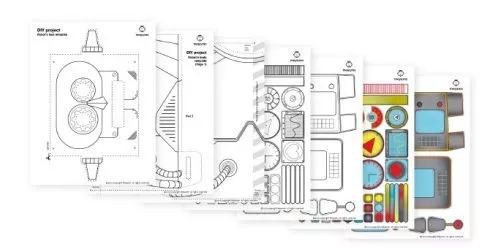
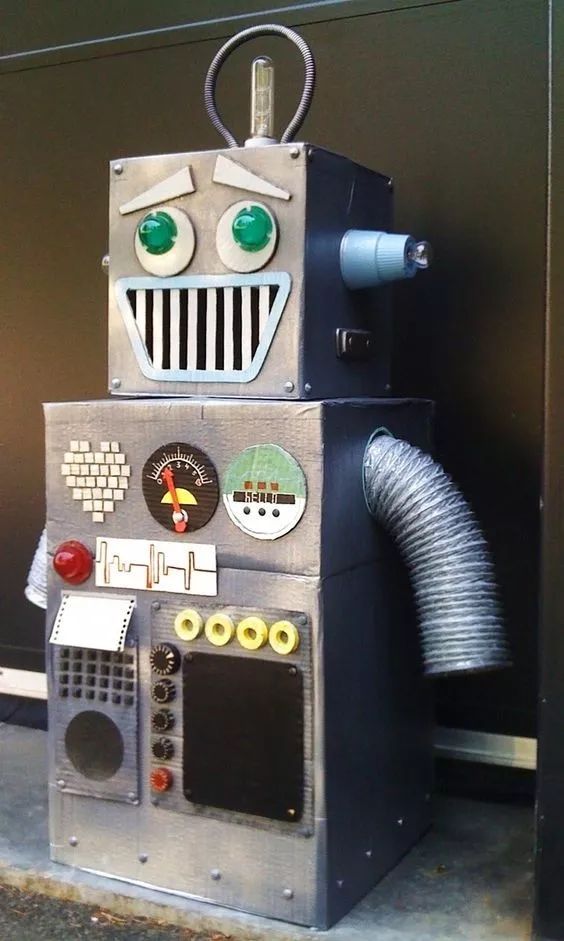
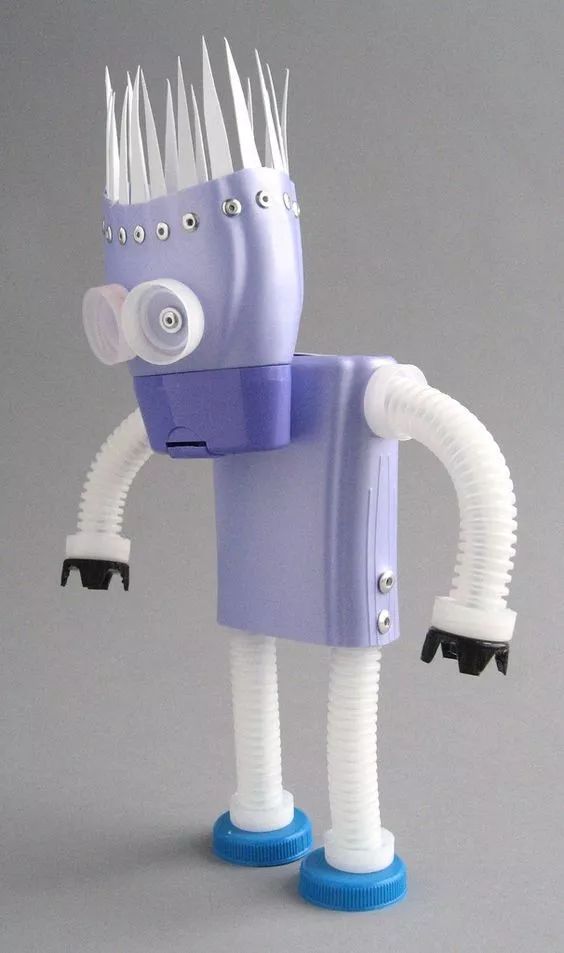
Charging Stand Robot
For an advanced mode, let’s try something different; a robot that can serve as a charging stand makes you the trendiest kid!
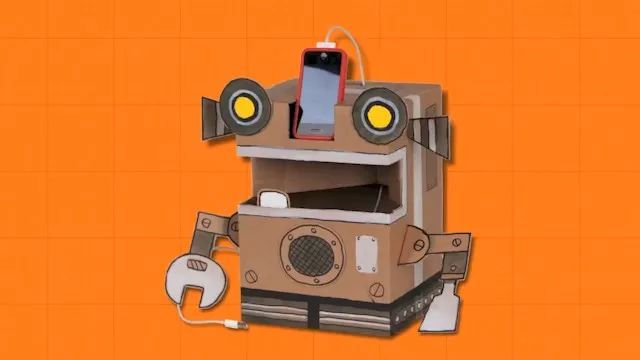
Click to watch the video for detailed production steps —
9
Advanced Transforming Letter Robot
Every DIY tutorial ends with a super difficult boss; what god-level creation is this time?
Ta-da!
True Transforming Robot!
Can be flipped and controlled freely, a powerful letter-transforming silly robot (???).

Quickly click to appreciate some amazing operations —
So, 9 DIY robots have all been introduced here.
Actually, I want to say that every time I share a tutorial with everyone, I worry if you just follow the tutorial expecting to make an identical piece, then the meaning of DIY is lost.
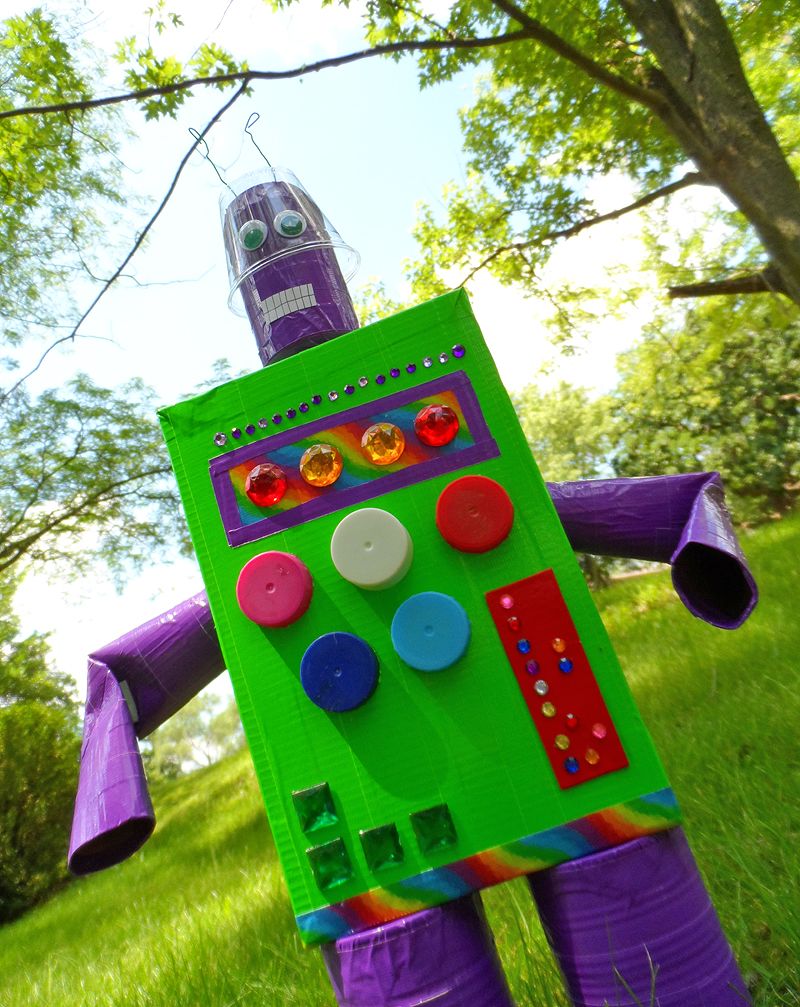
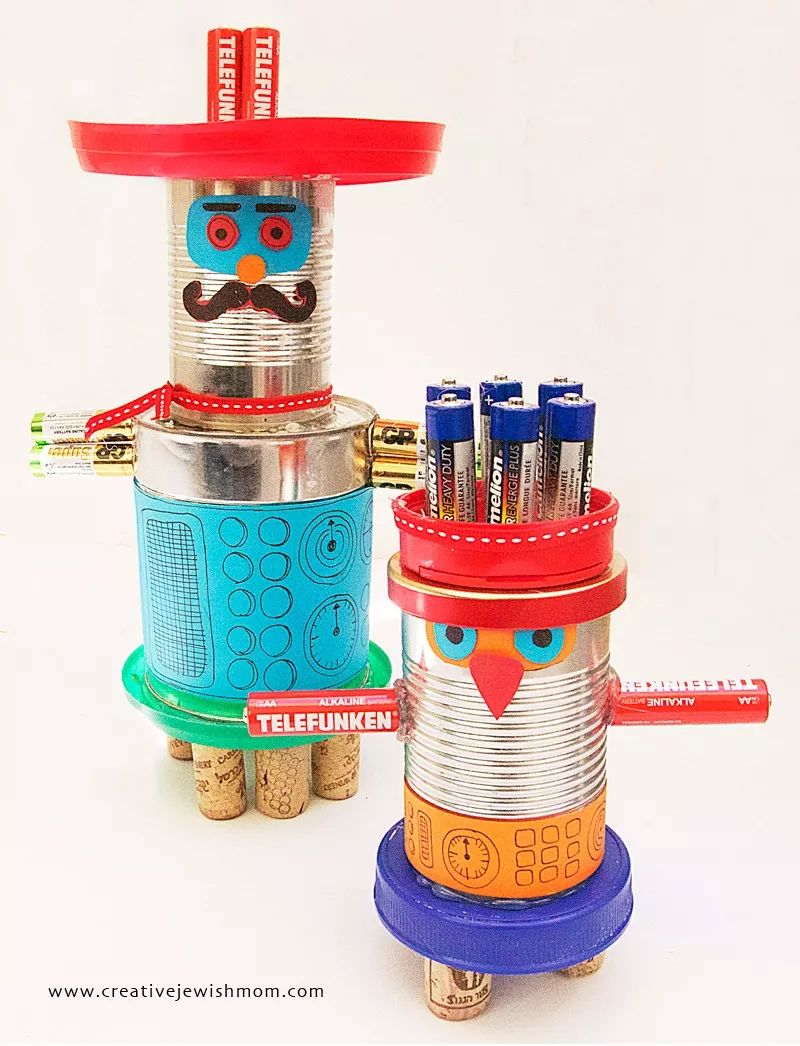
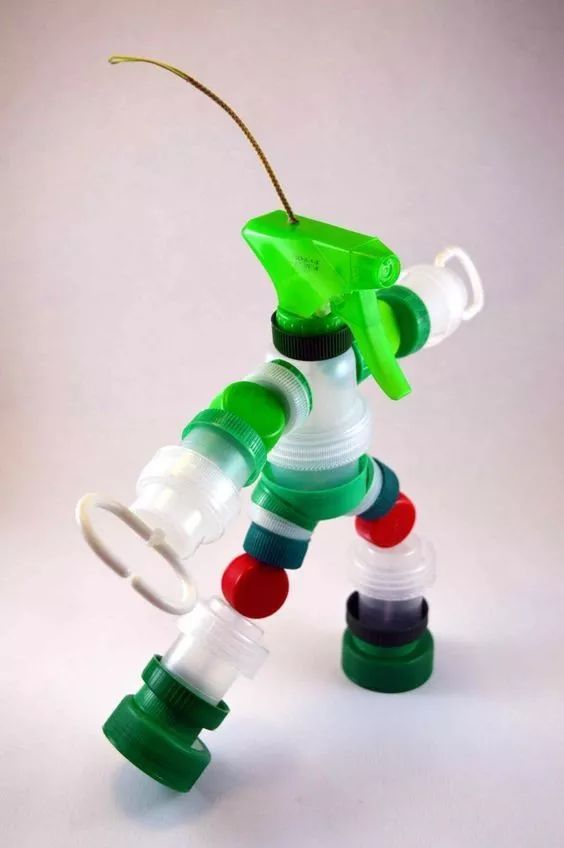
What should be encouraged is to reference the methods from the tutorial, and together with your child gather usable materials around you, and if not, look for alternatives based on the situation. For example, I have collected many imaginative materials that can be used for robots —
Appendix:
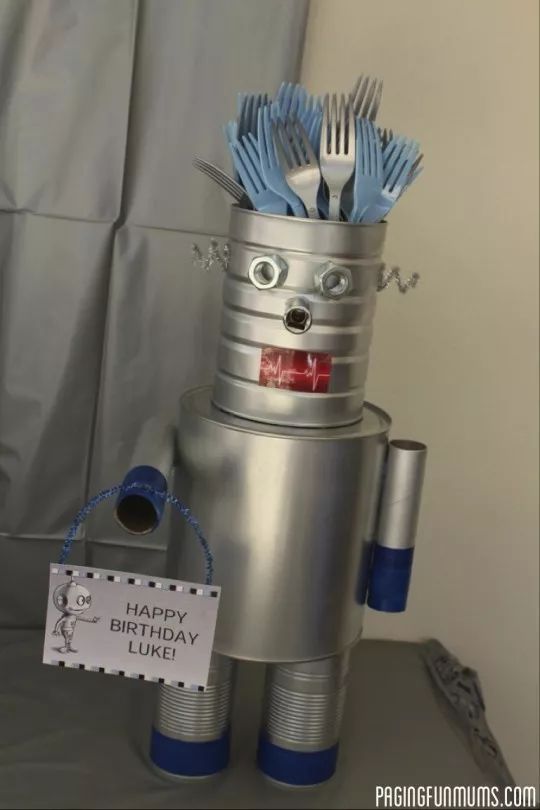
1
Materials for Limbs
Rainbow Rings
Disposable Forks
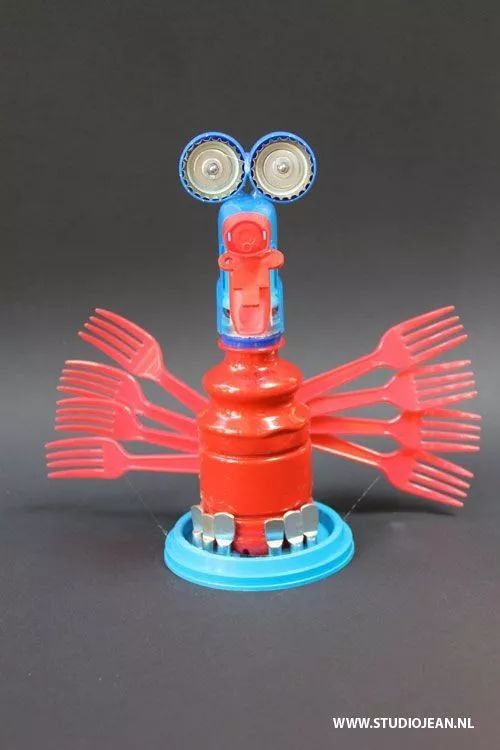
Plugs
Aluminum Foil Vent Pipe
Twist Ties
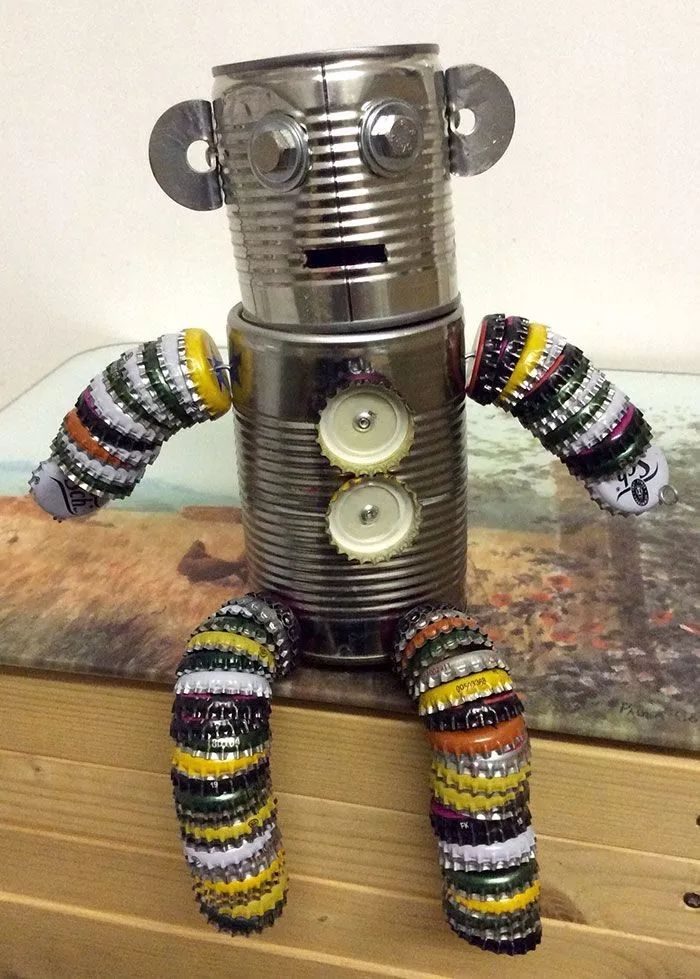
Bottle Caps
2
Materials for Head and Eyes
Light Bulbs
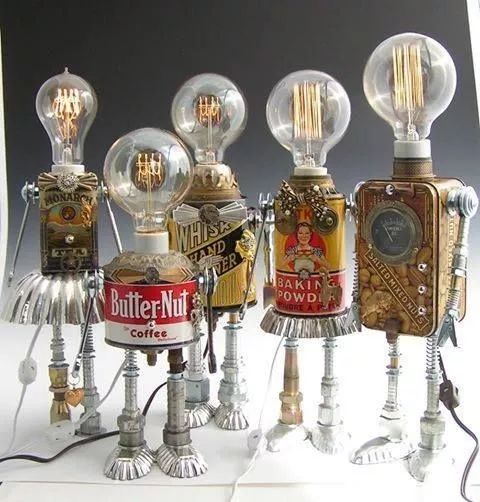
Brushes
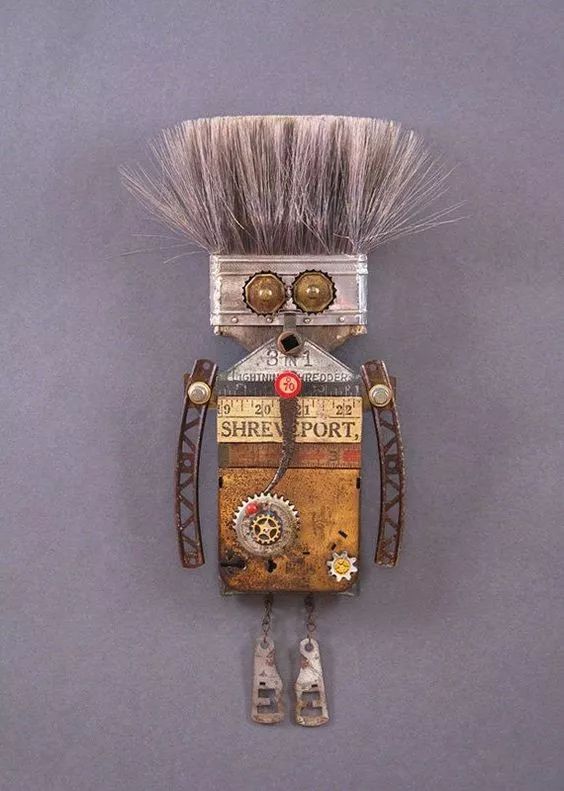
CDs
Aluminum Cans
3
Other Usable Materials
Alright, this issue of DIY robot tutorials ends here. I hope everyone has fun and can think outside the box, sparking all kinds of creative ideas; that is the essence of DIY!
Which of these DIY robots do you like the most? Leave a comment to let me know!
– End –
Free Printable Stickers for DIY Robots
How to Get Them
Reply with the keyword [Robot] in the background to get them for free
▼▼
More great content about cardboard DIY play
Seeking Recognition
👉 Is your child’s toy car scattered all over the floor? Teach you how to unlock 9 high-energy play methods using cardboard for free
👉 10 super cool cardboard toys, teaching you how to reclaim the money spent during the 618 shopping spree
👉 Is your cardboard box going crazy? Transform it into a monster basketball machine for the room
👉 Don’t throw away the cardboard boxes from Double 11, they saved me six months’ worth of toy money
👉 The simplest materials can create the most impressive operations; these 6 cardboard games can keep your child entertained all day