Note: This article serves only as a record of the DIY process, not for any commercial promotion, nor is it to teach everyone to refuse to purchase commercial products. DIY is all about enjoying the tinkering process…
Due to the pandemic, I haven’t been out much this year, almost staying at home all the time. I thought I couldn’t let my camera go to waste, so I made two small lights, bought a cheap plastic photography tent, and played around with shooting still life and time-lapse of plant growth at home.
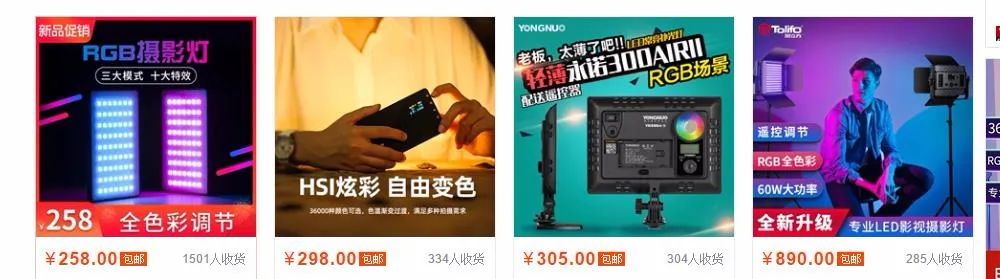
I have two Ulanzi VL49 fill lights that I picked up cheaply from an agent on Xianyu. After playing with them for a while, I felt they weren’t enough, so I got the idea of making RGB fill lights. As usual, I browsed on Taobao.
Uh… finished products are not as fun, and there’s no sense of achievement. I wondered if I could make one myself, that would be (more) meaningful (and) (low) cost.
The main reason that triggered my DIY thought was not because I wanted to save money, but because I saw this thing on Taobao— a Bluetooth-connected RGB light strip controller that can be controlled by a smartphone.
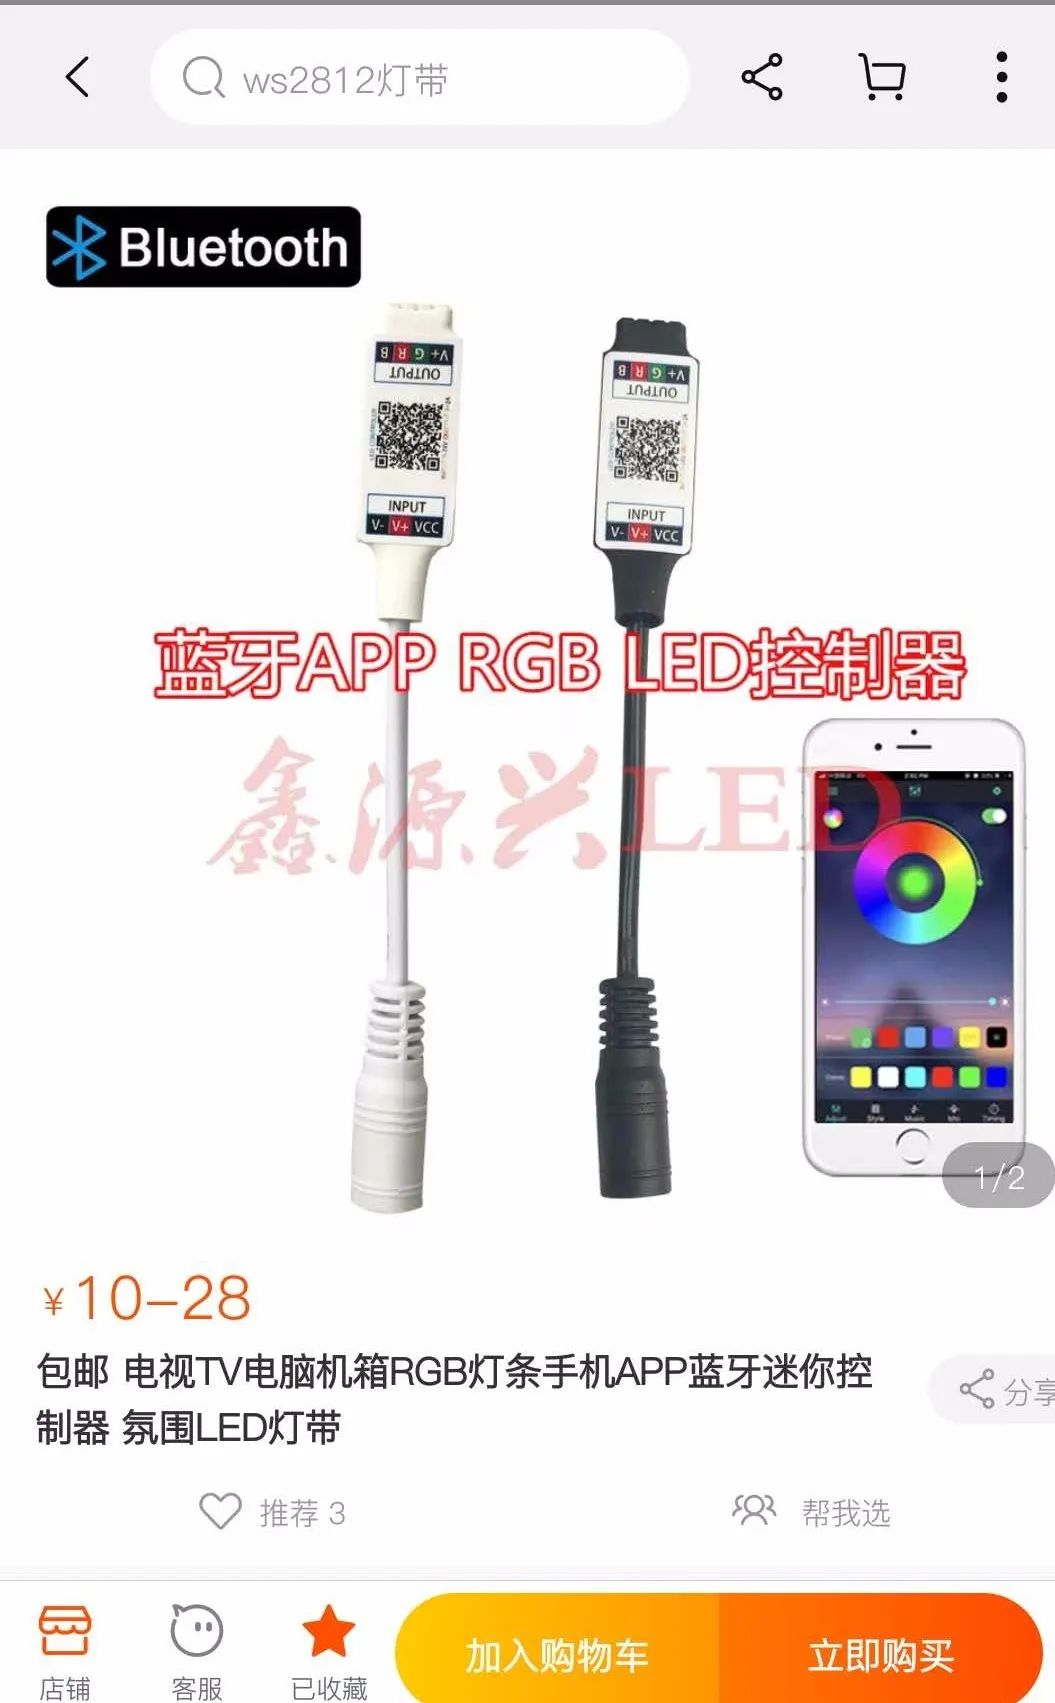
Years of practical experience tell me that this thing can completely be made into a cheap RGB fill light. However, this module is too simple and can only achieve RGB primary color adjustment, and due to its low cost, I have doubts about its flicker performance. It really can’t meet my needs.
After researching common types of fill lights on the market, I have the following positioning for what I want to make:
1. It must be able to adjust RGB colors and also have cold and warm light source adjustment;
2. It must be controllable via smartphone.
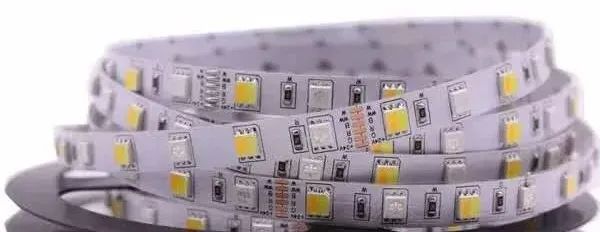
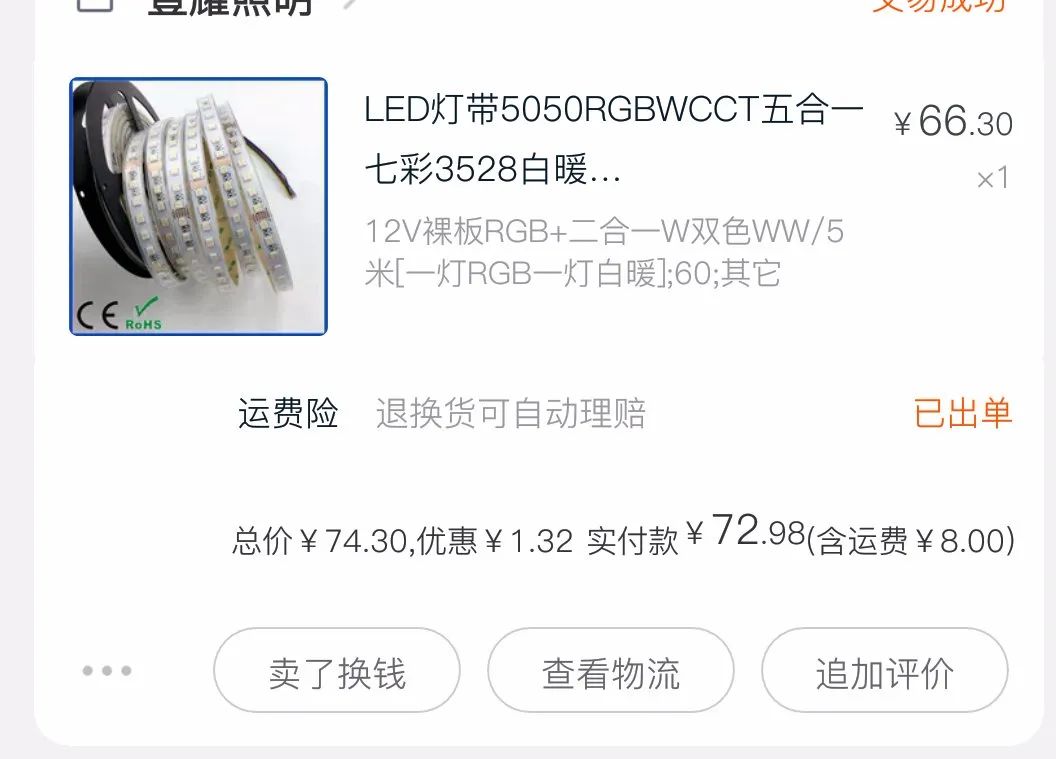
So, I placed an order and first bought LED light strips, directly selecting 5050 packaged RGB cold and warm light strips. To keep costs low, I chose the model where RGB and cold/warm LEDs are separately packaged. A one-meter light strip has 60 LEDs, with a power of about 14.4w. A 5-meter roll of light strip plus shipping costs about 70 yuan.
Then, after browsing Taobao for two or three days and consulting several LED specialty stores, I finally found a suitable controller. The process was quite tortuous. Initially, I inquired about a module from a store that quoted 40 yuan without shipping. I said okay, but the other party seemed uninterested, saying they would send me a link the next day, but the next day there was not even a shadow of them. Fortunately, I didn’t foolishly wait for this unscrupulous merchant and found a passionate seller who had the same WiFi-controlled RGBCW dimming module, without a remote control for 28 yuan plus 6 yuan shipping.
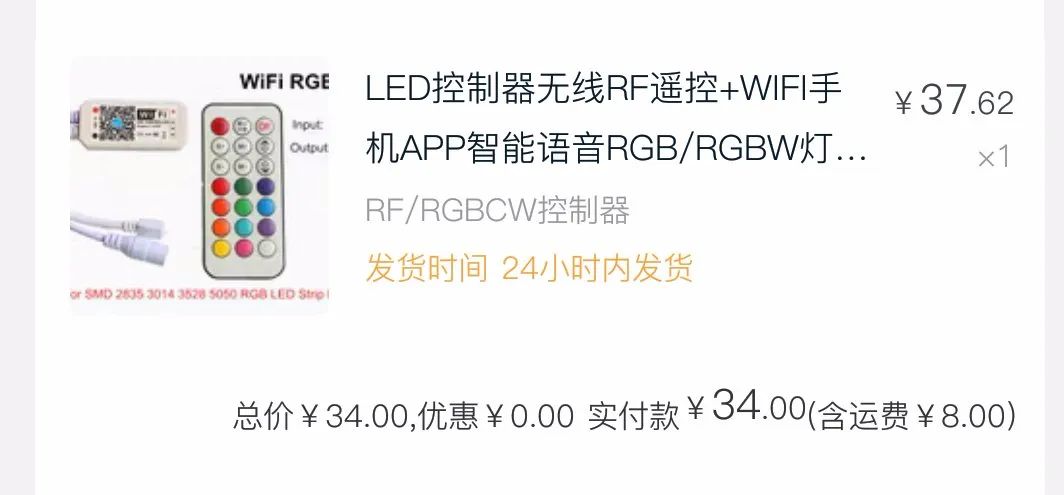
This seller also told me that most of the LED industry operates physical stores, and RGBCW dimming requires five types of LED colors, making the cost of light strips high. Therefore, there are relatively few controllers for this type of product on Taobao, and most of them engage in foreign trade.
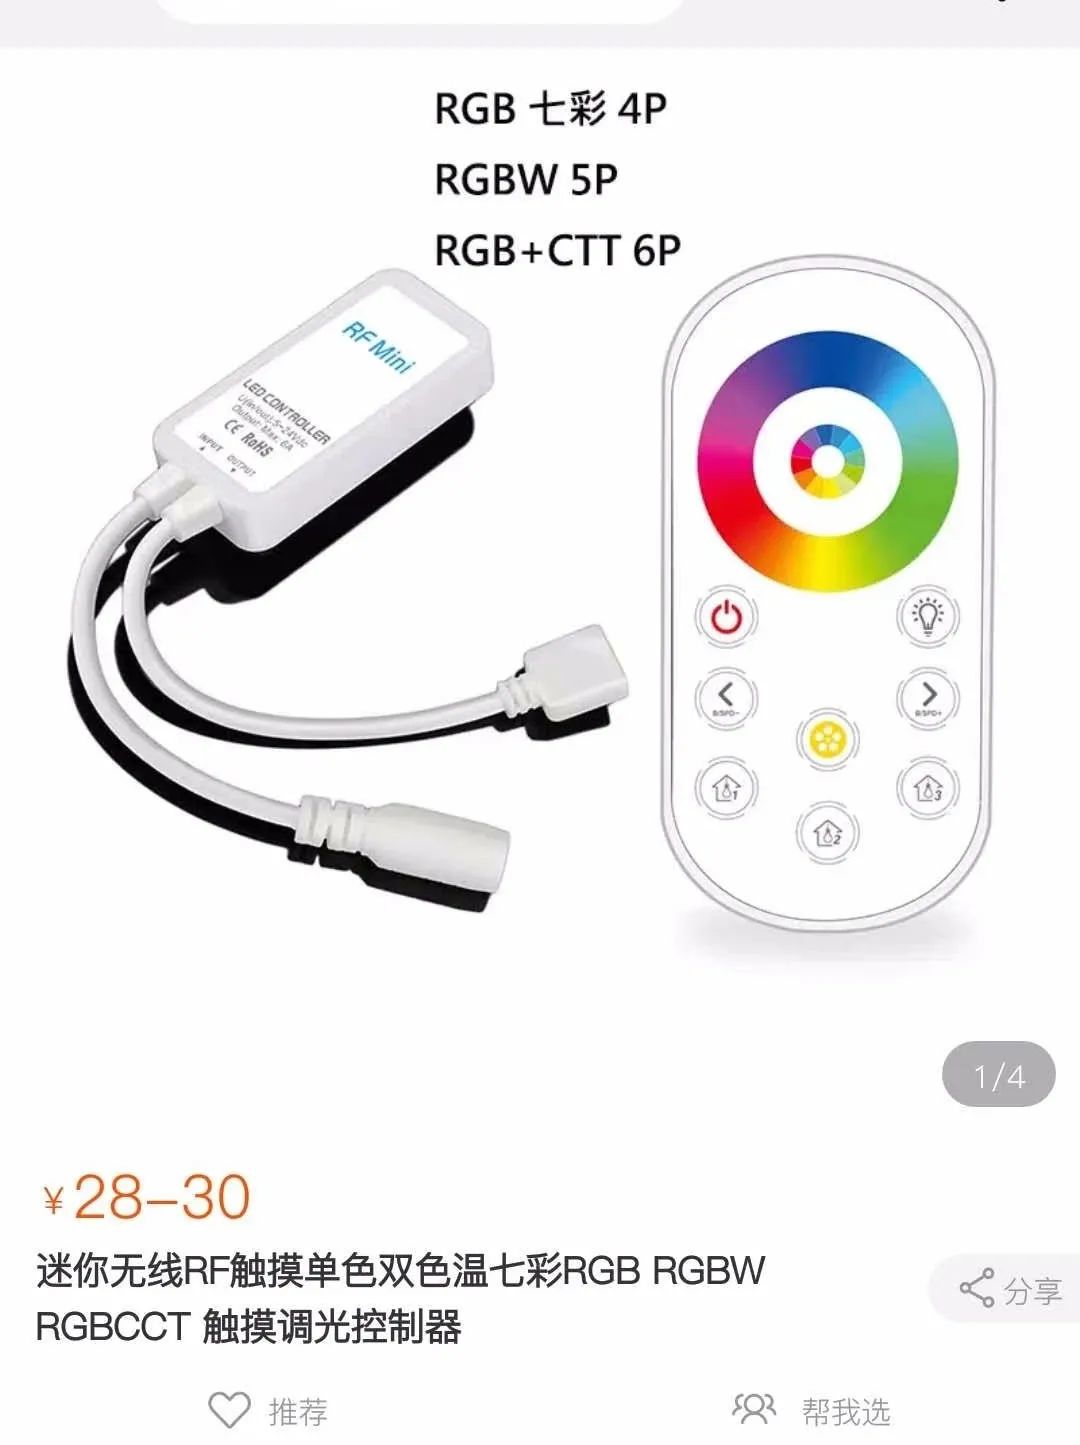
At the same time, I also found an RF touch remote control controller in another store, which looks quite similar to Yongnuo’s RGB light controller. Since I bought more light strips, the price was reasonable, so I bought it as preparation for the next DIY project, but that’s another story.
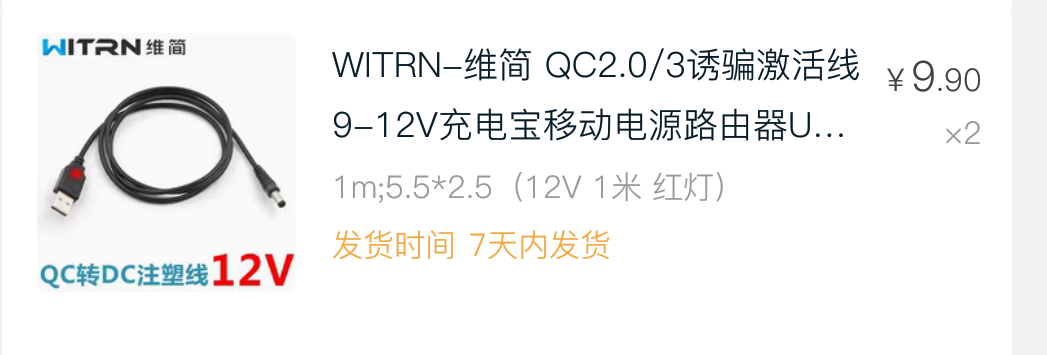
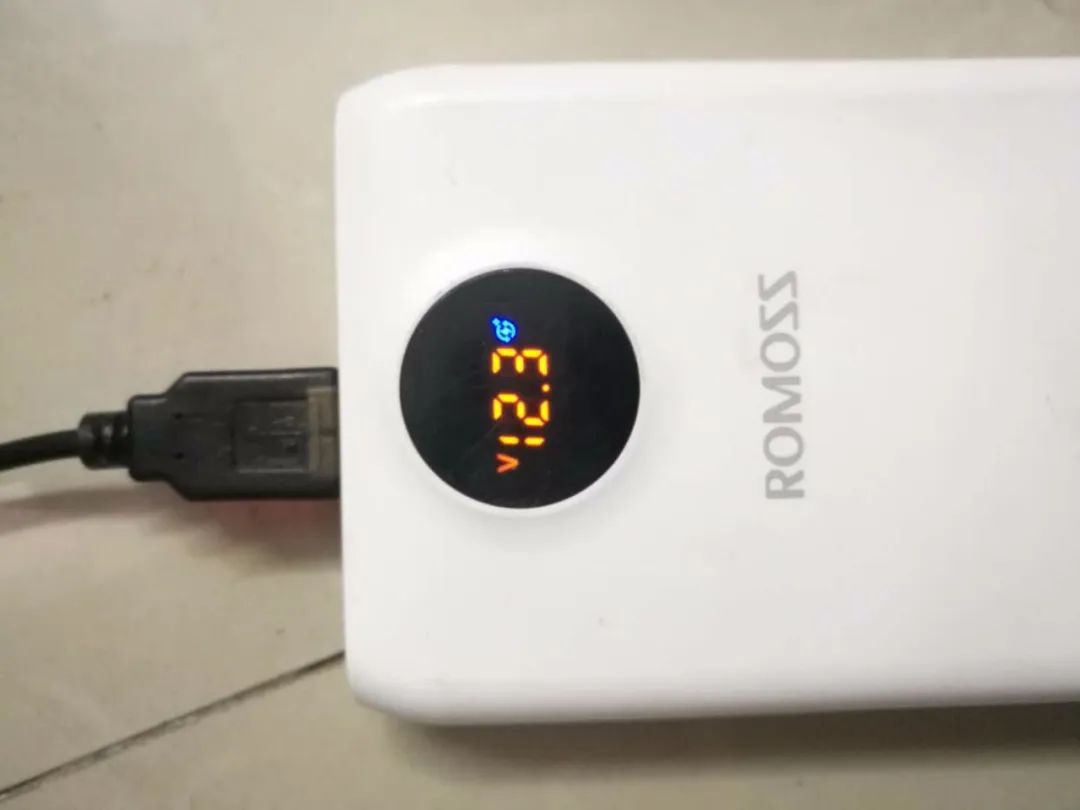
Since the light strip operates on 12V power, I also had to consider the power supply issue. Initially, I thought about finding a 3.7V lithium battery to boost to 12V for power, but I was worried about the power not keeping up, and lithium batteries can easily cause problems and increase costs. Fortunately, I had a 20,000mAh Romoss power bank that supports QC 18W fast charge, and the Ugreen 36W charger I usually use also supports the QC protocol for fast charging. I recalled seeing on Ku’an that someone used a trickle wire to deceive high voltage to power a laptop and desk lamp. So I thought of using a trickle wire to deceive the fast charge protocol to output 12V power, and using a wired external power supply for a fill light isn’t particularly inconvenient, as it can be powered indoors with a charger and outdoors with a power bank. I then purchased two QC 12V trickle wires with DC plugs from Taobao.
To make a light, there must be a decent shell. After completing the selection of the hardware circuit scheme and control software scheme, I then considered the production of the shell. Coincidentally, I had a box of Ferrero chocolates left over from last month, and I kept the box.

I casually found a picture to sketch it out, roughly like this.
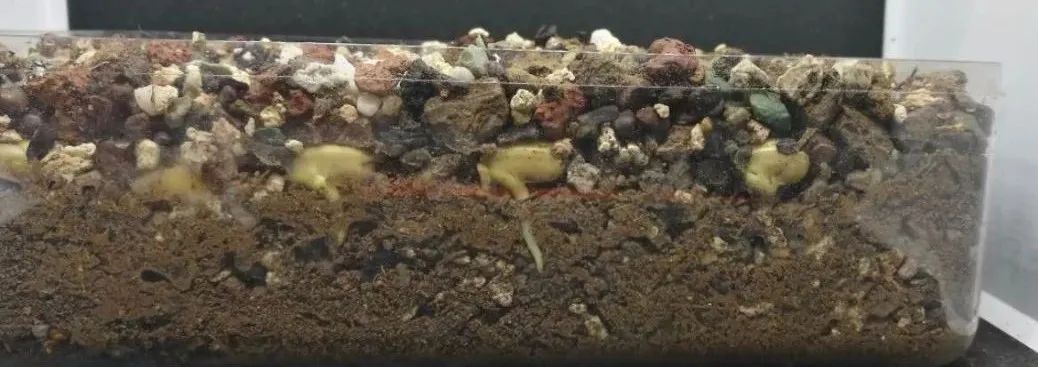
A rectangular box, the lid size is appropriate, the thickness is moderate, and the lid edge has a stepped structure, just right to hold the diffuser sheet. It seems to be designed specifically for this DIY project. Well, it’s decided. This box has served me well; the main body has been used to grow beans for time-lapse photography, and now the lid will be used to make a fill light.
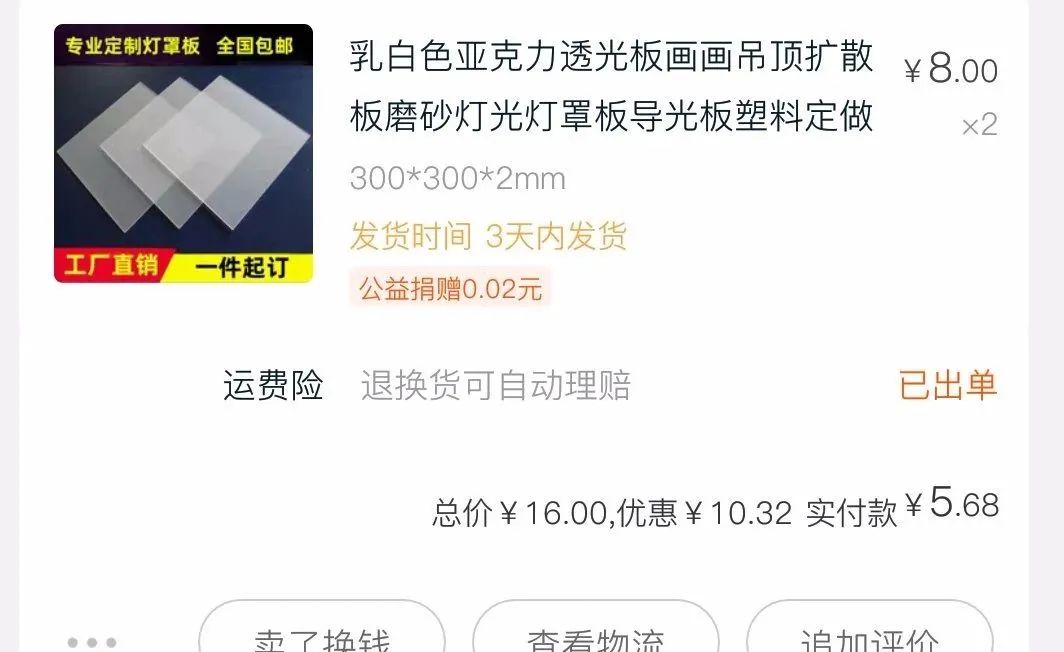
So, I measured the dimensions of the lid and the depth of the stepped structure, and ordered two diffuser sheets online. Yes, it should be the kind used for ceiling lights…
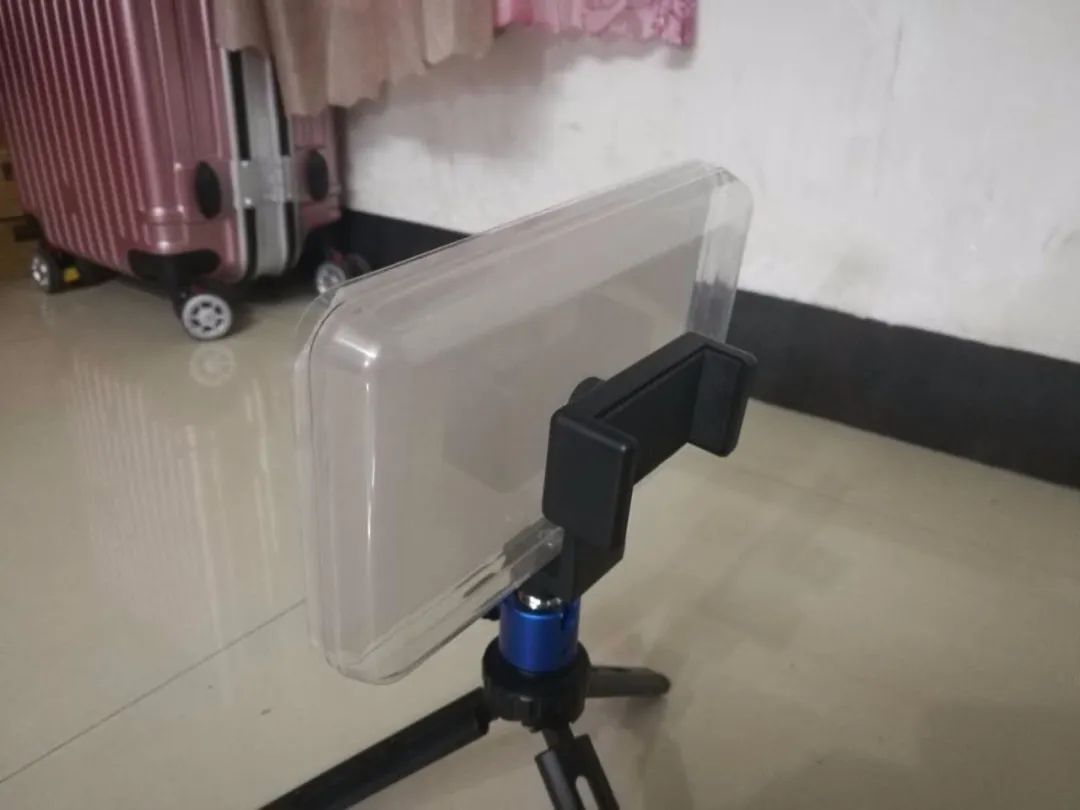
Then, I considered how to connect the finished fill light to the tripod. Initially, I planned to drill a small hole and glue a 1/4 inch nut directly onto the shell, but after considering the strength issue, I found it inappropriate. While browsing Taobao, I saw a phone vertical shooting stand, which inspired me.
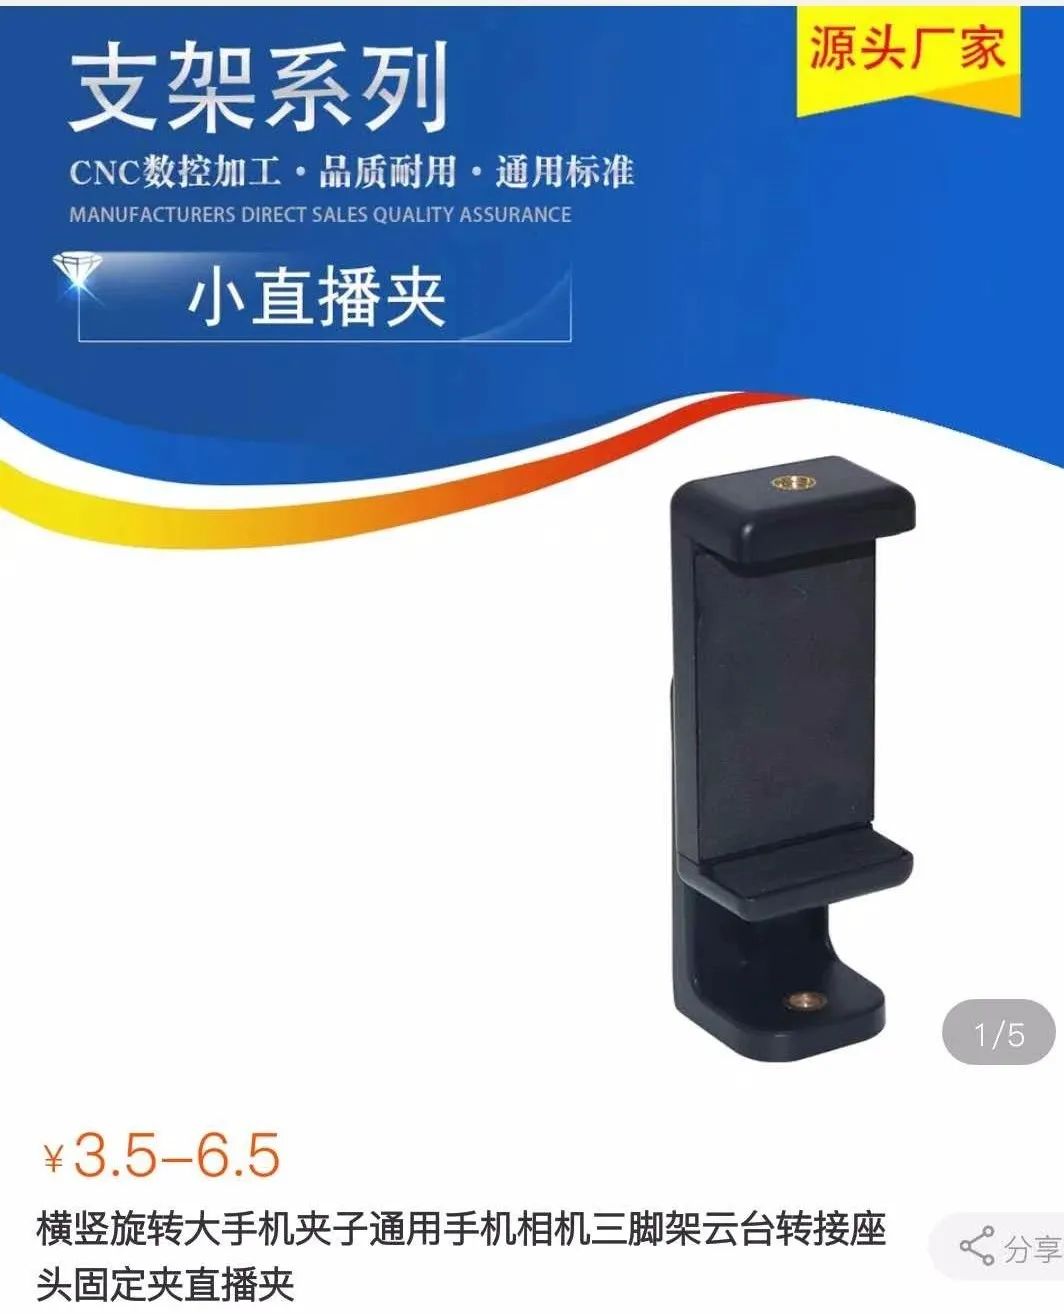
This phone clamp has an L-shaped plastic piece that can stand on the shell of the fill light. The nut connection combined with AB glue should provide sufficient strength. The phone clamp is mounted on the back of the light, which can be used to hold the phone that controls the light or a small power bank. It’s cheap and practical; I’m really clever.
So, I placed an order for everything, and the express delivery arrived. Let’s get started.
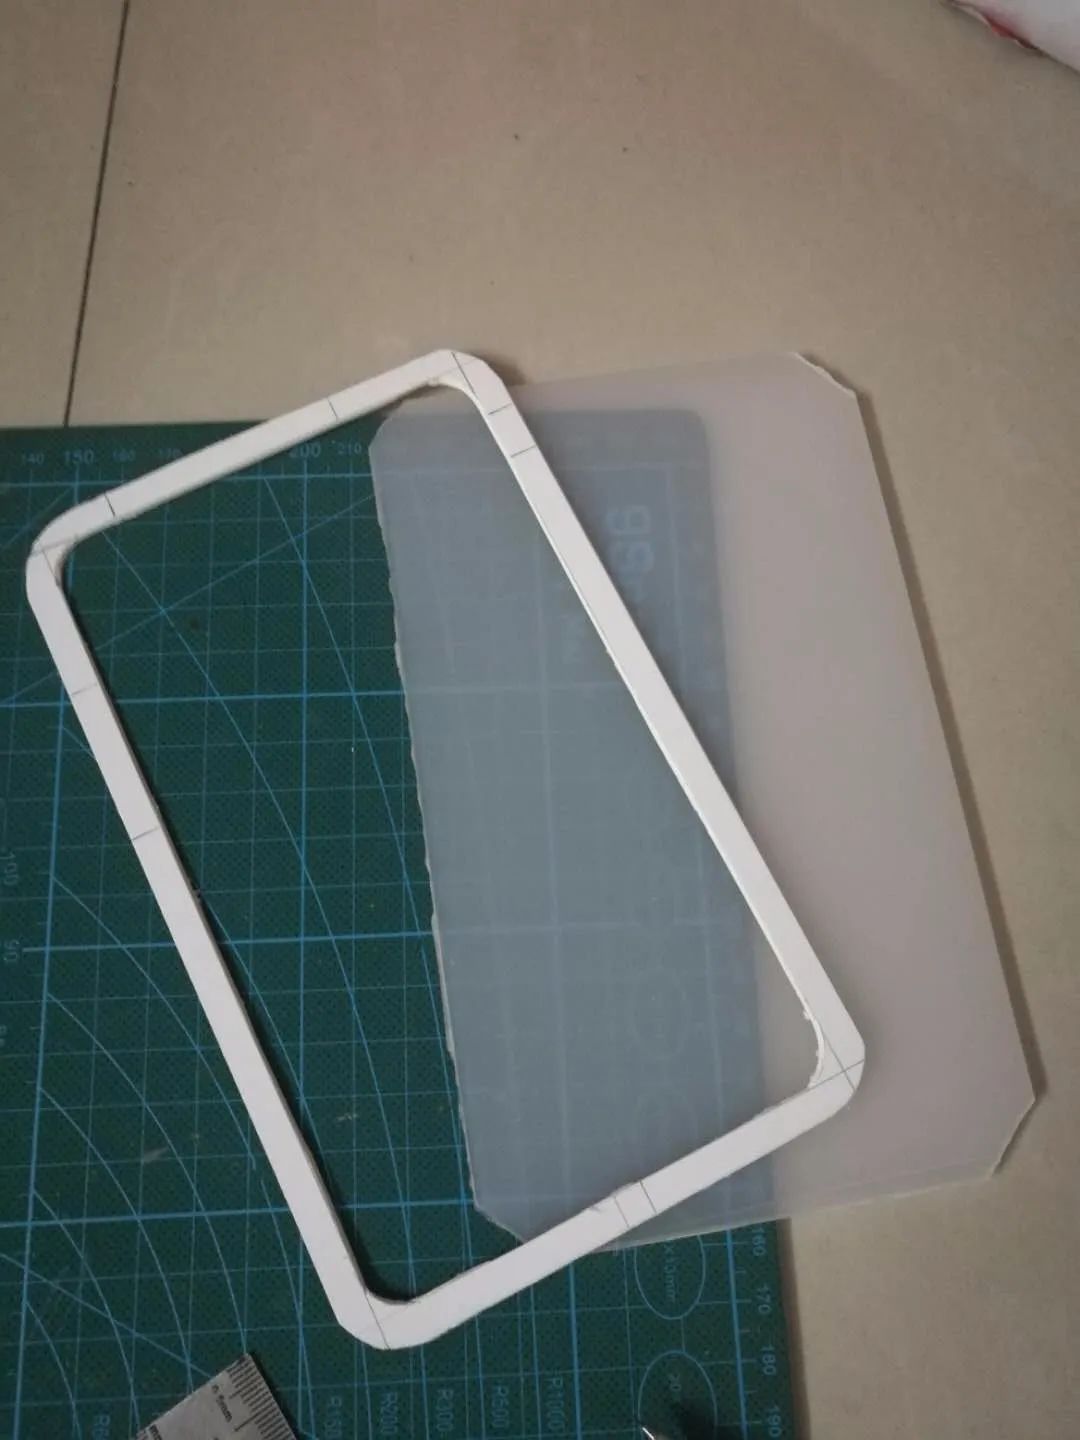
 First, I cut the diffuser sheet to the appropriate size. This acrylic material is really hard to cut, it’s slippery and thick, so I could only use a knife to score it and then break it with force, so the cut wasn’t very neat…
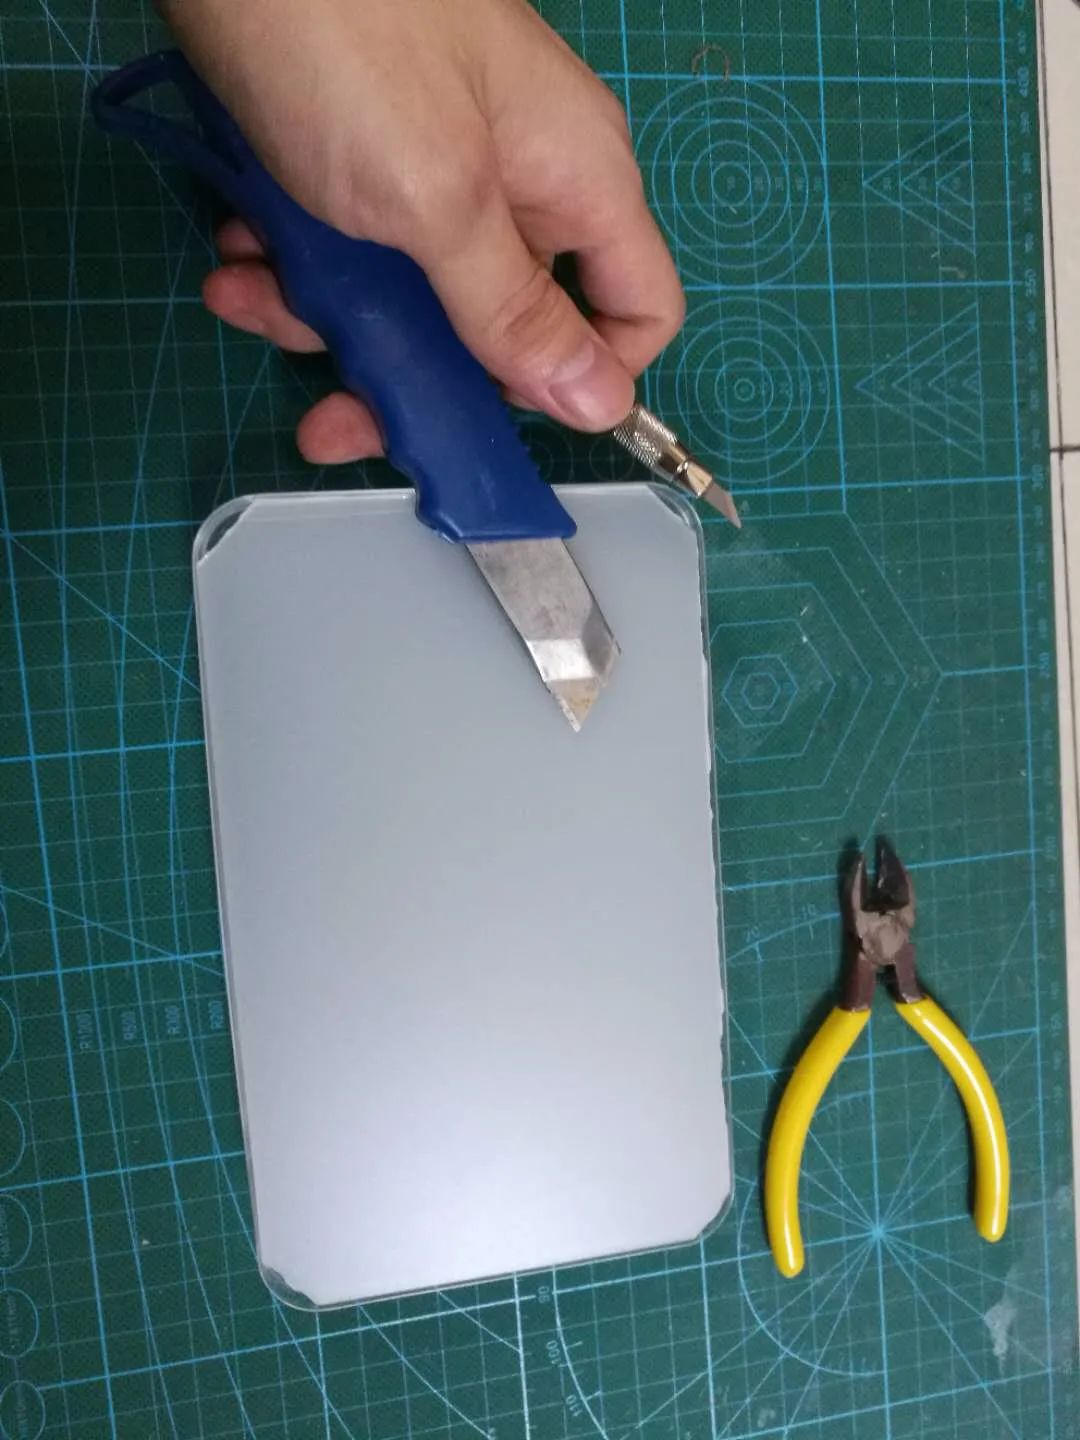
Then, I used a hand drill to drill holes, and used a file to adjust it to the right size, then tested it with the L bracket.
Since the shell is transparent and not very attractive, I used some model water-based paint to hand-paint a matte black…

 The hand-painted work is rough, and after multiple layers of sanding and painting, it can only be said to be passable.The last two rows of small holes are drilled for heat dissipation, and it was really tiring to drill and polish them manually…
By the way, I used some cardboard to make a frame for the diffuser sheet to cover up the ugliness.
The hand-painted work is rough, and after multiple layers of sanding and painting, it can only be said to be passable.The last two rows of small holes are drilled for heat dissipation, and it was really tiring to drill and polish them manually…
By the way, I used some cardboard to make a frame for the diffuser sheet to cover up the ugliness.
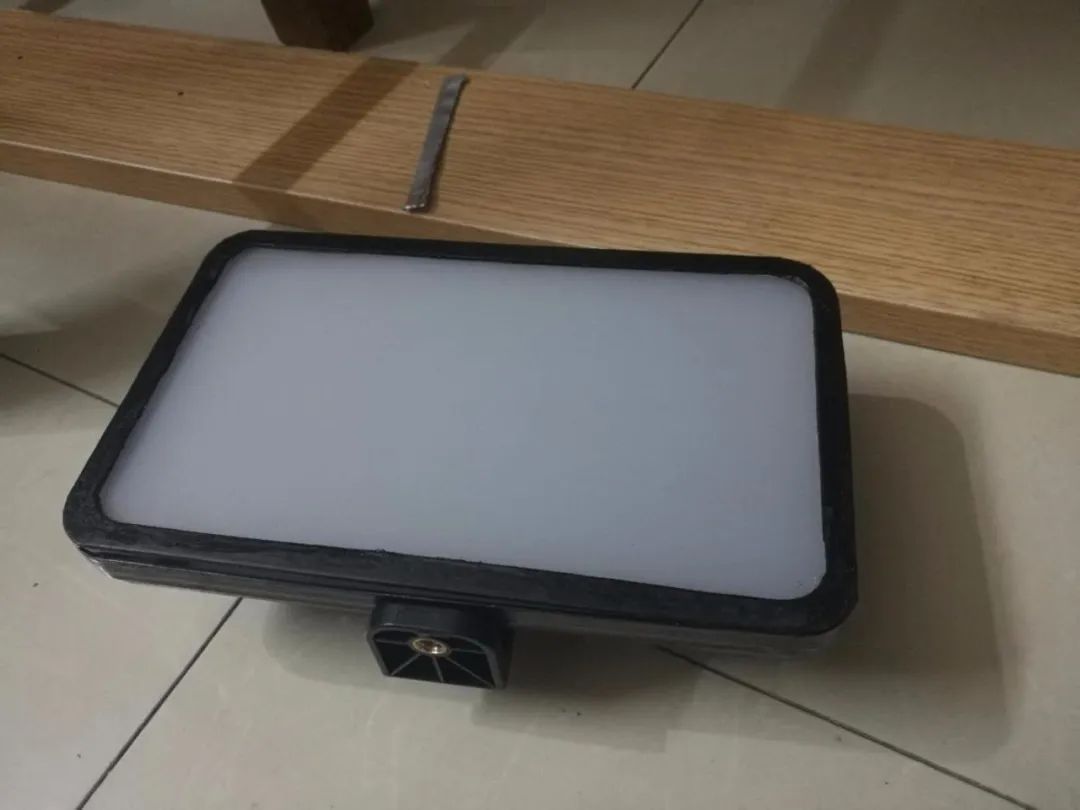
It’s starting to look like a light.
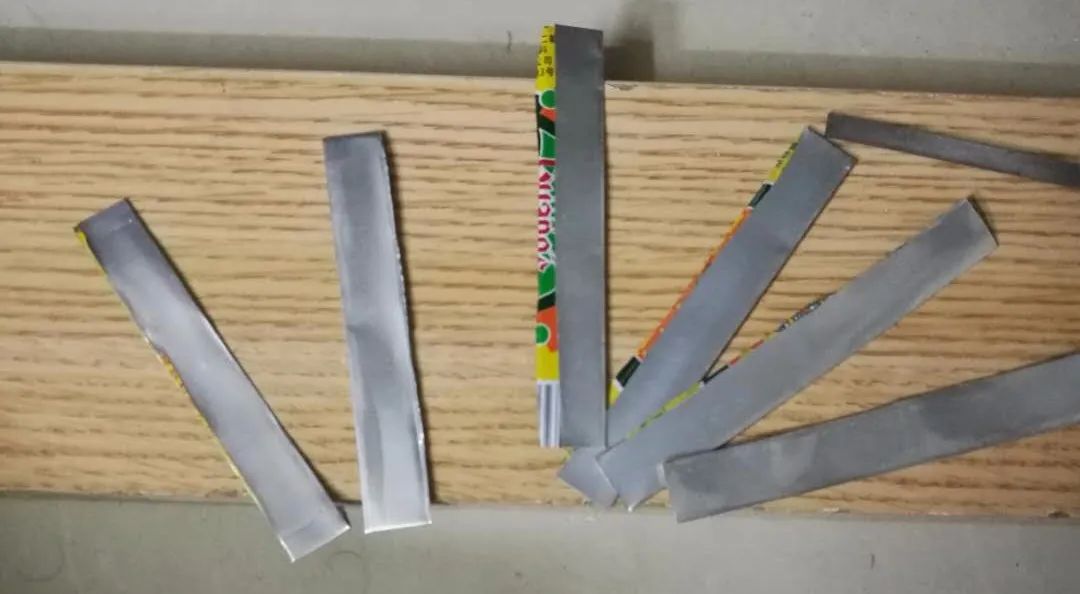
Next, I made a heat dissipation bracket. Since I thought buying large heat sinks was too heavy and would increase unnecessary costs, I dug out a pack of small heat sinks from the box, and then used a soda can (yes, a soda can) to make long aluminum strips, and then used AB glue to assemble them into a heat dissipation bracket. Three-dimensional heat dissipation, scientific and aesthetic…
Then, the light strip arrived. Upon opening the package, I found that the seller had sent the wrong item, giving me a five-in-one 5050 chip light bead that was twice as expensive… With the spirit of causing less trouble, I quietly accepted the goods. Start soldering the light strip, taking out my 82-year-old rosin and soldering iron.
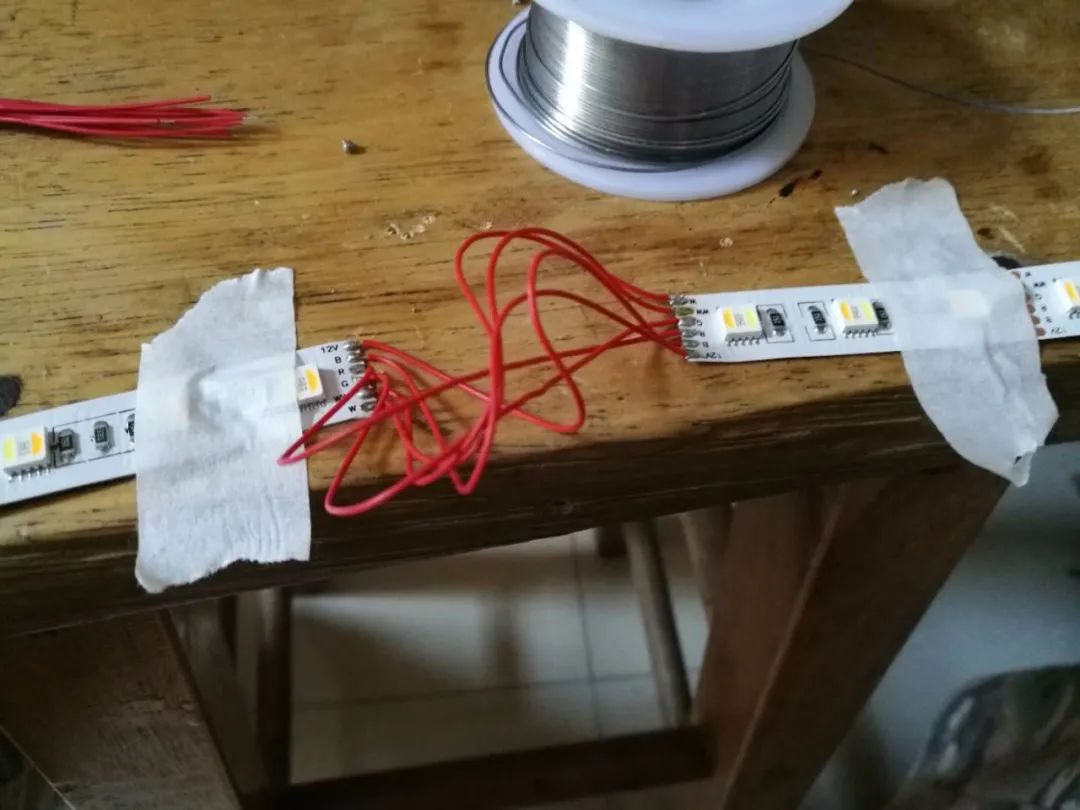
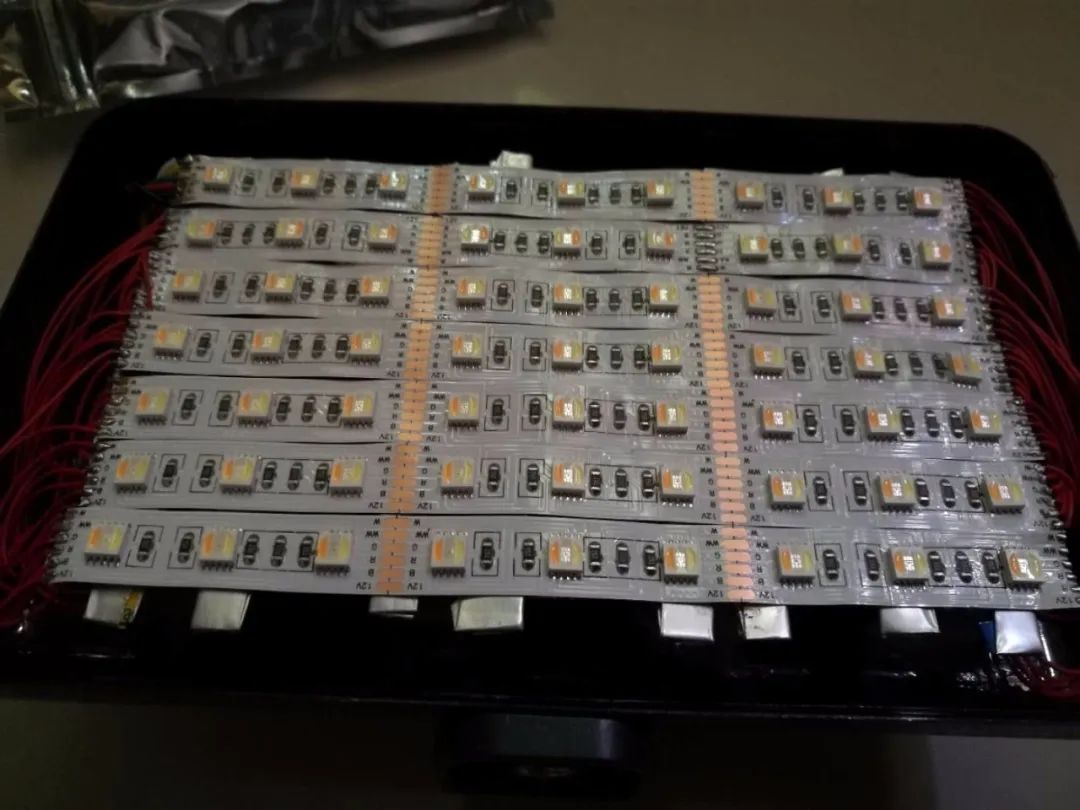
This step is the most labor-intensive, with a total of 63 light beads to solder, and I had to solder six times, each time soldering six wires. Soldering and testing took me a whole afternoon…
After soldering, I attached the light strip to the heat dissipation bracket.
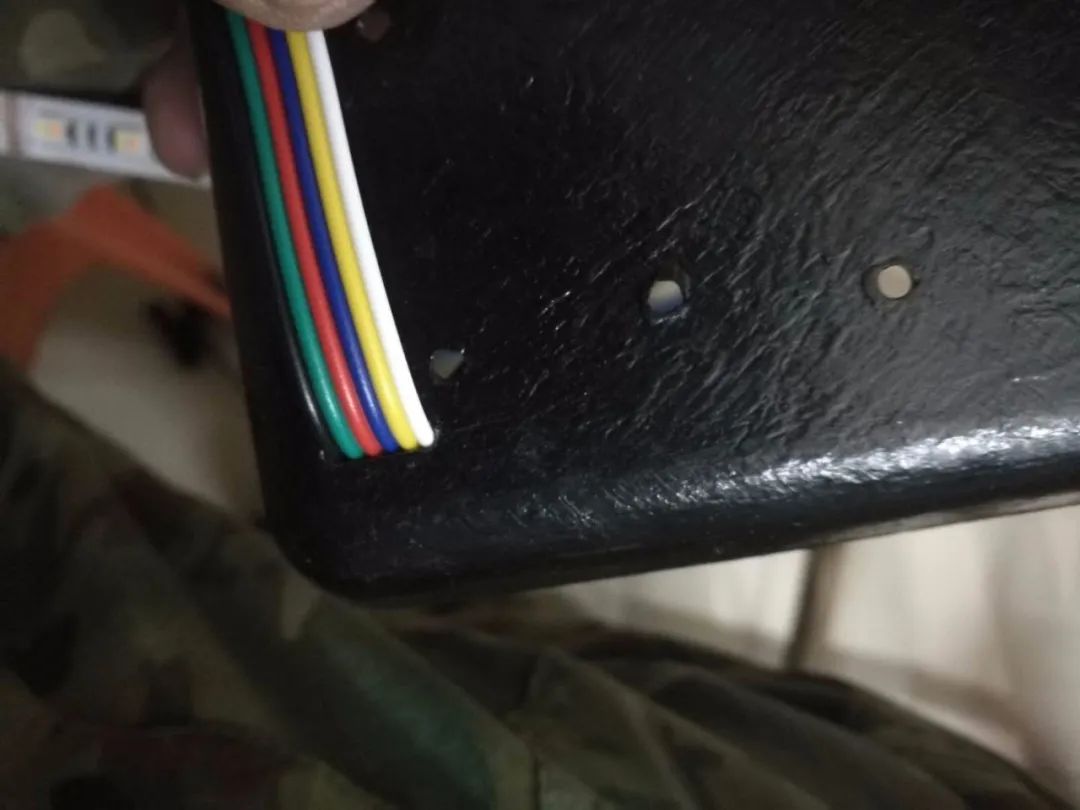
Since I wanted to place the controller outside, I drilled a long slot in the box for the wires to come out.
Next, I connected the controller. Powered it on… then noticed something was off; it was normal when lit red, but when it was supposed to light green, it turned red.
 No worries, I tested the controller with a short light strip and it was fine. I checked the soldered connections, and they seemed fine too. I finally discovered that the wire soldered by the seller at the beginning had become a cold joint when bent, so I re-soldered it, and the problem was solved.
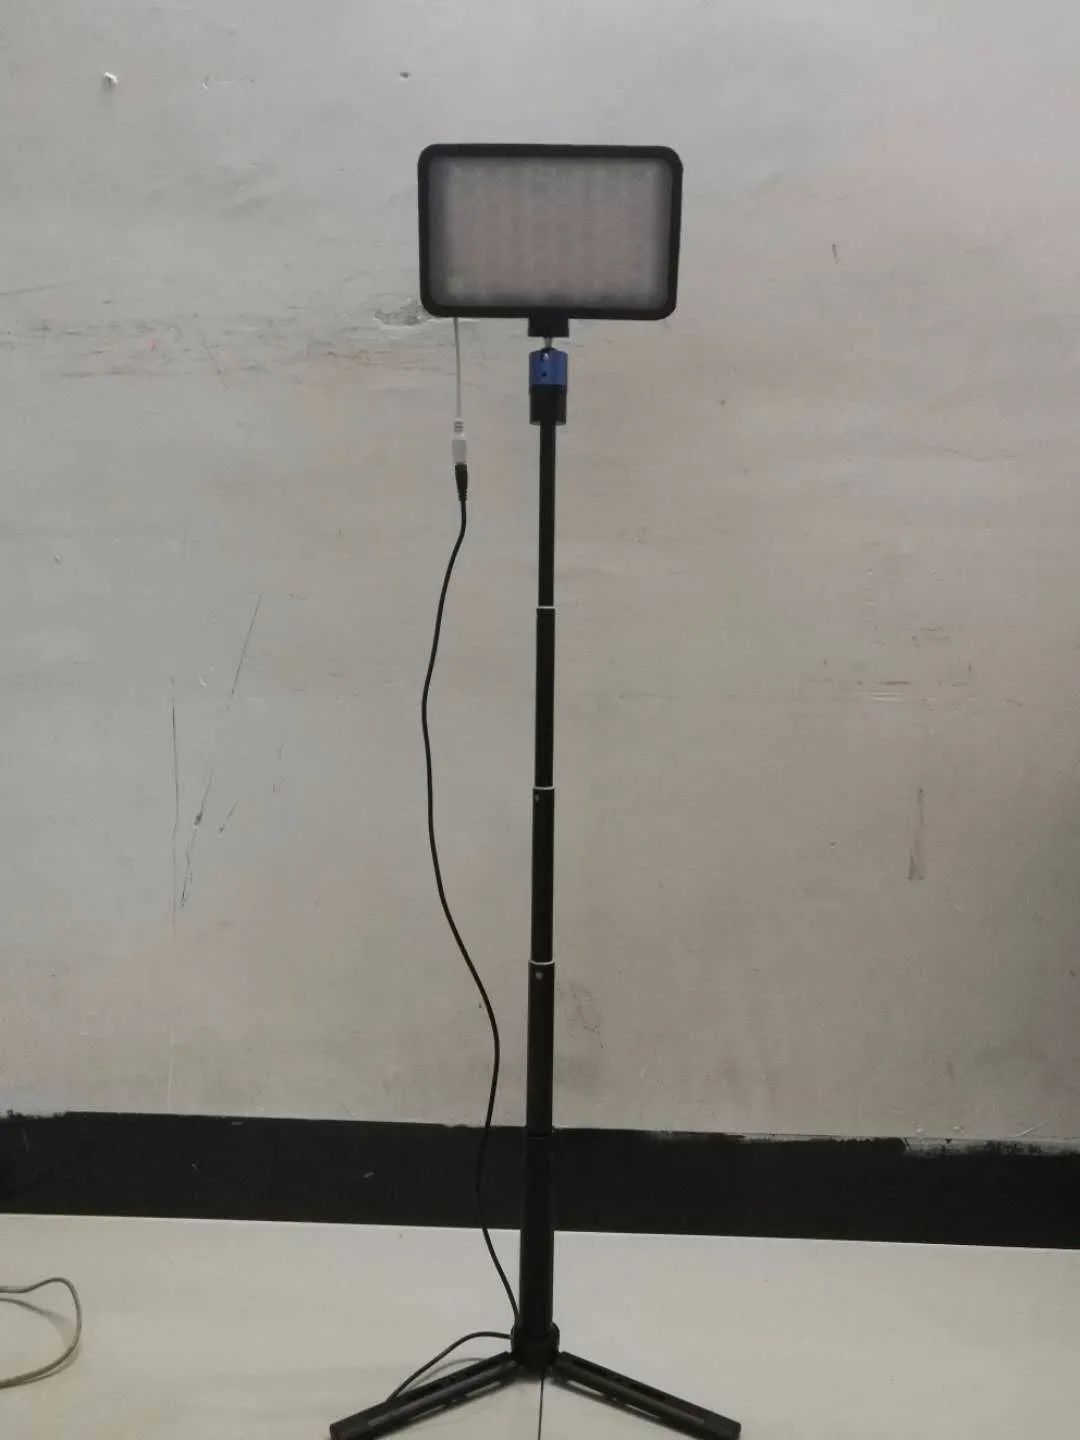
After testing, the functionality was normal, so I began the final assembly. It looked pretty good.
No worries, I tested the controller with a short light strip and it was fine. I checked the soldered connections, and they seemed fine too. I finally discovered that the wire soldered by the seller at the beginning had become a cold joint when bent, so I re-soldered it, and the problem was solved.
After testing, the functionality was normal, so I began the final assembly. It looked pretty good.
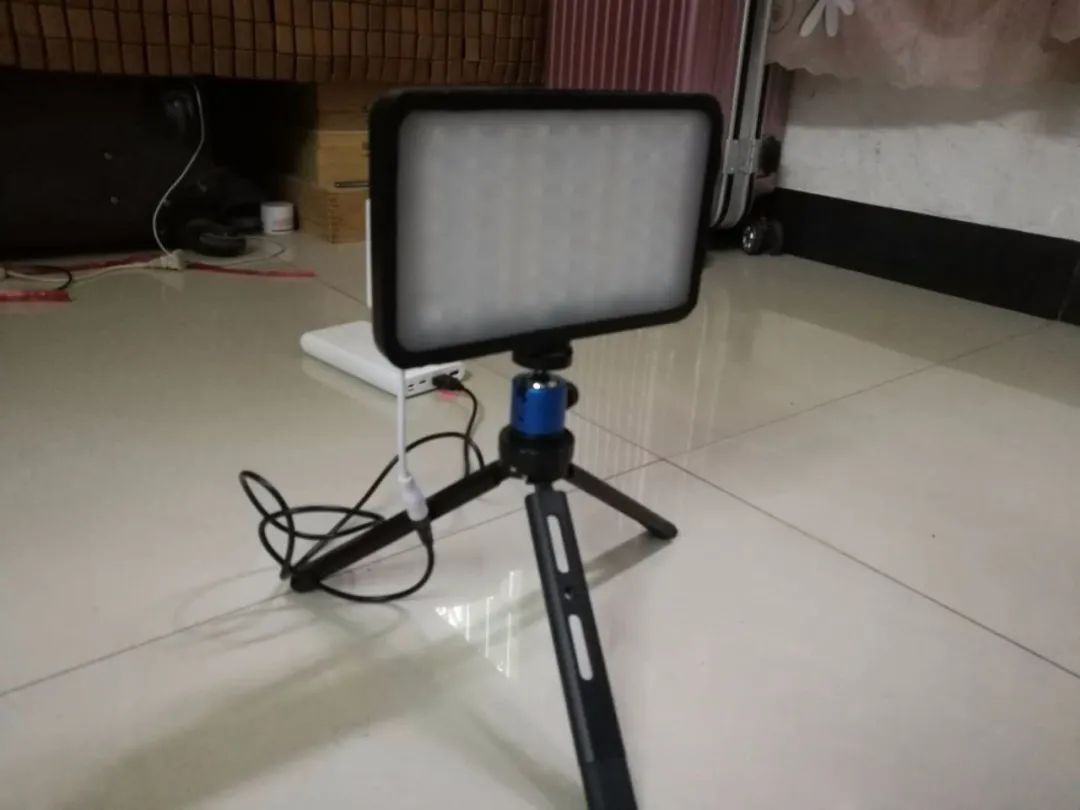
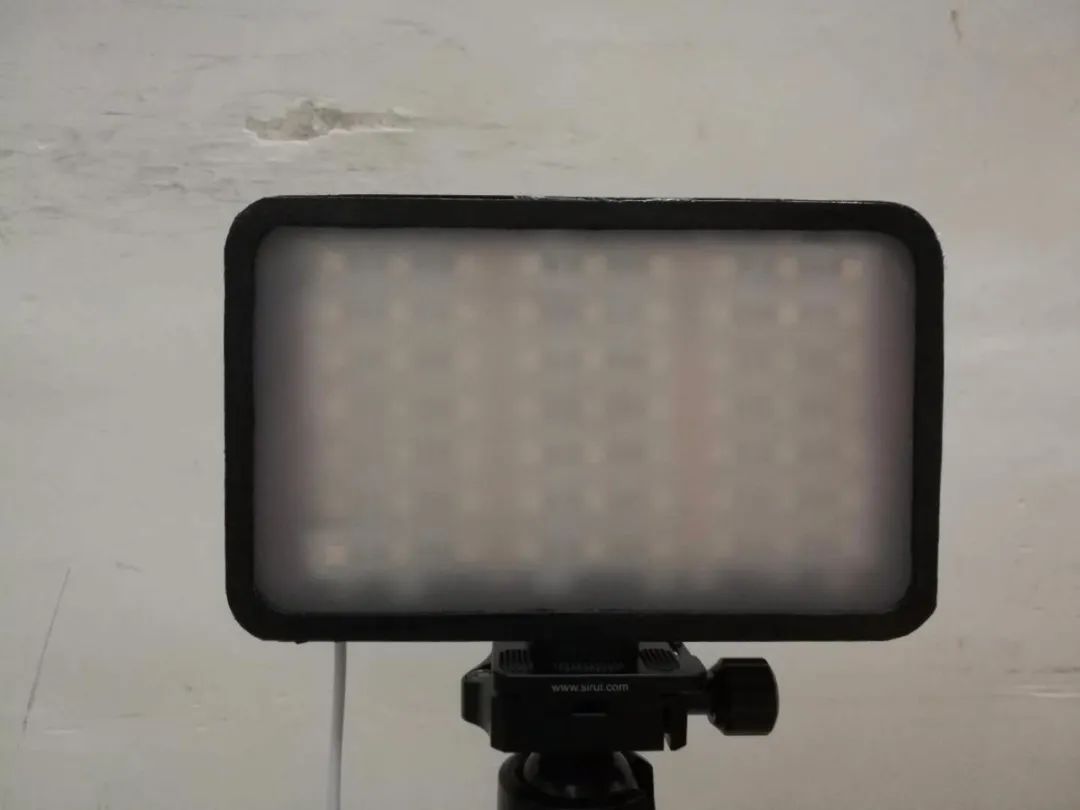
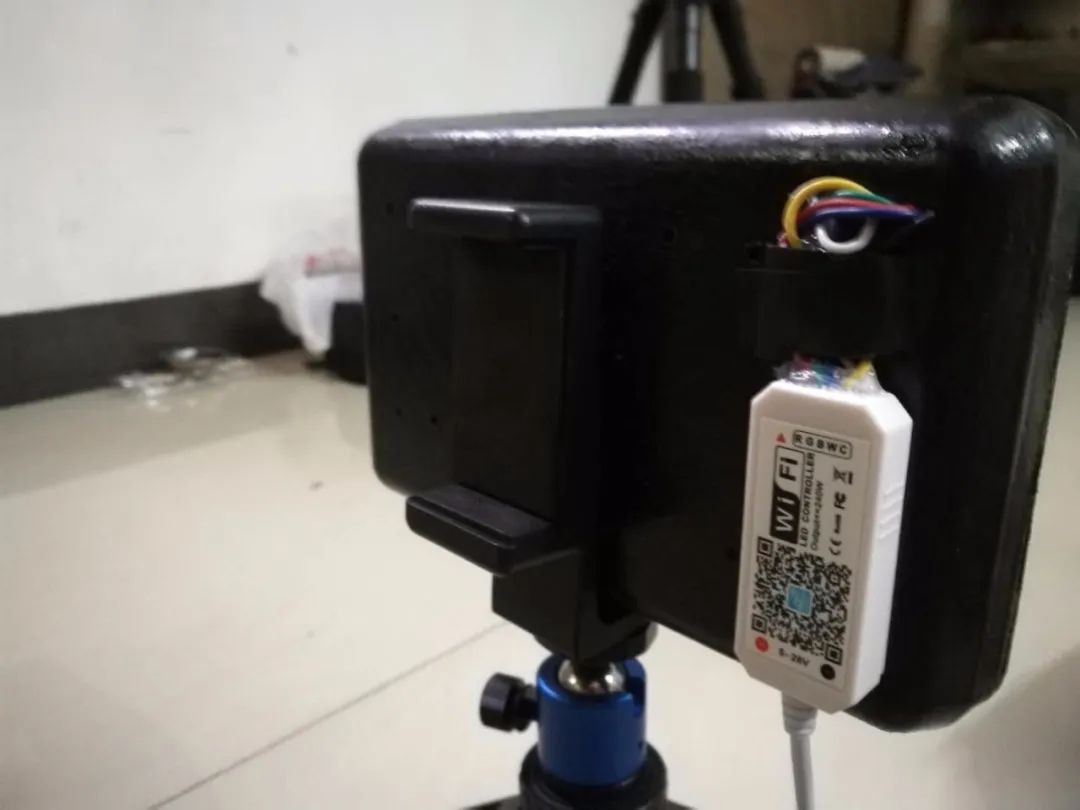
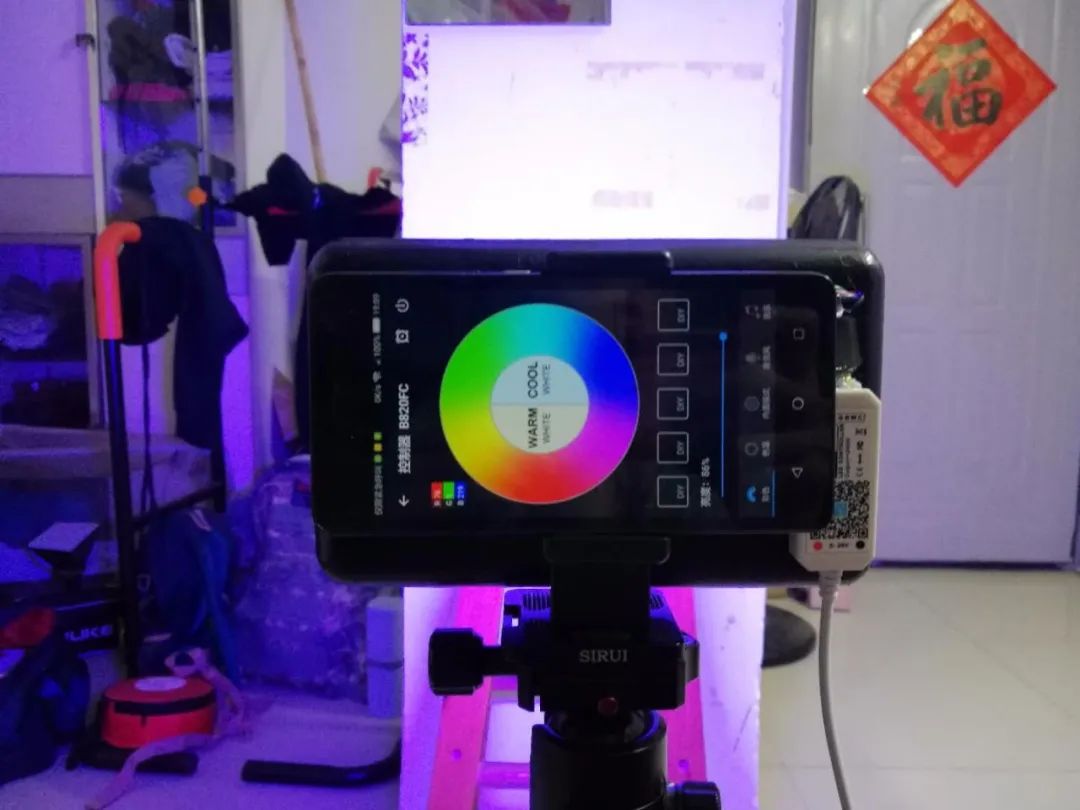
Functionality is normal. By the way, I took an old phone from the drawer, clamped it on the back, and created a smart touch panel.
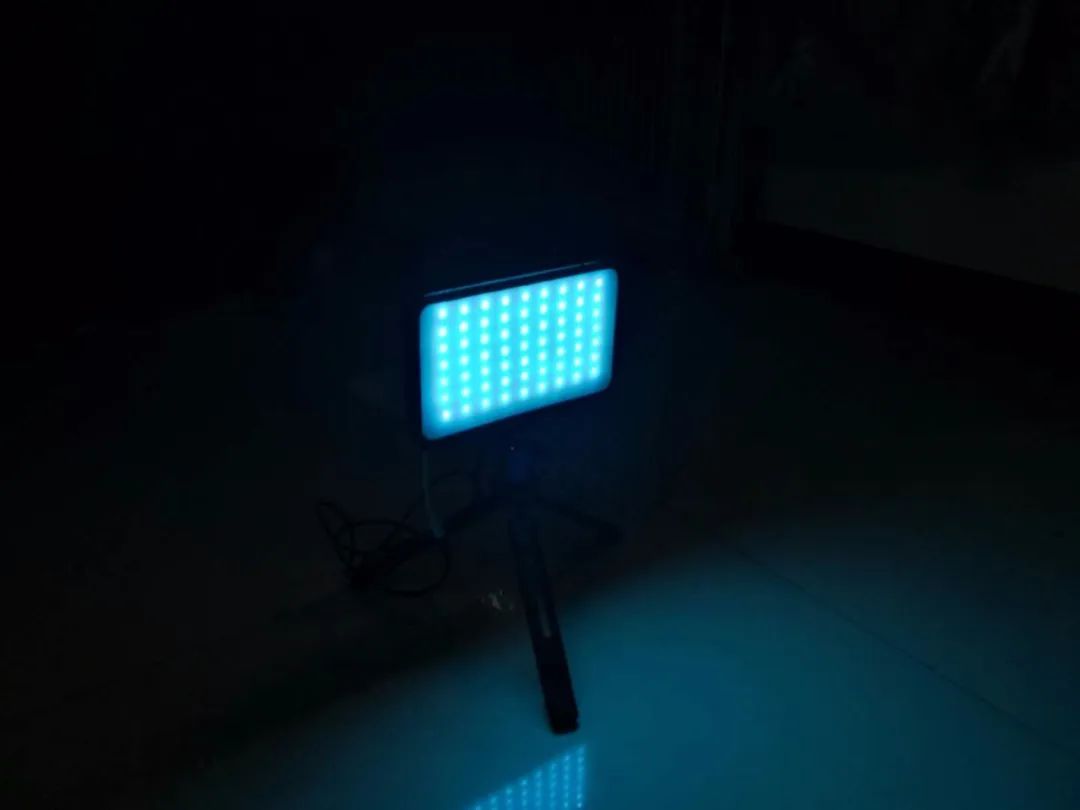
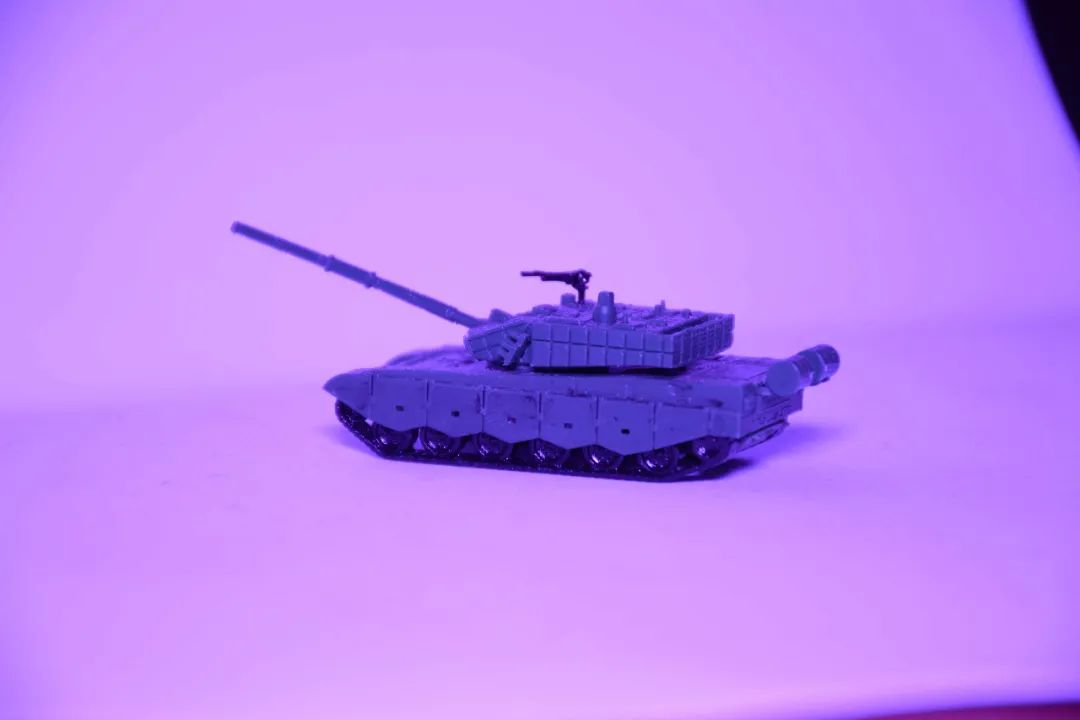
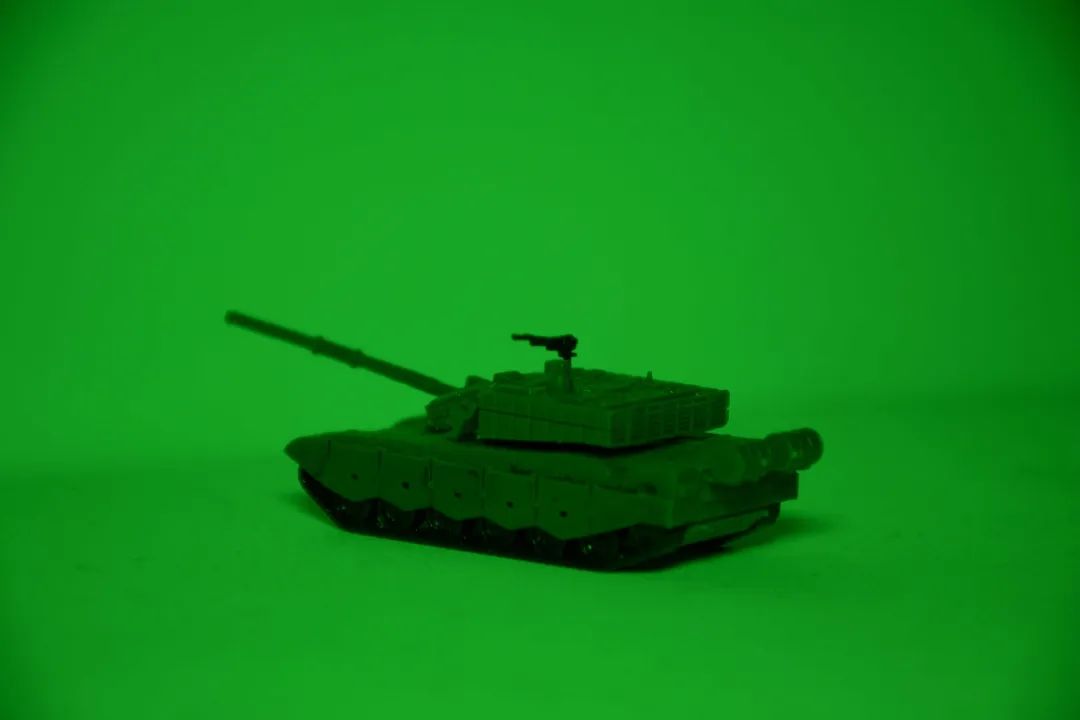
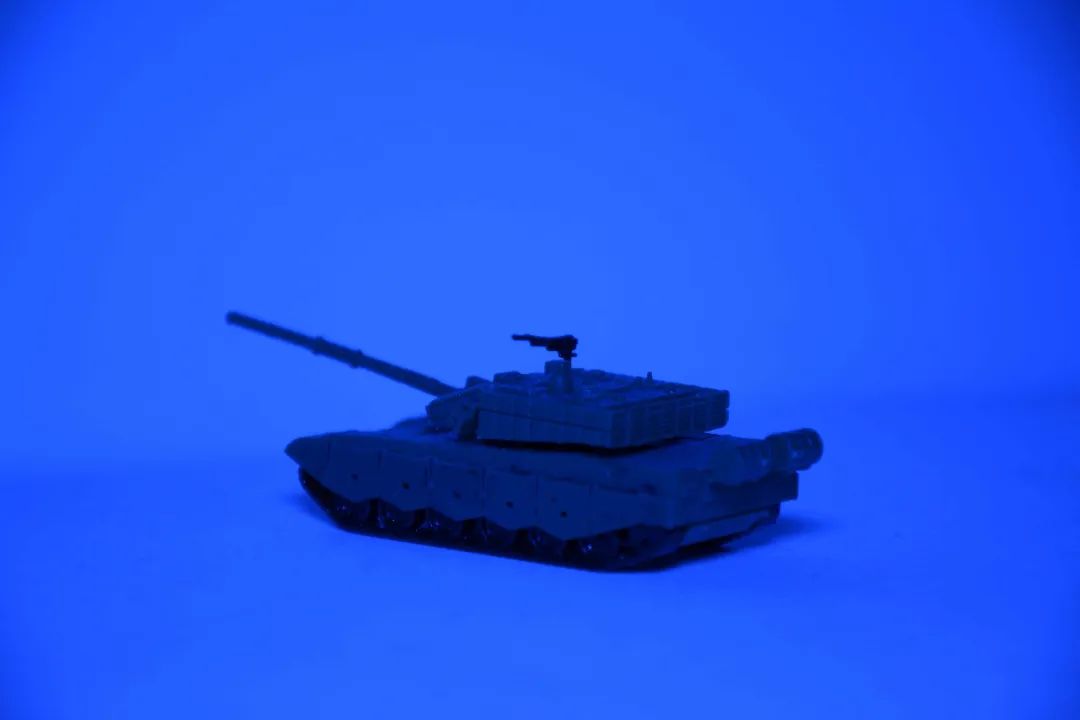
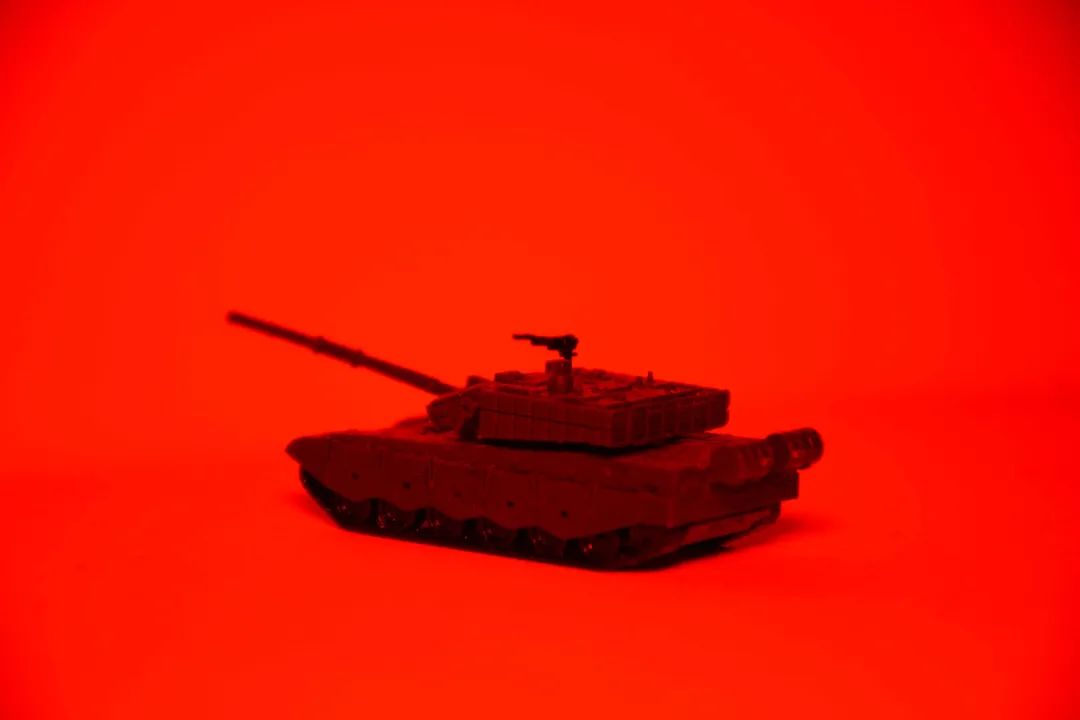
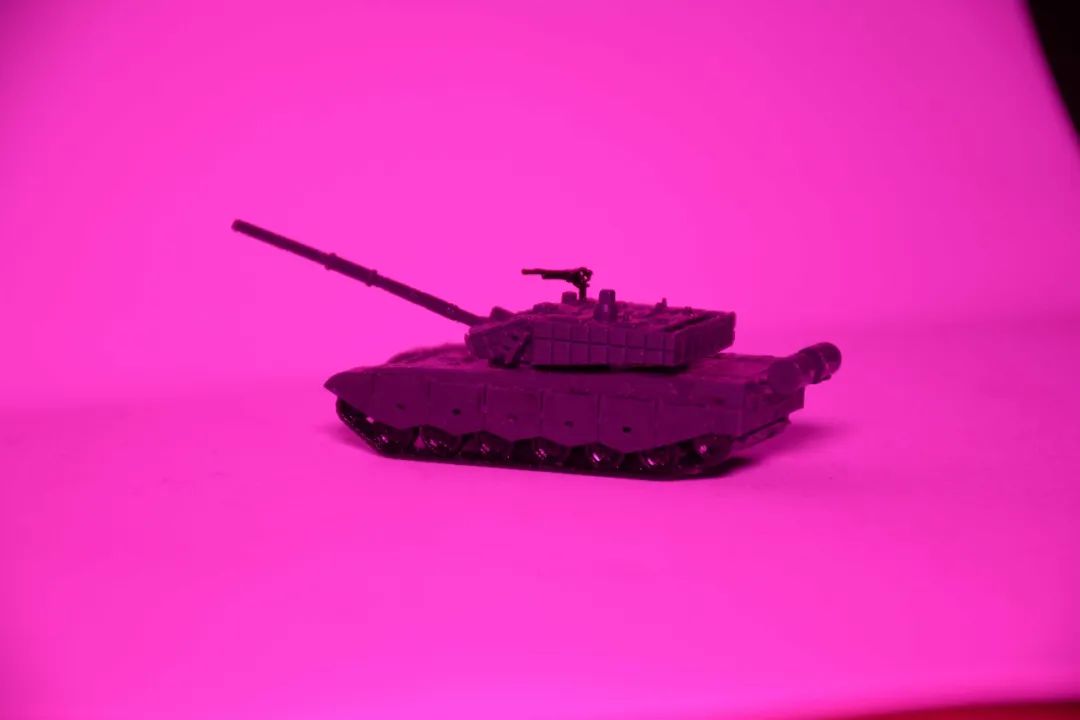
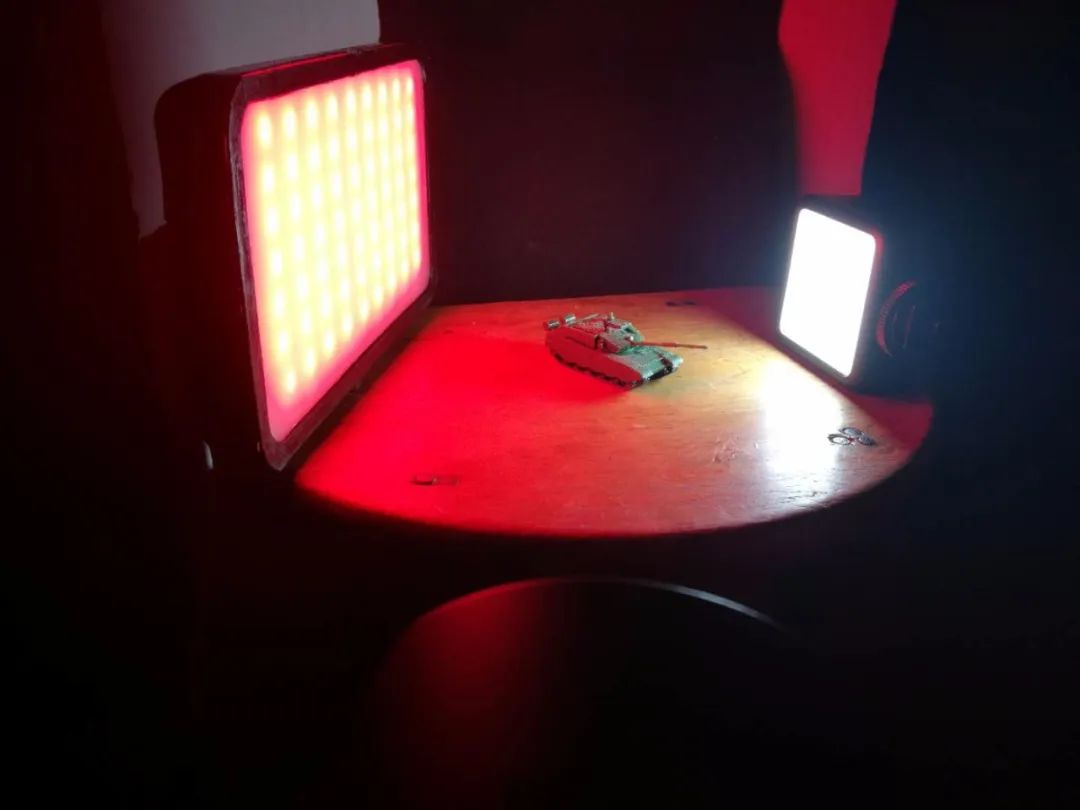
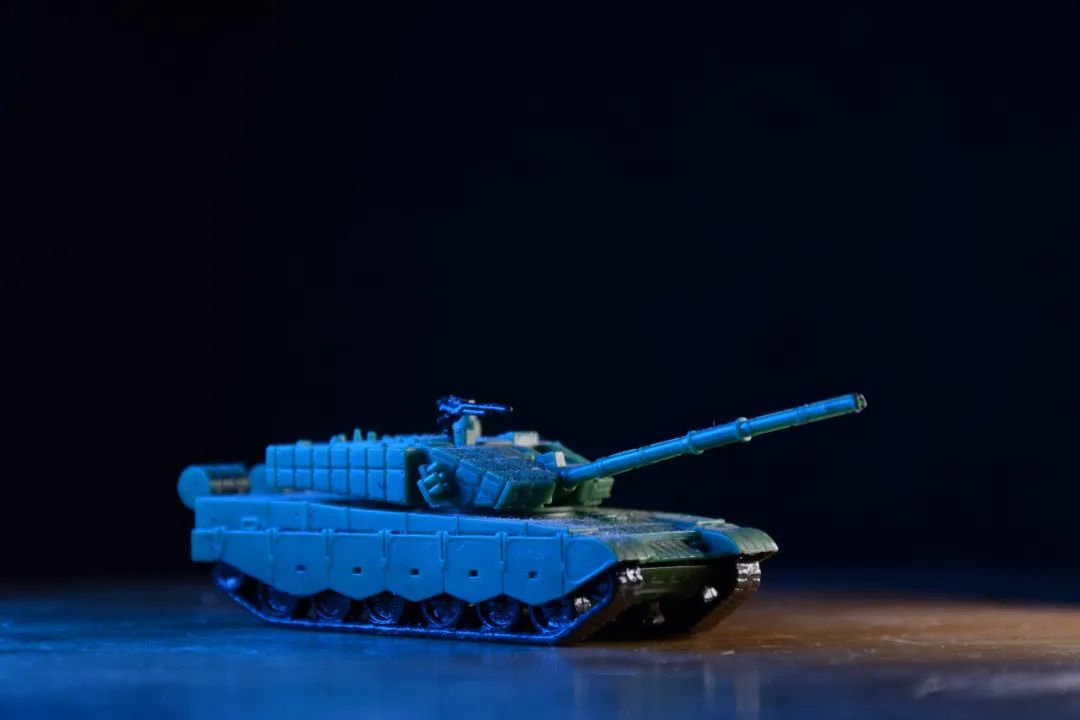
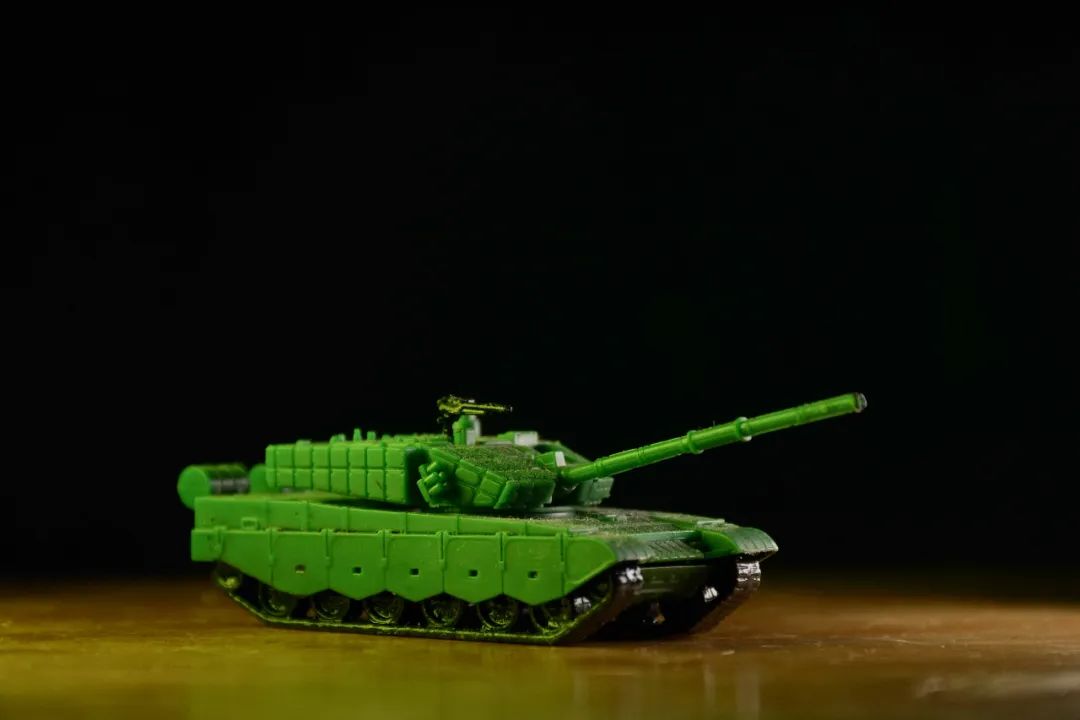
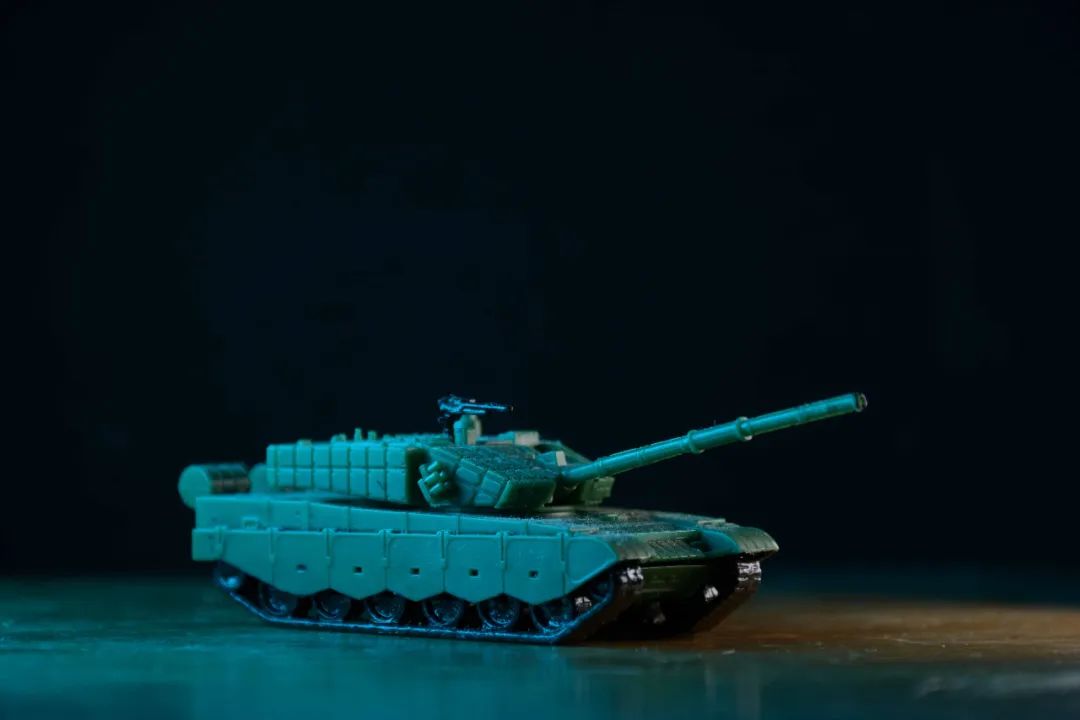
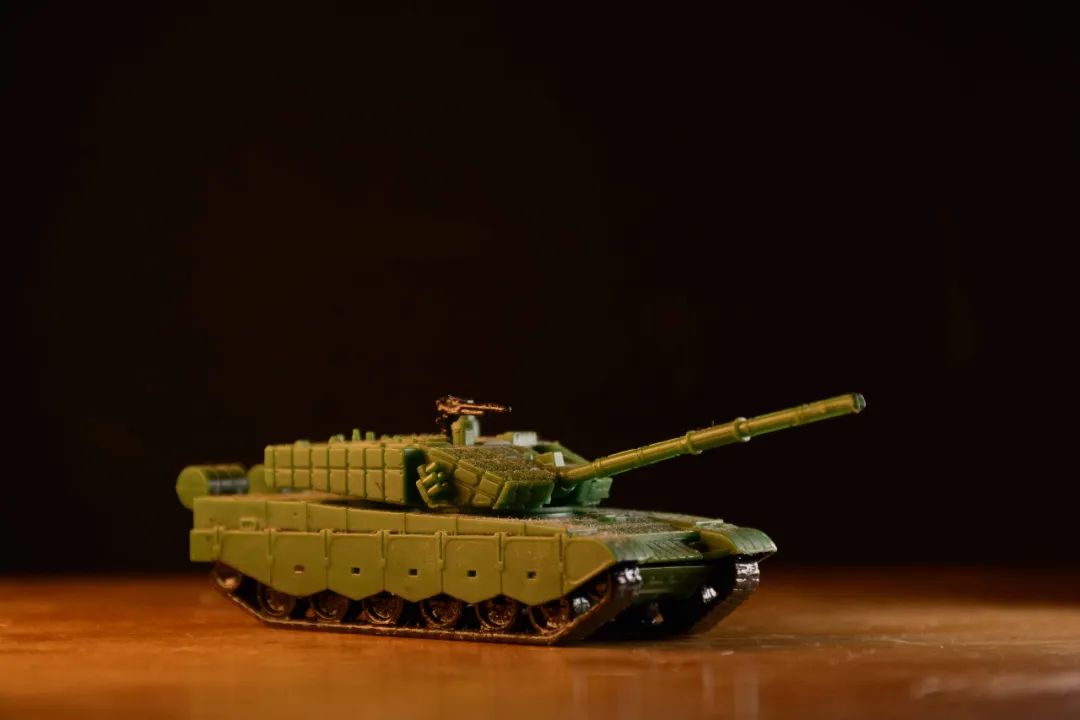
Next is the testing phase. I took out my small tank model… First, the colorful test, I randomly adjusted some colors on the color wheel.
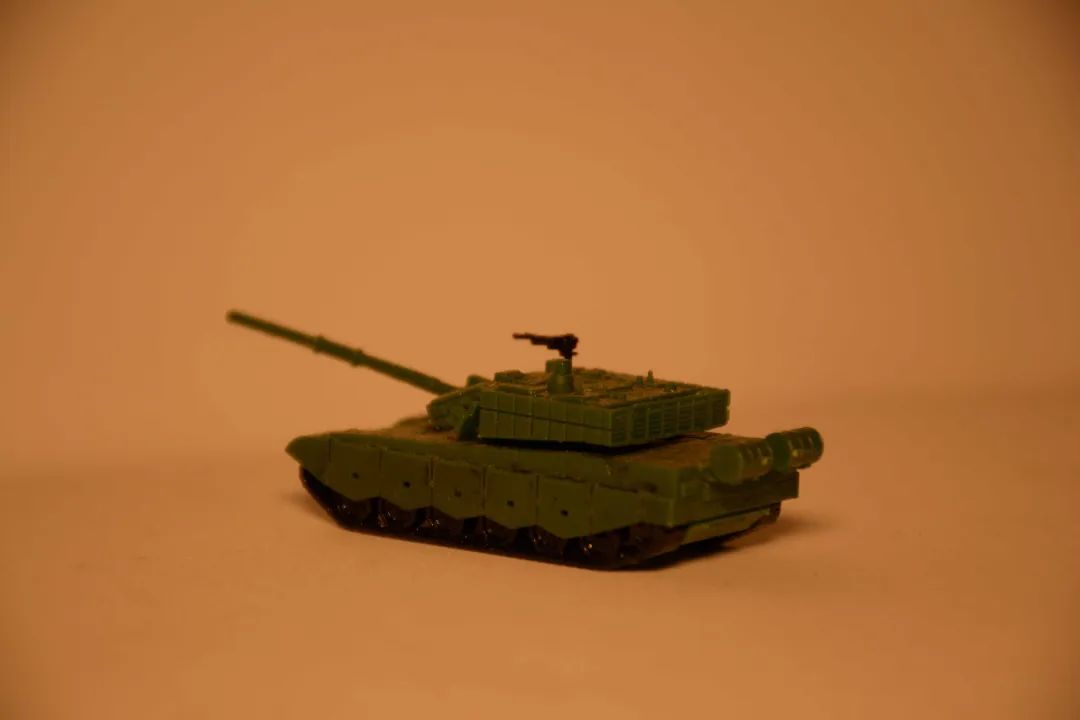
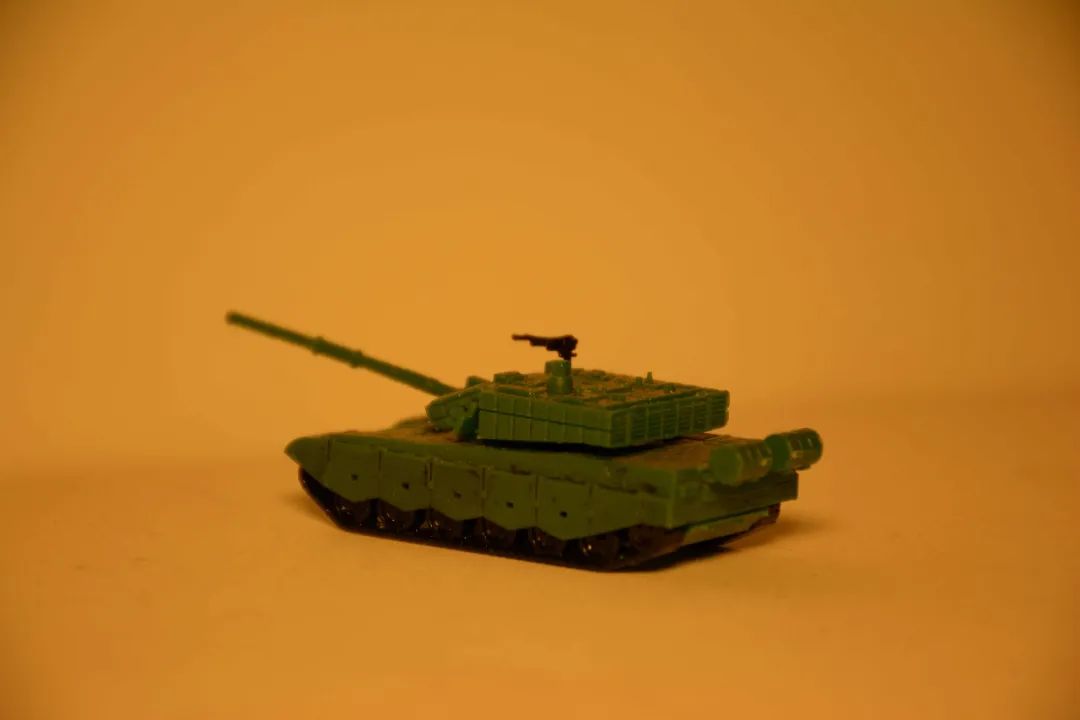
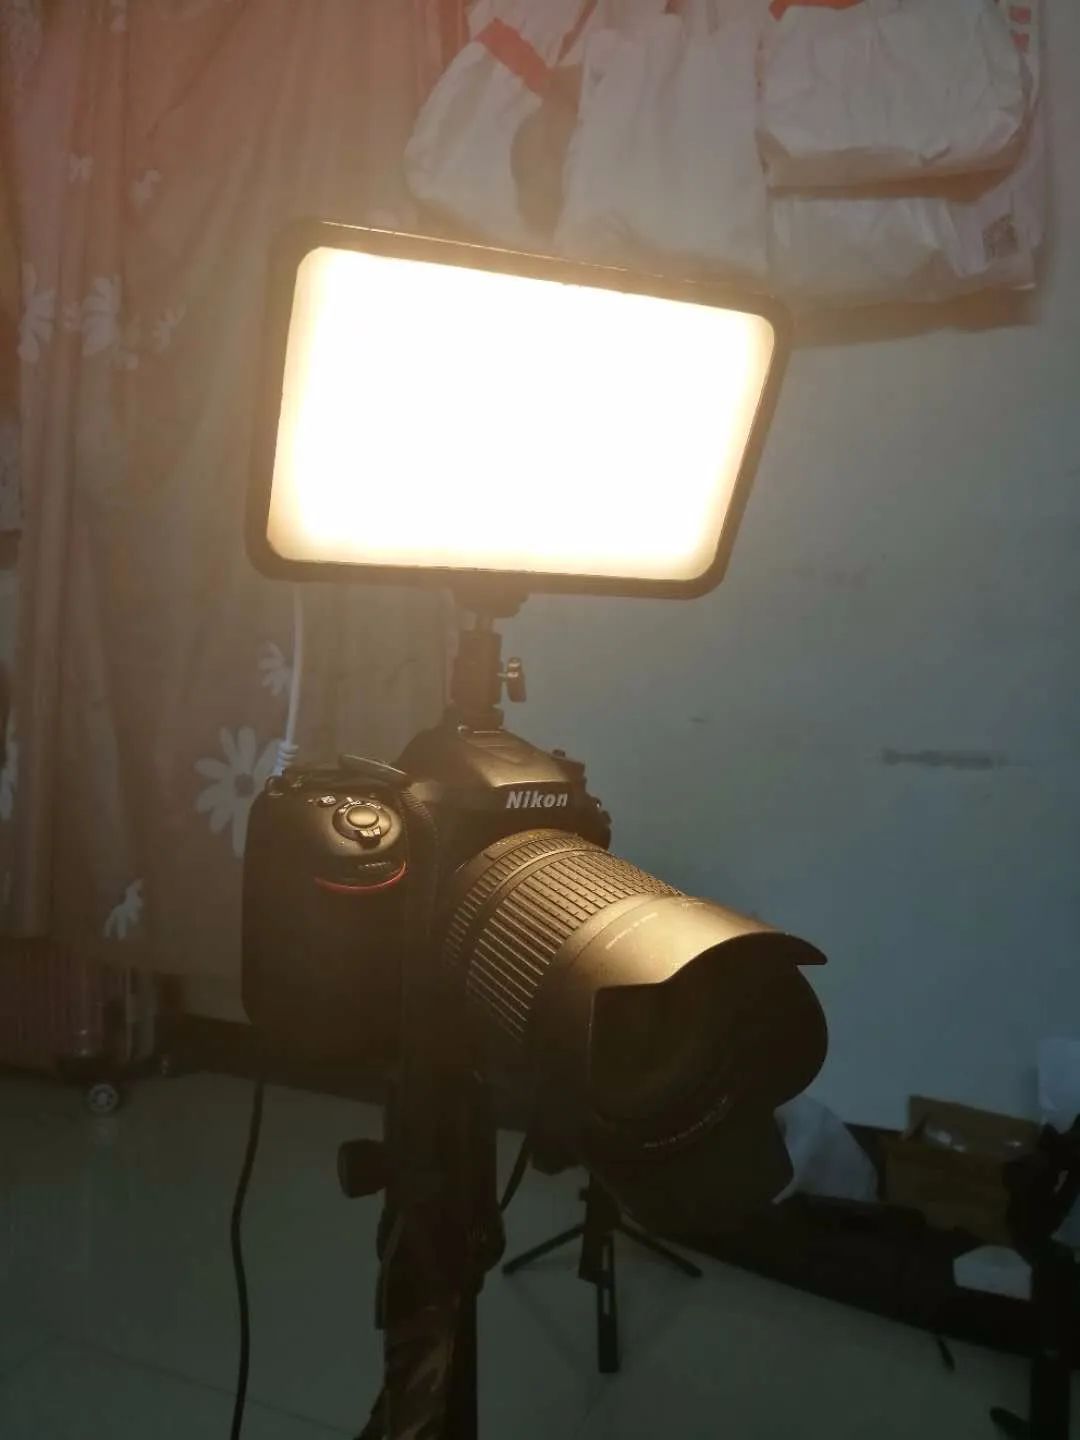
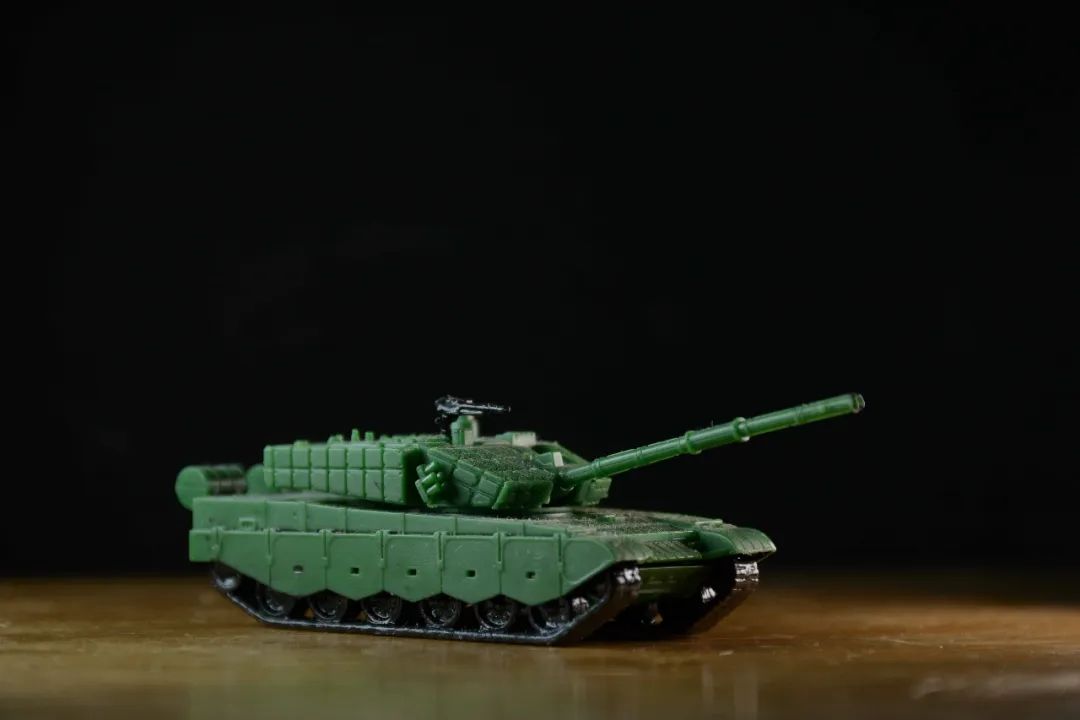
Due to my weak knowledge of still life lighting, my skill level is at a trial-and-error stage. I tried using the VL49 to assist with white light and took some shots to see the effect.

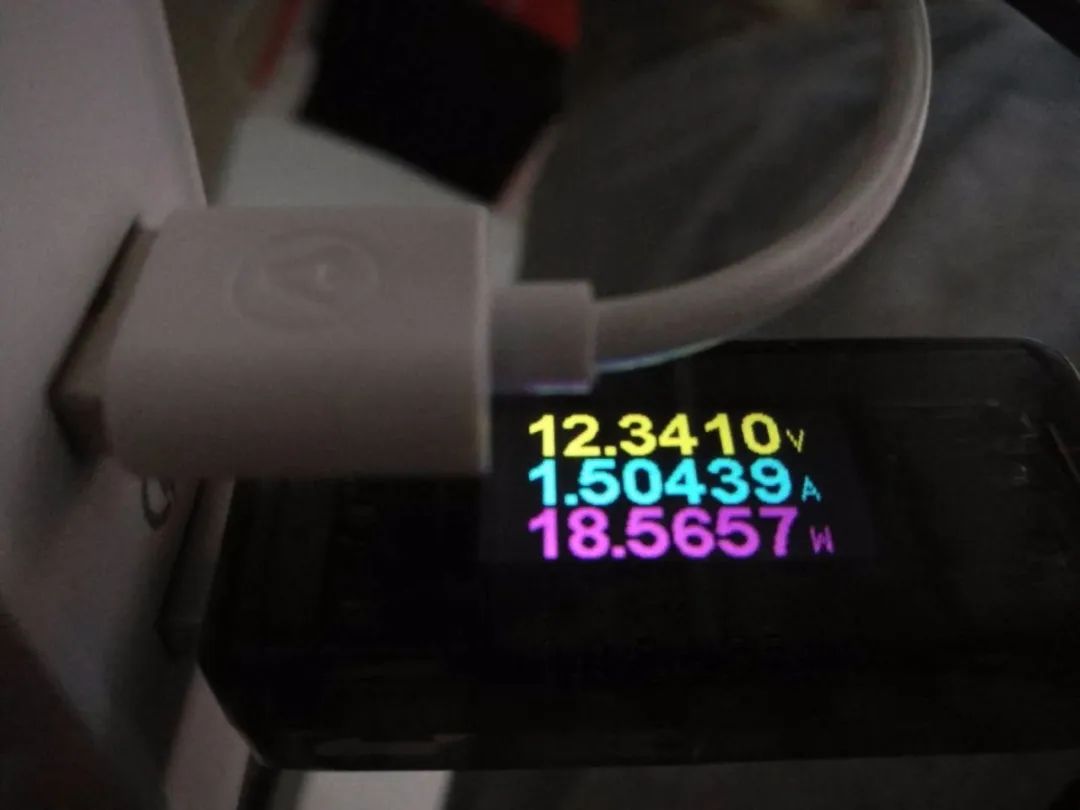
Then there was the power test. With RGB and cold/warm all on, using a USB ammeter, I measured over 18W. However, when using single color adjustment or cold/warm dimming, the maximum power hovered around 10W.
Durability test: set to warm light and used as a computer lamp for several nights without any issues, and the heat generation was acceptable.
However, when using the phone’s direct light source, I found that in some dimming modes, when the shutter speed was too high, there was a slight flicker. This should be caused by high-frequency PWM dimming, but this problem also occurs in some finished lamps. Adjusting the shutter speed appropriately during shooting will not affect the image quality.
Other functions: the accompanying software for the controller has color adjustment and dimming, as well as preset modes that can set the light to flicker and change colors, similar to some commercial fill lights; there is also a music rhythm mode that can be used for parties if set up well. Additionally, since it uses WiFi control, the controller can connect to the network, allowing remote control via a smartphone. One phone can control multiple lights, or multiple devices can control one light; it can even connect to the Tmall Genie smart voice system, making it a form of smart home in a sense…
Thus, this DIY project is basically complete. I calculated the total cost of materials for this light to be around 60 yuan. Its functionality is usable, which counts as a successful DIY. In fact, the main purpose of DIY is not to save money, but to enjoy the process of making things; that is the main goal.
Additionally, since it uses WiFi control, the controller can connect to the network, allowing remote control via a smartphone. One phone can control multiple lights, or multiple devices can control one light; it can even connect to the Tmall Genie smart voice system, making it a form of smart home in a sense…
Thus, this DIY project is basically complete. I calculated the total cost of materials for this light to be around 60 yuan. Its functionality is usable, which counts as a successful DIY. In fact, the main purpose of DIY is not to save money, but to enjoy the process of making things; that is the main goal.