 @Engineers, drones, tablets, headphones, JD gift cards, and rich prizes await you! 👆 Scan the code to post in the community and participate!This year, Guangdong has entered summer early, and the air conditioning is already on at my home. Today, we will disassemble a very conventional air conditioner remote control. This should be the simplest remote control we have disassembled recently. Let’s take a look at its front, which has an all-white shell, with an LCD display screen on top and a membrane keypad below.
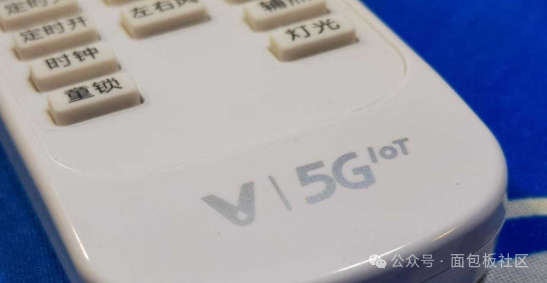
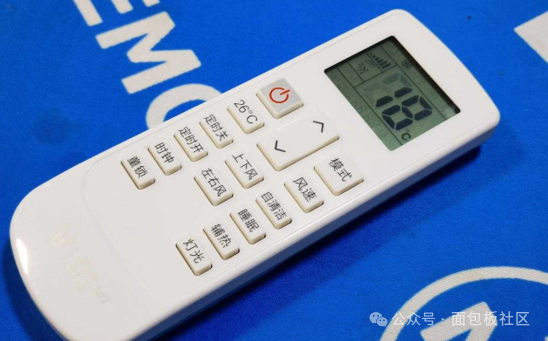 The LCD display screen should not be much different from the air conditioner remotes we have at home. It applies voltage through the liquid crystal between the glass to induce its rotation, thereby allowing light to pass through and illuminating the corresponding characters. At its bottom, there is a 5G IoT logo.
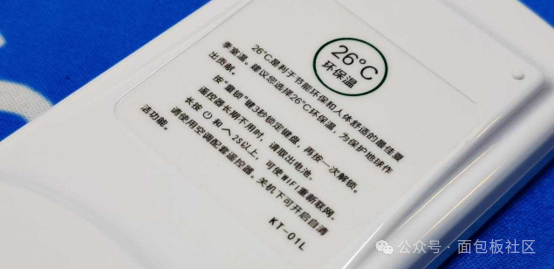
 On its back, there are warning labels and instructions for some functions of the air conditioner.
 We can open the battery compartment through the battery cover at the bottom. We can see two AAA batteries provided by the manufacturer, which are relatively inexpensive.
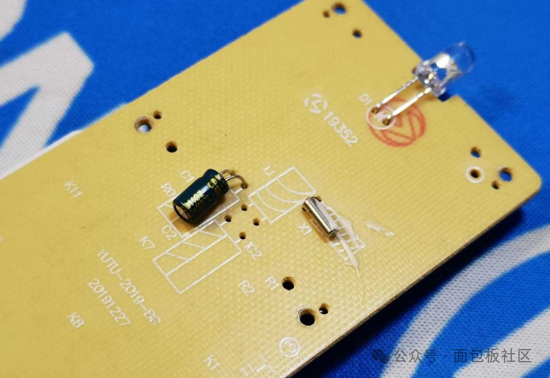
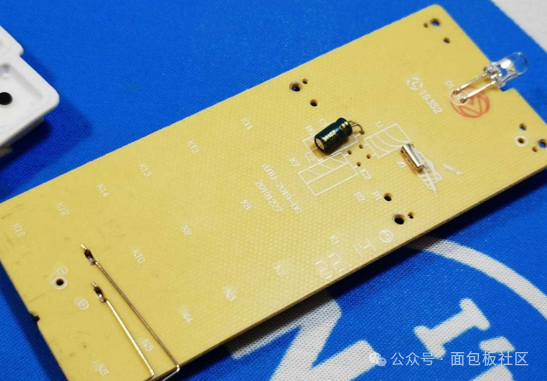
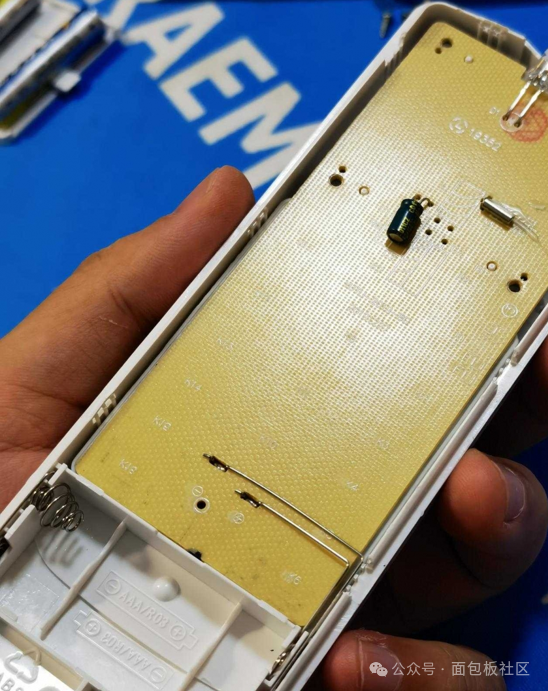
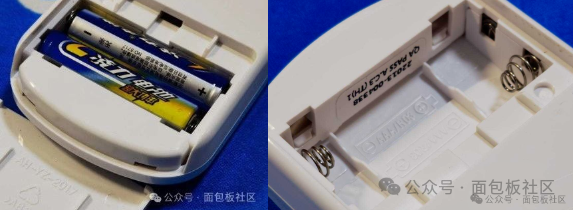 After removing the batteries, we can see the internal serial number sticker inside the battery compartment. To save costs, the overall shell of the remote control uses a snap design and does not use screws for fixing. Therefore, we only need to gently pry along the corresponding snap with a lever to remove the shell of the remote control. We can see that the internal design uses a yellow single-sided circuit board. Moreover, the overall number of plug-in components is very few, with only one capacitor, one crystal oscillator, and one infrared diode.
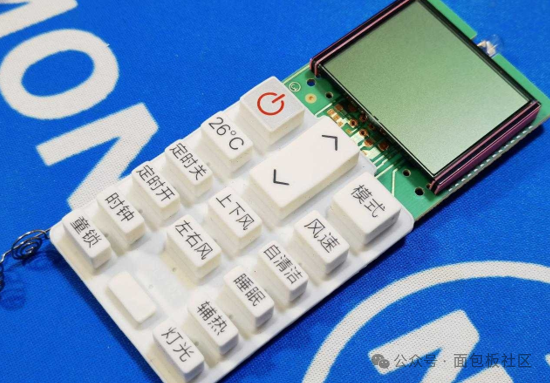
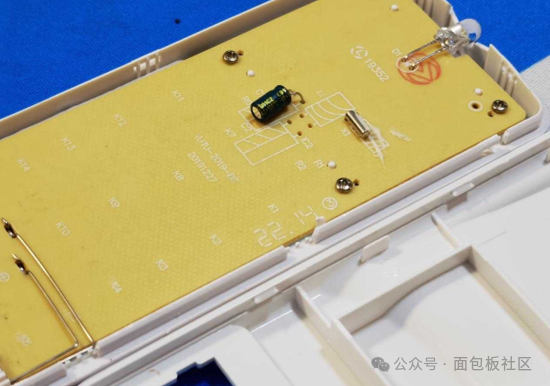 We unscrew to remove the front of the circuit board. We can see the buttons covering the top of the circuit board and the LCD screen connected through conductive strips at the top.
 The silk print on the back shows that there are actually two capacitors and resistors reserved for other components. However, possibly due to cost considerations, only the simplest combination of components was used.
 After removing the button board, we can see the conductive film covering the top of the circuit board. Similarly, there are not many components on this side of the circuit board.
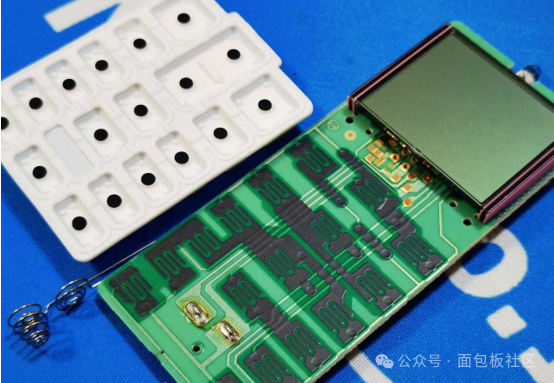 The top LCD screen is connected to the lower circuit through conductive strips, and unexpectedly, there is another chip below the LCD screen.
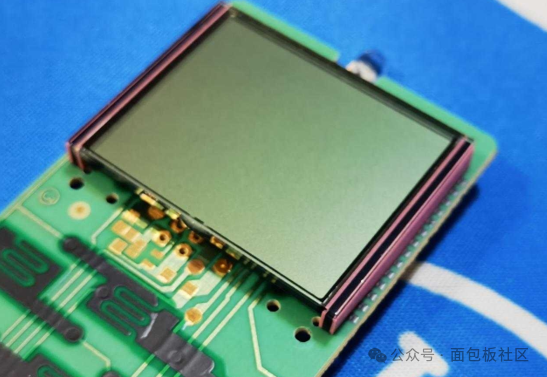 The side conductive strips connect the tinned pins on the circuit board and the conductive circuit on the LCD glass.
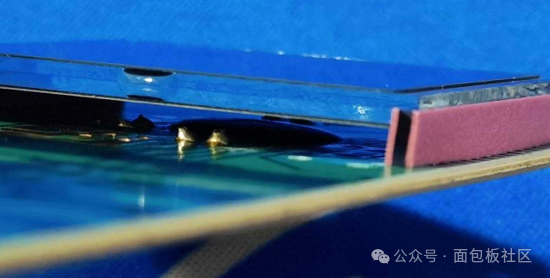
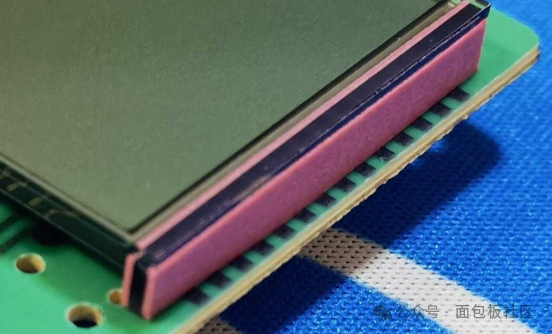 From the side, we can see that below the LCD screen, there is indeed a chip bound with cow dung. And we can see that there are no other components around.
 At the bottom of the board, two metal strips extend to connect to the battery. The overall external components are very few.
 We put the circuit board back into the housing. Overall, the layout is simply pitifully simple.
 Through disassembling this air conditioner remote control, I can see that for some extremely simple electronic consumables, our country’s skilled workers have already compressed the BOM cost to a terrifying level.Author: Blogger of Breadboard Community, Maruko~
END
Disassembly Contest with Drones! More Writing, More Rewards!
Activity Time: 2024.03.01—2024.05.15

Scan to Participate

Prize Setup:First Prize (1 winner): DJI Mini 2 SE Drone / DJI Pocket 2Second Prize (2 winners): Huawei MatePad SE Tablet Third Prize (3 winners): Huawei FreeBuds 4E Encouragement Prize (10 winners): 50 Yuan JD gift card. Additional reward: If a single article exceeds 10,000 views on the MBB WeChat account, each article will receive a 100 Yuan JD gift card (data statistics until 2024.05.31, limited to the first 20 articles, sorted by the time of publication in the MBB community).Judging will be based on article quality, quantity, depth of analysis, difficulty of disassembly, platform data, etc., and senior engineers will also be invited to provide feedback. Click to Read the Original Article, Participate in the Activity!