1. Why Not GCC
When developing STM32, the compilation toolchain must use gcc-arm-none-eabi. Why not GCC?This relates to cross-compilation in Linux, as we need to compile programs that can run on ARM from a PC. Using GCC will compile programs that run on the PC, so we need to use gcc-arm-none-eabi for cross-compilation~
2. Introduction and Installation of the GCC-ARM-None-EABI Toolchain
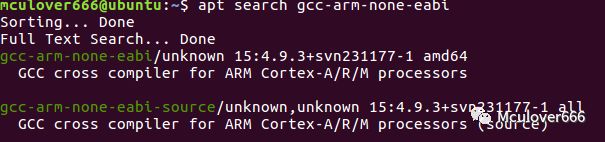
gcc-arm-none-eabi is an open-source ARM development toolchain suitable for Arm Cortex-M and Cortex-A series processors, including the GNU Compiler (GCC) and GDB, which can be used for cross-compilation on Windows, Linux, and MacOS. gcc-arm-none-eabi is available in the Ubuntu software repository, but the version is relatively outdated:
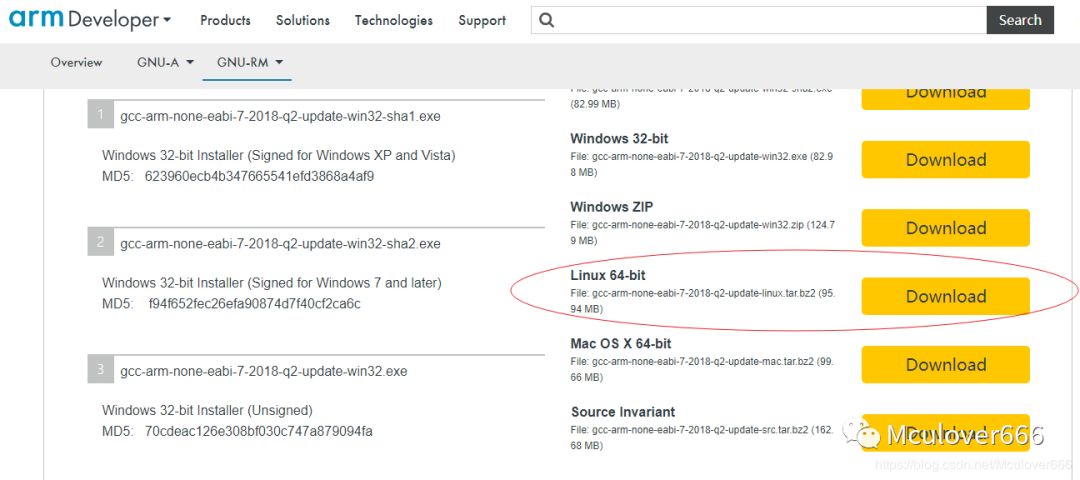
Here we choose the appropriate version from the [ARM official download link](https://developer.arm.com/open-source/gnu-toolchain/gnu-rm/downloads) (I chose Linux64):
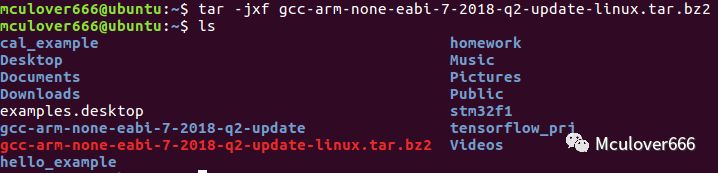
After extracting, it is in tar.bz2 format. Use the command tar -jxf <file to extract> to extract it to the directory we want to install:
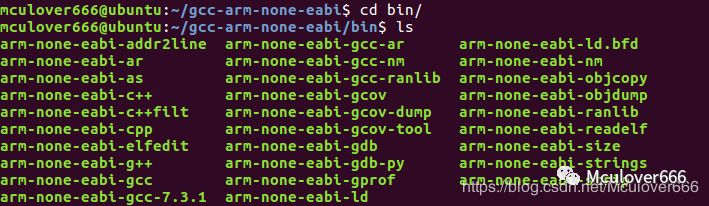
For convenience in the future, rename the folder:

The bin directory below is the compilation toolchain we will use:
The doc under the share directory contains a lot of usage help documents. You can skim through them, especially the readme.txt:

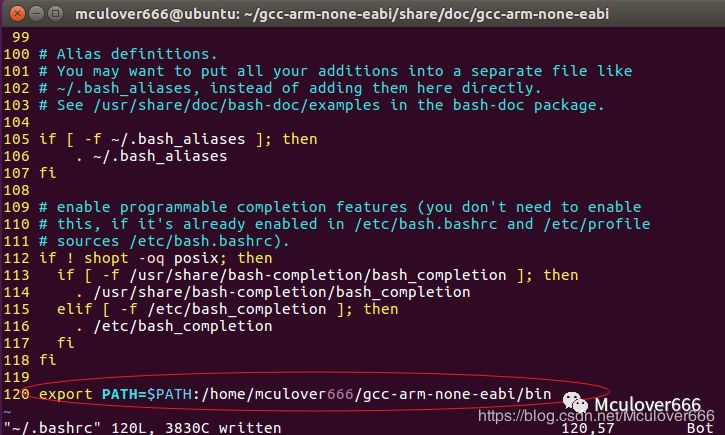
Next, we need to add the bin directory to the environment variable so we can directly enter the tool name in the command line and the system can find it. Here we only add the environment variable for the current user. Use vim ~/.bashrc to edit the current user’s configuration file and add export PATH=$PATH:/home/mculover666/gcc-arm-none-eabi/bin at the end:
Then use the command source ~/.bashrc to update the system path, making the added environment variable take effect immediately:

Then enter the command arm-none, and press Tab three times (do not enter all), to check if the system can auto-complete:
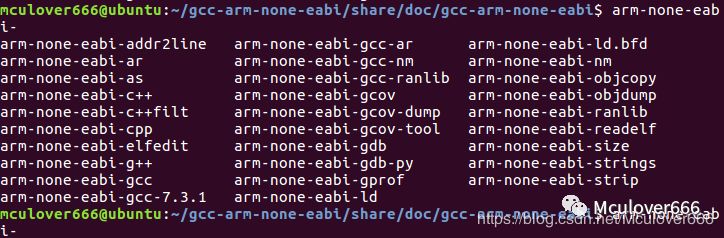
If the system prompts, it means the environment variable is configured successfully, and you can happily use the arm-none-eabi toolchain~
3. Start from Bare Metal Project
3.1. Hardware Description
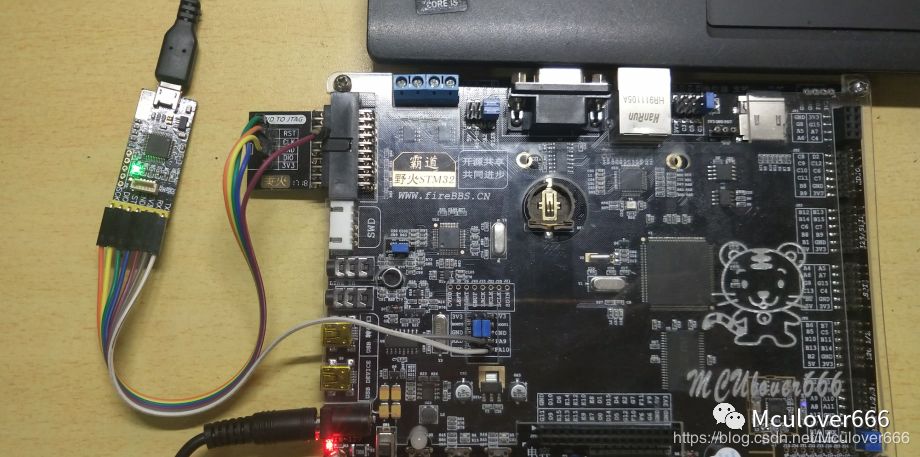
Here I use the Wildfire Dominator development board, with the onboard chip being STM32F103ZET6. The downloader used is e-link, which uses CMSIS-DAP to download programs, and also features a serial port, making it very convenient~
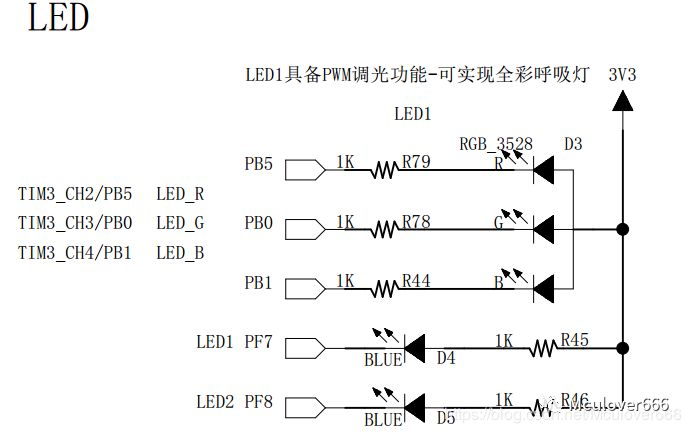
The schematic diagram of the onboard RGB-LED is shown below:
3.2. Create an Empty Bare Metal Project
First, create a folder mkdir 00-template-reg to store the entire project, which consists of three files:
-
startup_stm32f10x_hd.s: copied from the firmware library, note that it is not from thearmfolder, astruestudiouses the gcc compiler, so we choose the startup file from thetruestudiofolder; -
stm32f10x.h: an empty file; -
main.c: the code is as follows:
#include "stm32f10x.h"

int main()
{
    /* Enable GPIOB clock */
    *(unsigned int*)(0x40021000+0x18) |= 1<<3;

    /* Configure PB0 as push-pull output */
    *(unsigned int*)(0x40010c00+0x00) |= 1<<(4*0);

    /* PB0 outputs low level, turn on green LED */
    *(unsigned int*)(0x40010c00+0x0c) &= ~(1<<0);

    while(1);
}
void SystemInit(void)
{

}
4. Compilation
Next is the exciting compilation step~ There are two types of files during compilation, one is the assembly startup file, and the other is the C source file. Next, we will compile them separately: First, it should be noted that any file must include the following parameters:
| Parameter | Description |
|---|---|
| -mthumb | Indicates the instruction set used (required) |
| -mcpu=cortex-m3 | Indicates the chip core (required) |
| -g | Generate debugging information |
4.1. Compile the Startup File
The startup file is generally written in assembly. It is important to note that the assembly file format can be either .S or .s:
-
Uppercase S: Indicates that the file contains preprocessor directives (such as
#define) and needs to be processed first; -
Lowercase s: Indicates that the file does not need processing and can be compiled directly;
The startup file we added earlier is lowercase .s, so we can compile it directly. Additionally, if using a .S file, the -x assembler-with-cpp parameter must be included.
Next, we will explain some parameters used by the gcc compiler for assembly files:
| Parameter | Description |
|---|---|
| -x assembler-with-cpp | Preprocess the file first |
| -Wa,option | Pass parameters to the assembler |
Note: Parameters that can be passed to the assembler:
| Parameter | Description |
|---|---|
| -W or –no-warn | Disable all warnings |
| –fatal-warnings | Treat all warnings as errors |
| –warn | Normal warning messages |
So, next we can use the following parameter combination to compile the startup file (without preprocessing and normal warning messages):
arm-none-eabi-gcc -c -mthumb -mcpu=cortex-m3 -g -Wa,--warn -o startup_stm32f10x_hd.o startup_stm32f10x_hd.s

4.2. Compile the C File
Since the main.c does not contain anything special, we can compile it simply:
| Parameter | Description |
|---|---|
| -Wall | Enable all warnings |
arm-none-eabi-gcc -c -mthumb -mcpu=cortex-m3 -g -Wall -o main.o main.c
5. Linking
There are two important parts to linking: linking files and parameters passed to the linker. The linking files are provided in the example project of the firmware library, located in the following directory:
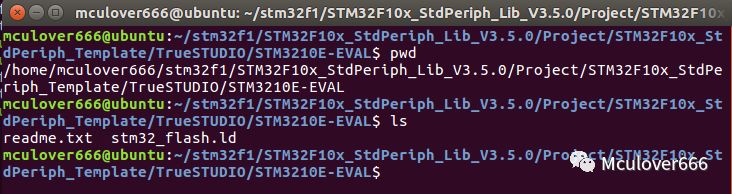
Among them, stm32_flash.ld is the linking file for STM32F103ZE. If using another chip, modifications are required. Copy it to our project:

Then let the linker link startup_stm32f10x_hd.o and main.o files based on the stm32_flash.ld file to generate an ELF file containing debugging information. We also need to pass some parameters to the linker:
| Parameter | Description |
|---|---|
| -T | Specify the linking file |
arm-none-eabi-gcc -o test.elf main.o startup_stm32f10x_hd.o -mthumb -mcpu=cortex-m3 -T stm32_flash.ld -specs=nosys.specs -static -Wl,-cref,-u,Reset_Handler -Wl,-Map=test.map -Wl,--gc-sections -Wl,--defsym=malloc_getpagesize_P=0x80 -Wl,--start-group -lc -lm -Wl,--end-group
6. Generate BIN and HEX Files
Using arm-none-eabi-objcopy tool, we can convert the ELF file into BIN and HEX files suitable for microcontrollers, where the parameter -O (uppercase O) specifies the output file format (default is BIN format)
arm-none-eabi-objcopy test.elf test.bin
arm-none-eabi-objcopy test.elf -Oihex test.hex
7. Write a Makefile Template
TARGET=test
CC=arm-none-eabi-gcc
OBJCOPY=arm-none-eabi-objcopy
RM=rm -f
CORE=3
CPUFLAGS=-mthumb -mcpu=cortex-m$(CORE)
LDFLAGS = -T stm32_flash.ld -Wl,-cref,-u,Reset_Handler -Wl,-Map=$(TARGET).map -Wl,--gc-sections -Wl,--defsym=malloc_getpagesize_P=0x80 -Wl,--start-group -lc -lm -Wl,--end-group
CFLAGS=-g -o
$(TARGET):startup_stm32f10x_hd.o main.o
    $(CC) $^ $(CPUFLAGS) $(LDFLAGS) $(CFLAGS) $(TARGET).elf
startup_stm32f10x_hd.o:startup_stm32f10x_hd.s
    $(CC) -c $^ $(CPUFLAGS) $(CFLAGS) $@
main.o:main.c
    $(CC) -c $^ $(CPUFLAGS) $(CFLAGS) $@

bin:
    $(OBJCOPY) $(TARGET).elf $(TARGET).bin
hex:
    $(OBJCOPY) $(TARGET).elf -Oihex $(TARGET).hex
clean:
    $(RM) *.o $(TARGET).*
-
Use the command
maketo compile and generate the ELF file; -
Use the command
make binto convert the ELF file into a BIN file; -
Use the command
make hexto convert the ELF file into a HEX file; -
Use the command
make cleanto remove all generated files.
This article is transferred from: Mculover666
Recommended Reading:
8 Heartfelt Suggestions for Friends Entering the Workplace
Simple Steps to Migrate from TrueSTUDIO to STM32CubeIDE
Follow the public account ‘strongerHuang’ to see more exciting content in the bottom menu!

Long pressto recognize the QR code in the imageto follow