MAKER: samvanhook / Translated by: Fun Endless Cherry
Frequently checking schedules across different platforms (such as mobile calendars, emails, collaborative work platforms, etc.) can often distract people. Is there a way to unify these fragmented schedules into a small device? The answer is yes!
Below, we will create a clock project to solve this problem.
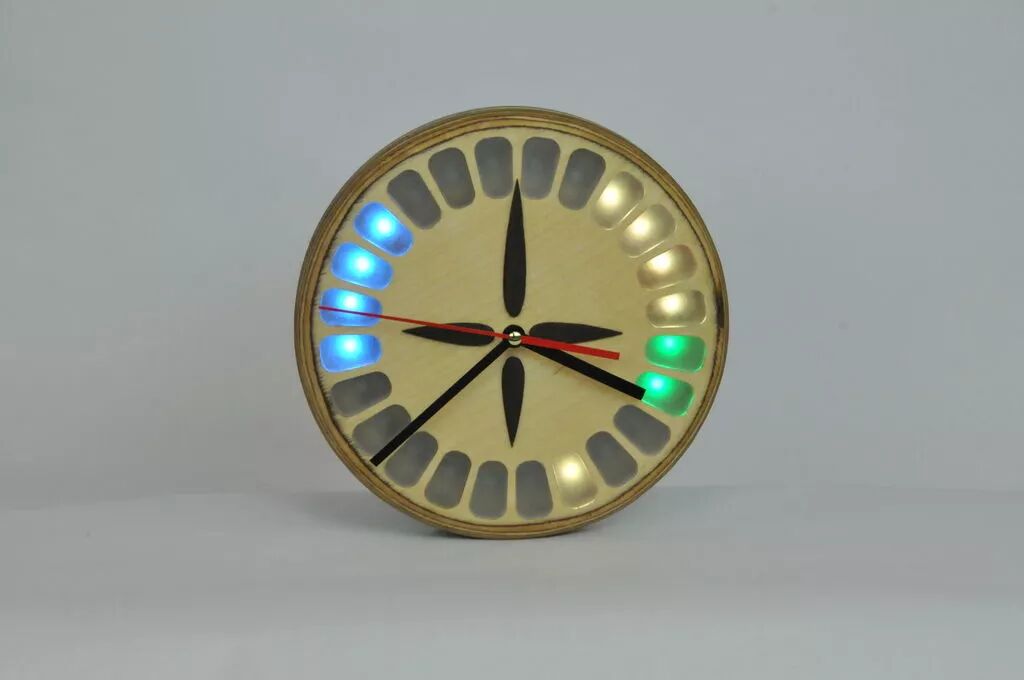
When I want to check my schedule, I can simply look at the wall to see the upcoming 12 hours of my Google Calendar (if used indoors, other platform APIs can also be used to connect to other scheduling systems instead of Google Calendar).
This method allows me to quickly return to work instead of checking detailed information. When I am curious about the calendar, a quick glance is all it takes. When my thoughts are elsewhere, its presence is not out of place.
If you want to learn how to make it, follow the steps below!
Materials List
10 square inches of basswood × 1 acrylic sheet × 1 (white or transparent) Raspberry Pi Zero W × 1 NeoPixels LED strip × several clock movement kits × 1 power wire × several (for soldering) USB power wires × 1
Cutting the Clock Face
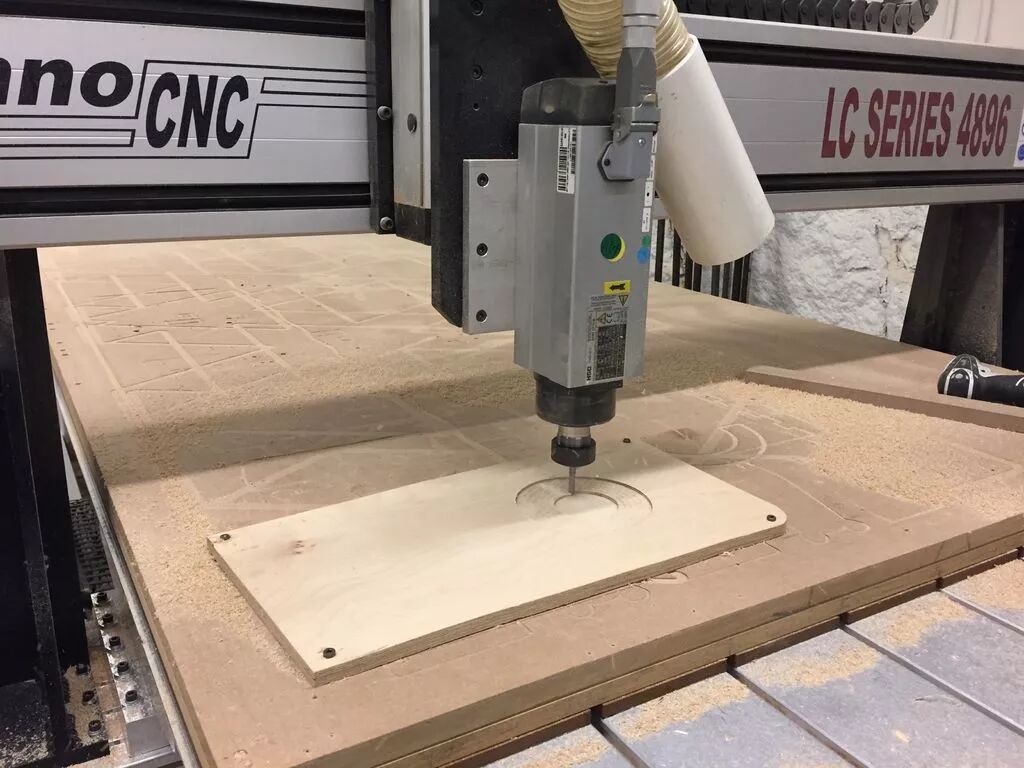
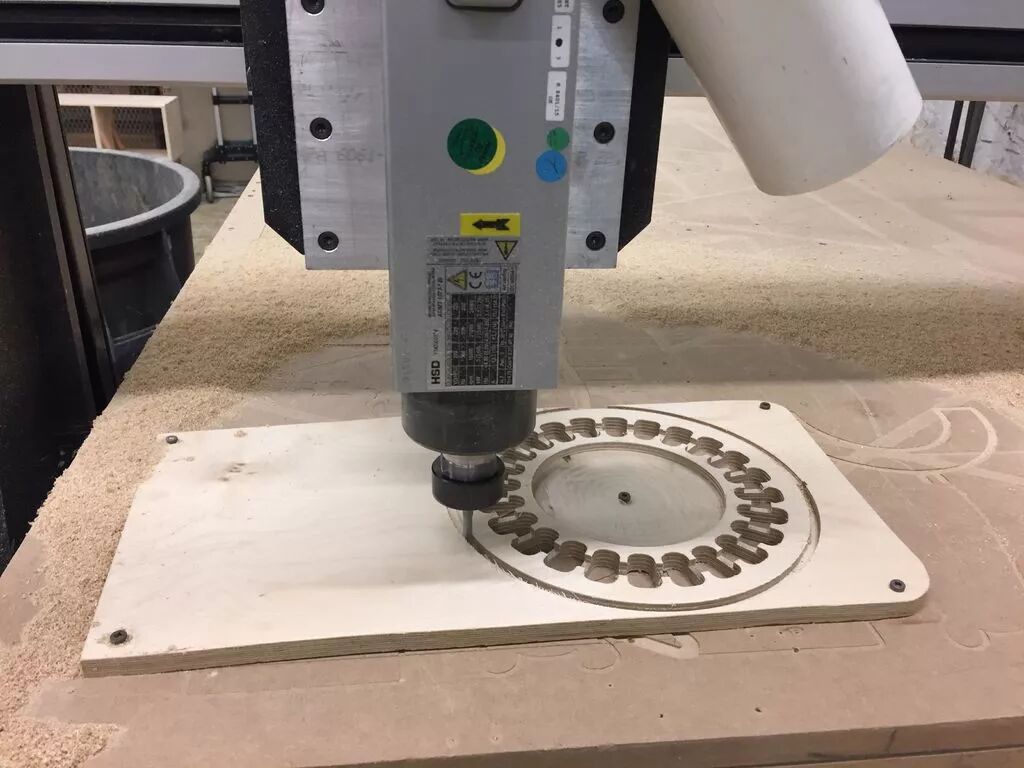
Use a CNC machine to cut out the clock face.
You can use this model:
http://maker.quwj.com/file/90/download
Most CNC machines can be used since it is made of basswood.
Sanding the Rounded Edges
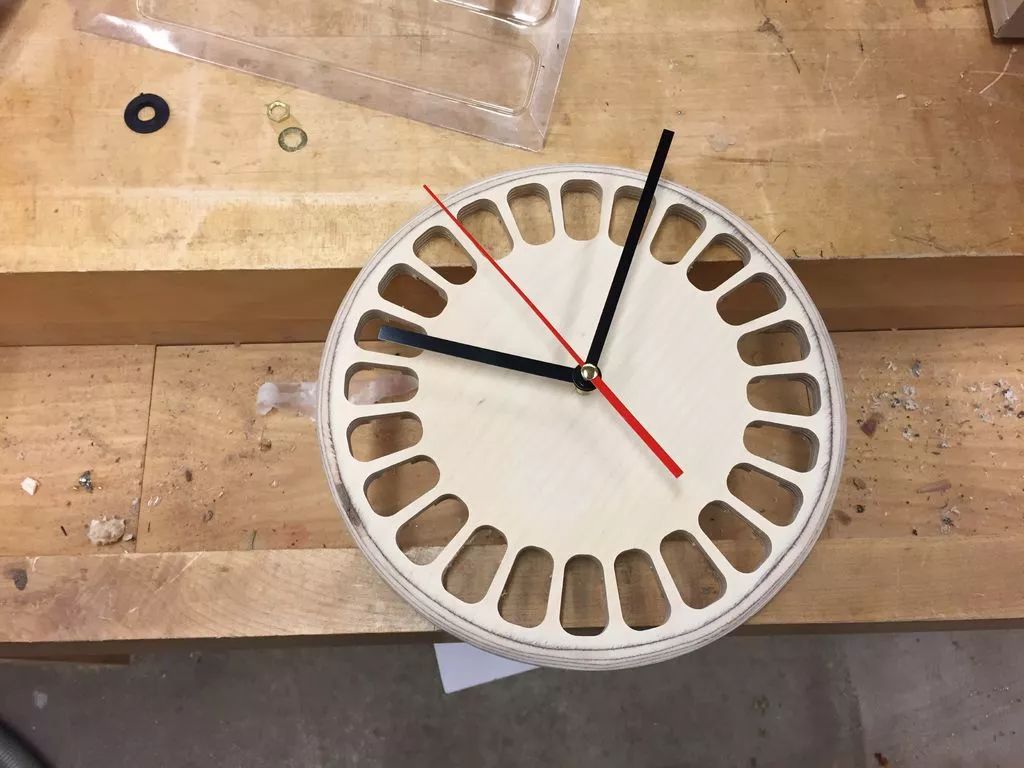
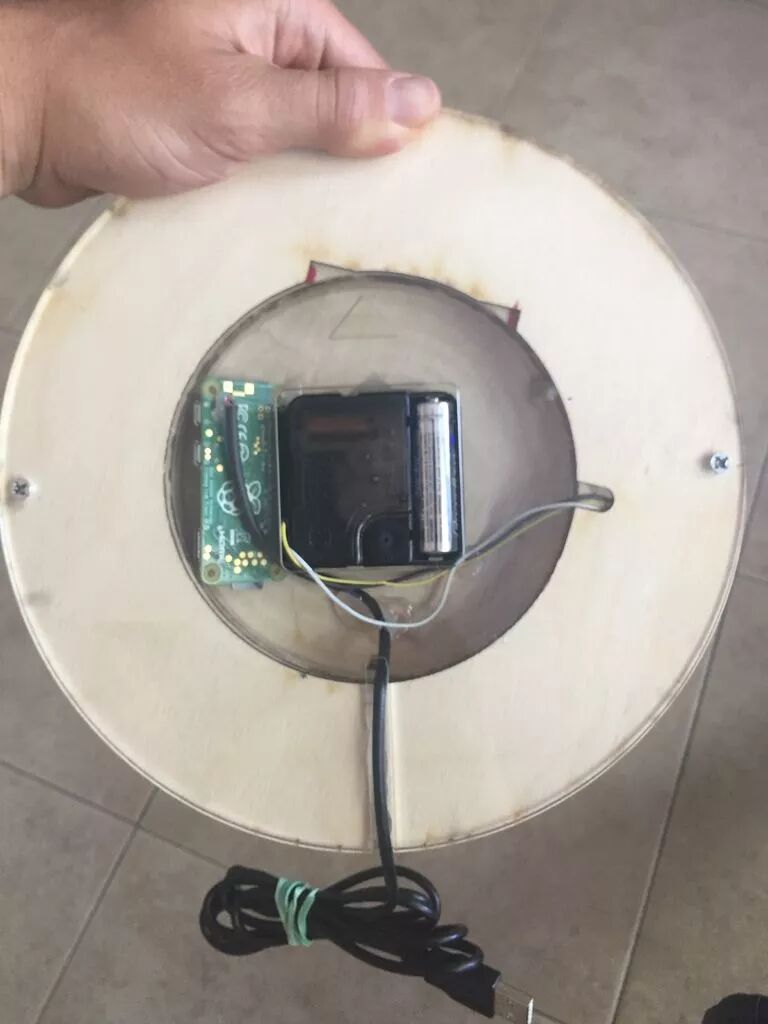
Sand the rounded edges with a sander to finish the main part of the clock. The finish on the basswood is quite nice. Additionally, drill a hole in the center of the body to install the movement from the back.
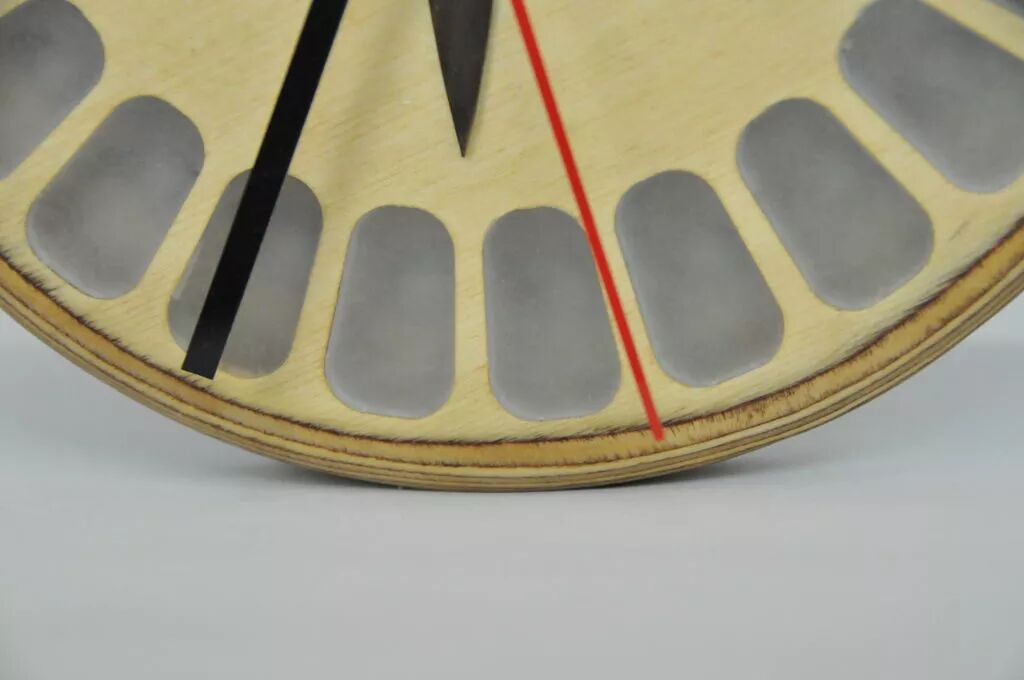
Cutting and Installing the Acrylic Sheet
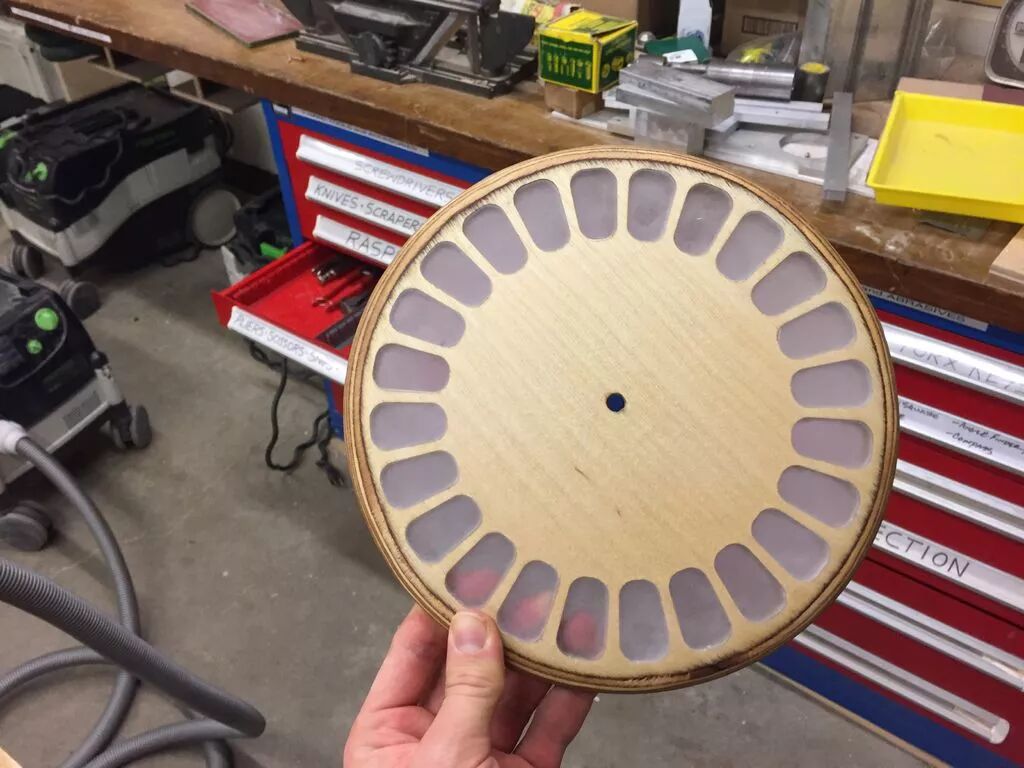
Use a laser cutter to directly cut out the shapes obtained from the 3D CAD model. They can fit together without any adhesive after sanding.
(You can find some required files here)
https://github.com/swoolf/enchantedObjects/tree/master/calClock
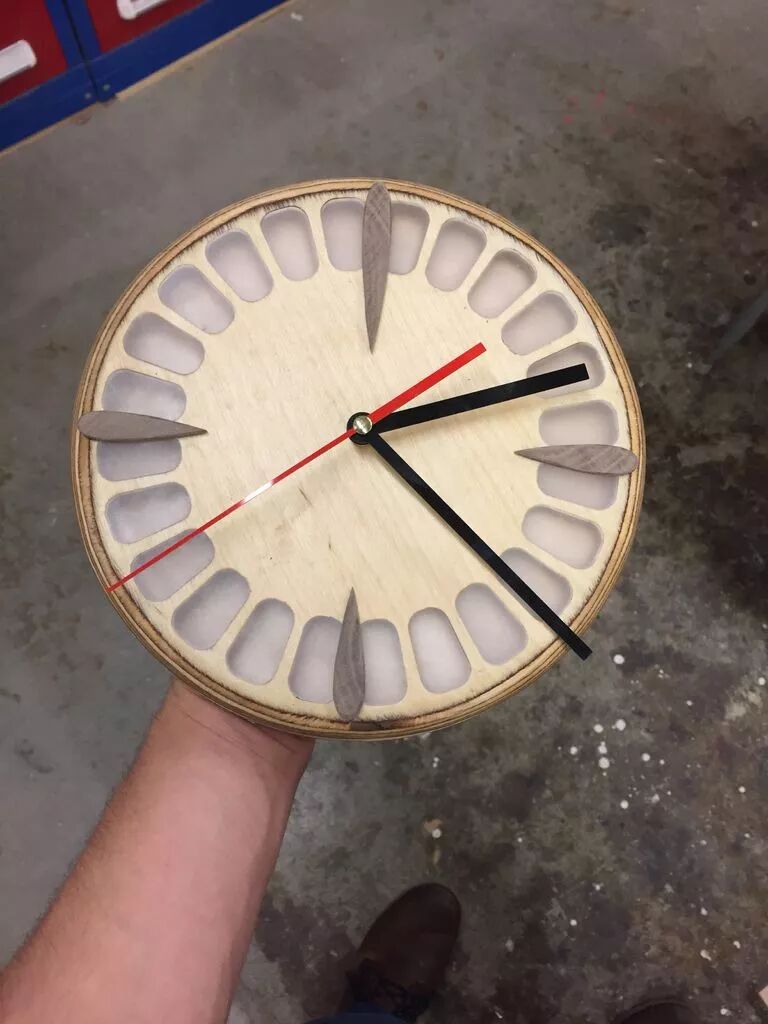
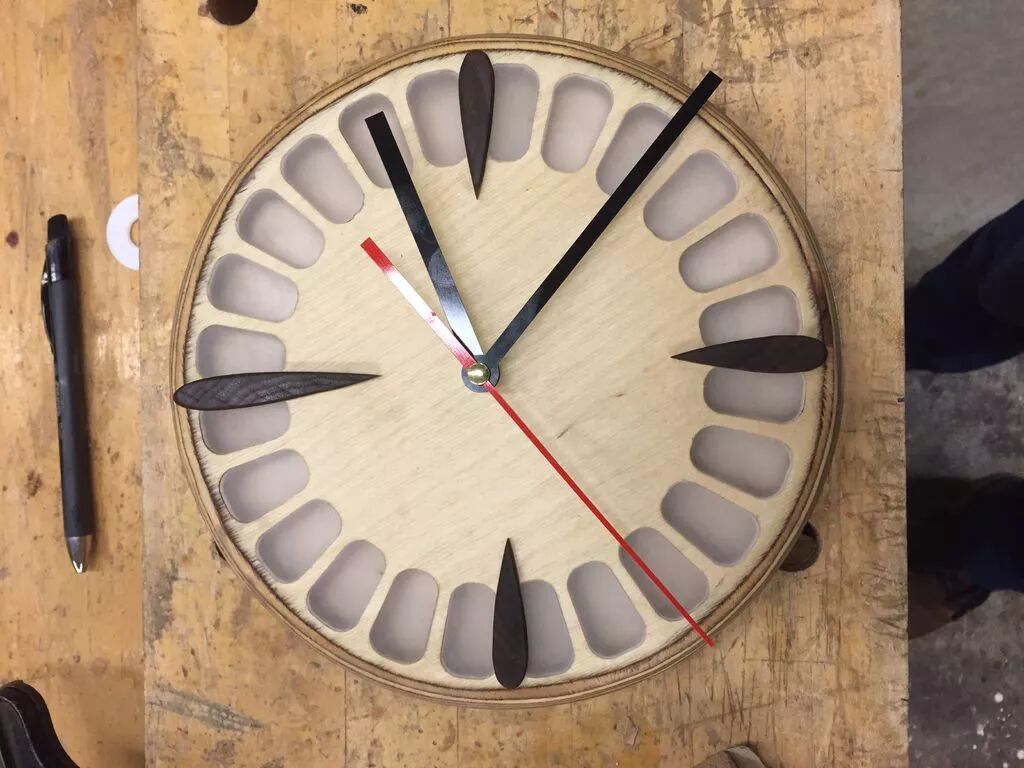
Now, you can create and install the crosses indicating the 12, 3, 6, and 9 o’clock positions. I used a thin piece of mahogany and glued it with super glue.
Electronic Components
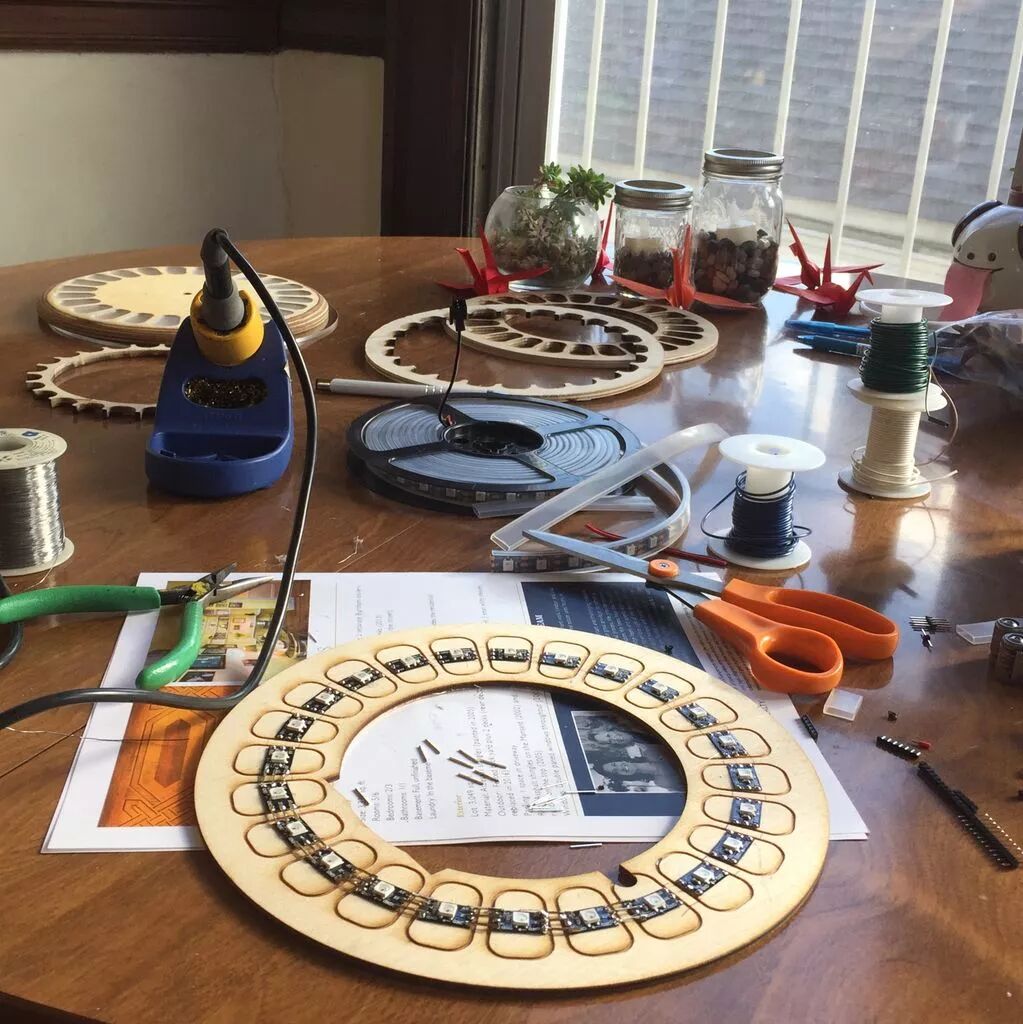
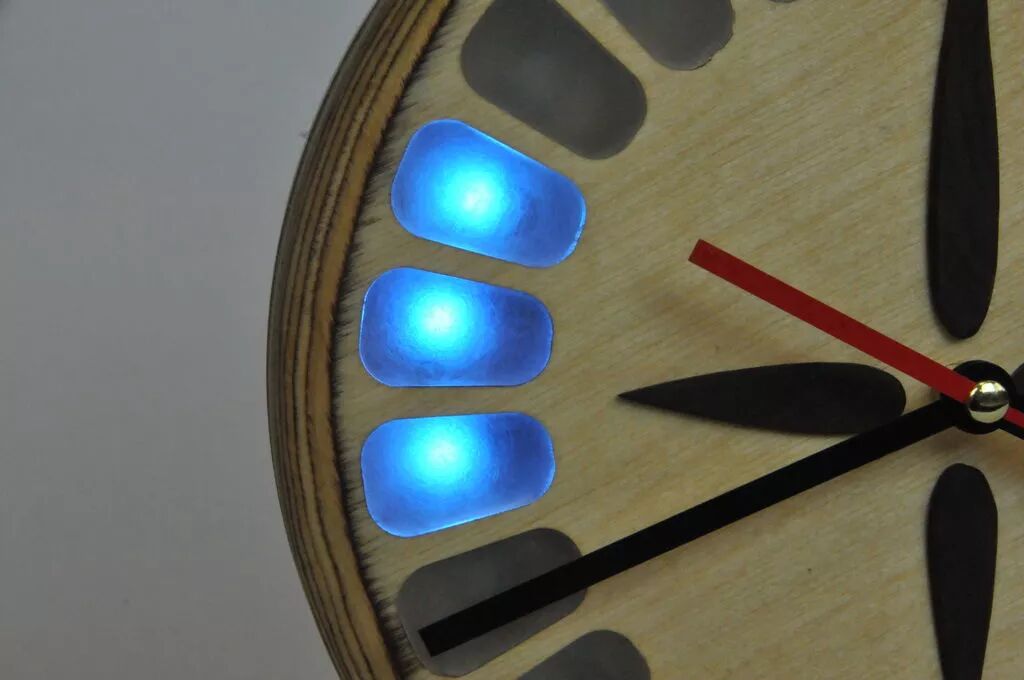
Install the NeoPixels LED lights onto a backing board. Manually solder the 24 lights together. It can be tedious during installation, but once you master the technique, it’s not bad.
Next, solder the Raspberry Pi in place and close the case. If you have extra acrylic sheets, you can add a nice decoration to the clock.
You can find the software program I used (Python) here:
https://github.com/swoolf/enchantedObjects/tree/master/calClock
You will also need to work with the Google Calendar Python API (you will need a VPN):
https://developers.google.com/calendar/quickstart/python
Finally, set up your Raspberry Pi to run the program automatically on startup, and you’re done!
This project repository: http://maker.quwj.com/project/68
via instructables.com/id/CalClock-Simply-See-Your-Schedule/
Links in the text can be clicked to read the original article at the end

More Exciting Content
DIY MIDI Keyboard with Raspberry Pi
DIY GoPro Wireless Controller with Arduino
Make a “Infinity Mirror” with a fantastic style
TensorFlow 1.9 now officially supports Raspberry Pi!
Implementing a Video Streaming Web Server with Raspberry Pi + Flask
How to Install Windows 10 ARM on Raspberry Pi 3B
Installing Nginx + PHP7.0 + Pi Dashboard on Raspberry Pi