Build a Home Surveillance System with Raspberry Pi

You can do thisBuild a Home Surveillance System with Raspberry Pi

Build a Home Surveillance System with Raspberry Pi

Author | Abhinaya Balaji

Editor | Su Ma

WeChat ID | csdn_iot

Introduction

There are many devices on the market that provide the ability to monitor the home environment from a central interface. In this article, we will DIY a set of such monitoring equipment. To do this, we will use the B+ model Raspberry Pi development board and the official Raspberry Pi

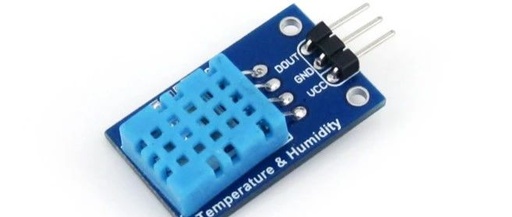
Raspberry Pi and Arduino Serial Communication with DHT11

Raspberry Pi and Arduino Serial Communication with DHT11

Arduino has a rich set of external interfaces, and the biggest difference from Raspberry Pi's IO ports is that Arduino has analog input interfaces that can measure analog values on IO ports. The communication scheme between Arduino and Raspberry Pi via serial (Serial) generally has two methods: one is through Raspberry Pi GPIO serial communication, and the second is through USB serial communication.

Clearly, the USB serial communication between Arduino and Raspberry

Recommended Components for NodeMCU Experiments

Experimental components include: LED, switch and temperature and humidity sensor.

1. Connection of LED

LED (Light Emitting Diode) is a solid-state semiconductor device that can convert electrical energy into visible light. It directly converts electricity into light. The core of the LED is a semiconductor chip, one end of which is attached to a bracket, one end is the negative electrode, and the other end is connected to the positive electrode of the power supply, encapsulating the entire chip in epoxy resin.Note:

Back to Top
Product has been added to your cart
×