Using the LVGL GUI library with ESP32 allows for the implementation of modern and beautiful GUIs on microcontroller devices.
This article is based on using the ESP32 with the Arduino framework to drive a 3.5-inch LCD screen. First, ensure that the TFT_eSPI can properly drive the 3.5-inch LCD screen. If the driver is not set up correctly, please refer to the referenced article for LCD screen setup.
LVGL is an open-source graphics library that provides everything needed to create embedded GUIs, featuring easy-to-use graphical elements, beautiful visual effects, and low memory consumption.
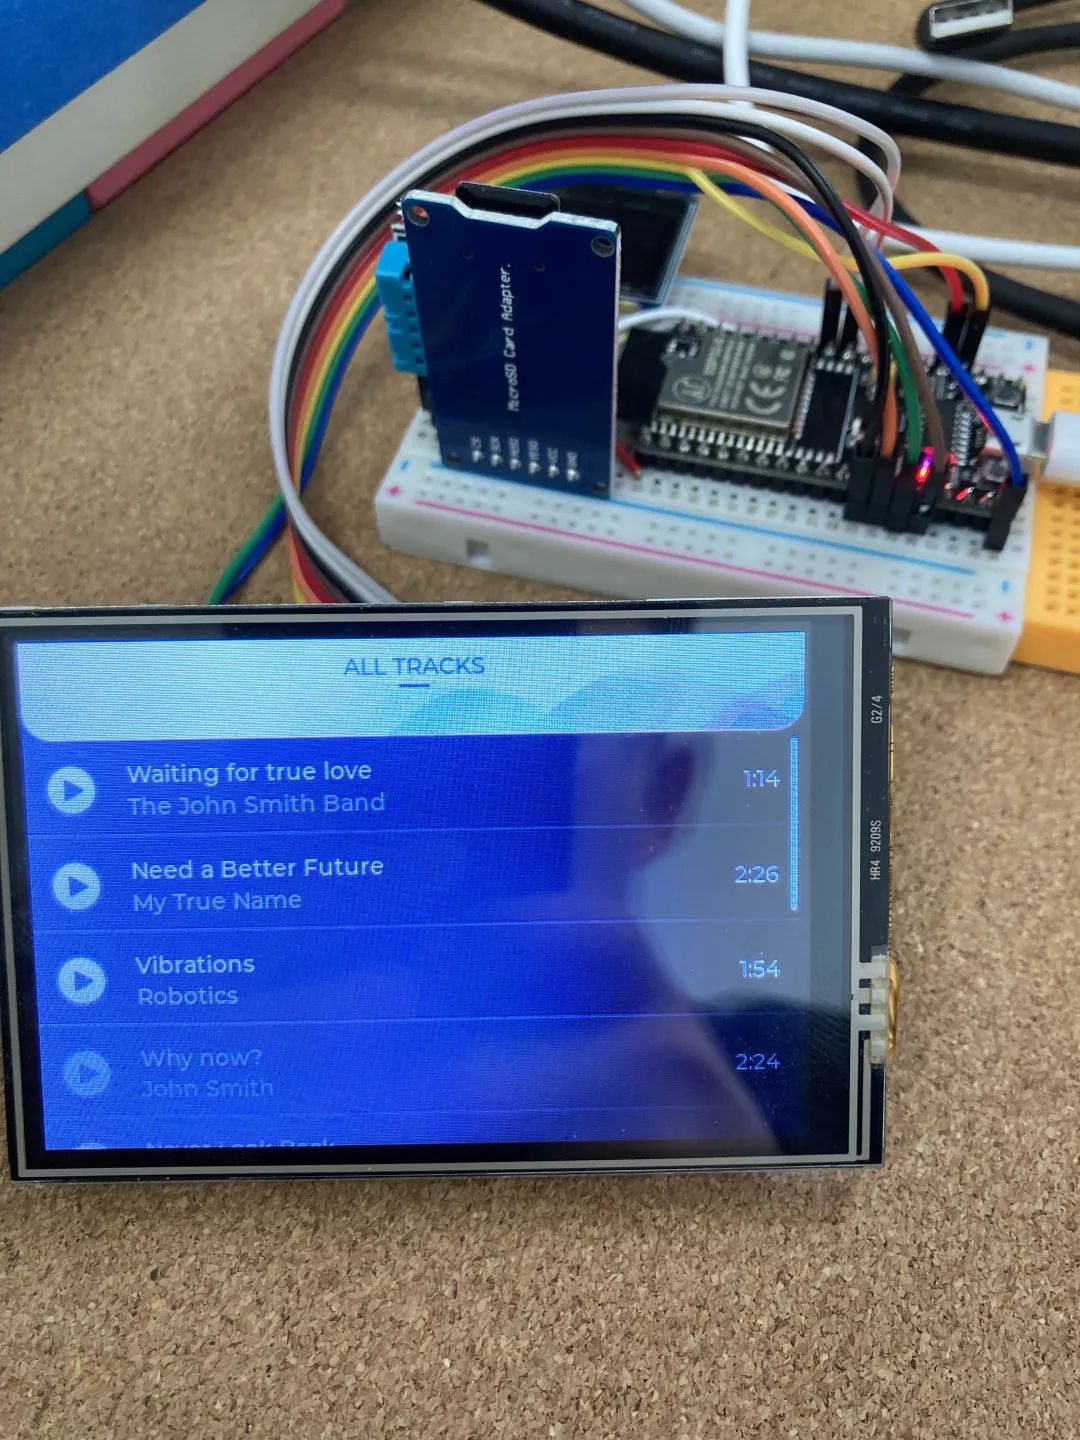
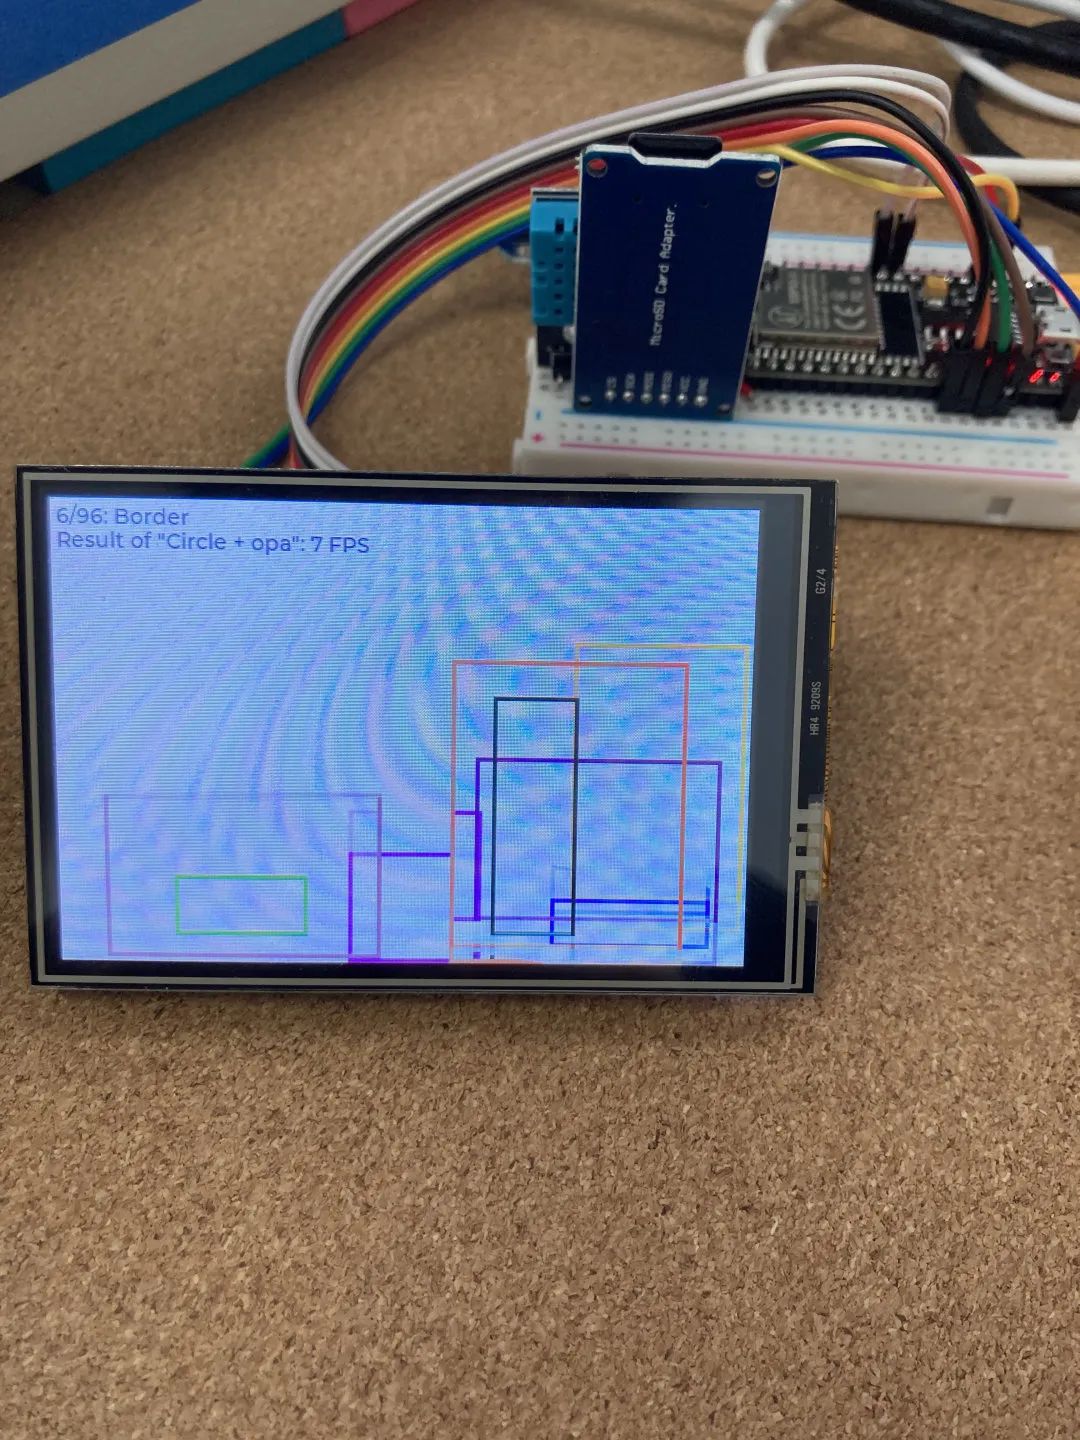
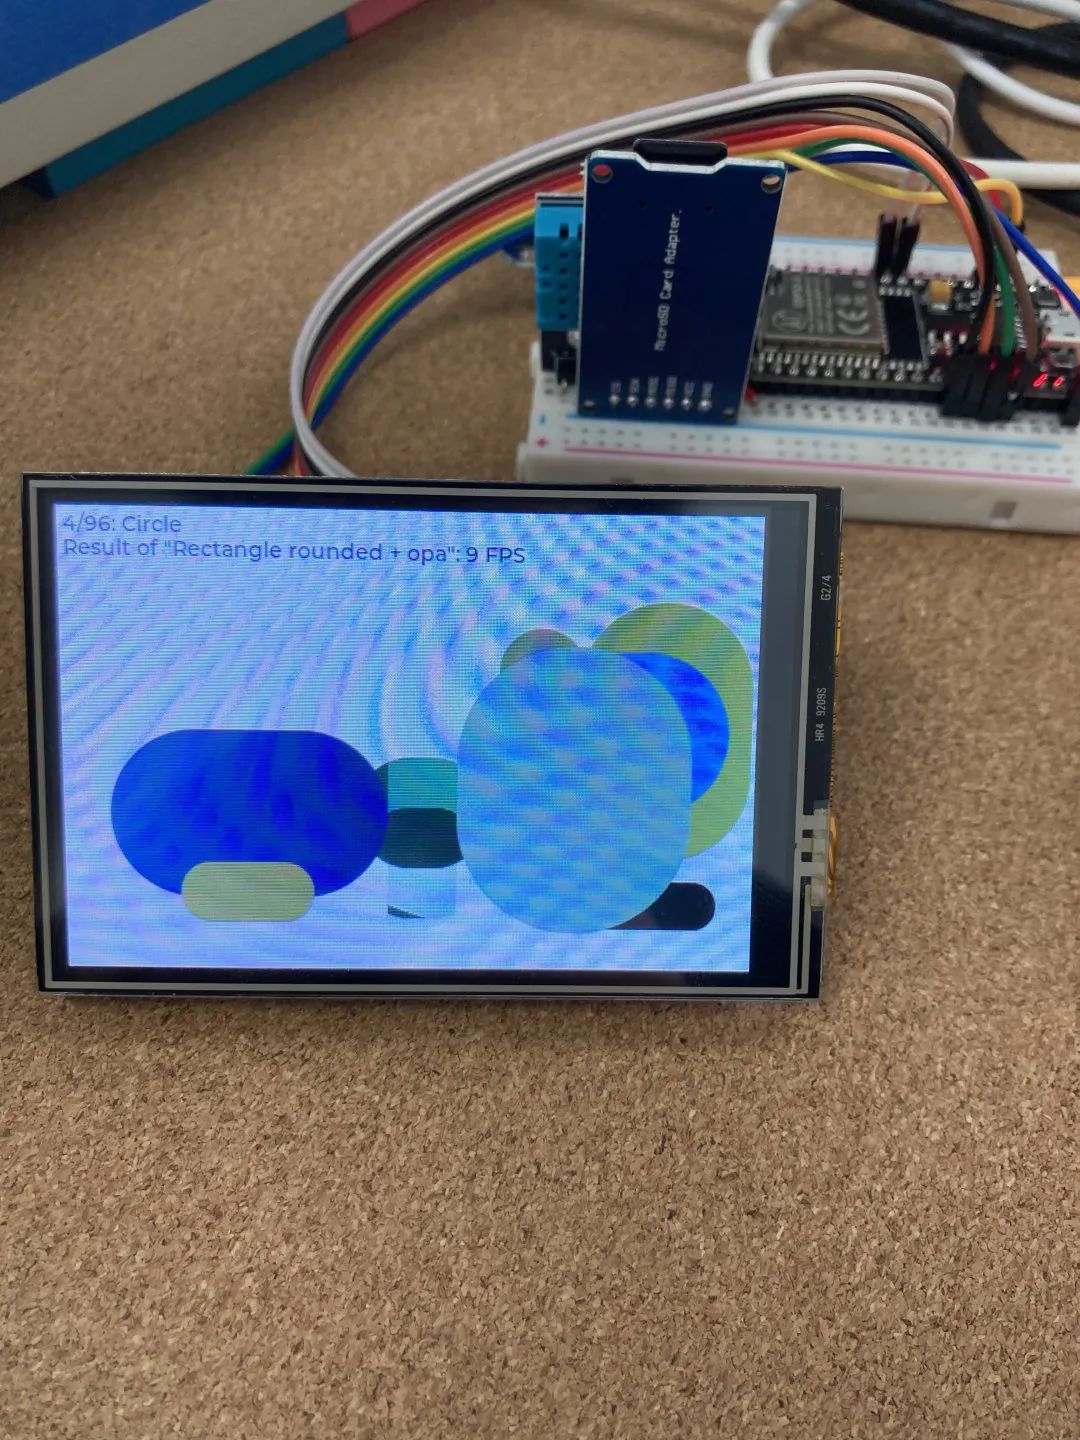
The final effect of this article is shown in the image.
1. Install LVGL and lv_examples Library in Arduino IDE
Here, version 7.11.0 is used, while version 8.x is currently under development.
2. Configure LVGL:
https://docs.lvgl.io/latest/en/html/get-started/arduino.html#configure-lvgl
In Arduino IDE, go to Project -> Show Project Folder, open the current project folder in the file manager, then go to the parent directory, find the libraries folder, and enter it. Go into the lvgl folder, copy the lv_conf_template.h file, go back to the parent directory, paste it and rename it to lv_conf.h. At this point, lv_conf.h is in the libraries folder.
Modify the following content:
Line 10, set it to 1.
#if 1 /*Set it to "1" to enable content*/Line 23, enter the size of your display. The author’s size is 480×320.
#define LV_HOR_RES_MAX (480)#define LV_VER_RES_MAX (320)Line 32, set the color depth of your display. The author is not very clear about the color depth of their display, so the default value of 16 is used.
Line 303, set LV_TICK_CUSTOM to 1.
#define LV_TICK_CUSTOM 1Line 384, set all listed fonts to 1. Many different font sizes are used in lv_examples.
#define LV_FONT_MONTSERRAT_8 1#define LV_FONT_MONTSERRAT_10 1#define LV_FONT_MONTSERRAT_12 1#define LV_FONT_MONTSERRAT_14 1#define LV_FONT_MONTSERRAT_16 1#define LV_FONT_MONTSERRAT_18 1#define LV_FONT_MONTSERRAT_20 1#define LV_FONT_MONTSERRAT_22 1#define LV_FONT_MONTSERRAT_24 1#define LV_FONT_MONTSERRAT_26 1#define LV_FONT_MONTSERRAT_28 1#define LV_FONT_MONTSERRAT_30 1#define LV_FONT_MONTSERRAT_32 1#define LV_FONT_MONTSERRAT_34 1#define LV_FONT_MONTSERRAT_36 1#define LV_FONT_MONTSERRAT_38 1#define LV_FONT_MONTSERRAT_40 1#define LV_FONT_MONTSERRAT_42 1#define LV_FONT_MONTSERRAT_44 1#define LV_FONT_MONTSERRAT_46 1#define LV_FONT_MONTSERRAT_48 13. Configure lv_examples:
https://docs.lvgl.io/latest/en/html/get-started/arduino.html#configure-the-examples
lv_examples provides many LVGL routines.
Go into the libraries folder described in step 2, enter the lv_examples folder, copy lv_ex_conf_template.h, go back to the parent directory, paste it and rename it to lv_ex_conf.h. Now lv_ex_conf.h and lv_conf.h are in the same folder.
Open lv_ex_conf.h and modify:
Line 10, set it to 1.
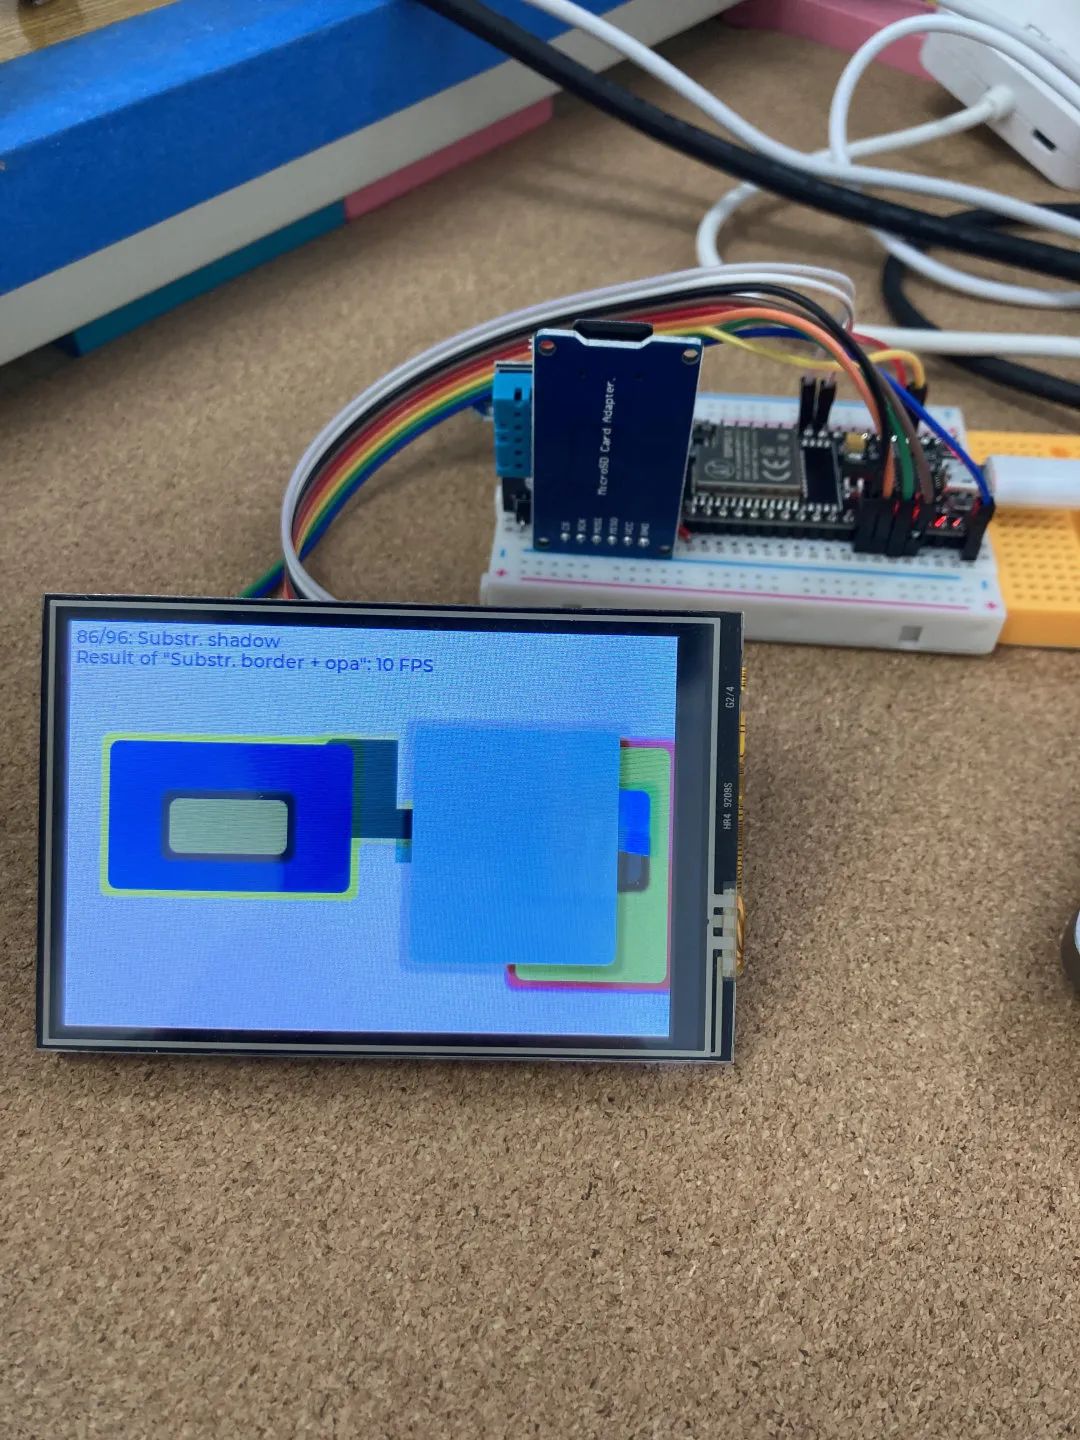
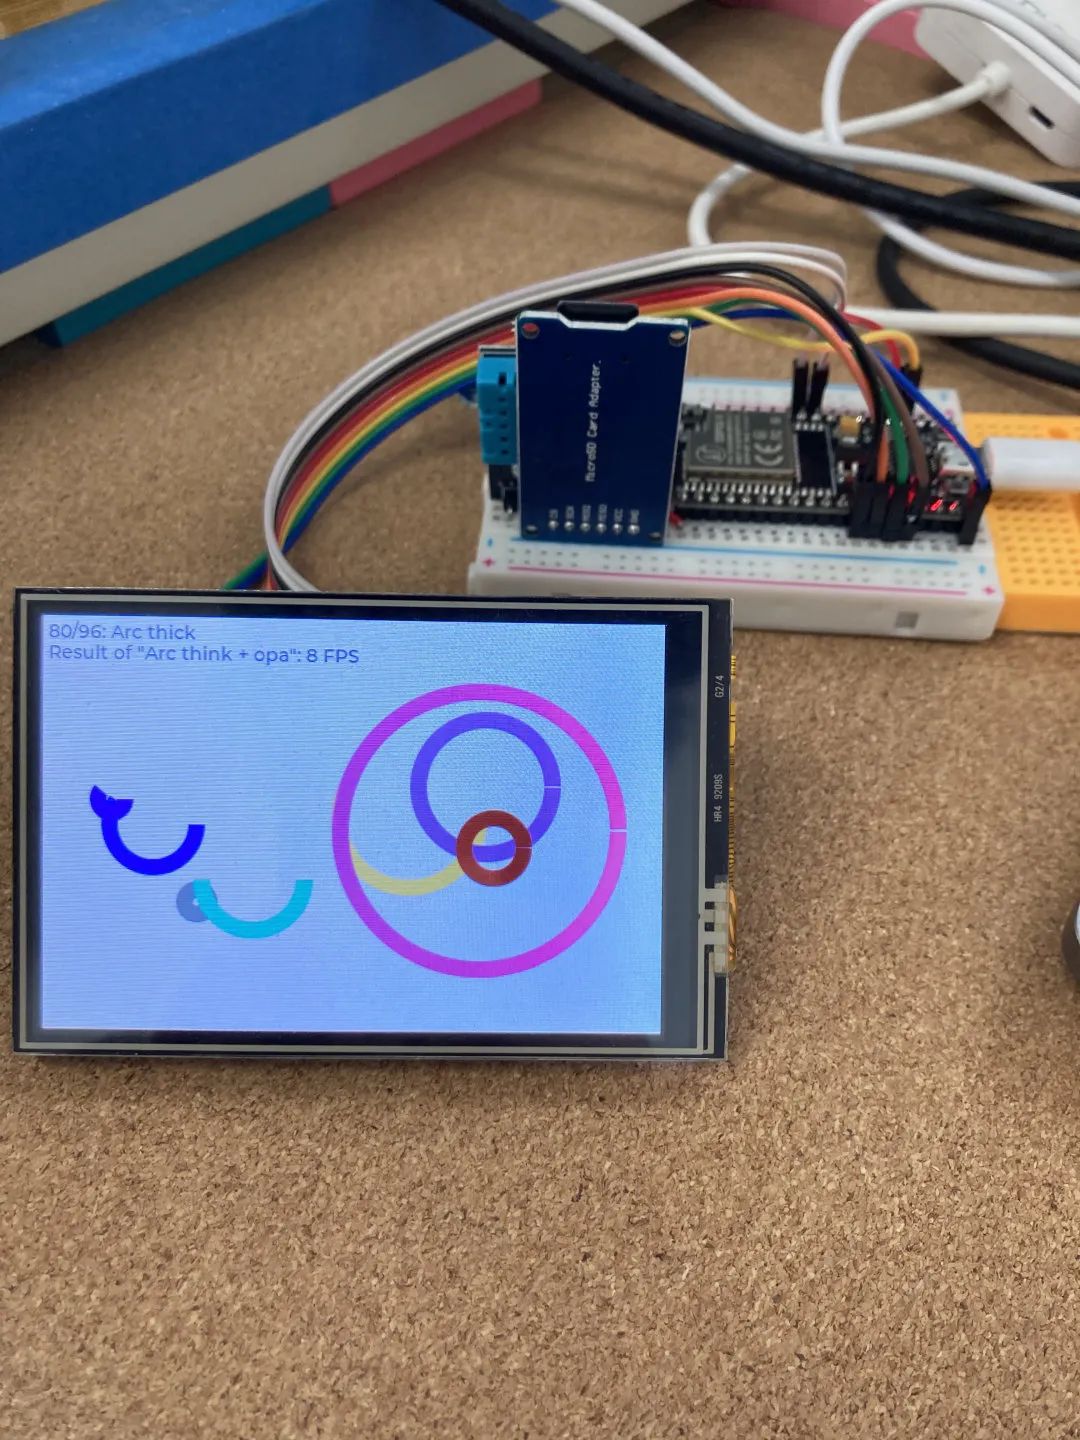
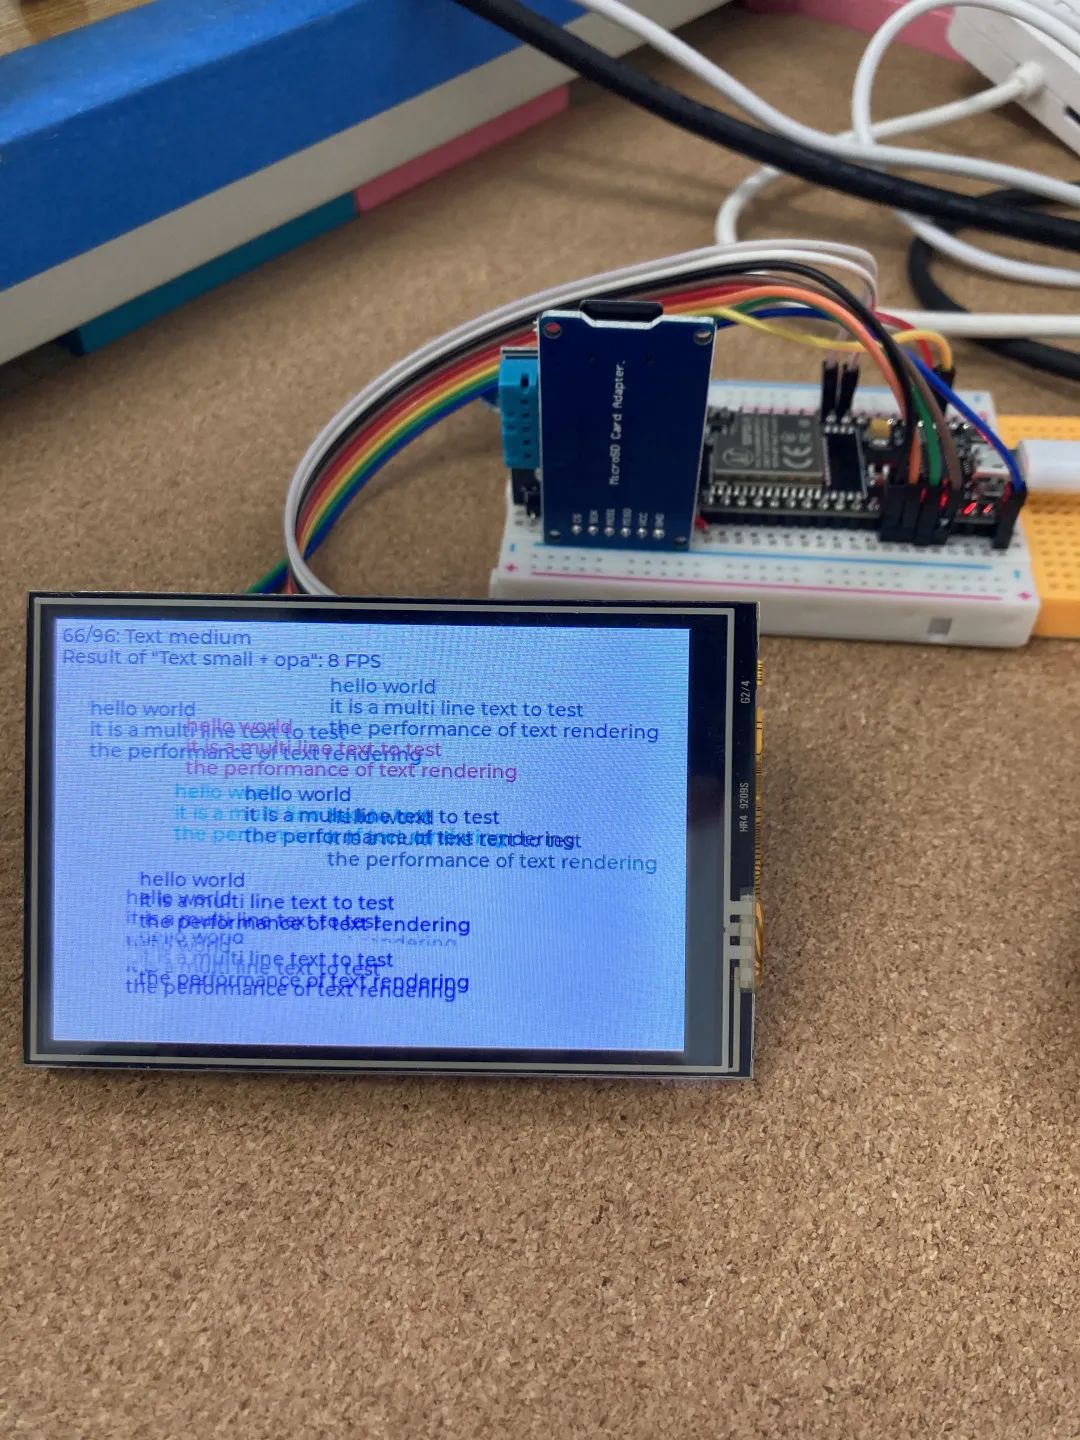
#if 1 /*Set it to "1" to enable the content*/Set the following items to 1 based on what you use; here we enable the benchmark and music examples. The benchmark is used to test the performance of the microcontroller, and music is a music player.
Line 40,
#define LV_USE_DEMO_BENCHMARK 1Line 47,
#define LV_USE_DEMO_MUSIC 14. Write the Main File
Open the main.ino file, the content is as follows:
#include <Arduino.h>//#include "./includes/oled.h"#include <lvgl.h>#include <TFT_eSPI.h>#include <lv_examples.h>// extern Adafruit_SH1106G display;TFT_eSPI tft = TFT_eSPI(); /* TFT instance */static lv_disp_buf_t disp_buf;static lv_color_t buf[LV_HOR_RES_MAX * 10];#if USE_LV_LOG != 0/* Serial debugging */void my_print(lv_log_level_t level, const char *file, uint32_t line, const char *dsc){ Serial.printf("%s@%d->%s\r\n", file, line, dsc); Serial.flush();}#endif/* Display flushing */void my_disp_flush(lv_disp_drv_t *disp, const lv_area_t *area, lv_color_t *color_p){ uint32_t w = (area->x2 - area->x1 + 1); uint32_t h = (area->y2 - area->y1 + 1); tft.startWrite(); tft.setAddrWindow(area->x1, area->y1, w, h); tft.pushColors(&color_p->full, w * h, true); tft.endWrite(); lv_disp_flush_ready(disp);}/*Read the touchpad*/bool my_touchpad_read(lv_indev_drv_t *indev_driver, lv_indev_data_t *data){ uint16_t touchX, touchY; bool touched = tft.getTouch(&touchX, &touchY, 600); if (!touched) { data->state = LV_INDEV_STATE_REL; } else { data->state = LV_INDEV_STATE_PR; /*Set the coordinates*/ data->point.x = touchX; data->point.y = touchY; Serial.print("Data x"); Serial.println(touchX); Serial.print("Data y"); Serial.println(touchY); } return false; /*Return `false` because we are not buffering and no more data to read*/}void setup(){ // put your setup code here, to run once: // Serial.begin(9600); // //testdrawcircle(); // display.begin(i2c_Address,true); // testdrawbitmap(logo16_glcd_bmp, LOGO16_GLCD_HEIGHT, LOGO16_GLCD_WIDTH); Serial.begin(115200); /* prepare for possible serial debug */ lv_init();#if USE_LV_LOG != 0 lv_log_register_print_cb(my_print); /* register print function for debugging */#endif tft.begin(); /* TFT init */ tft.setRotation(1); /* Landscape orientation */ uint16_t calData[5] = {275, 3620, 264, 3532, 1}; tft.setTouch(calData); lv_disp_buf_init(&disp_buf, buf, NULL, LV_HOR_RES_MAX * 10); /*Initialize the display*/ lv_disp_drv_t disp_drv; lv_disp_drv_init(&disp_drv); disp_drv.hor_res = 480; disp_drv.ver_res = 320; disp_drv.flush_cb = my_disp_flush; disp_drv.buffer = &disp_buf; lv_disp_drv_register(&disp_drv); /*Initialize the (dummy) input device driver*/ lv_indev_drv_t indev_drv; lv_indev_drv_init(&indev_drv); indev_drv.type = LV_INDEV_TYPE_POINTER; indev_drv.read_cb = my_touchpad_read; lv_indev_drv_register(&indev_drv); // lv_demo_benchmark(); // lv_demo_music();}void loop(){ // put your main code here, to run repeatedly: // testdrawcircle(); // Serial.println("hello"); // delay(1000); // Serial.println(getCpuFrequencyMhz()); // delay(1000); lv_task_handler(); delay(5);}Some of the commented-out content is from the previous article used to test the LCD driver.
Lines 105 and 106 are the test codes for benchmark and music.
The final display effect is as shown at the beginning of the article. In the benchmark test results, the performance result of the author’s ESP32 chip is
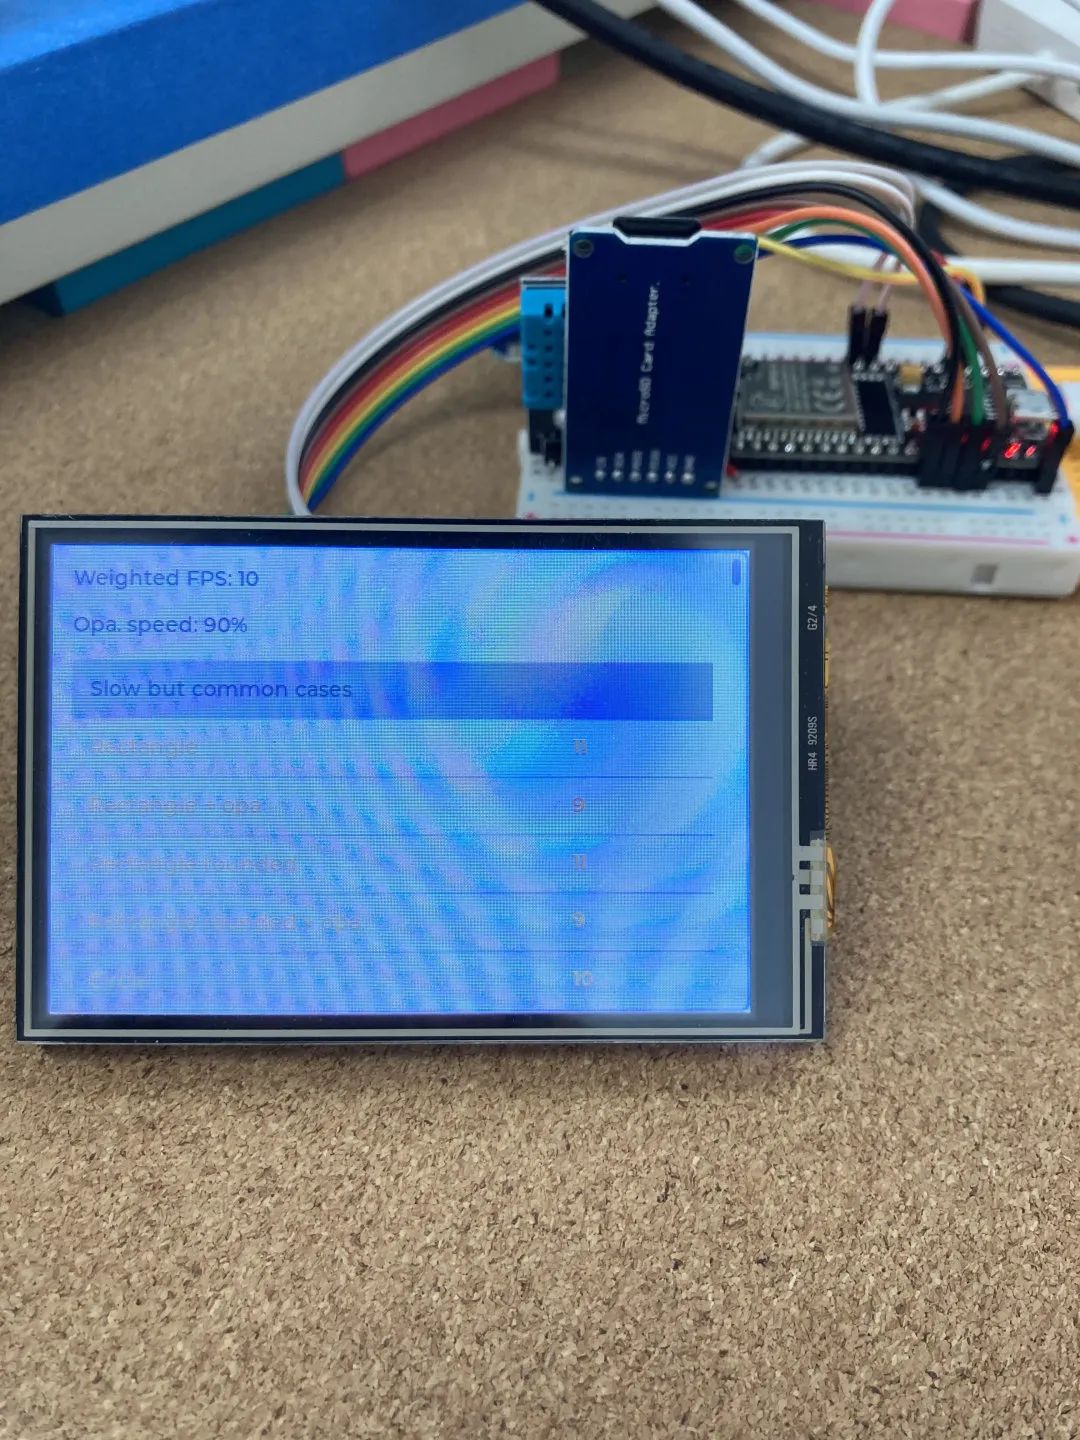
FPS: 10
Slow but common cases.

“Getting Started with Baidu PaddlePaddle Deep Learning Platform”
In this course, students will have a clear understanding of the Baidu PaddlePaddle deep learning platform, including the features of the Paddle deep learning framework and the use of the AI Studio platform.

(Scan the QR code to view course details)