The tools mentioned in this article can be obtained from “Read the Original”.
I recently purchased a Raspberry Pi 4B as a host to process sensor data.
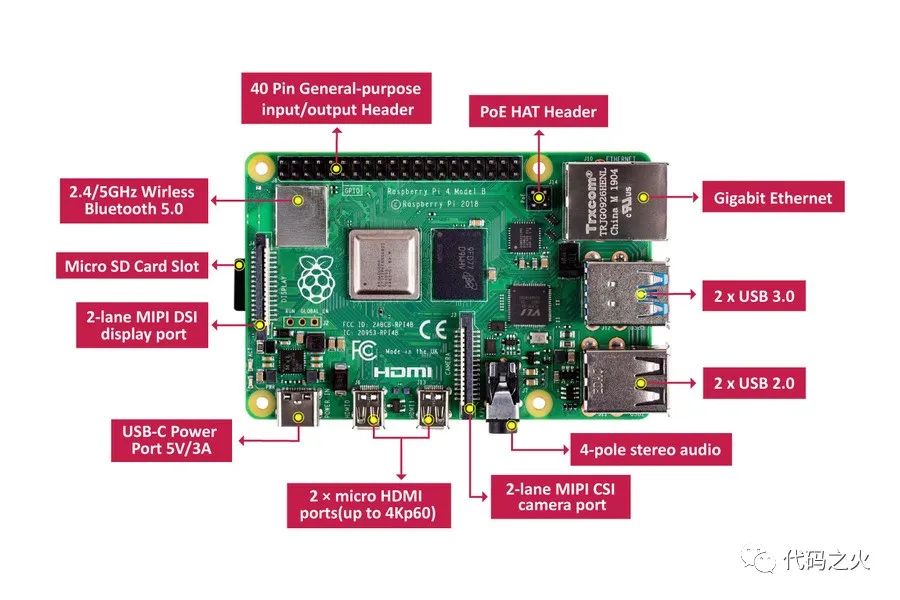
The machine is configured as follows:
CPU: Broadcom BCM2711 -||1.5GHz||64 bit||4 Cores||Arm Cortex-A72 GPU: Broadcom VideoCore VI @ 500 MhzRAM: LPDDR4-3200MHz 2GB (shared with GPU)Network: 10/100/1000 Mbits/s -||WIFI: b/g/n/ac, 2.4/5Ghz -||Bluetooth: 5.0IO: 2x USB3.0, 2x USB2.0Power: USB-C
2. System Installation
2.1 Download Raspberry Pi OS Image
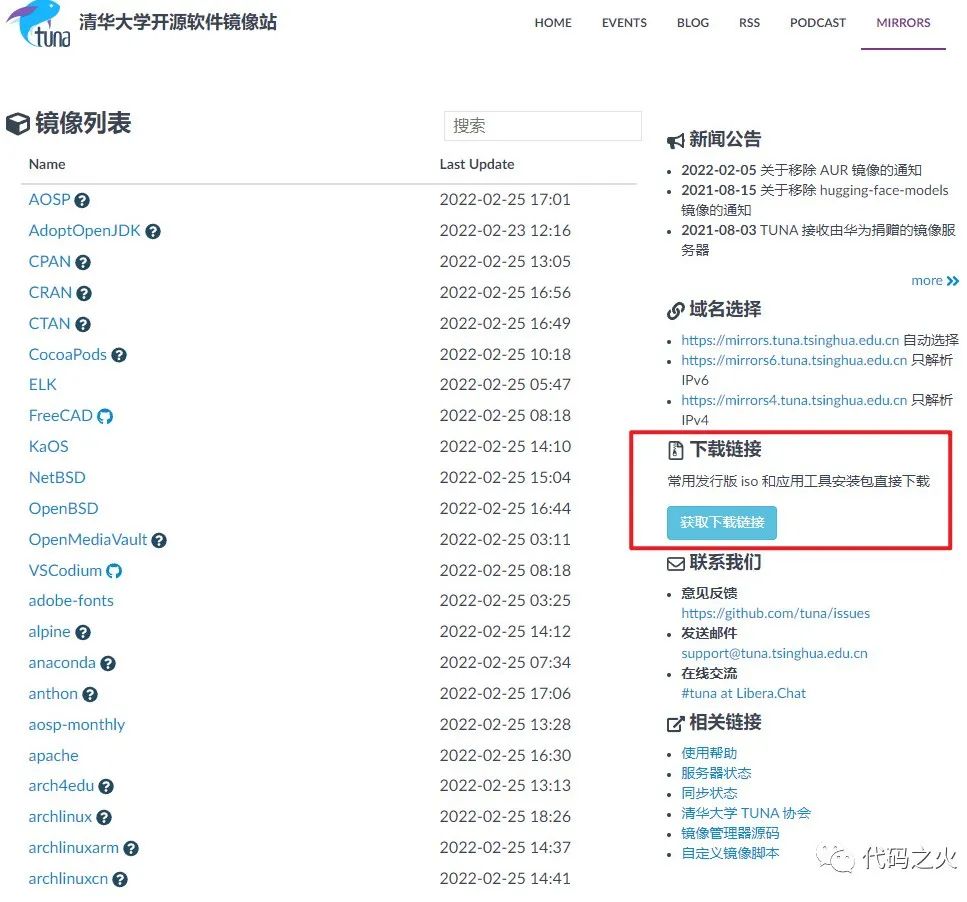
Due to various restrictions in the domestic network environment, downloading various OS images is often very slow. This article recommends using mirror sites such as Alibaba Cloud and Tsinghua University to download various source codes and images, taking Tsinghua Mirror as an example to briefly describe the download method.
First, open the Tsinghua mirror source, directly use the shortcut on the right to obtain the download link, the left list is the directory of various source code images.
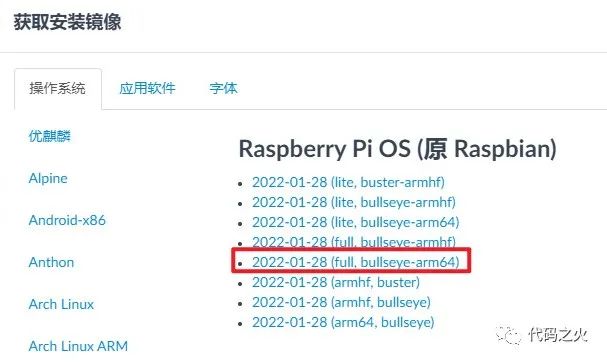
Select Raspberry Pi OS from the operating system, and then click on the bullseye-arm64 version (armhf is the 32-bit version) on the right to download:
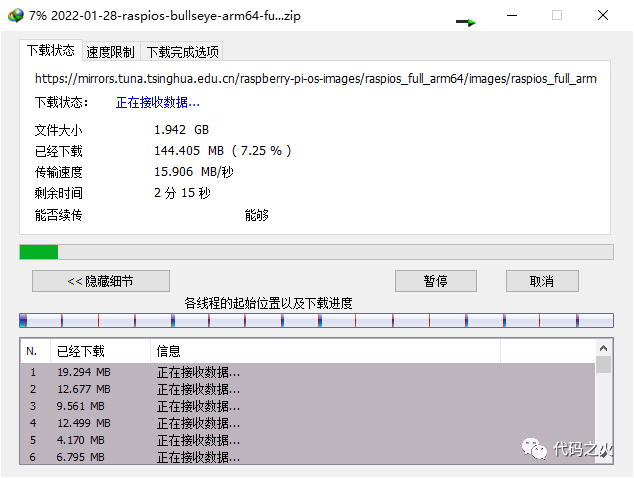
Of course, the download tool also matters; for downloads using protocols like https/http, you can use IDM (Internet Download Manager):
2.2 Format SdCard (TF Card)

SanDisk, a brand under Western Digital
• Use SDFormatter to format the SD card:

• Unzip the downloaded .zip file to obtain the .iso image file
• Use Win32 Disk Imager to burn the image:

• (If the system prompts “this partition needs to be formatted”, please do not format it!)
2.4 SSH File Configuration
I didn’t buy a micro-HDMI cable, so this article uses a wireless connection to the Raspberry Pi, performing some initial operations via SSH.
• Manually create an “ssh” file in the boot partition:
• Create WiFi configuration:
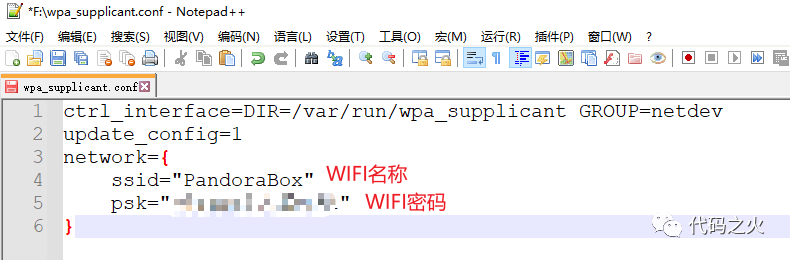
ctrl_interface=DIR=/var/run/wpa_supplicant GROUP=netdevupdate_config=1network={ ssid="WiFi Name" psk="WiFi Password"}
2.4.2 Obtain Raspberry Pi Local Network IP
• Insert the SdCard into the Raspberry Pi and power it on
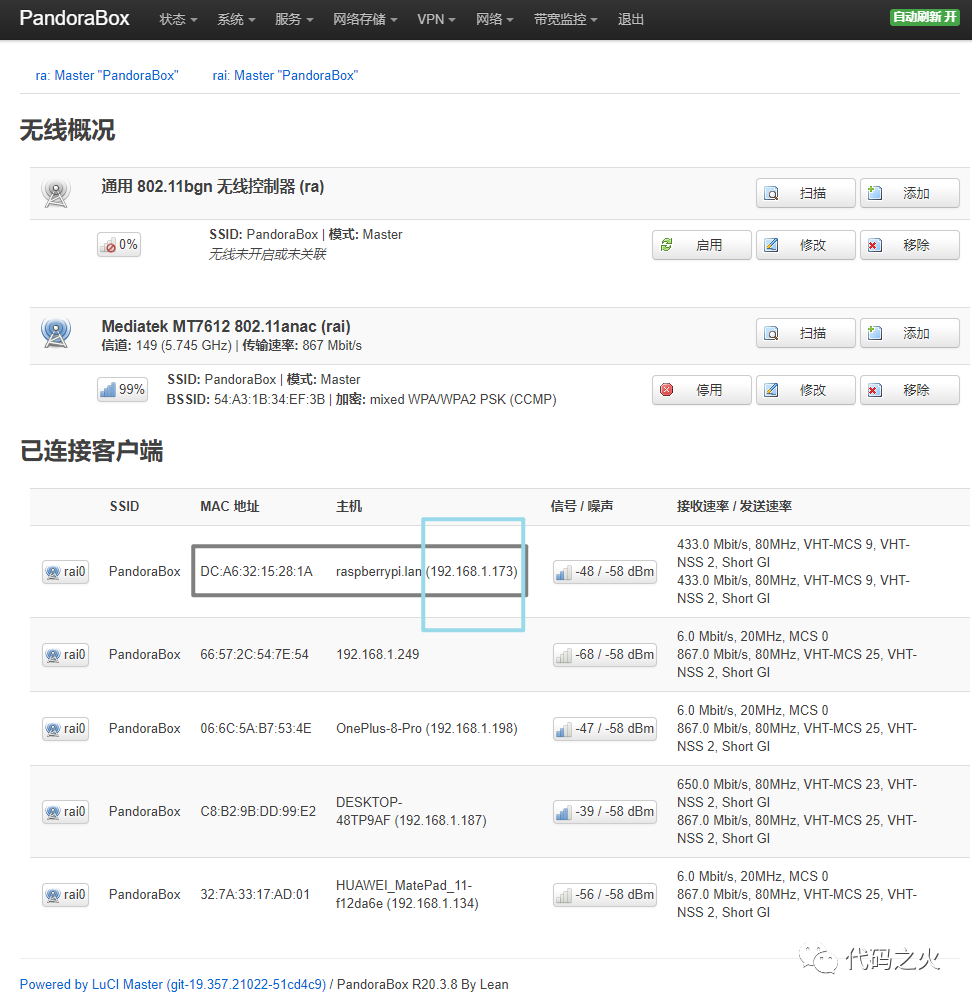
2.4.2.1 (Method 1) Check Raspberry Pi (raspberry) IP in the router
2.4.2.1 (Method 2) Use IP Scanner
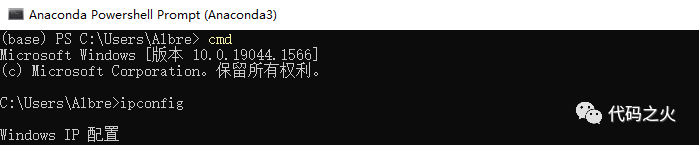
• Use cmd to check IP information:
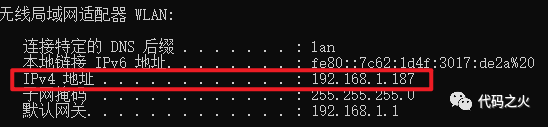
• Find “Wireless Network Adapter WLAN”
Note that the local network IP field of this machine (host) is 192.168.1.x
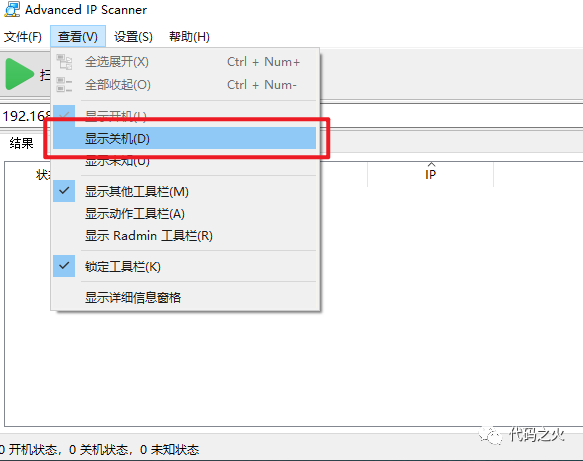
• In Advanced IP Scanner, disable “Show Offline”:
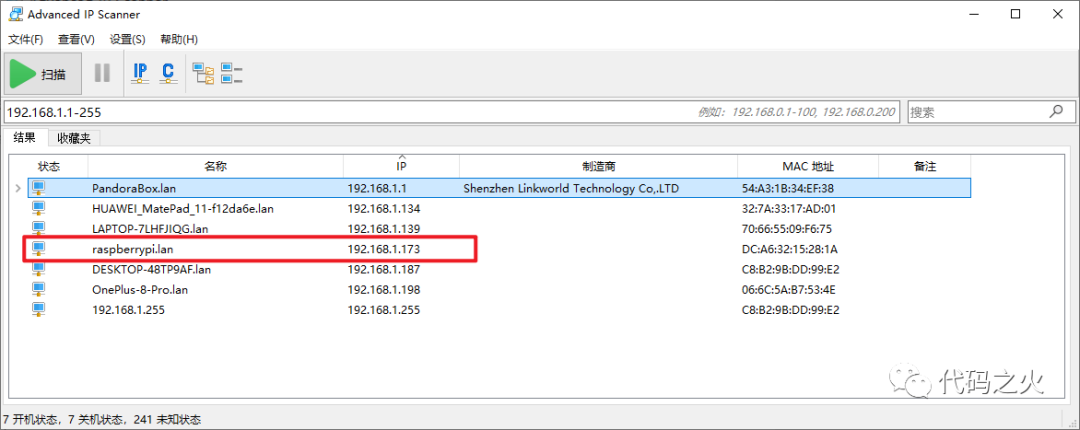
• The first, second, and third bytes of the searched IP address should match the above “192.168.1”, and the fourth byte starts from 1, with an upper limit of 2^8 – 1 = 255, so the search address range is:
• The scan results show the local network IP of the Raspberry Pi:
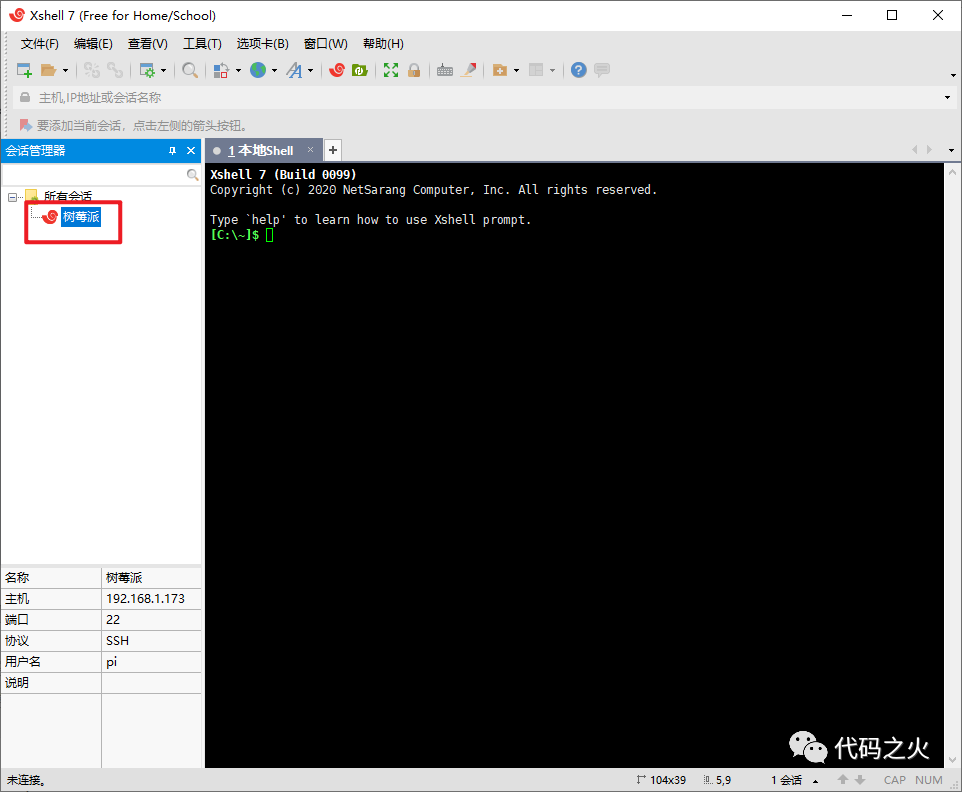
2.4.3 Create Connection Using PuTTY or XShell
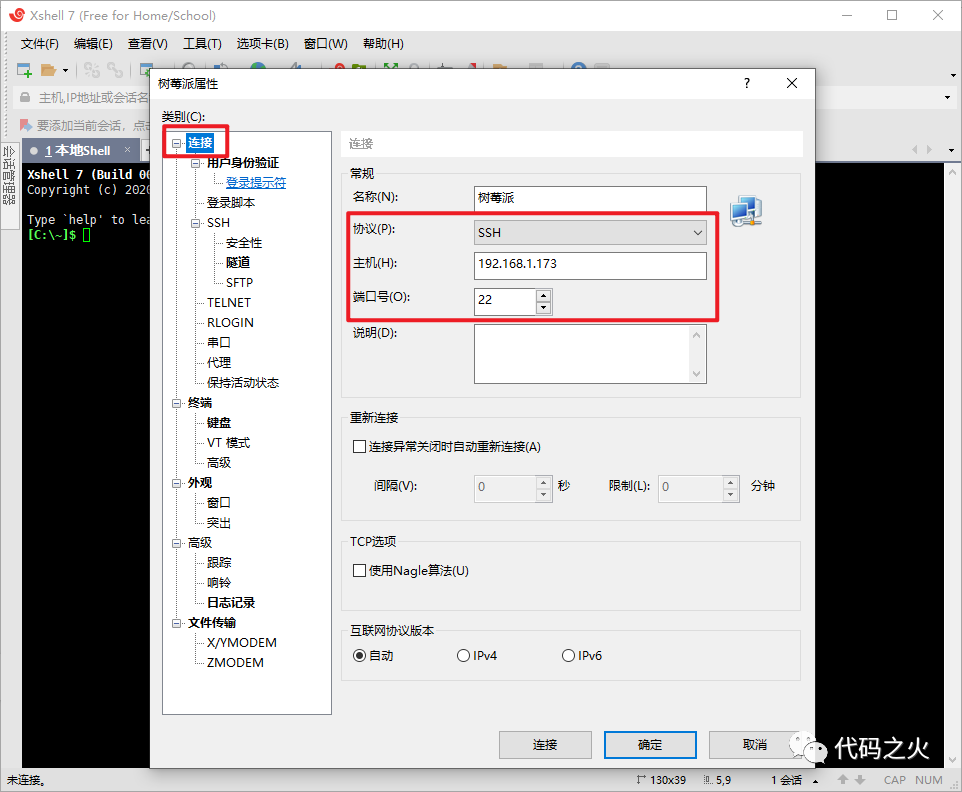
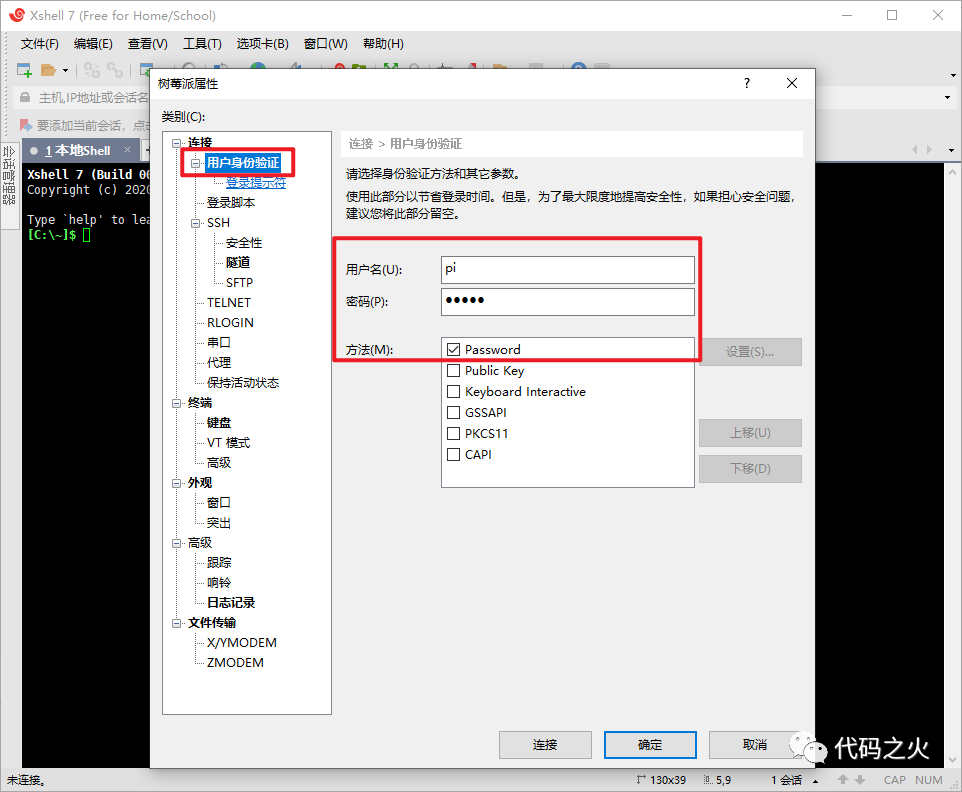
# Username pi# Initial Password raspberry
• Double-click the session to connect:
 Login
Login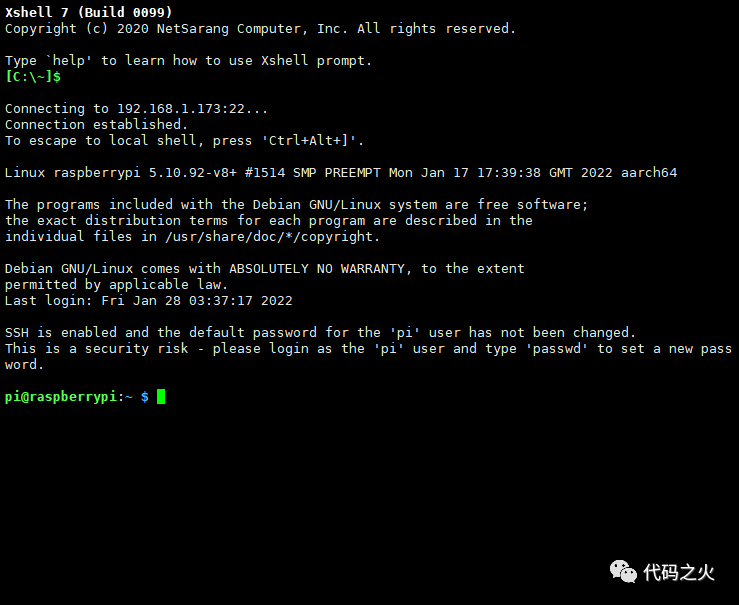
Login successful
Enter the following command via ssh:
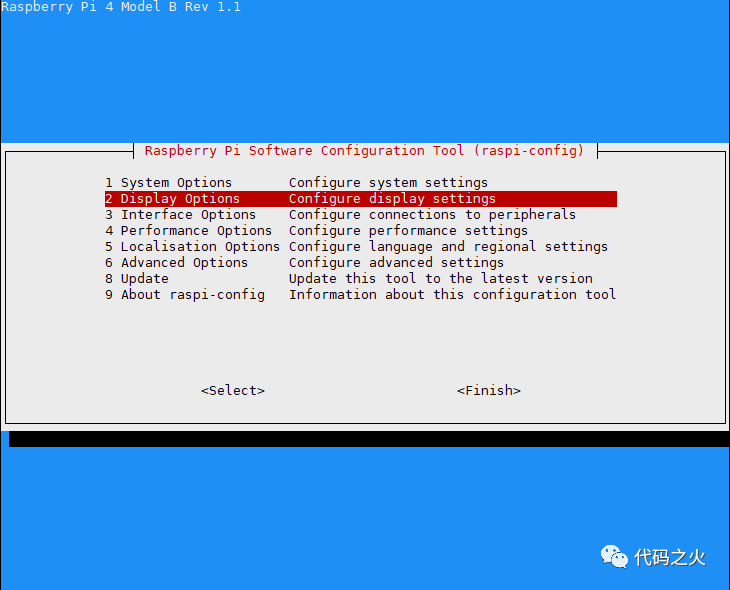
As mentioned above, this article uses wireless connection mode for remote screen projection.
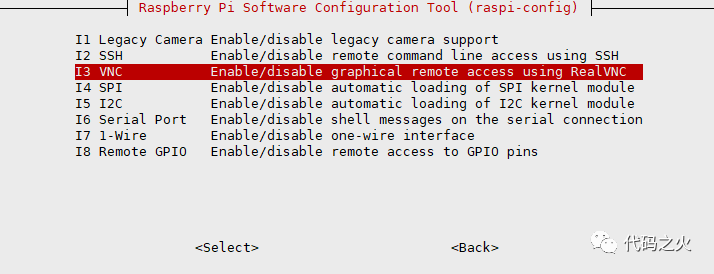
• Select Interface Options:

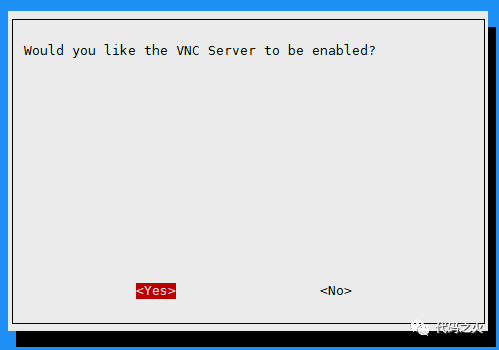
• Enable VNC:
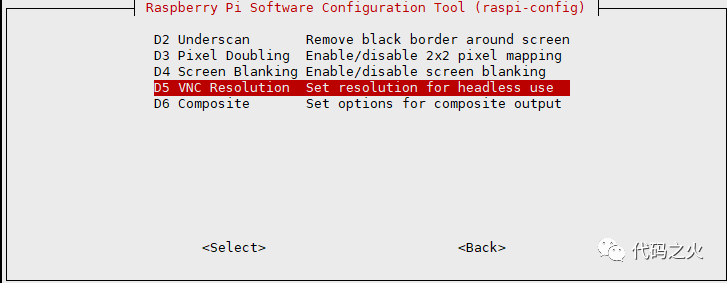
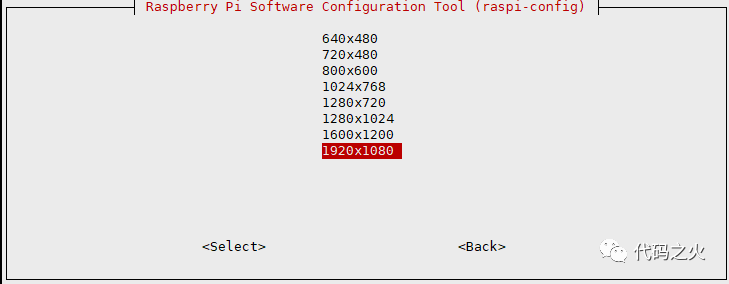
• Modify the display resolution of VNC mode
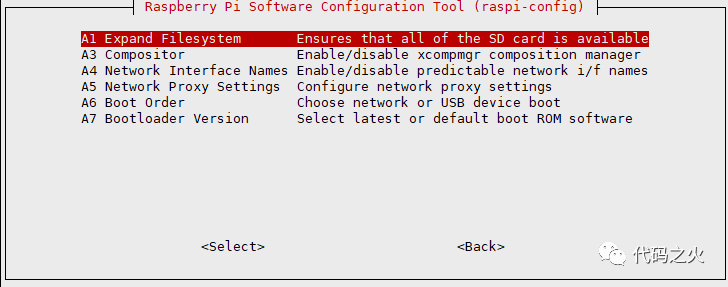
• Extend the remaining space of the SdCard to the Raspberry Pi system:
3. RealVNC Wireless Screen Projection
At this point, the system installation and basic configuration part is basically complete, and the following text will explain how to enable wireless desktop.
I have tried TightVNC and the remote projection function built into Windows 10, which is cumbersome and unfriendly, so this article recommends readers to use the official Raspberry Pi productReal VNC.
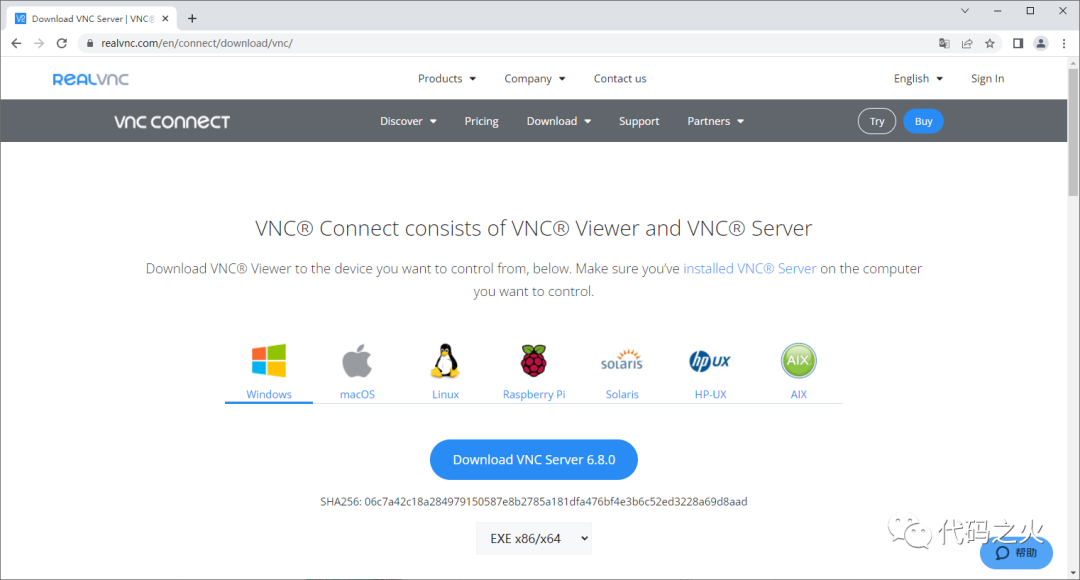
3.1 Download Windows Client from Official Website
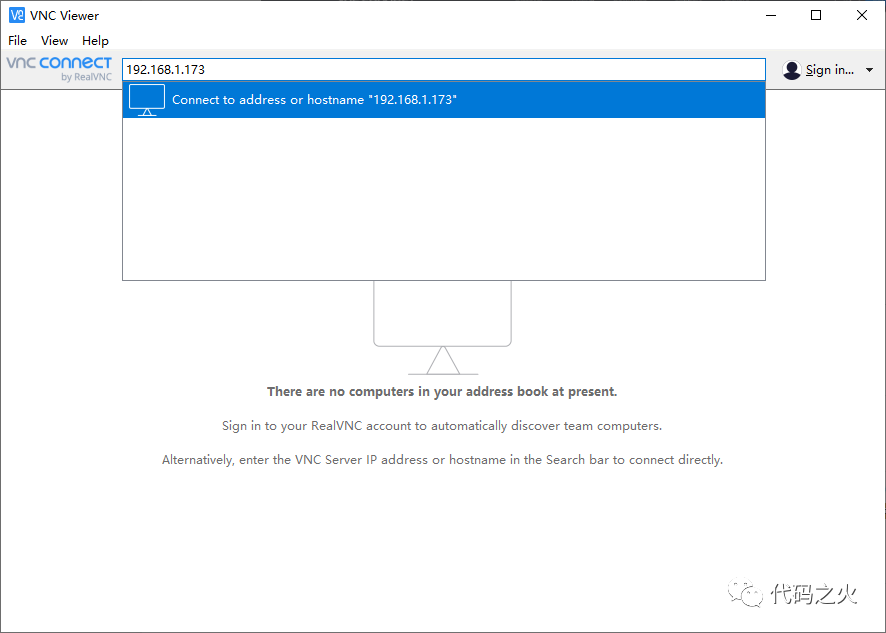
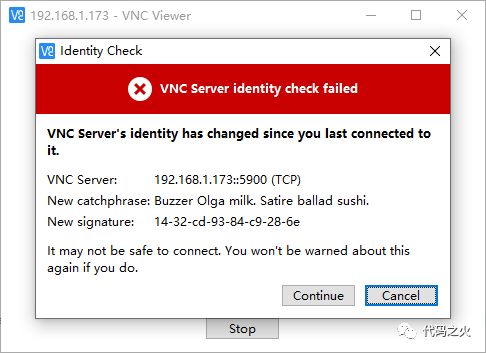
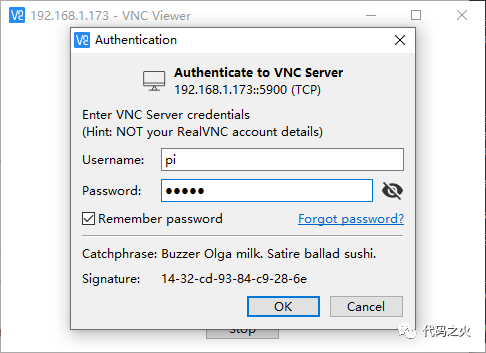
3.2 Enter Raspberry Pi Local Network IP to Connect
However, when I demonstrated this operation, I encountered the issue that the desktop could not be displayed, “Cannot currently show the desktop”:
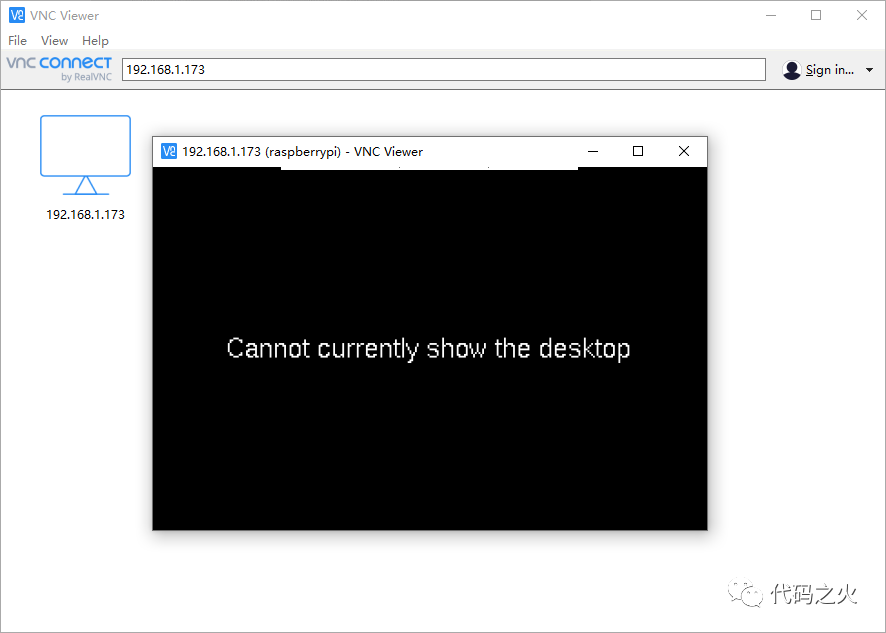
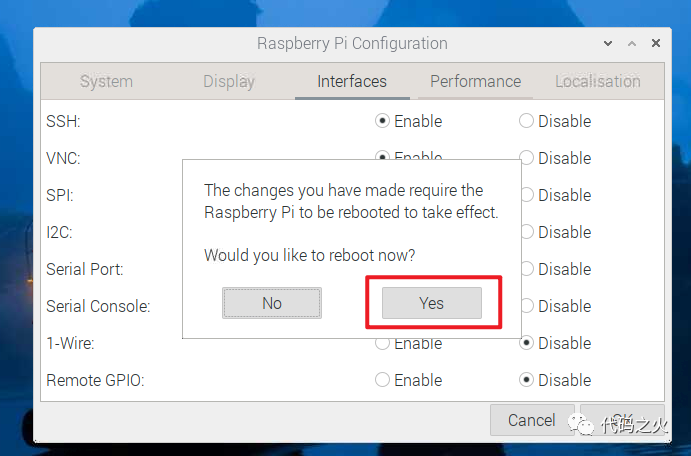
Solution: Lower the previously set VNC resolution, and must restart the Raspberry Pi:
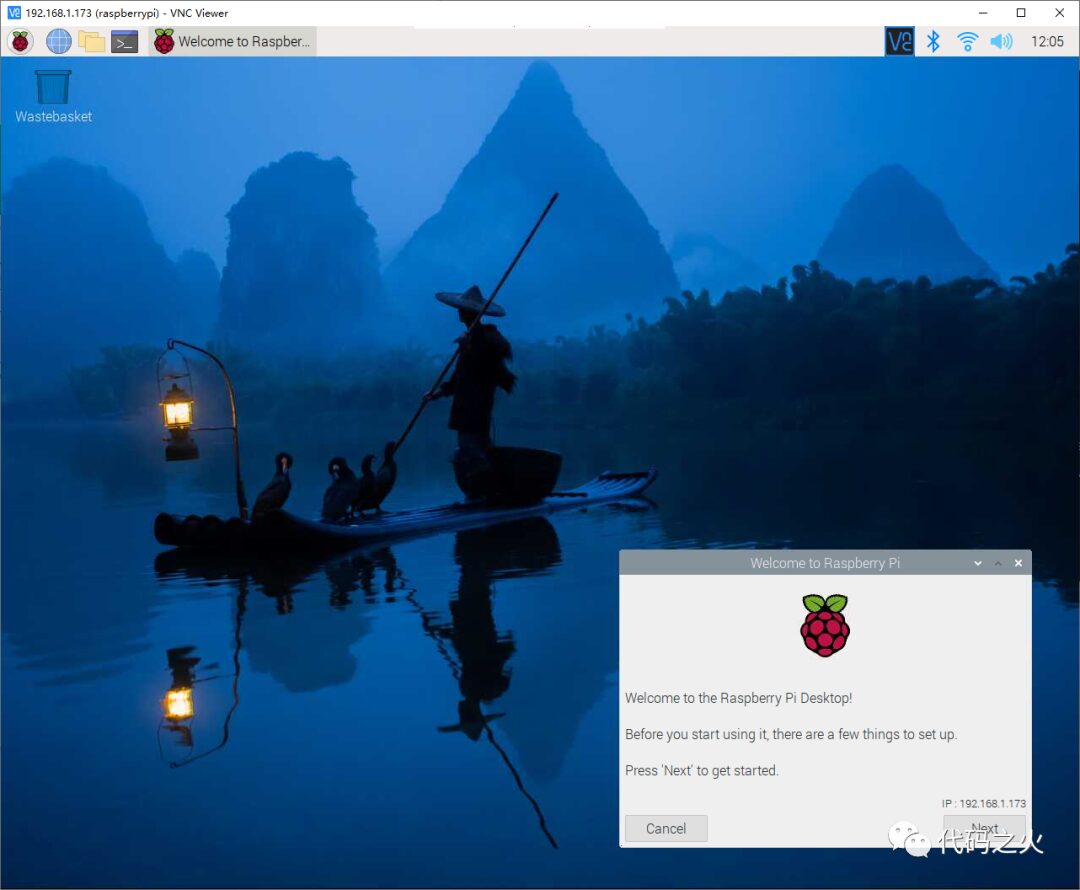
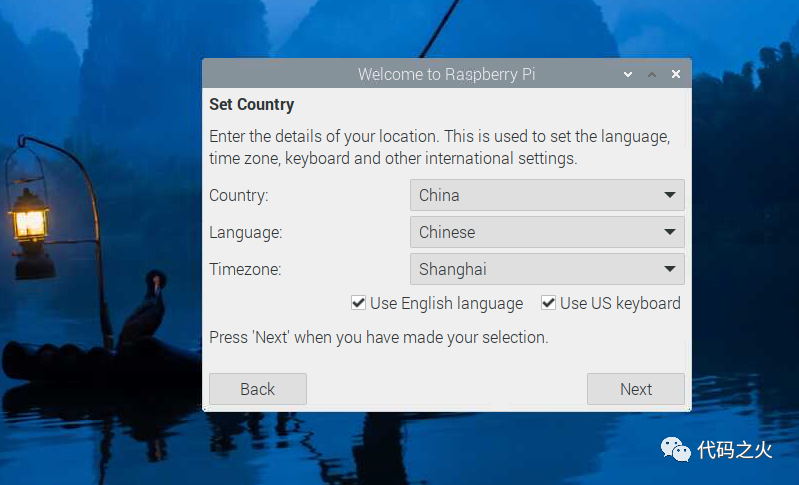
4.1 Language and Input Method
Upon first entering the desktop, there is an initialization wizard where we choose the language and region. Since I prefer the English system, I checked “USE English language”:
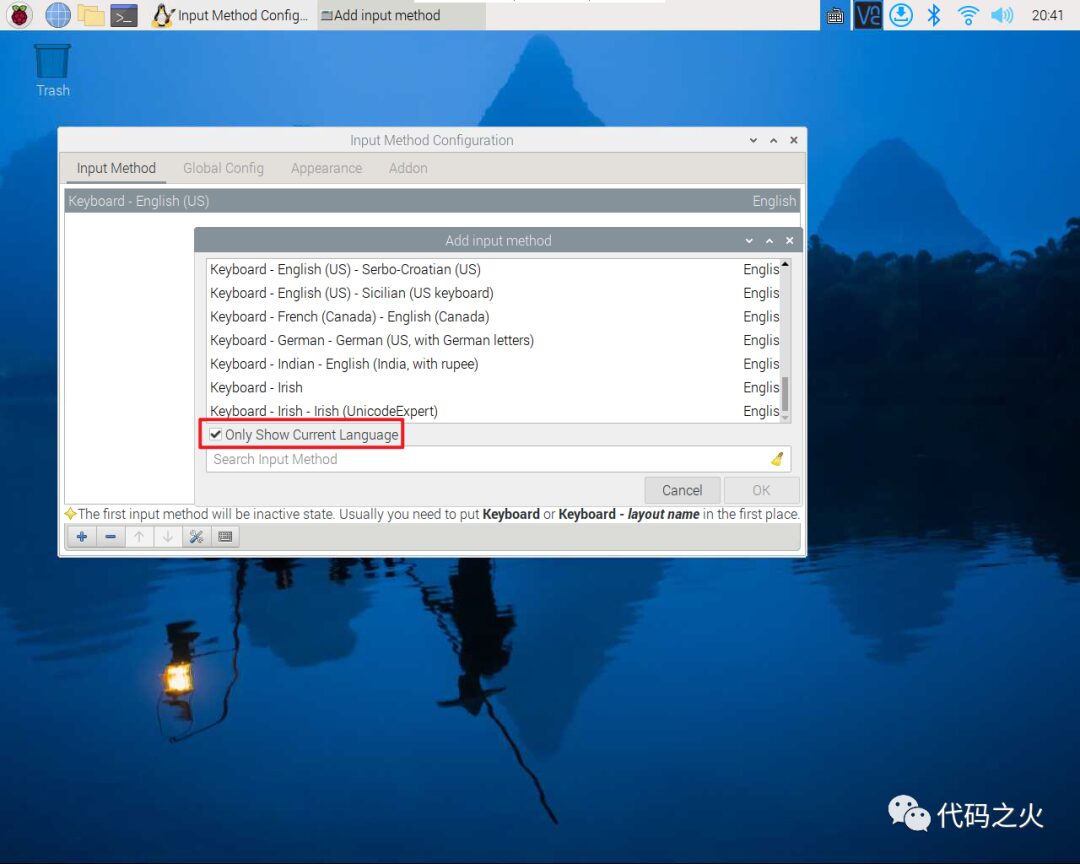
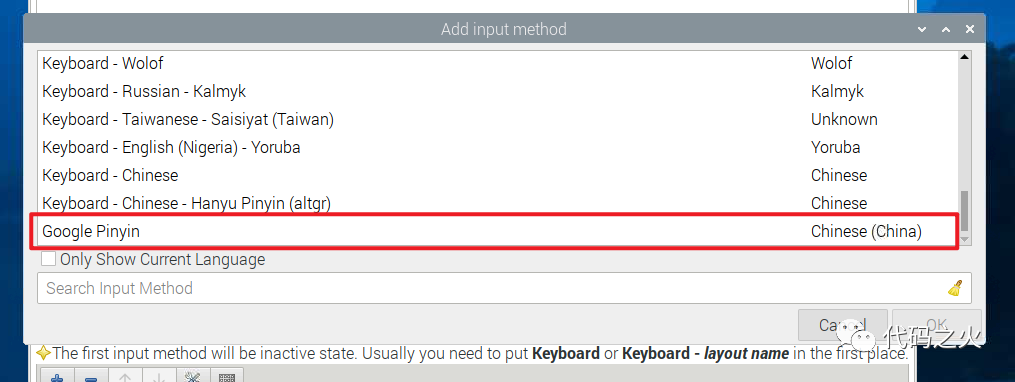
• Installation of Google Pinyin Input Method
sudo apt install -y fcitx-googlepinyin
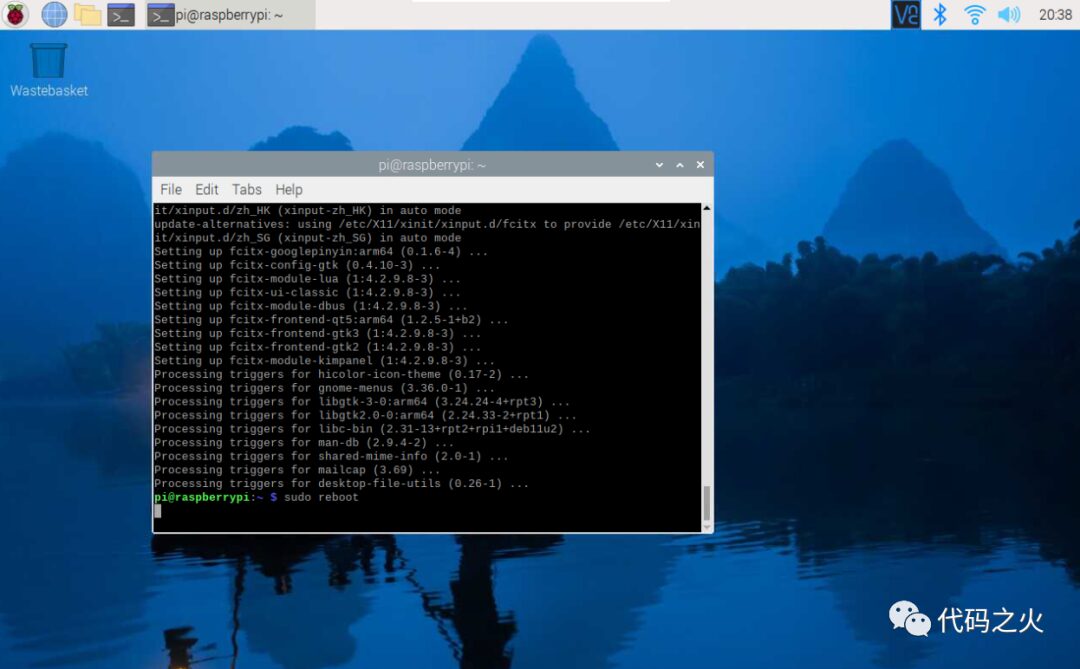
b. Restart after installation:
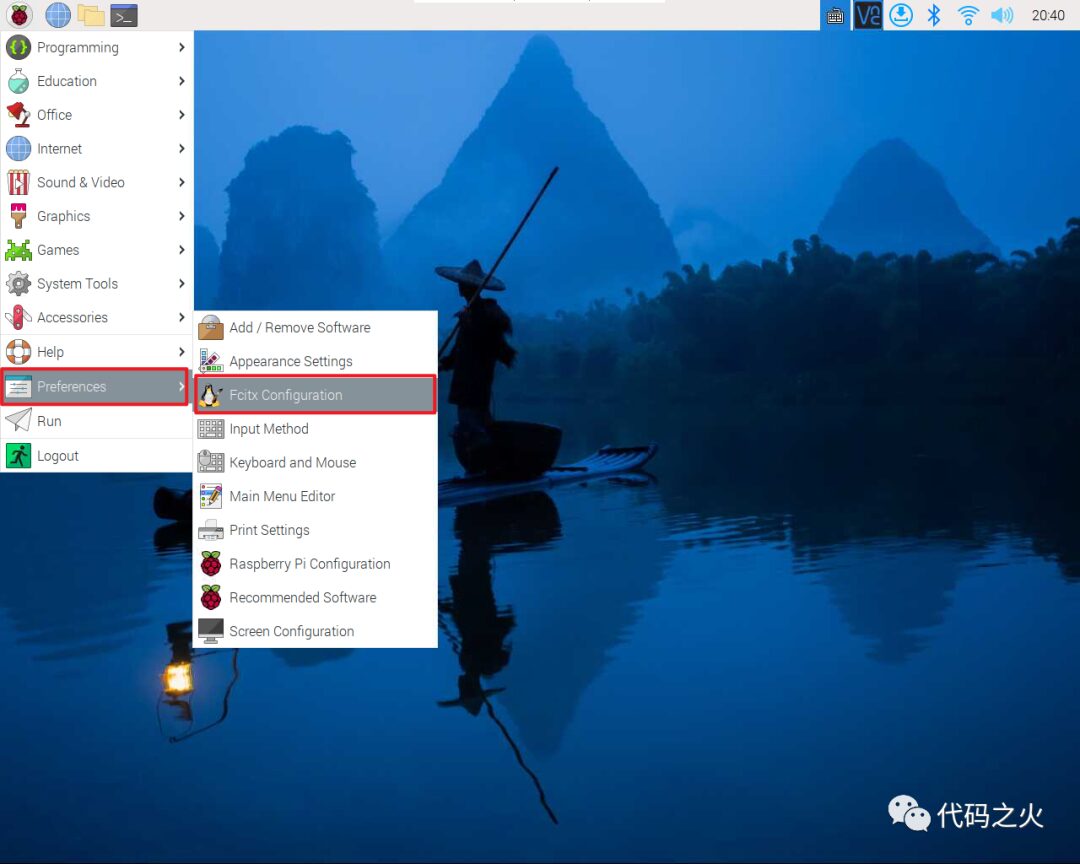
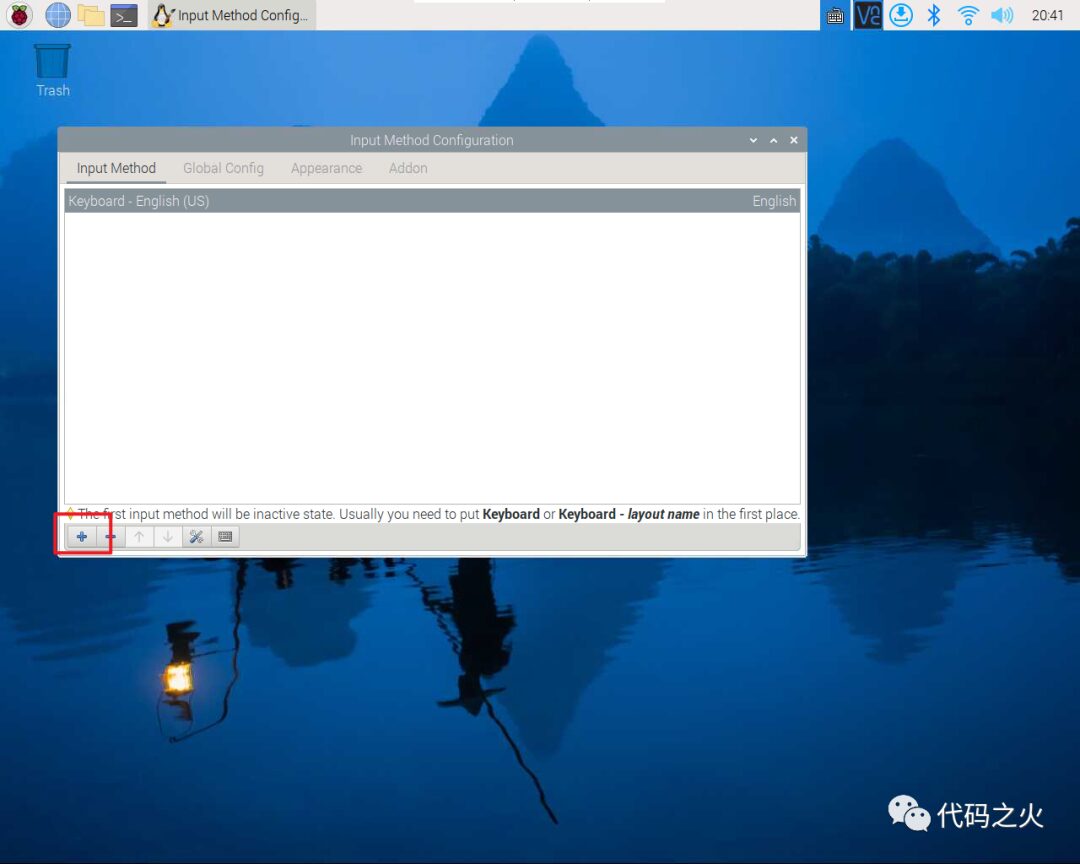
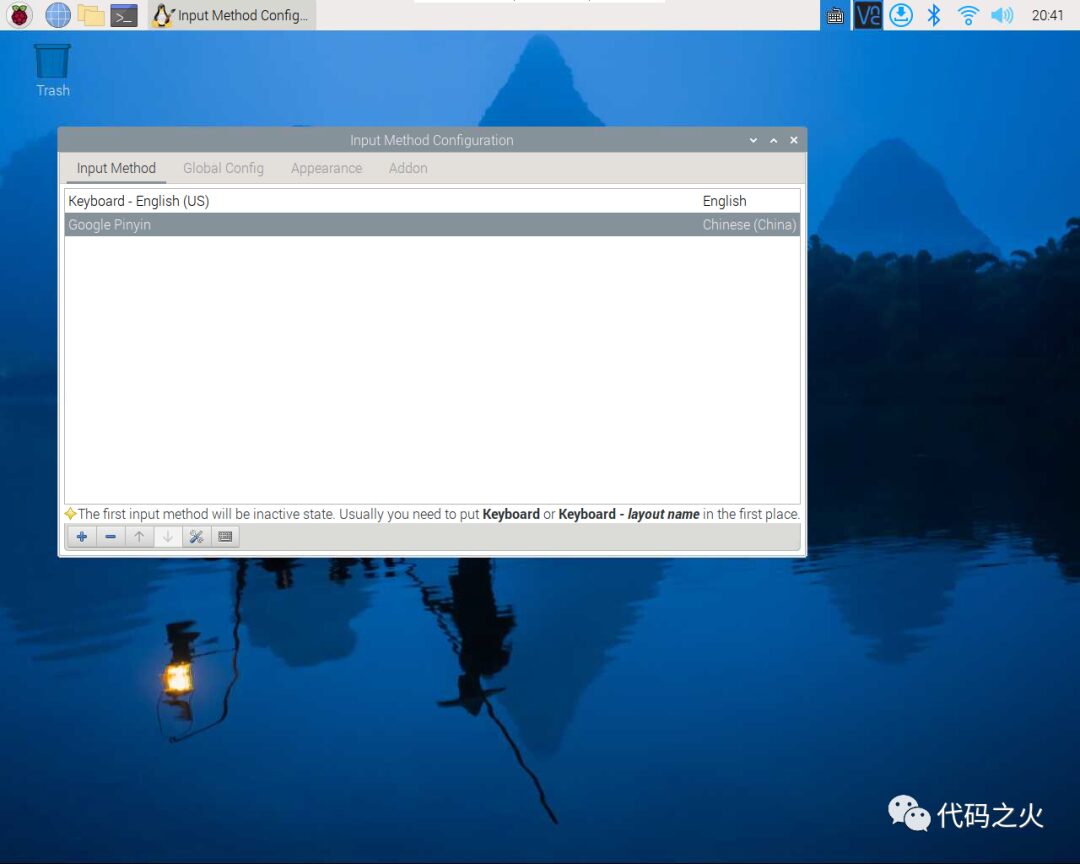
c. Configure the input method by right-clicking the input method icon in the taskbar:
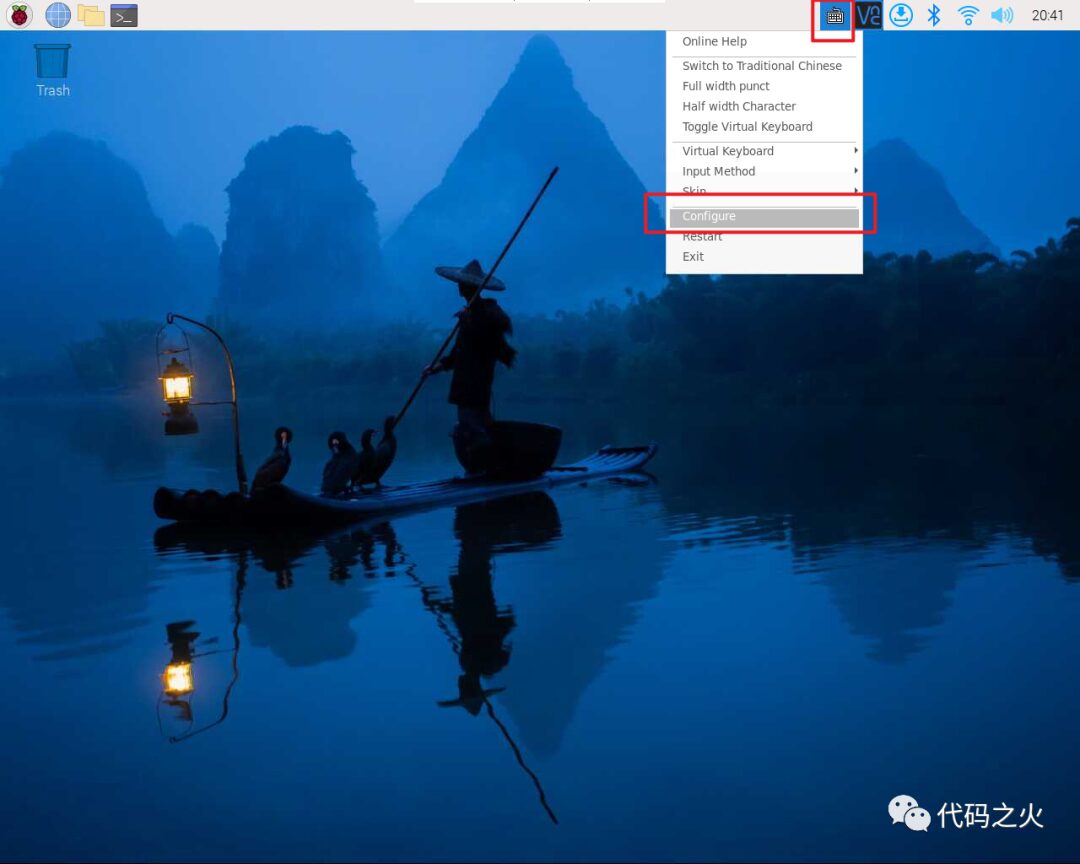
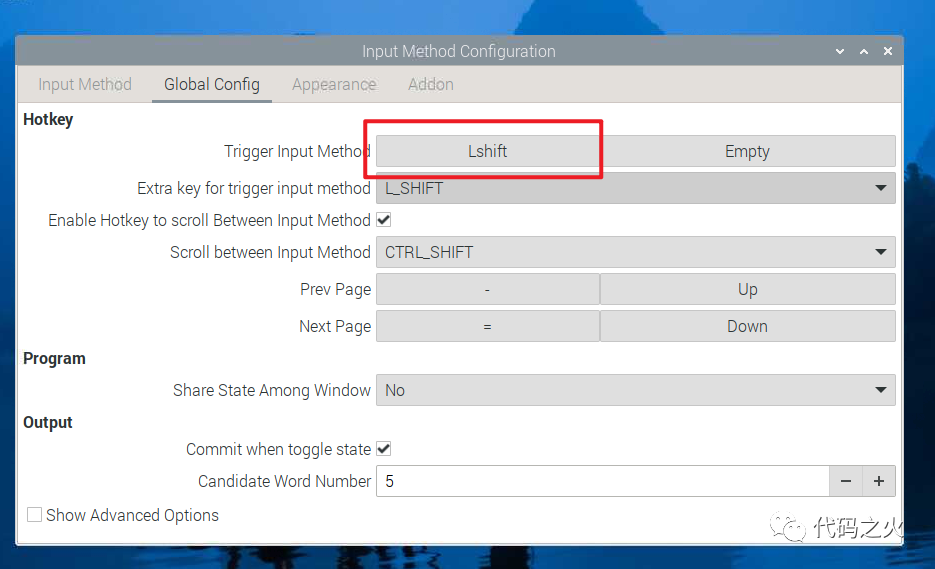
d. Change the shortcut key for switching input methods to “Left Shift”:
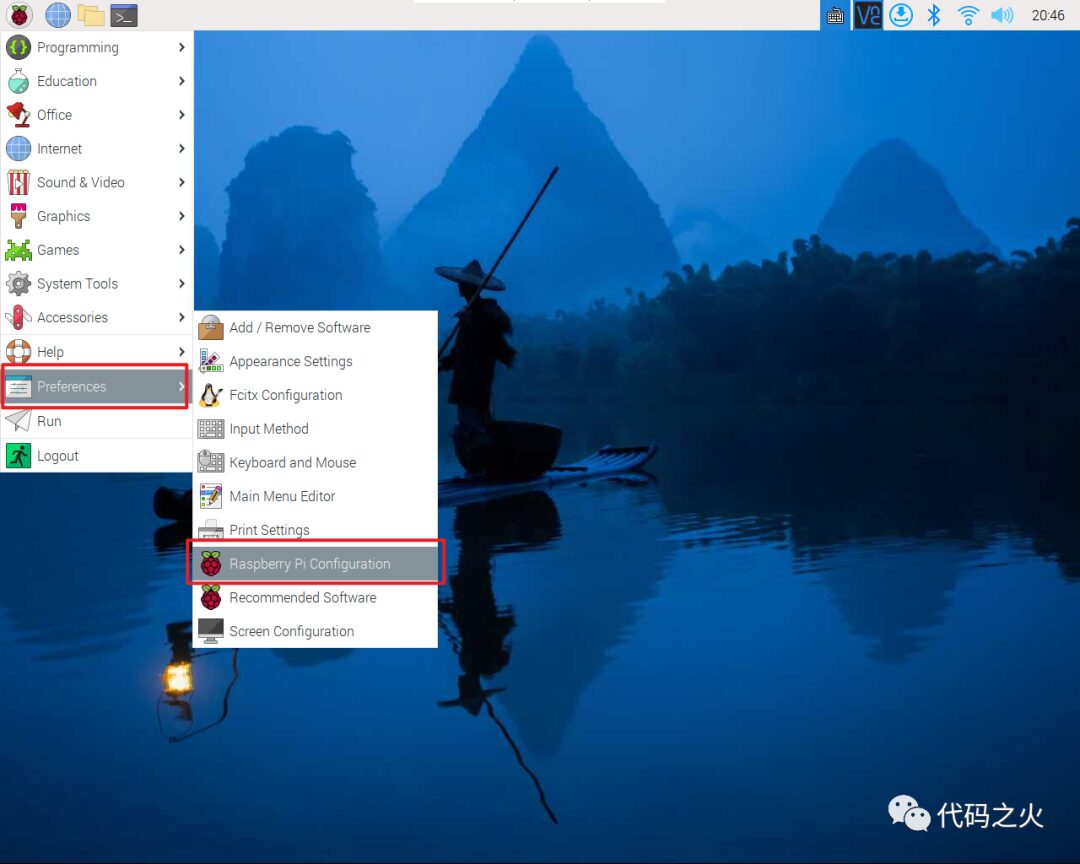
5. Enable Some Interfaces
As shown, enable serial port, SCI, etc.:

6. Using Python, Serial Port, Sensors, and ADC on Raspberry Pi
For reasons that cannot be described, this part has been saved as a draft and will be updated and published in three months~