Just got your first Raspberry Pi, or maybe a Raspberry Pi 4 or Raspberry Pi 400? This mini-computer can help you accomplish many tasks, but how do you get started with the setup? (Note: If it’s a Raspberry Pi Pico microcontroller, the setup process is completely different.)
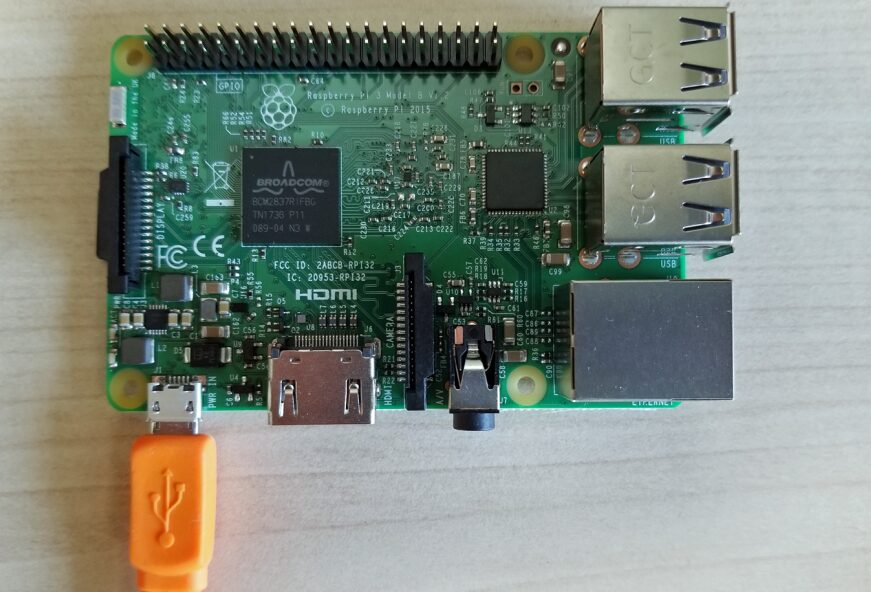
If you purchased a kit for the Pi, you might have everything you need in the packaging, but if you only have the circuit board, you will need the following:
-
A USB power adapter similar to the official Raspberry Pi 4 power supply
-
A microSD card (at least 8GB, but preferably 16 or 32GB)
-
A USB card reader unless your PC has one built-in
Please note that the HDMI cable you need varies depending on the Raspberry Pi you are using. The Raspberry Pi 4 B and Pi 400 have dual micro HDMI output ports, so they require a micro HDMI to HDMI cable or adapter. The Raspberry Pi Zero/Zero W and Zero 2 W need a mini HDMI to HDMI cable to connect to the monitor. All other Raspberry Pi models, including the 3 B, have standard HDMI ports and can connect to your monitor or TV using a standard HDMI male-to-male cable.
Powering the Raspberry Pi
If you can’t power it on, you won’t be able to set up the Raspberry Pi. The Raspberry Pi 4 B and Raspberry Pi 400 (which is just the 4 B inside the keyboard) are powered via a USB Type-C port, which requires a charger that can output 5 volts and 3 amps. Most USB Type-C phone chargers do not have enough amperage to do the job unless they have USB PD capability, but USB-C laptop chargers should work fine. While this is unlikely to be a problem, note that there was a bug in Pi 4 models produced in 2019 or early 2020 that prevents them from charging through high-speed data cables that support USB 3.x 5 or 10 Gbps connections.
All other Raspberry Pi models, including the Raspberry Pi 3 B and Pi Zero/Zero W/Zero 2 W, are powered via a micro USB port, meaning you can power them by connecting them to almost any different third-party charger, or even by connecting them to one of your computer’s USB ports. While you can make the circuit board use much less power (the Pi Zero W can run entirely off my laptop’s USB port), the best power supply for the Raspberry Pi 3 should be 5 volts and 2.5 amps, which also provides plenty of power for any peripherals connected to its USB ports.
There are many power supplies specifically designed for the Raspberry Pi, including the official Raspberry Pi 4 power supply.
The Pi does not have a built-in power switch, so the default way to turn it on is to plug in the power. You can also find power supplies with built-in switches. However, to avoid data loss, you need to use the shutdown function before unplugging or turning off the operating system (OS).
Operating System on the microSD Card
The Raspberry Pi has a dozen different operating systems, and there’s even a way to run full Windows 11 on the Pi 4. However, the Raspberry Pi OS is a special version of Debian Linux optimized for the Pi and is the best platform for most use cases, so we will explain how to set it up.
The Raspberry Pi does not have internal storage and boots from the microSD storage card you provide. Make sure to get at least an 8GB card, but preferably 32GB or higher, with a speed rating of 10. It goes without saying, but you will need some kind of card reader to write the operating system from your PC to it.
Connecting the Raspberry Pi Headless
If you just want to experiment with the Pi or use it to control physical objects like lights, motors, and sensors, you don’t need to give it its own screen and keyboard. By following our separate instructions on how to connect the Raspberry Pi headless, you can remotely access the device via VNC or SSH software from your PC or Mac desktop.
Downloading and Installing the Raspberry Pi Operating System
Once you have all the necessary components, follow these steps to create the boot disk required to set up the Raspberry Pi. These steps should work for PCs running Windows, Mac, or Linux (we’ve tried it on Windows, but it should be the same on all three).
1. Insert the microSD card/reader into your computer.
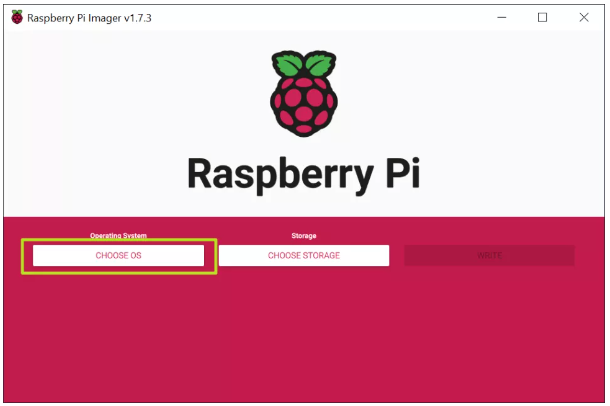
2. Download and install the official Raspberry Pi Imager. This application, available for Windows, macOS, or Linux, will download and install the latest Raspberry Pi operating system. There are other ways to do this, such as downloading the Raspberry Pi OS image file and then using a third-party application to “burn” it, but the Imager is easier.
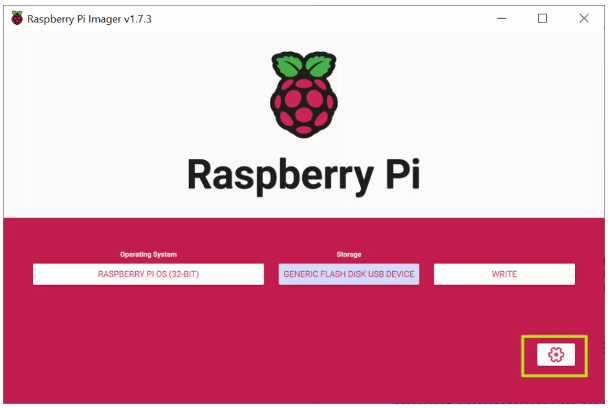
3. Click to select the operating system.
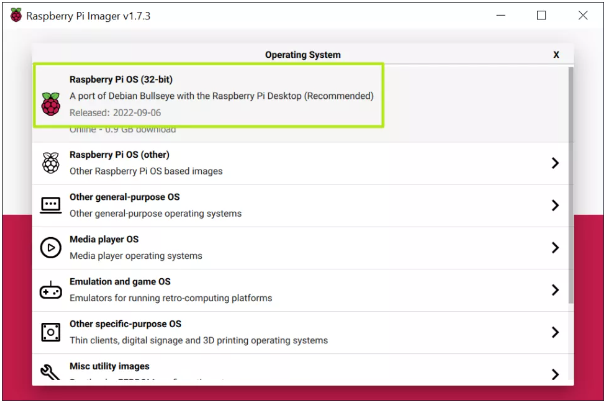
4. From the OS menu, select Raspberry Pi OS (32-bit) (there are other options, but for most uses, 32-bit is the best).
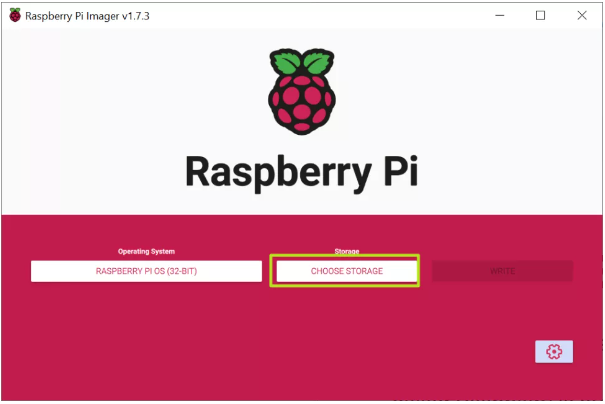
5. Click to select storage and choose the SD card you are using.
6. Click the settings button or press CTRL + SHIFT + X to enter settings.
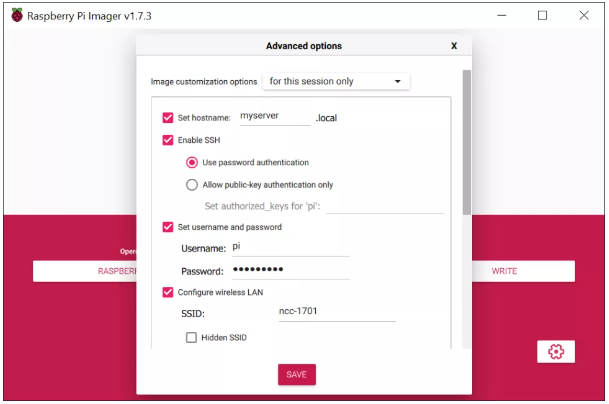
7. Fill in the settings fields as follows and click Save. All of these fields are technically optional, but it is highly recommended that you set your Raspberry Pi up and get it online right after booting. If you do not set a username and password here, you will be prompted to create them during the initial startup via the setup wizard.
-
Set hostname: the name of your Pi. It can be “raspberrypi” or anything you like.
-
Enable SSH: allows SSH connections to the Pi. Recommended.
-
Use password authentication/public key: SSH login method
-
Set username and password: choose the username and password you will use for the Pi
-
Configure wireless LAN: set the SSID and password for the Wi-Fi network
-
Wireless LAN country: you must select this if you are setting up Wi-Fi.
-
Set locale: configure keyboard layout and time zone (default may be correct)
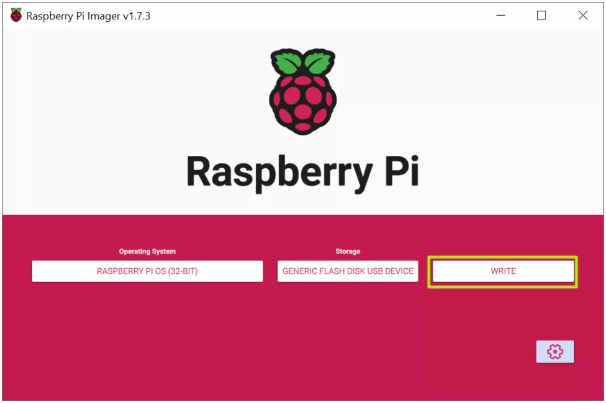
8. Click Write. The application will now take a few minutes to download the operating system and write it to your card.
First Boot of Your Raspberry Pi
Once the Raspberry Pi OS has been written to the microSD card, it’s the moment of truth.
1. Insert the microSD card into the Raspberry Pi.
2. Connect the Raspberry Pi to the monitor, keyboard, and mouse.
3. If you plan to use wired internet, connect the Ethernet cable.
4. Plug in the Pi to power it on.
If you set up a username and password using the Raspberry Pi Imager, you will be able to go straight into the desktop environment, but if not, you will be greeted with the setup wizard.
Using the Raspberry Pi First Setup Wizard
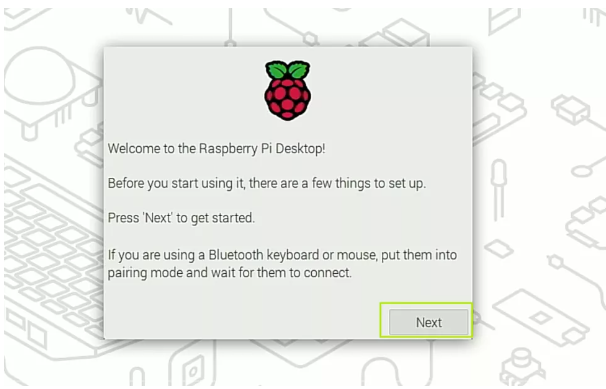
If you chose a username and password in the Raspberry Pi Imager setup, you will get the desktop on the first boot before writing to the microSD card. However, if you did not do this, the system will prompt you to create a username and password and enter all network credentials via the setup wizard on first boot. If this happens, follow these steps to complete the setup of your Raspberry Pi.
1. Click Next in the dialog box.
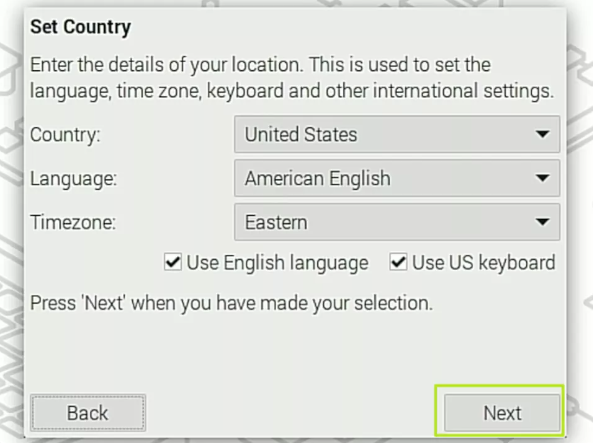
2. Set your country and language, then click Next. The default option may already be correct.
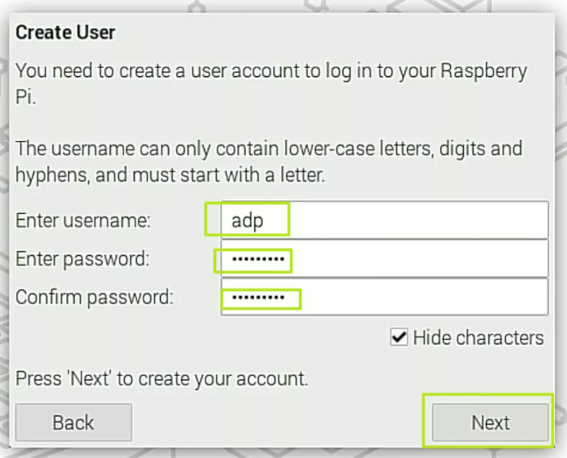
3. Enter the username and password you want to use for the main login. Click Next.
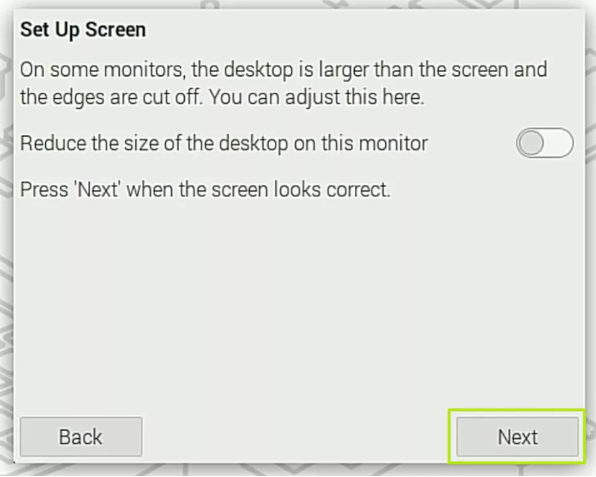
4. If the desktop borders are cut off, switch “Reduce desktop size” to ON. Otherwise, just click Next.
5. If you are connecting via Wi-Fi, select the appropriate Wi-Fi network on the screen. If you do not have Wi-Fi or are using Ethernet, you can skip this step.
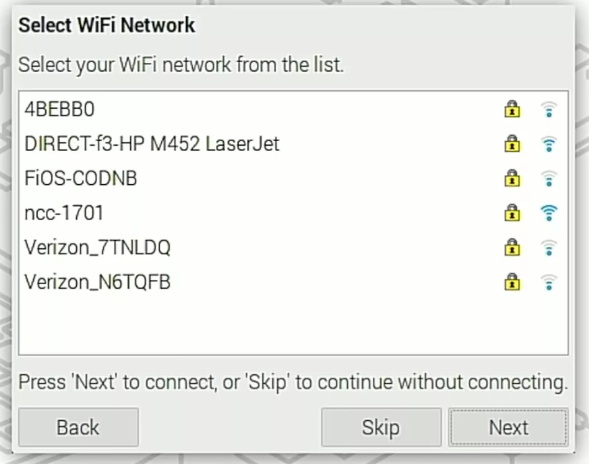
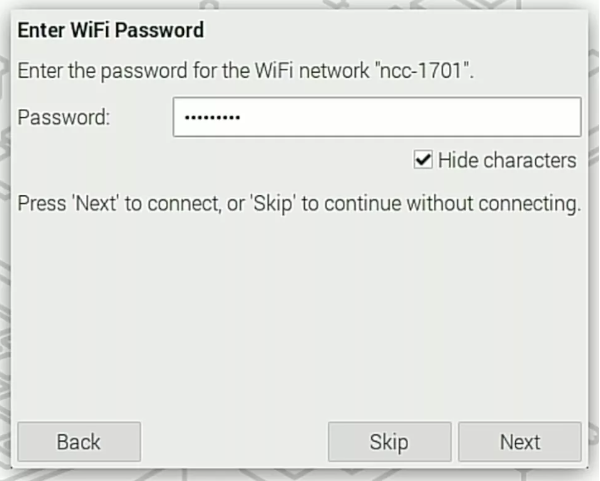
6. Enter your Wi-Fi password (unless you are using Ethernet and skipped).
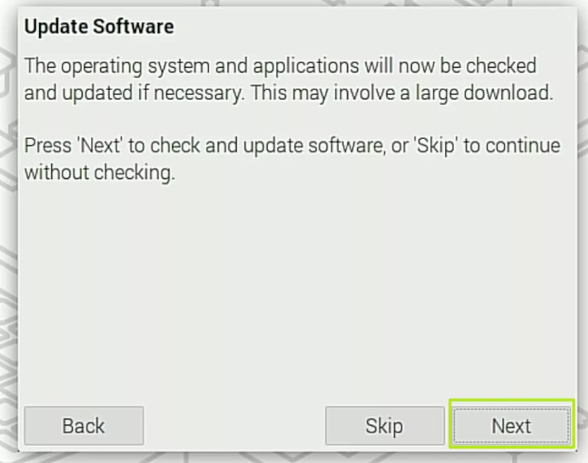
7. Click Next when prompted to update the software. This only works if you are connected to the Internet and may take a few minutes. If you are not connected to the Internet, click Skip.

If you want to change these settings later, you can find the locale and password settings and many other options by clicking the Pi icon in the upper left corner of the screen and navigating to Preferences -> Raspberry Pi Configuration. You can configure Wi-Fi by clicking the Wi-Fi/network icon on the taskbar.
Author: tomshardware
Reference original: How to Set Up a Raspberry Pi for the First Time.

