1. Intel AMT BIOS Setup
1. Enter the configuration interface
Press the DEL key to enter the BIOS on startup, and switch to the MEBX option using the keyboard.
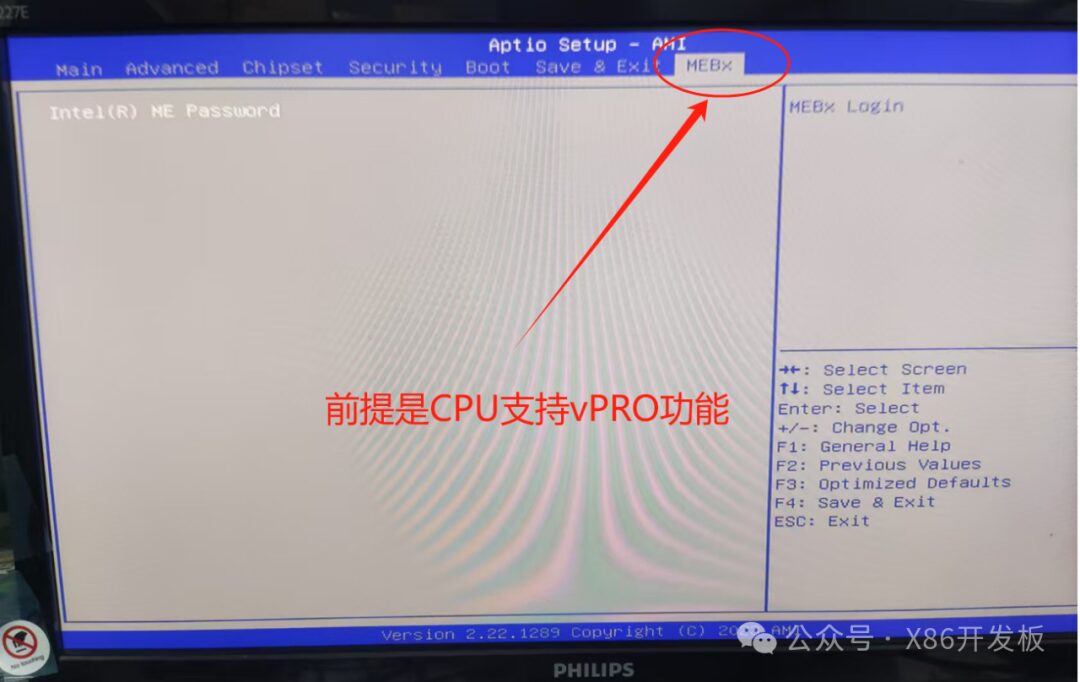
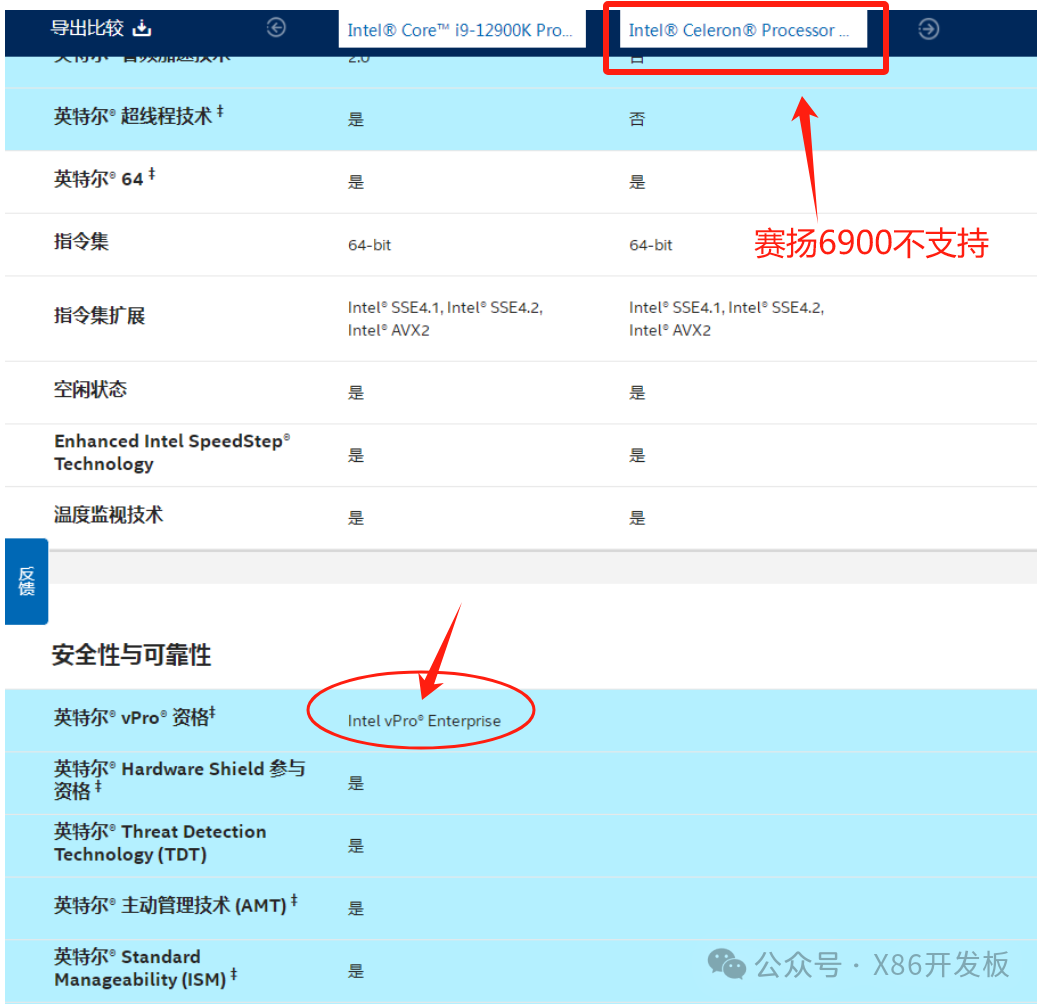
The BIOS must have the MEBX menu, which requires CPU support for this function. The motherboard must also support the vPro feature. For example, the Celeron 6900 12th generation CPU does not support this, so the MEBX menu will not appear on startup.
2. Set Intel ME Password (must be set according to the strict requirements below)
Enter the password: admin
The default password for new machines is admin. After entering, you will be prompted to change the password. Enter a new password, for example: P@ssw0rd
The new password must meet the following requirements:
At least 8 characters; must include one digit from 0 to 9;
Must include one non-alphanumeric ASCII character, such as !, @, $; must include uppercase and lowercase Latin characters, such as A, a, B, b;
After confirmation, you will enter the configuration options menu as shown below:
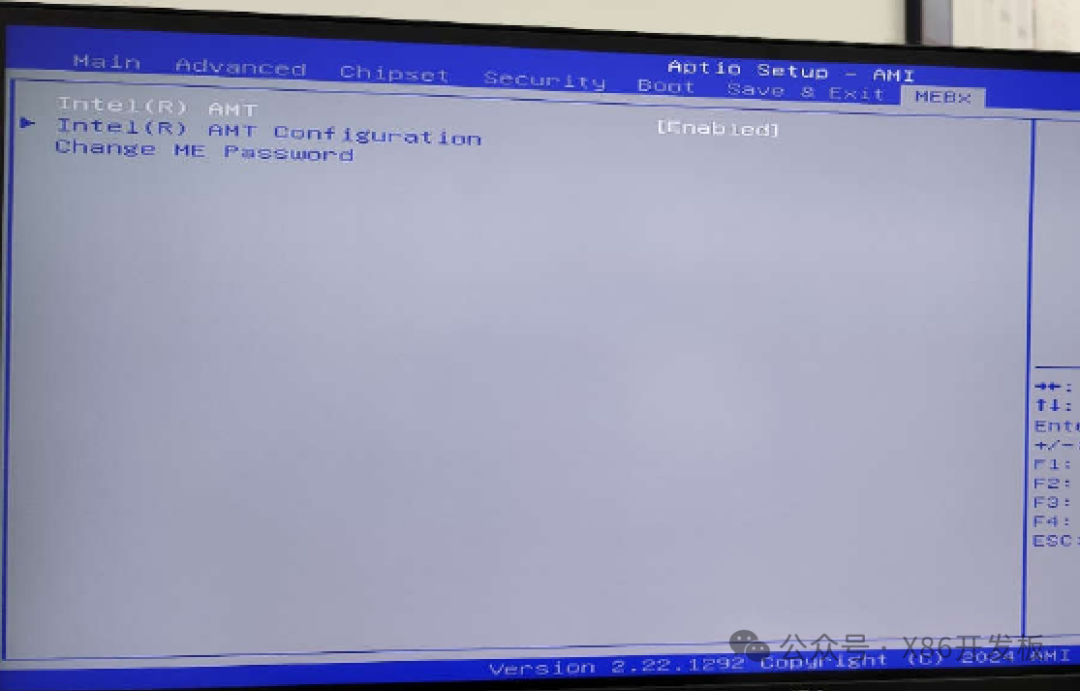
1. Configure AMT options
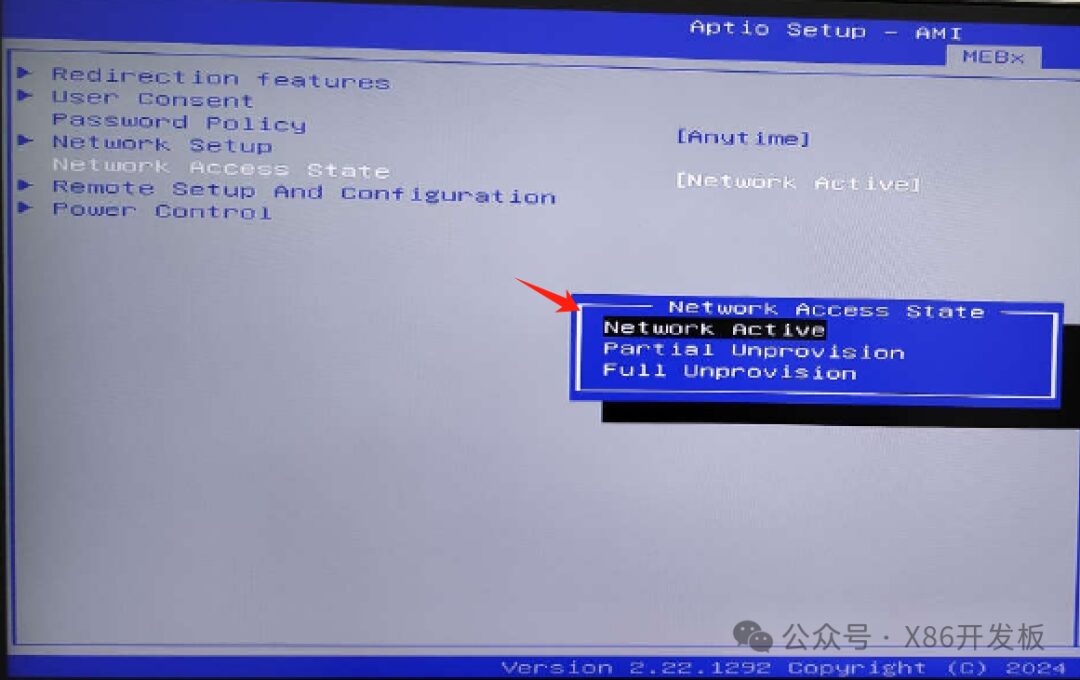
Enter the Intel® AMT Configuration option, as shown below:
Change Network Access State to Network Active;
2. Then enter the User Consent option and set as follows.。
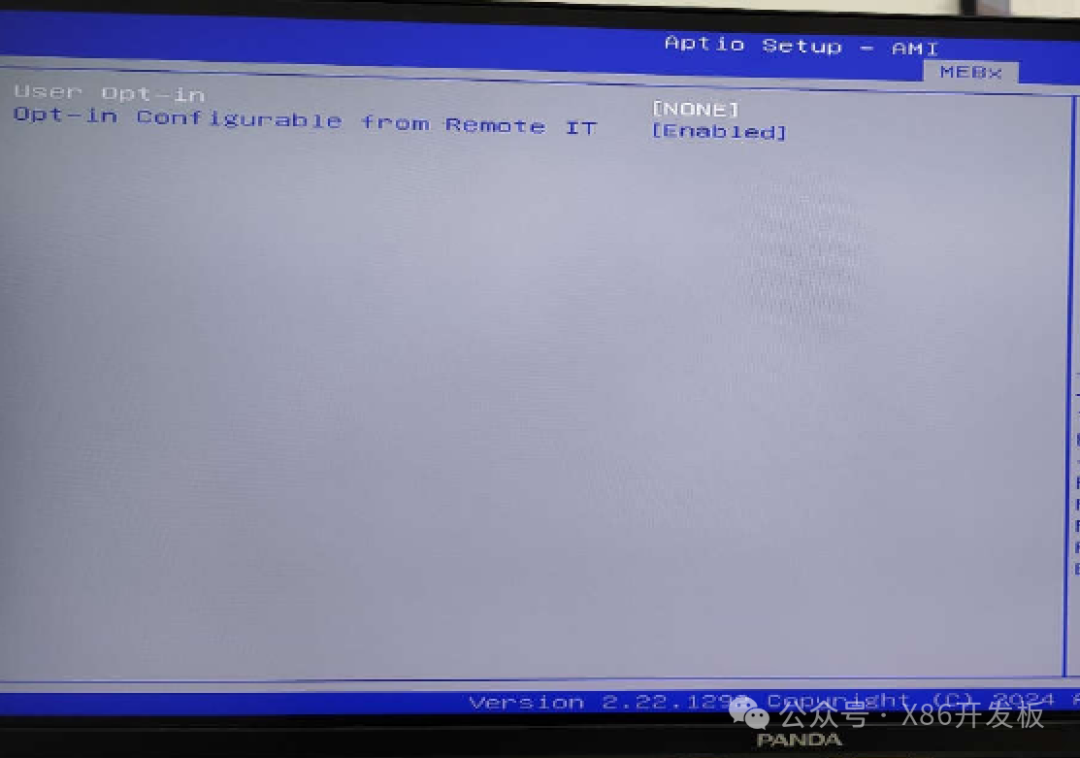
Change User Opt-in to NONE and return to the previous menu.
3. Enter the Network Setup option.
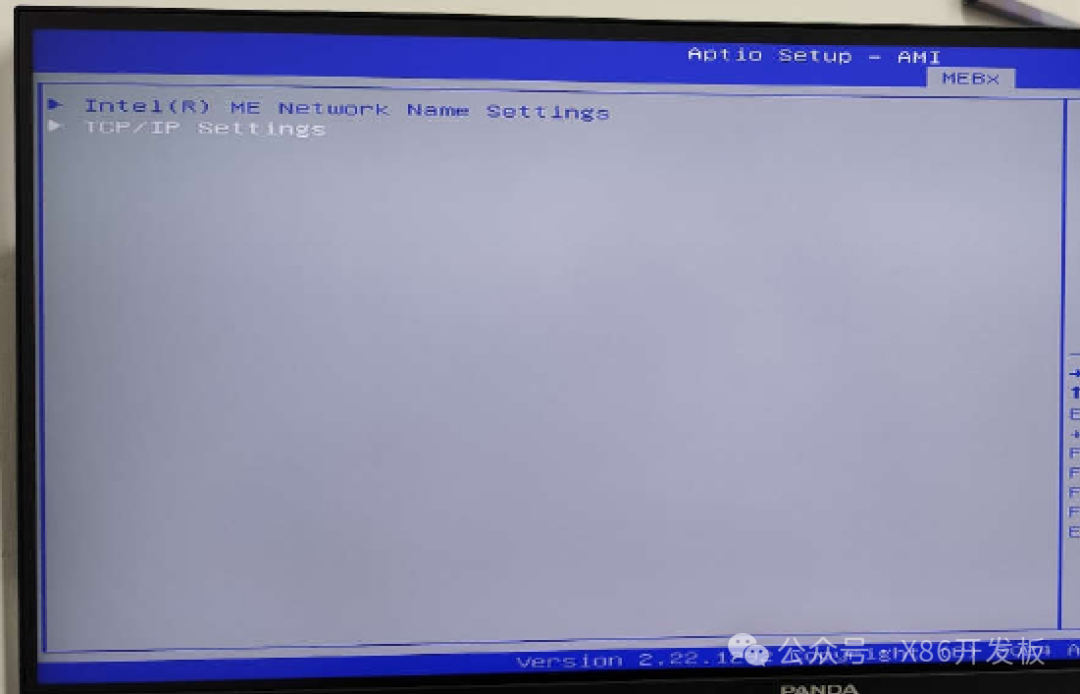
4. Select the TCP/IP Settings option
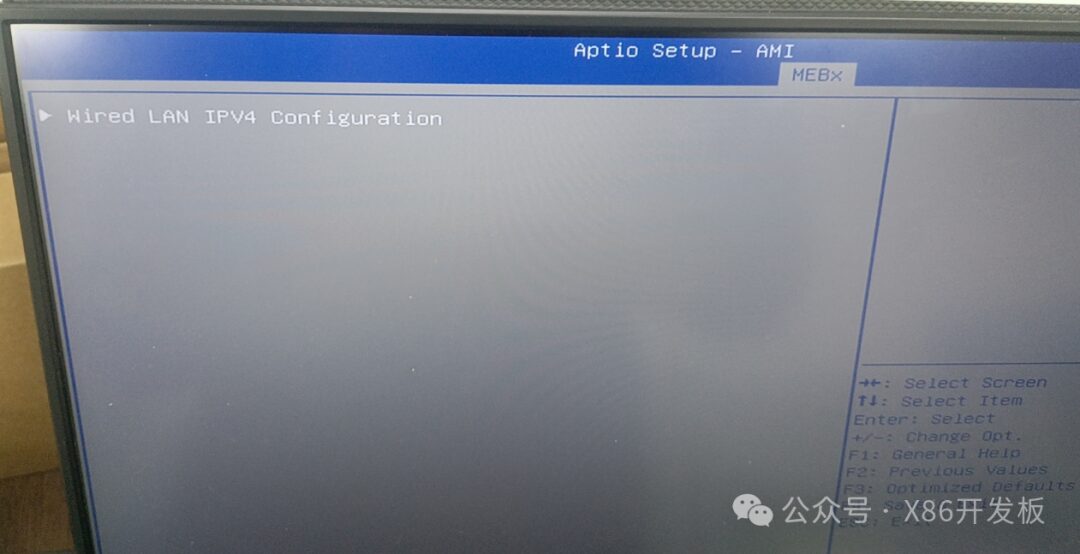
5. Enter the Wired LAN IPV4 Configuration option
The default is DHCP enabled, which means it will automatically obtain an IP address. This address can only be seen after entering the system. (Or if the machine is connected to a router or switch, you can see the assigned IP for this device in the backend).
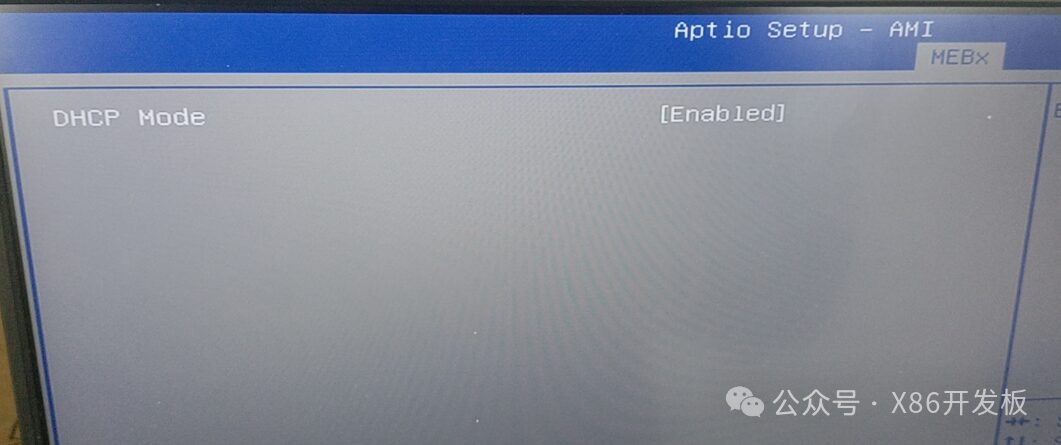
Change DHCP Mode to Disable. After this, a menu with the following settings will appear. Configure according to the image below to make the AMT connection address a specified static address. This address does not affect the address after entering the system; the two addresses do not interfere with each other.
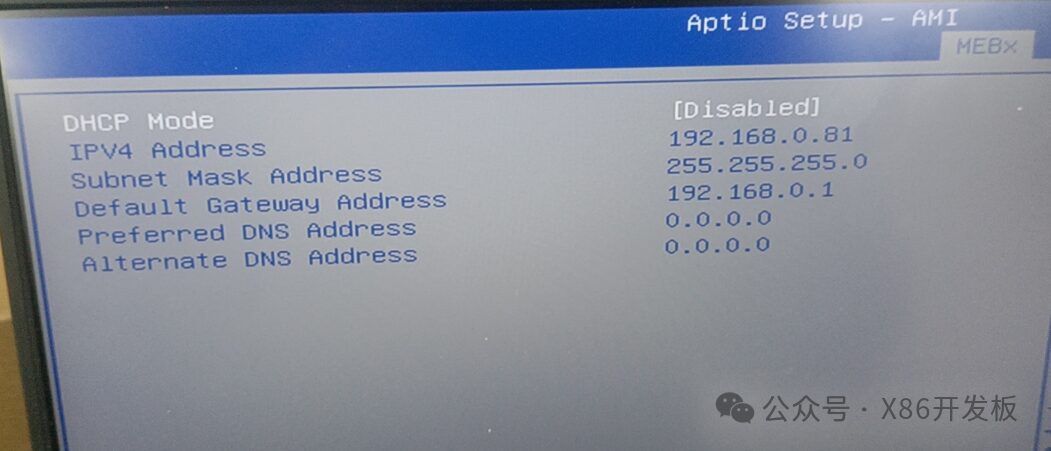
After configuring, return to the AMT main menu
6. Enter the Power Control option and configure it as shown below:
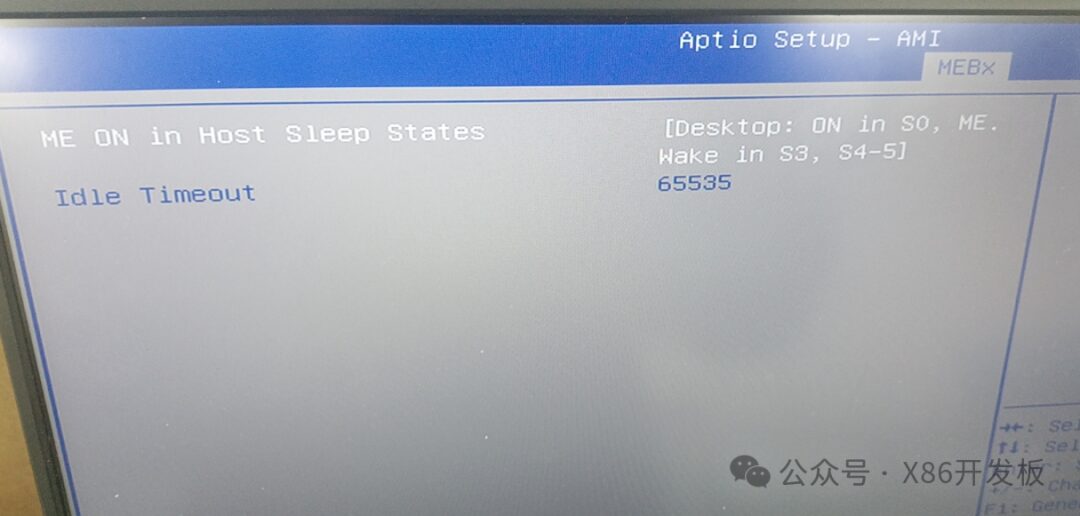
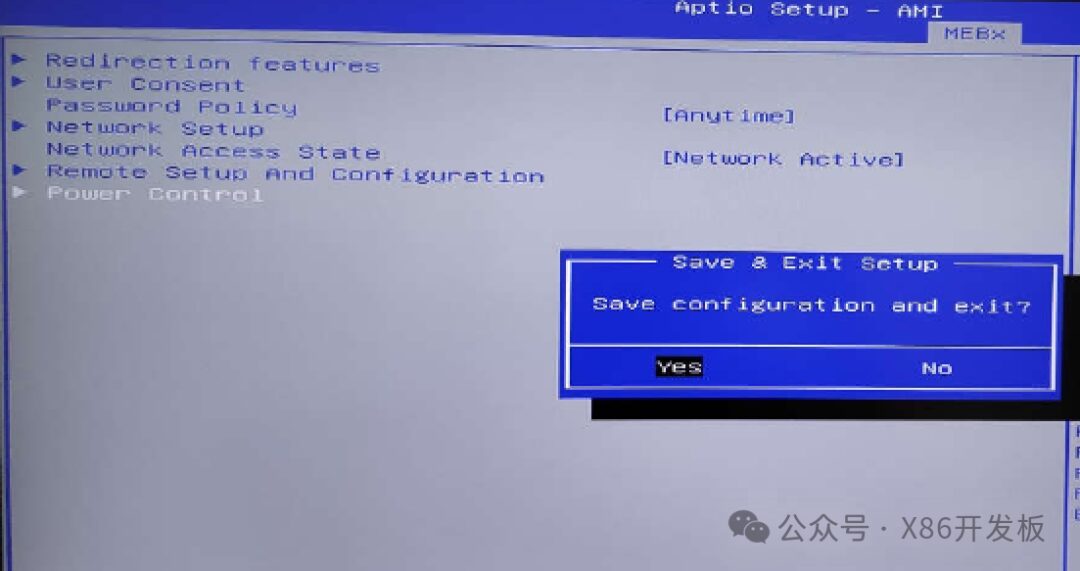
7. Then return to the BIOS main interface (or directly here) and press F4 to save and exit.
3. Use MeshCommander to remotely connect to the machine
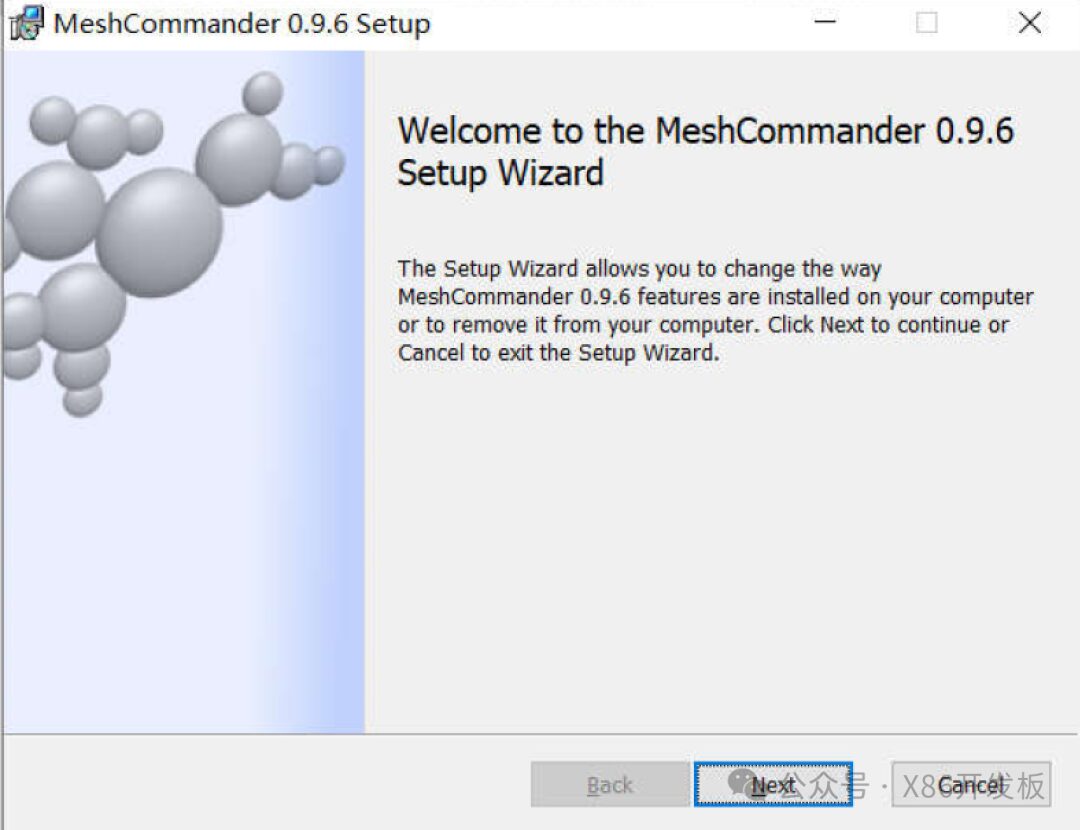
1. MeshCommander Installation
Double-click to run the MeshCommander-0.9.6.msi program, and click Next to complete the installation (you can directly search for the installation package on Baidu).
2. Configure the connection
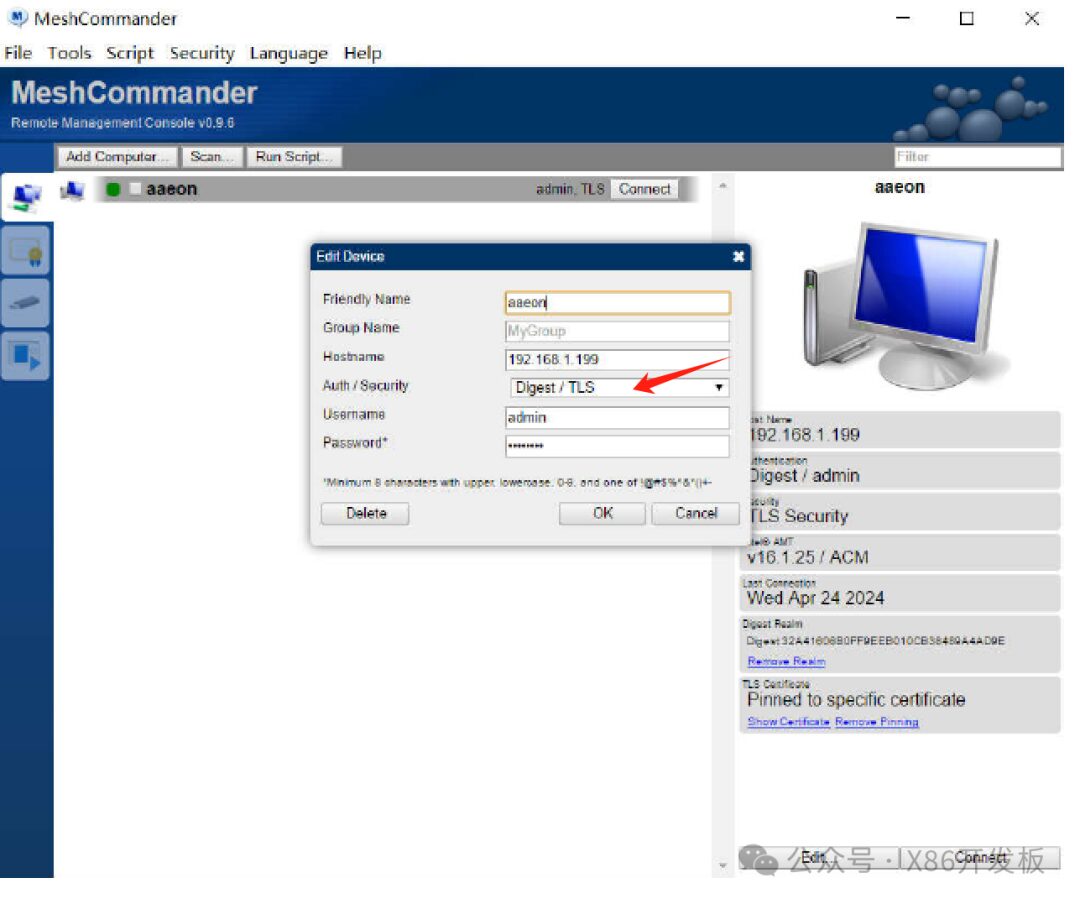
Fill in the Hostname with the previously configured static IP address or the address obtained after DHCP (check after entering the system or check in the management interface of the router or switch connected to the machine). Fill in the Friendly Name arbitrarily, which is equivalent to the name of this configuration. Choose Digest / TLS for Auth/Security. Username is admin, and Password is the password configured when entering MEBX, then click OK.
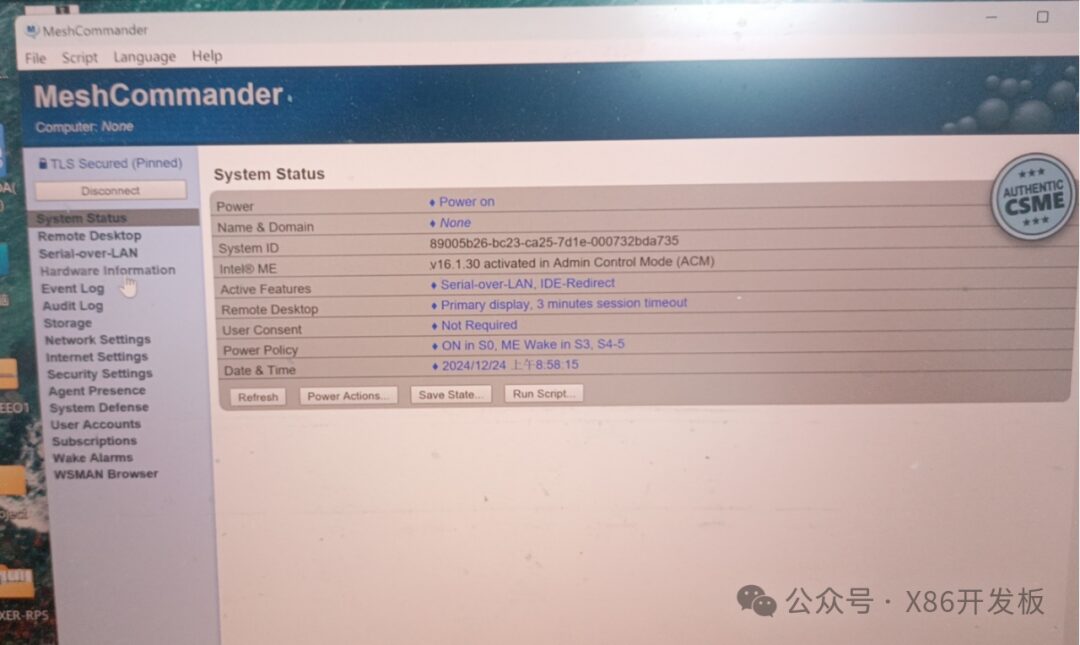
3. Connect to the remote machine by clicking Connect.

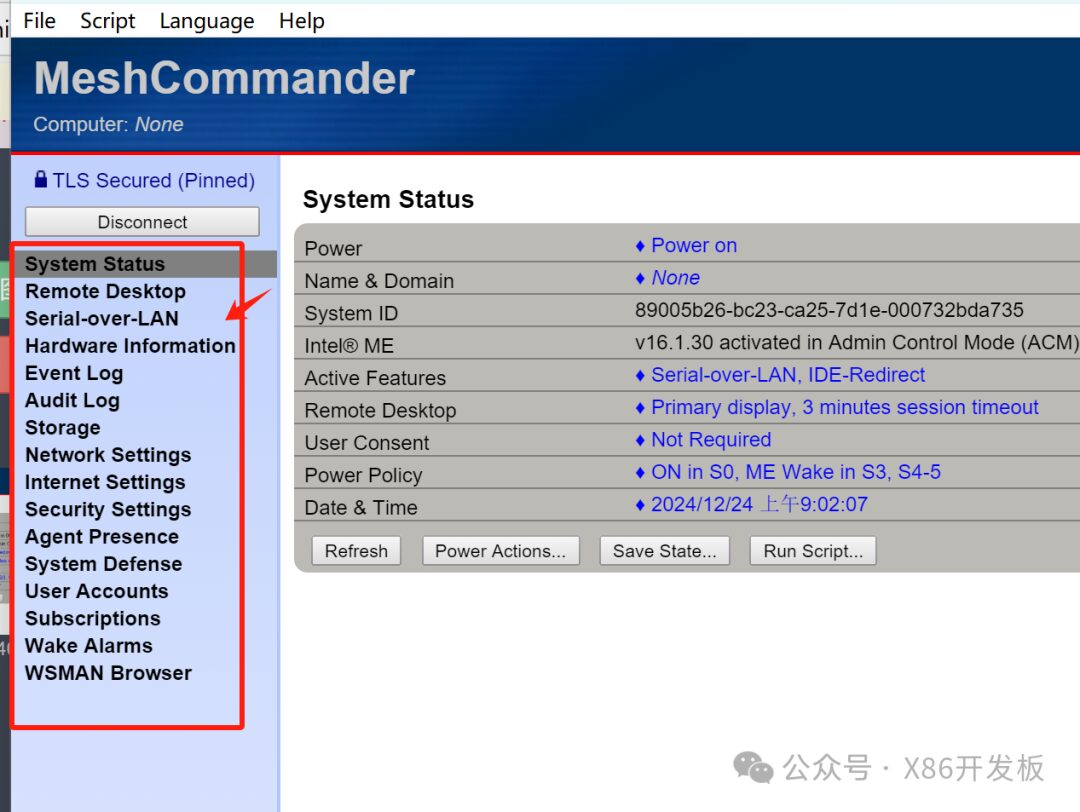
The image below shows many operational functions on the left side. I won’t introduce them one by one. After connecting, everyone can try to see what functions are available.
4. Use MeshCommander to remotely control the machine
1. Enter the Remote Desktop option and pay attention to this interface.
Enter the Remote Desktop option, then click connect to log in to the remote machine, as shown below:
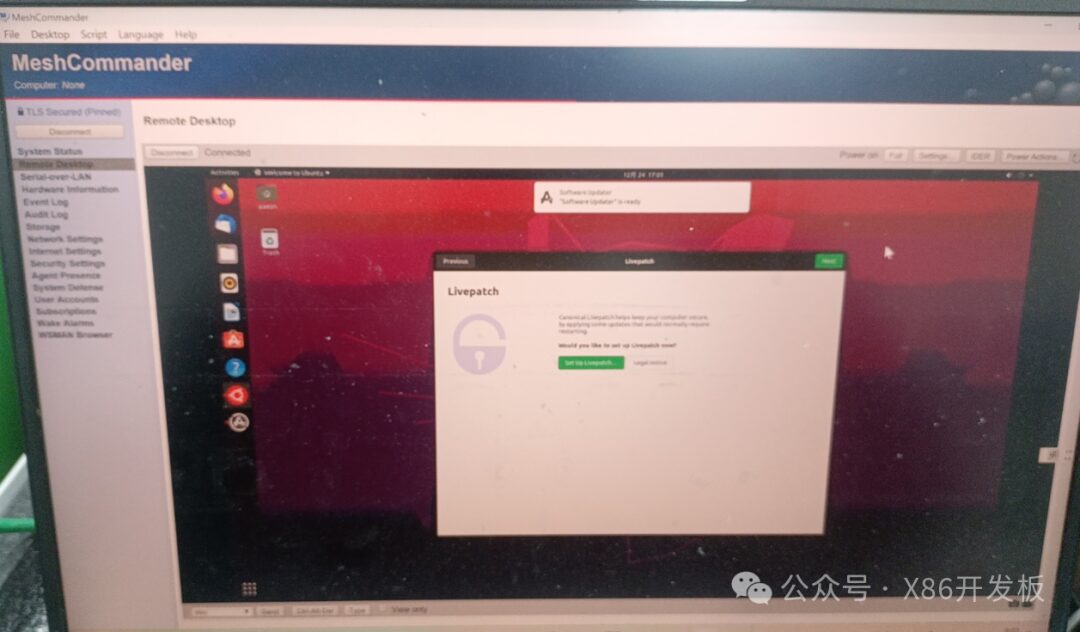
At this point, you can operate the remote machine normally.
In the upper right corner, there is a Power Actions option button, where you can control the machine to restart or shut down.
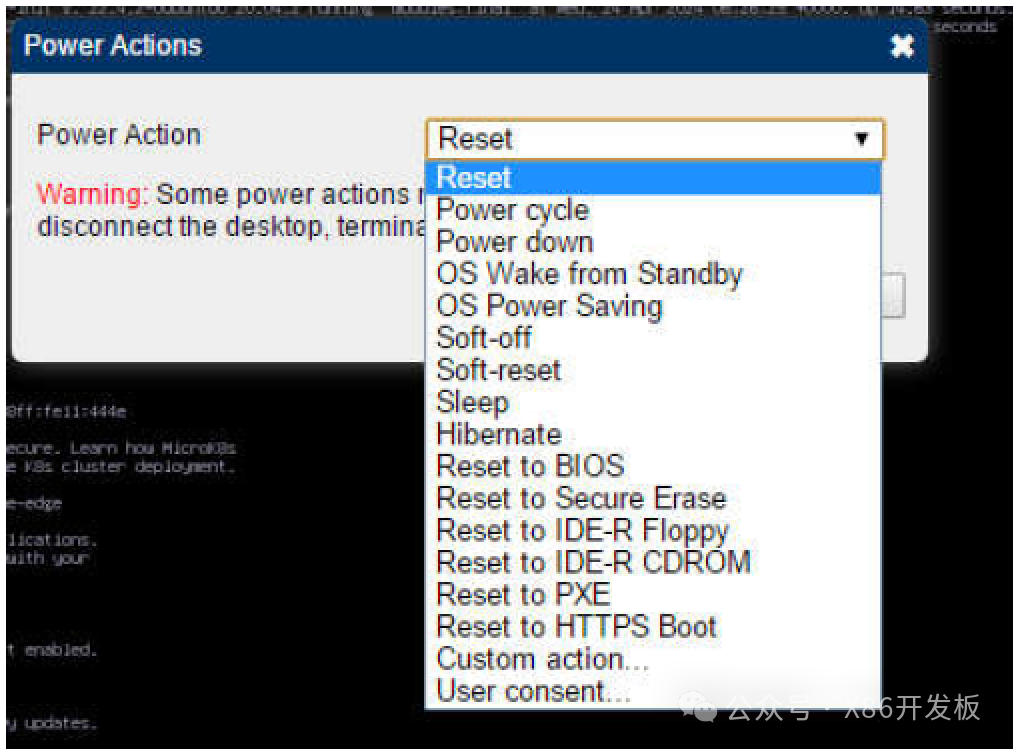
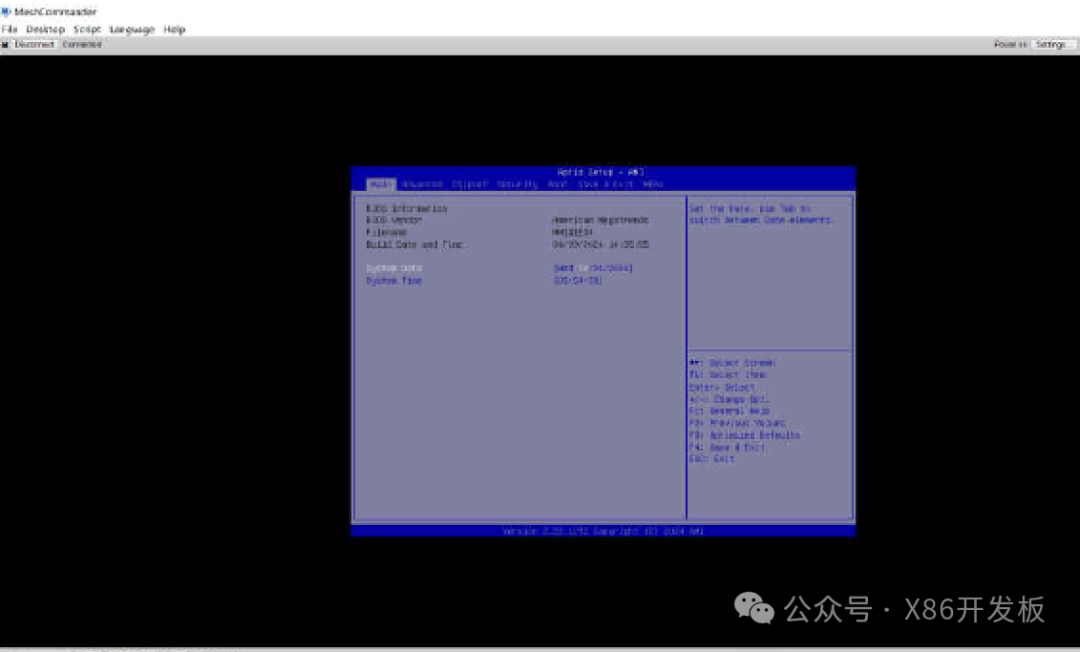
For example, selecting Reset will immediately restart the machine, at which point you can press the DEL key to remotely enter the BIOS interface as shown below:
2. Use IDER to reinstall the system on the remote machine (taking Ubuntu 18.04.6 Desktop version as an example). Click the IDER button, and the following dialog box will appear for import.
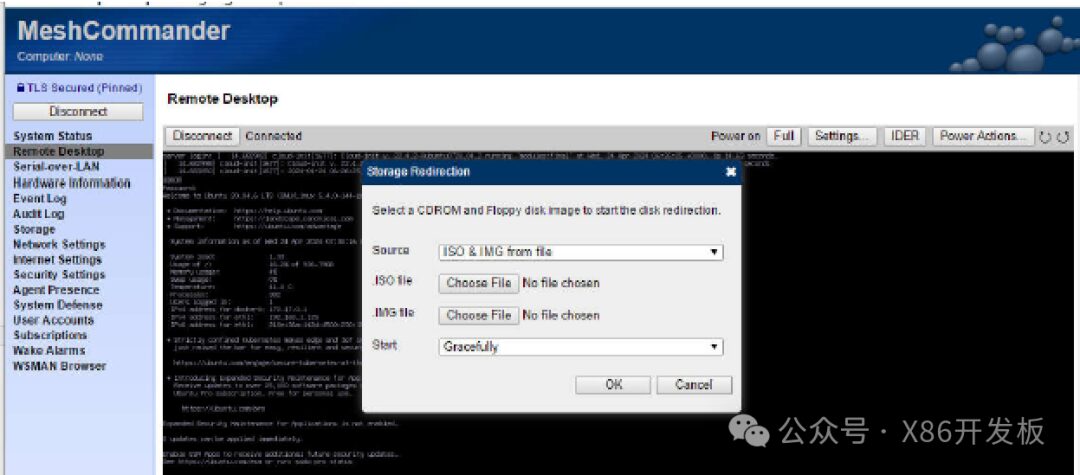
Import the system ISO image to be installed, configure as shown below, and then click OK.
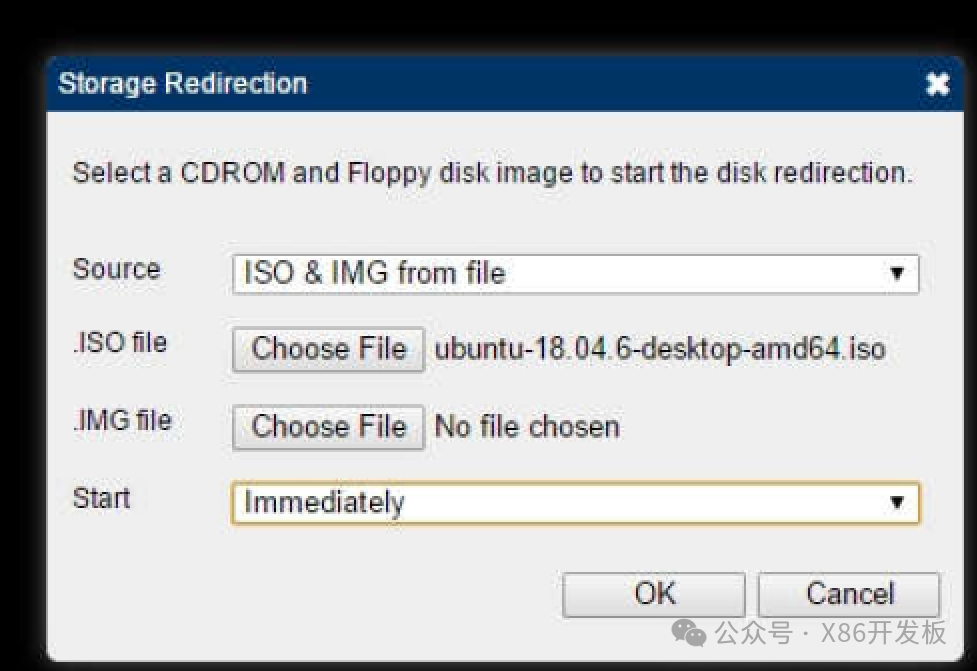
Click the Power Actions button, select Reset to IDE-R CDROM, and then click OK. The machine will automatically restart and enter the system installation interface.

The following screen is no different from the usual installation, as shown in the image:
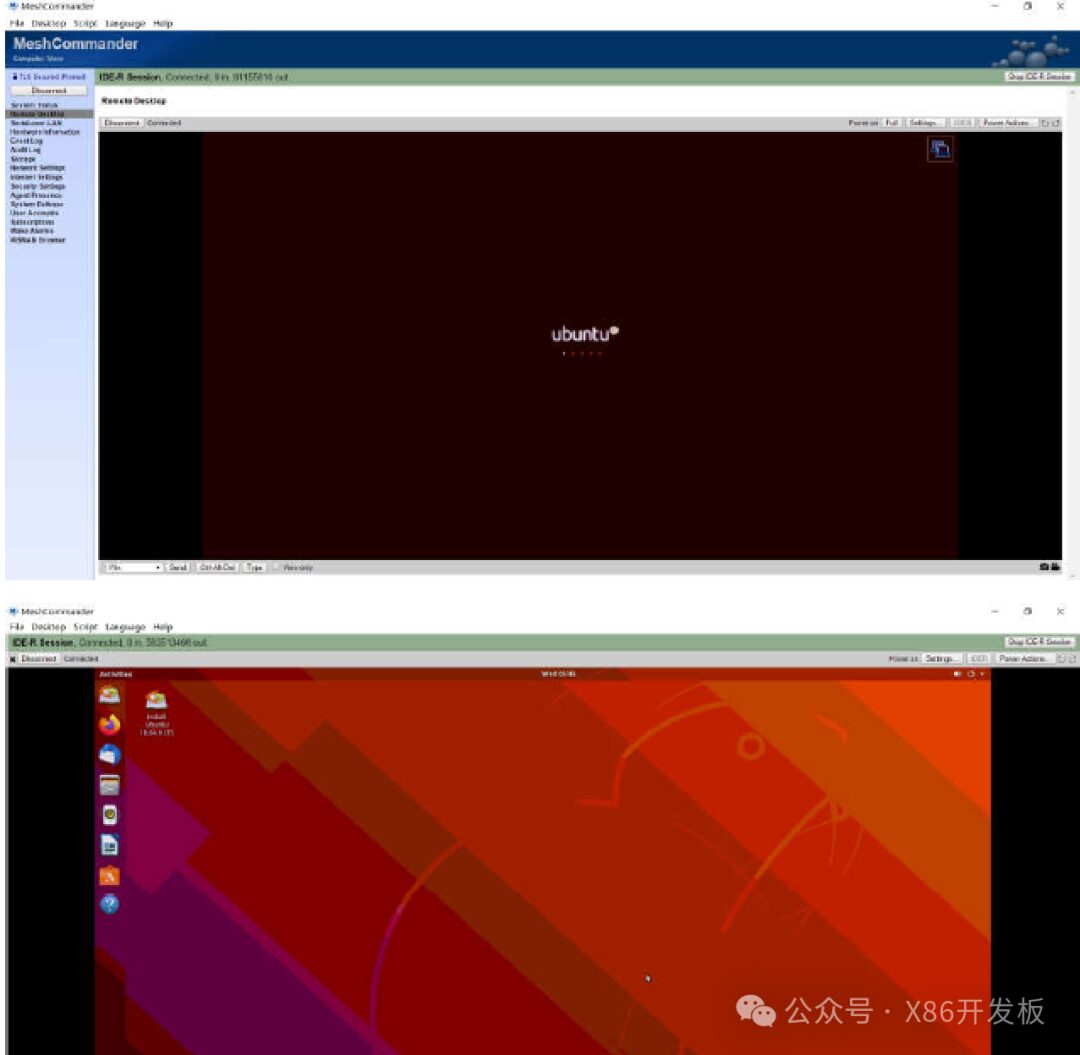
After following the normal prompts to complete the installation, restart to finish the installation.
There are more functions available for everyone to try. If you want to learn more about industrial computers and embedded boards, please follow +V.
