01 Your Language Qt + Windows + Linux + Qt Installer Framework Packaging TutorialQt Installer FrameworkDownloadOfficial website:https://download.qt.io/official_releases/qt-installer-framework/4.8.1/Select the corresponding tool based on your system.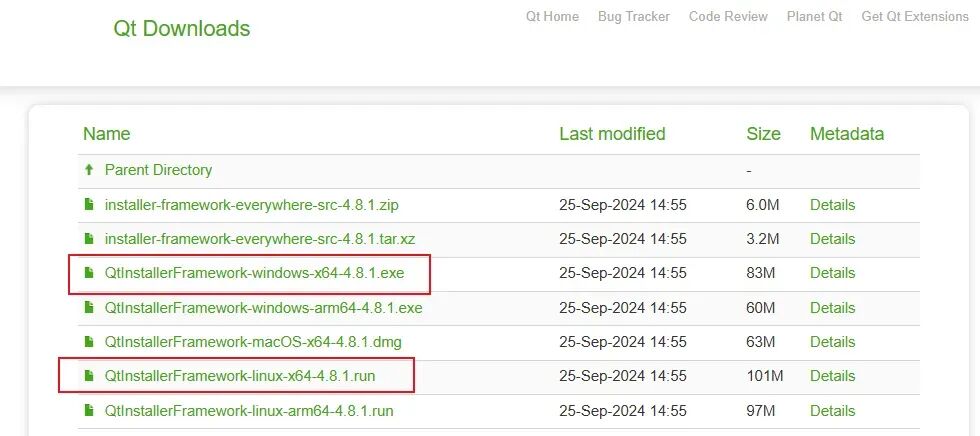 My Windows
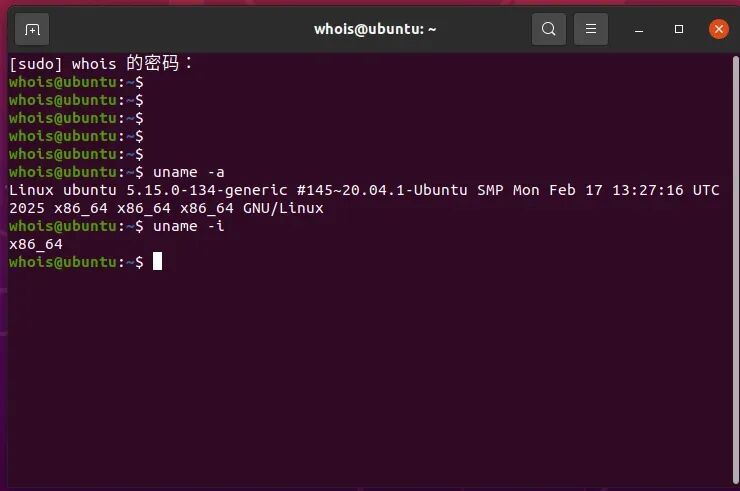
 My Linux
 Qt Installer Framework Installation on WindowsDouble-click to open
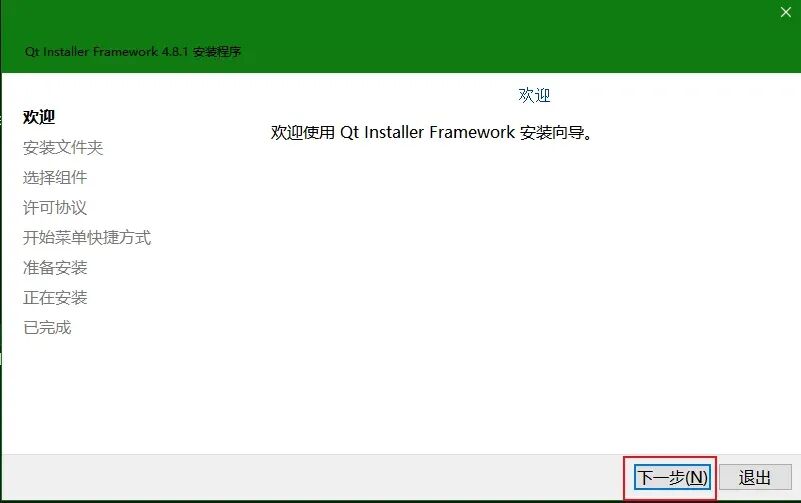 Next
Next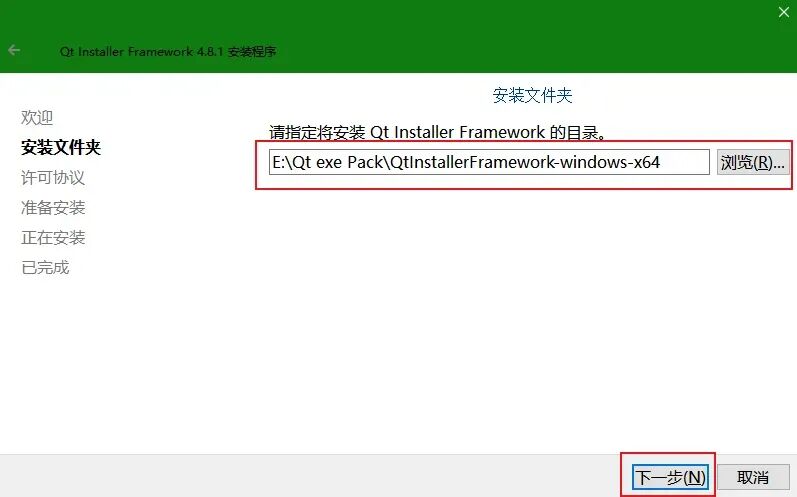 Next
Next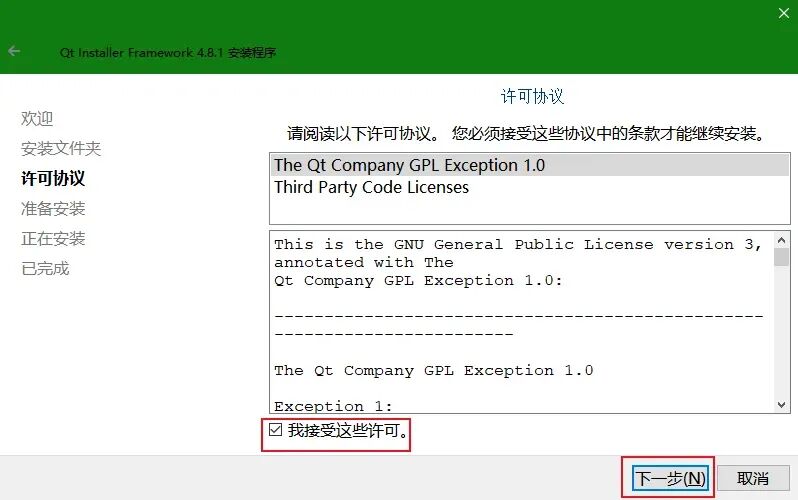 Next
Next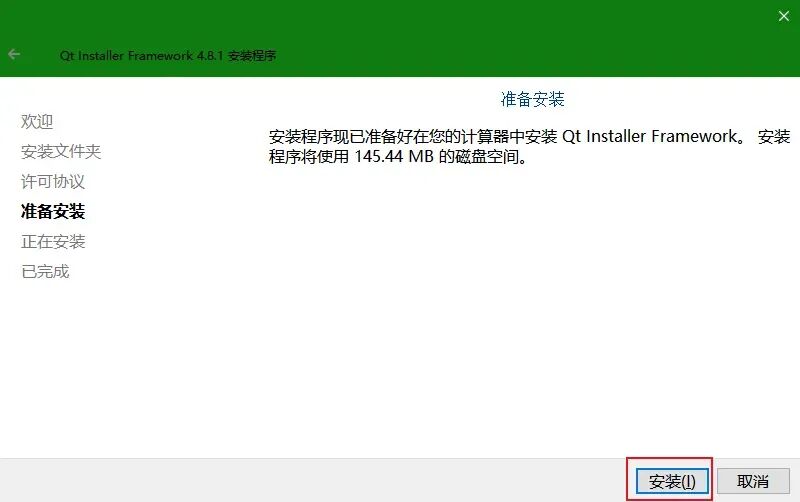 Next
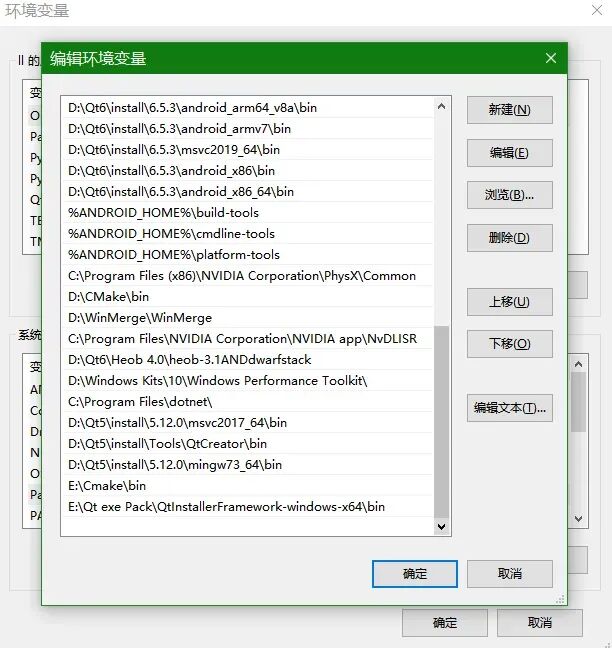
Next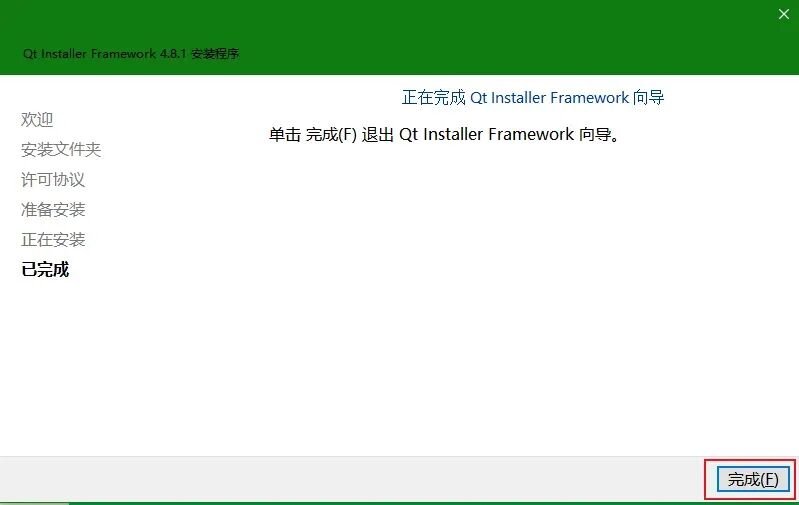 Add environment variables to execute cmd commandsPath:E:\Qt exe Pack\QtInstallerFramework-windows-x64\bin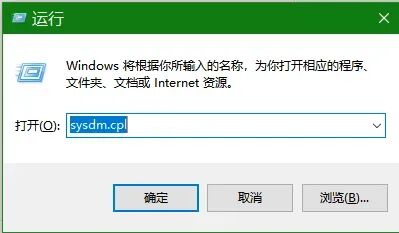
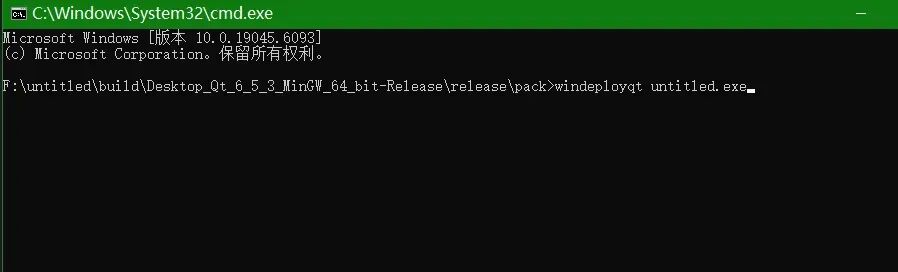
 WindowsProgram Packaging and ReleaseFirst, compile and run the program in release mode to generate the release version, which is the published version. Find the executable file exe in the release folder, the default path is generally: “F:\untitled\build\Desktop_Qt_6_5_3_MinGW_64_bit-Debug\debug\exe\untitled.exe”, if you have modified the project’s default build path to the current project, then go to the current project file, for example: “E:\Qt_Project\music1\Release\release\music1.exe”, then create a new folder and copy the exe into the empty folder.In the compiled release directory, place the exe in a separate directory, execute windeployqt untitled.exe to generate the dependent dynamic libraries.
 OK
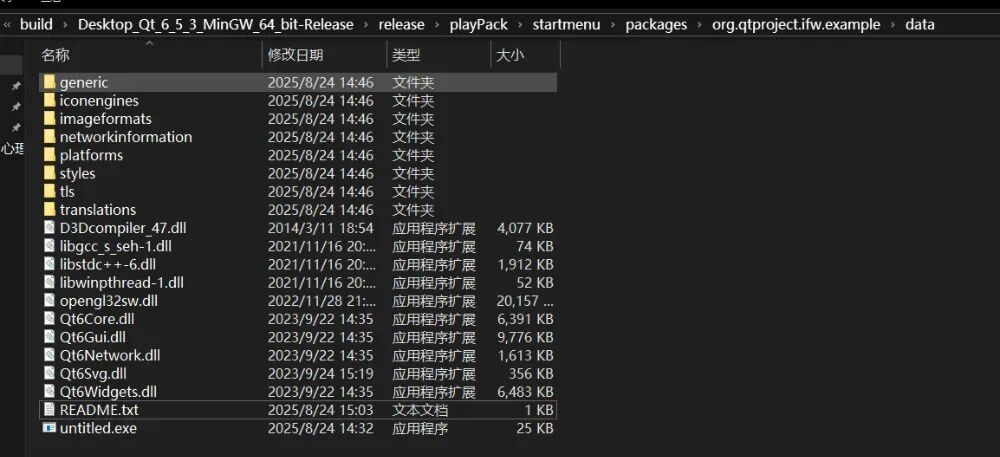
OK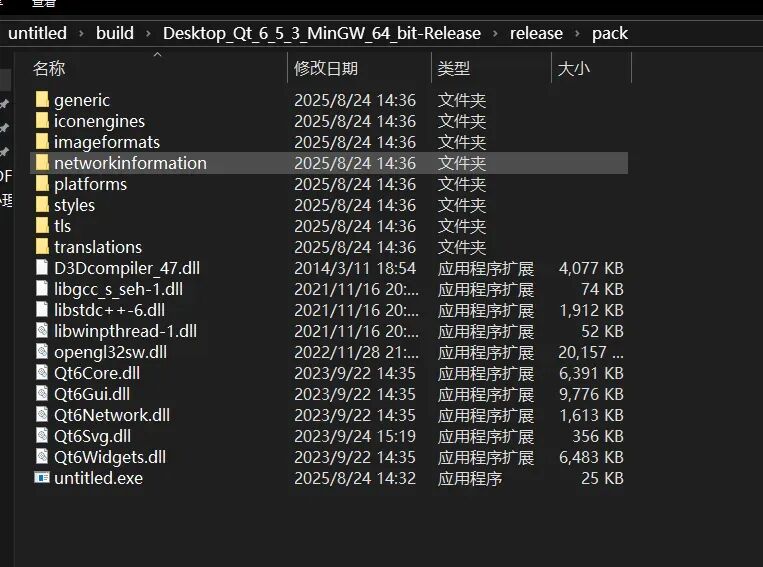 This folder can be directly sent to others for use, but it is not very aesthetic, so we will add another layer and package the exe into setup.exe.First, create a package directory structure, which must include subdirectories named config and packages. The config contains information about how to build the installer binary and online repository, and packages contain information about installable components, structured as shown in the figure below. However, there are many examples under the Qt Installer Framework installation directory, here we will use startmenu as an example, copy one out. The general path of startmenu is D:\QtInstallerFrameworkInstall\examples\startmenu.
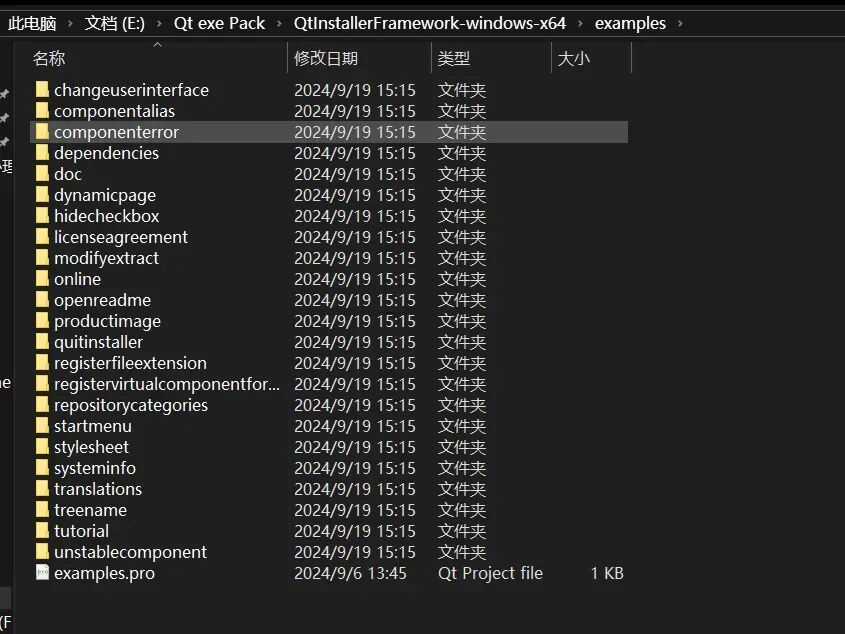 Copy startmenu to another directory, while placing the contents of the pack into the created data directory.
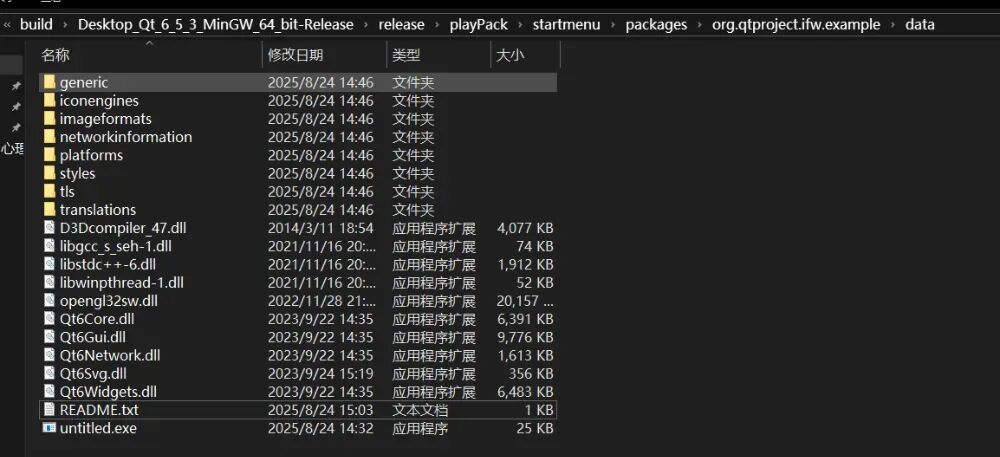 Modify the configuration file, in the config directory, there is a config.xml file, open it with a text editor and modify it according to your needs.Template Description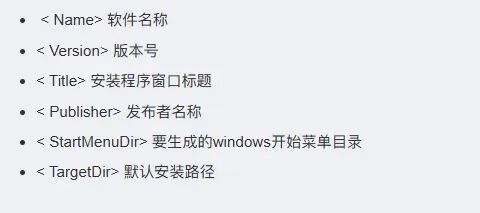
| <?xml version=”1.0″ encoding=”UTF-8″?><Installer> <Name>The name of your developed software</Name> <Version>1.2.3</Version> <Title>The name of the installer wizard</Title> <Publisher>The name of the copyright holder (e.g., your company)</Publisher> <StartMenuDir>The name of the start menu</StartMenuDir> <TargetDir>The default specified installation directory</TargetDir></Installer> |
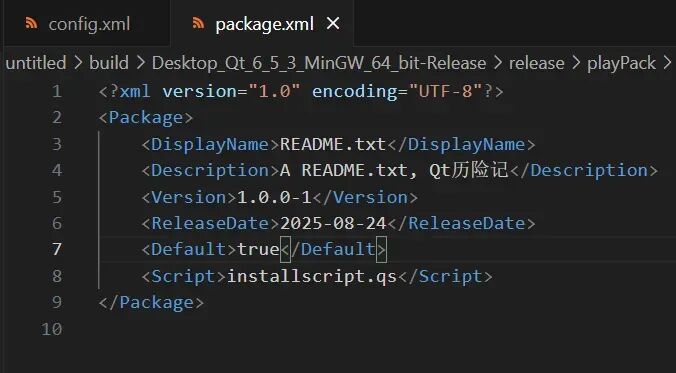
My configuration config.xml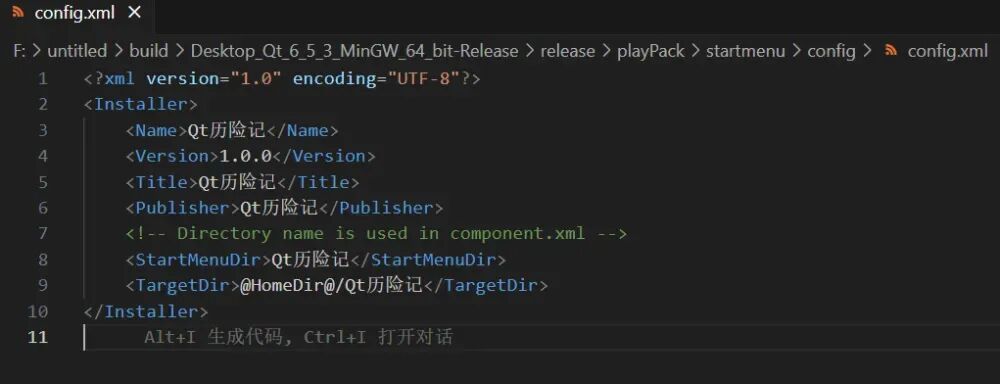 Modify the package information file, in the packages directory, there is a package.xml file, open it with a text editor and modify it according to your needs.Template Description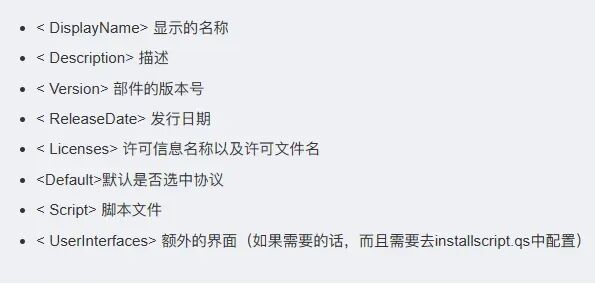
| <?xml version=”1.0″ encoding=”UTF-8″?><!– Specify the version and encoding format of the XML file –><Package> <!– Define a Package element, representing an installable component –> <DisplayName>README.txt</DisplayName> <!– Set the name displayed in the user interface for the component –> <Description>A README.txt, accessible through a start menu entry.</Description> <!– Set the description of the component, explaining its functionality –> <Version>1.0.0-1</Version> <!– Set the version number of the component –> <ReleaseDate>2019-02-19</ReleaseDate> <!– Set the release date of the component –> <Default>true</Default> <!– Set whether the component is selected for installation by default. true means selected by default, false means not selected by default –> <Script>installscript.qs</Script> <!– Specify the script file used to install the component. This script file usually contains some custom installation logic –></Package><!– End of Package element –> |
Link to the official documentation for installscript.qs:http://doc.qt.io/qtinstallerframework/scripting.htmlMy configurationpackage.xml
 Openpackage.xml
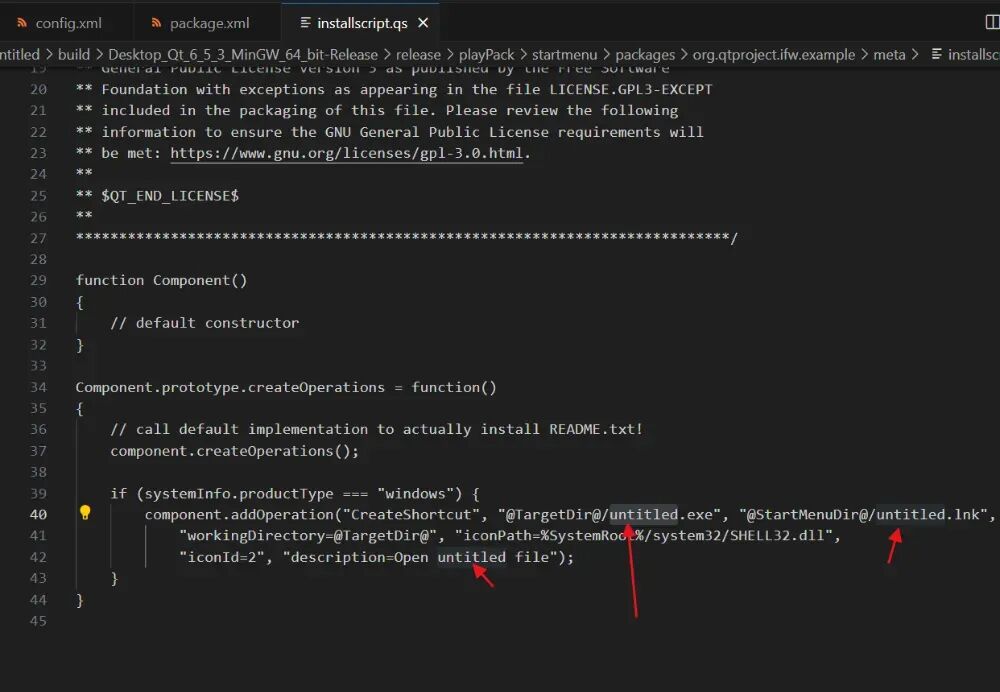
 In the packages directory, there is an installscript.qs file, open it with a text editor and modify it according to your needs..
 Generate the installation package program, open the Qt command line interface Qt 5.11.0 for Desktop (MinGW…)Or directly use the cmd command or MSVC, enter the following command, navigate to the directory where you want to generate the file, and then use the generation tool to create the installation package application..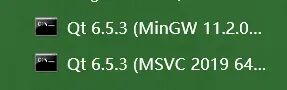
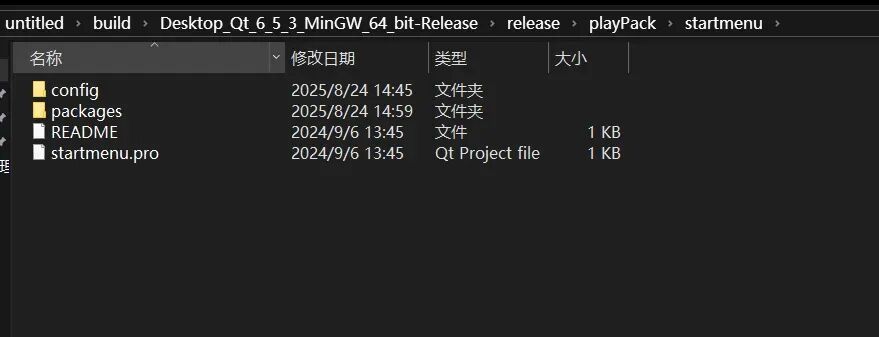
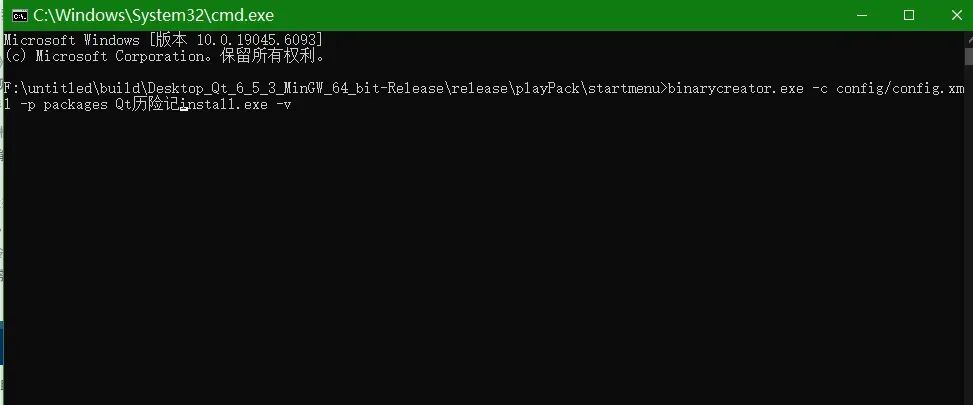 Execution successful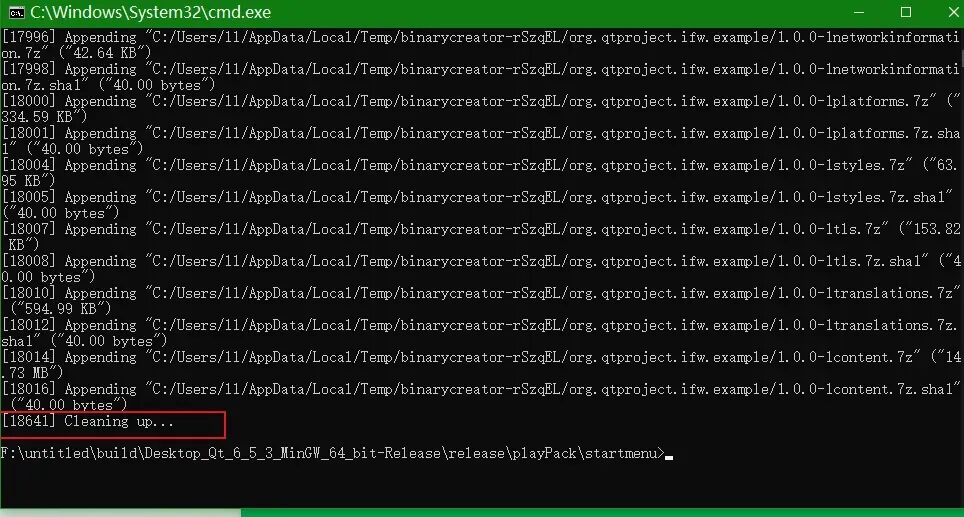
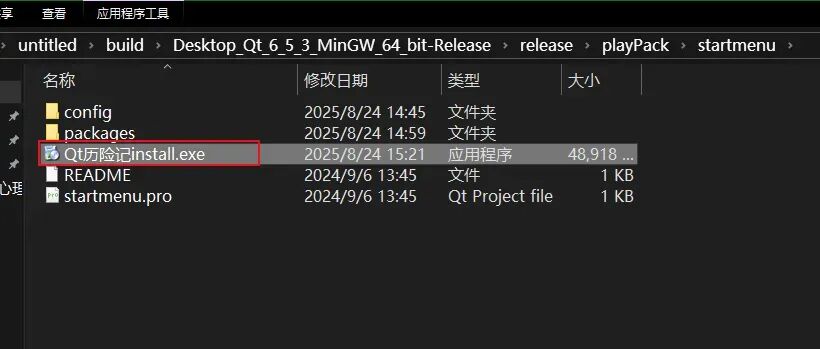 Windows program installation package demonstration installation process.Double-click to open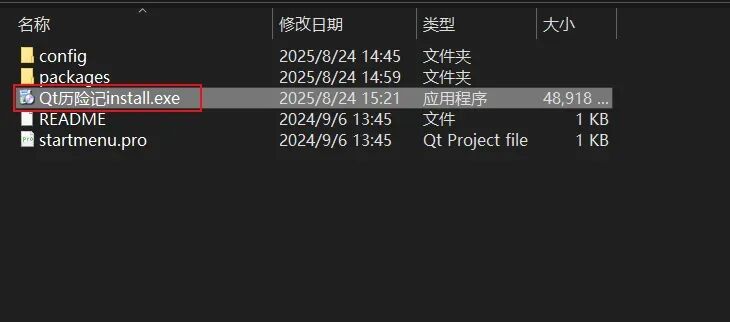
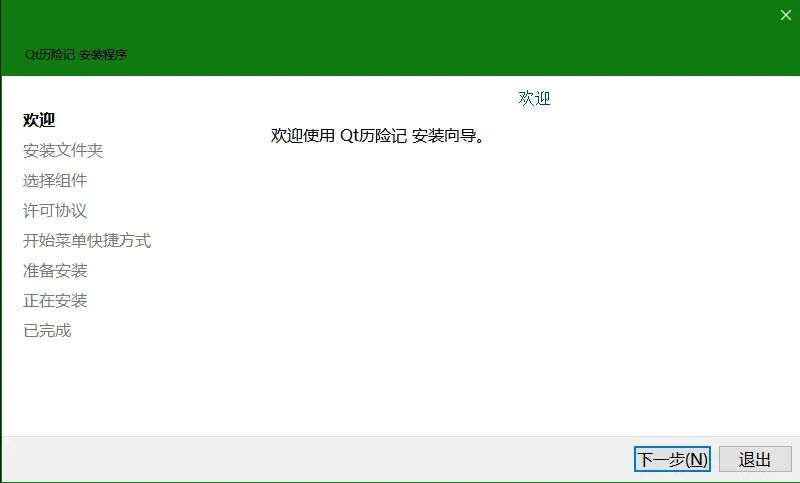
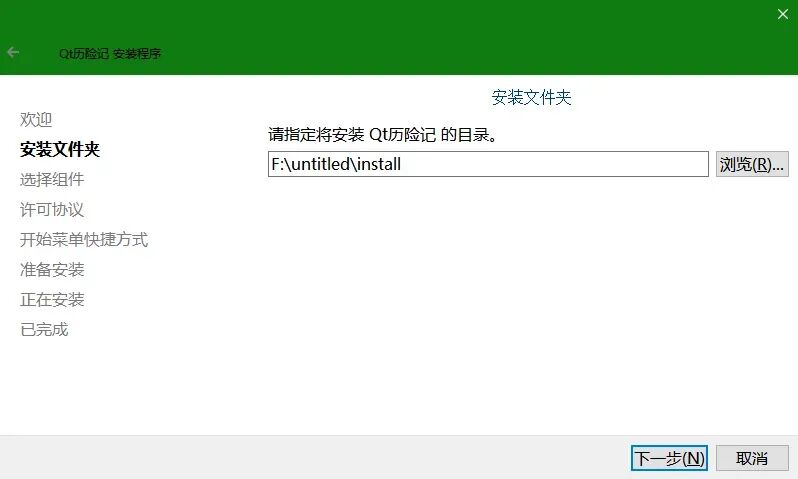
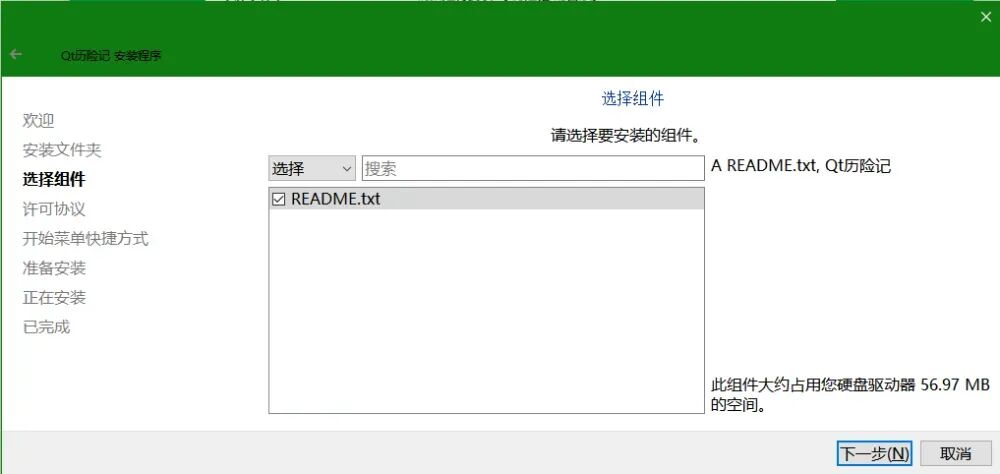
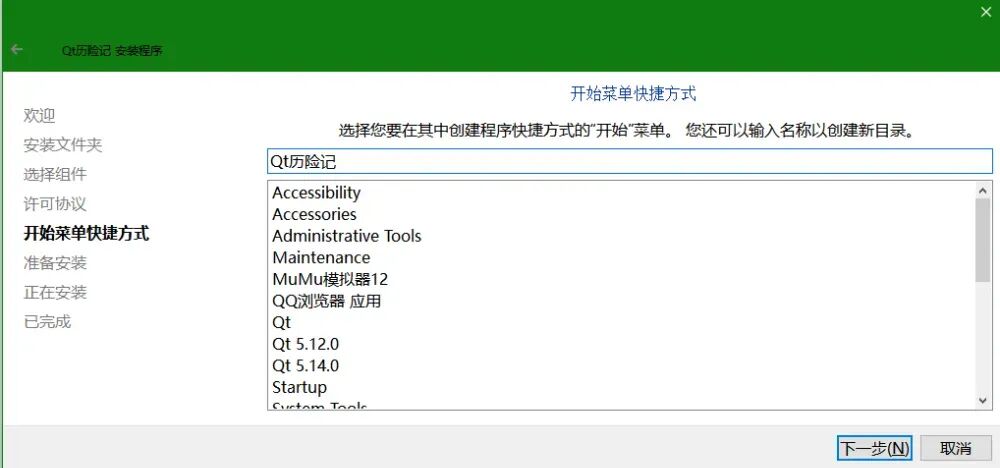
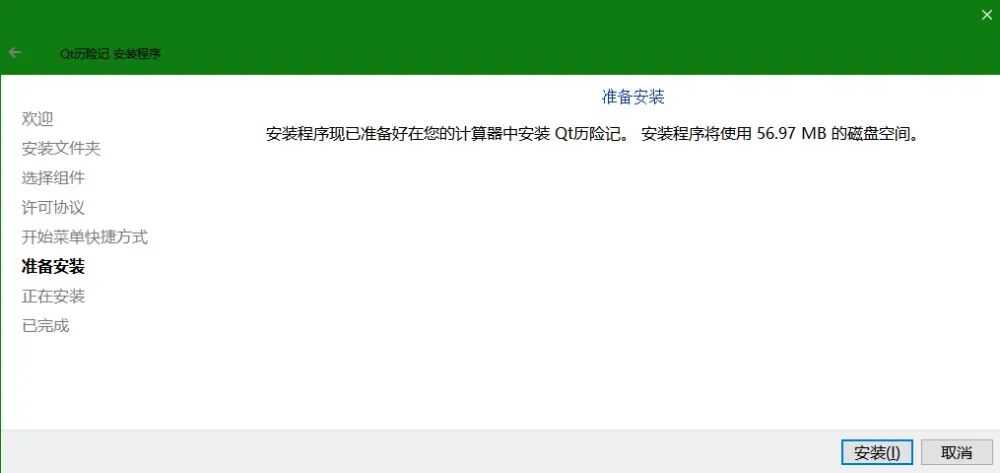
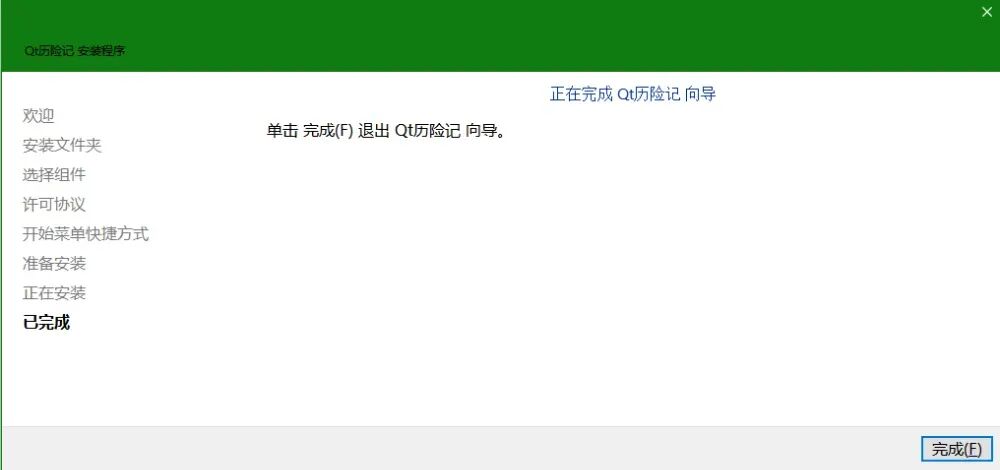 OK
OK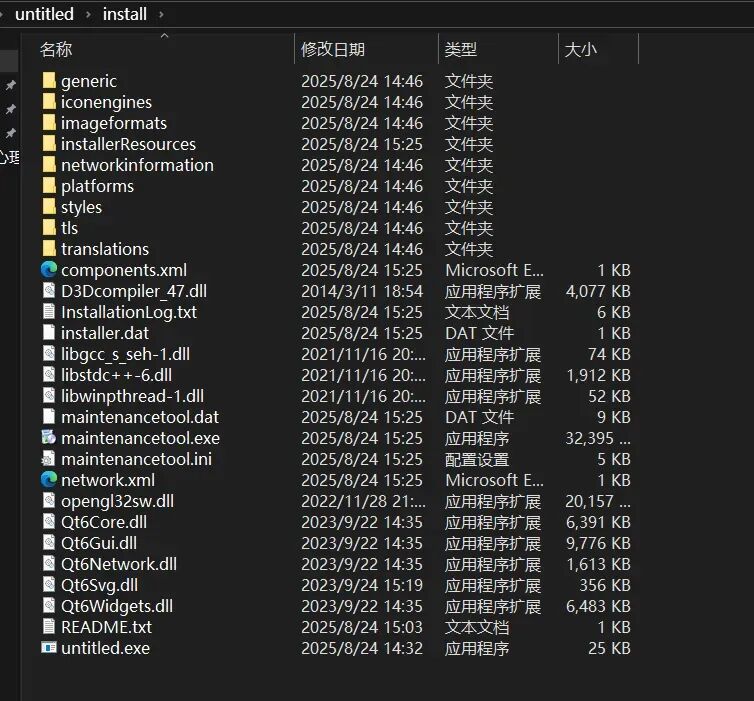 Compare the following differences.
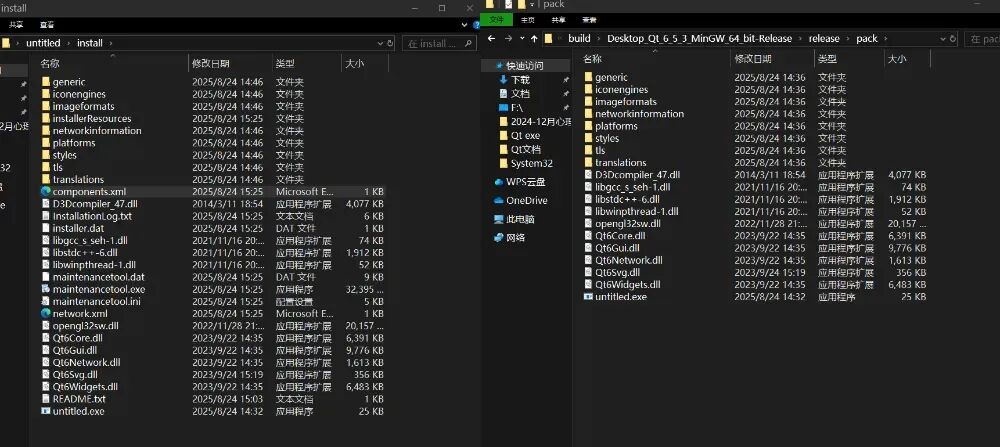 This concludes the session, if you have any questions, contact Qt Adventure.Qt Installer Framework Installation on LinuxEnvironment: Ubuntu 20.04, Qt 6.5.3Install Qt 6.5.3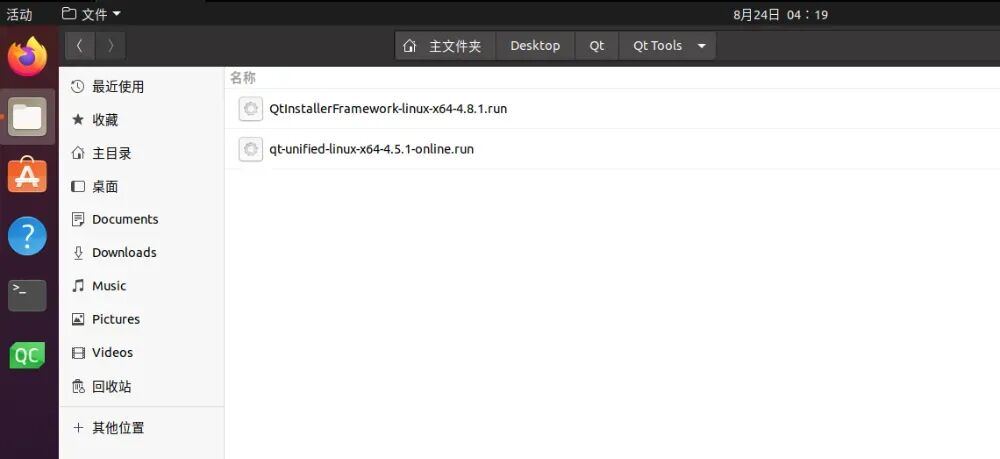

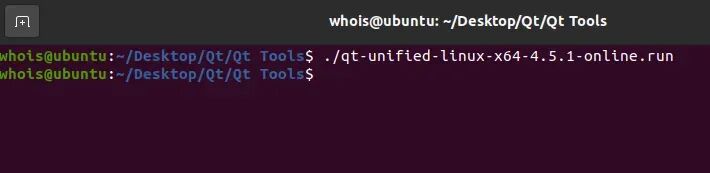
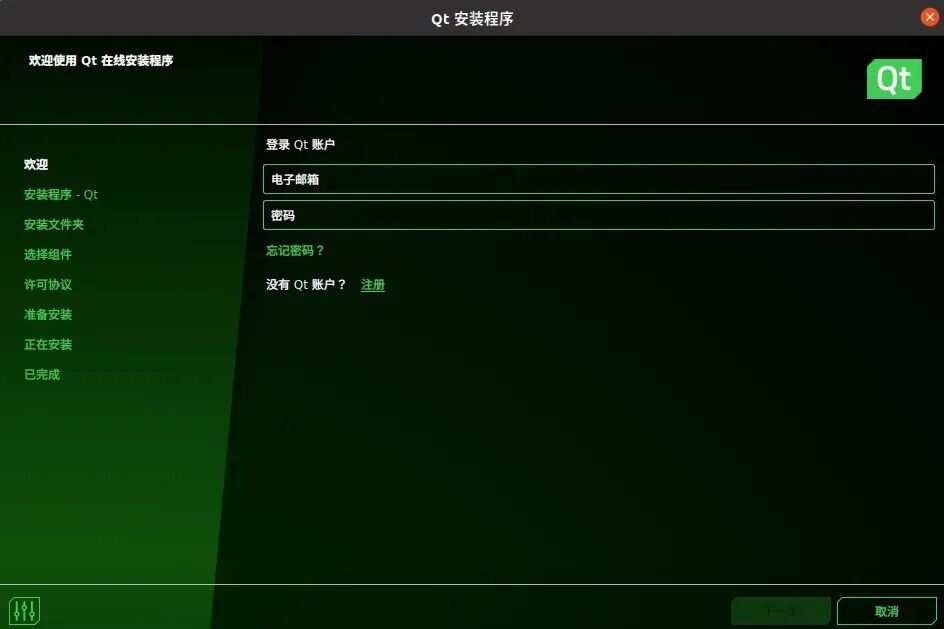 The next steps are not much different from Windows, so I won’t elaborate further.Install Qt Installer Framework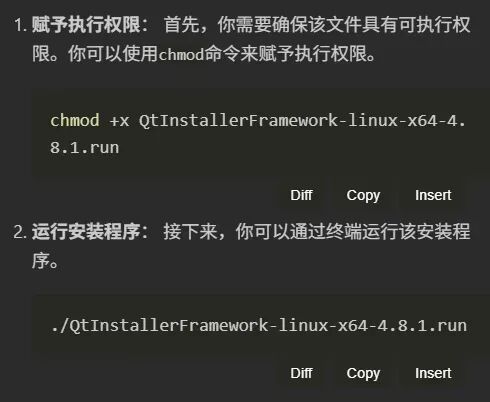
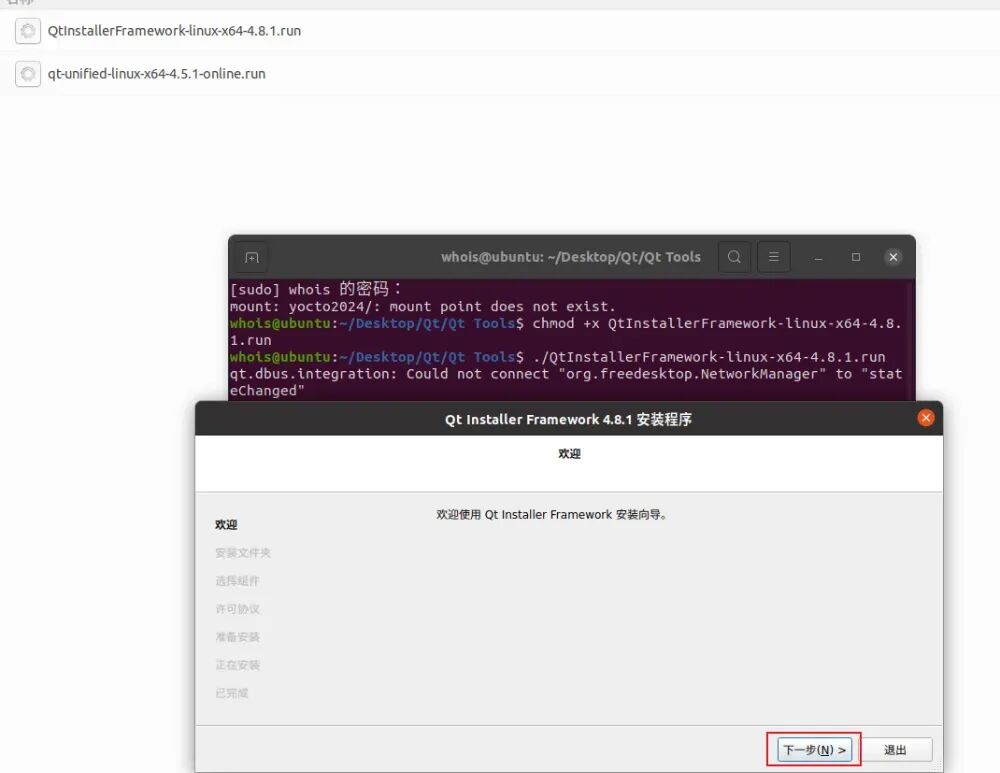
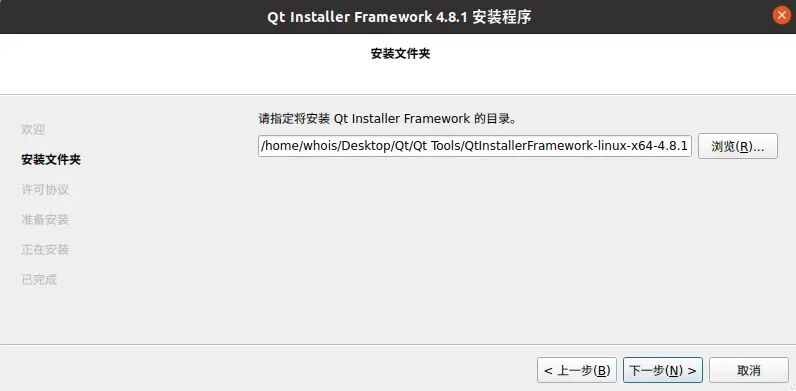
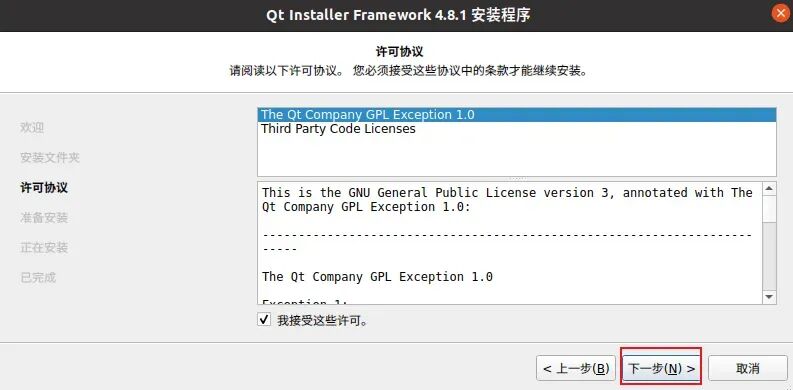
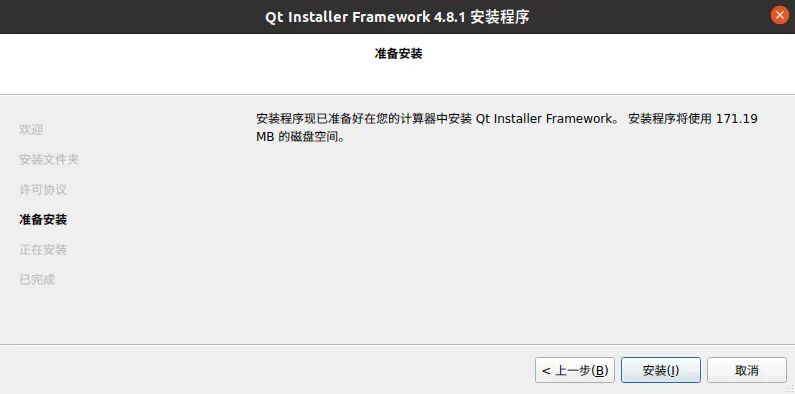
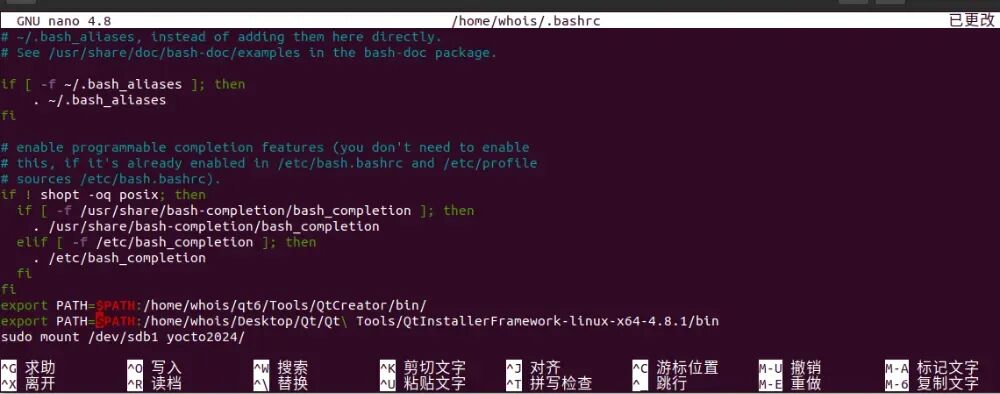
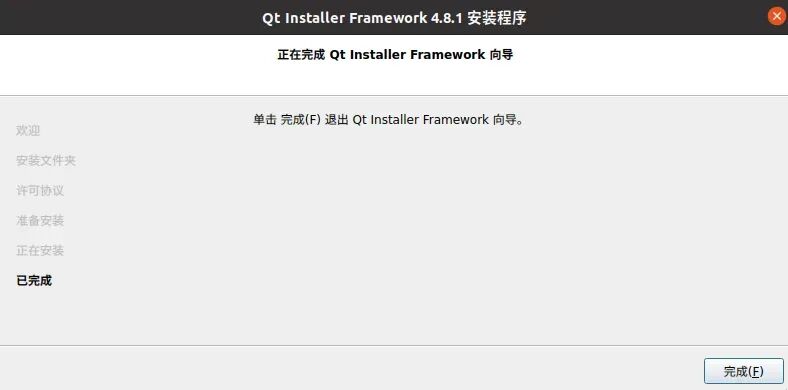 Add environment variables
| # Open terminal# Edit ~/.bashrc filenano ~/.bashrc# Add the following line at the end of the fileexport PATH=”$PATH:/home/whois/Desktop/Qt/Qt\ Tools/QtInstallerFramework-linux-x64-4.8.1/bin”# Save and close the file (press Ctrl + O, then press Ctrl + X)# Reload ~/.bashrc filesource ~/.bashrc# Verify if the path has been added successfullyecho $PATH# Check if binarycreator is availablebinarycreator -v |
 Open this directory and see the differences from Windows.
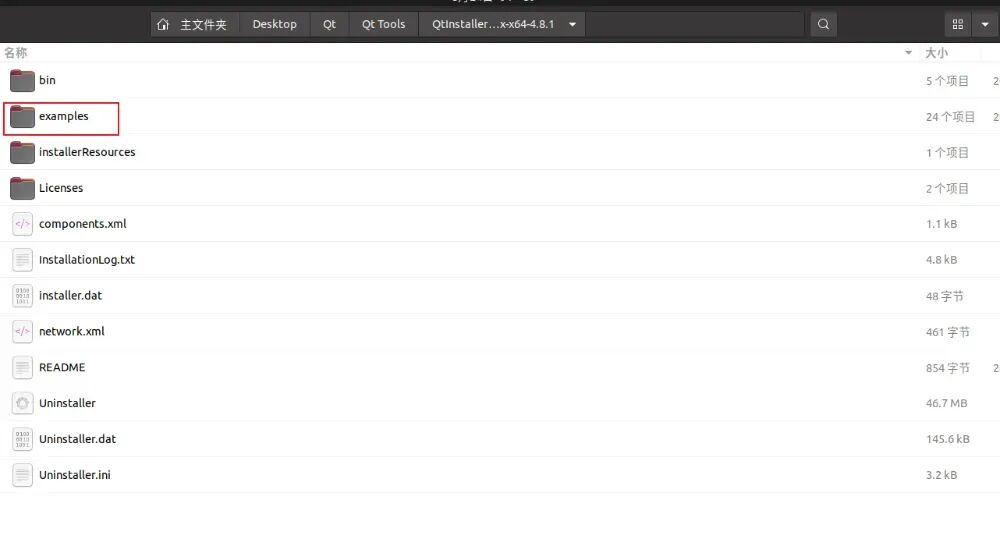 Find that the directory structure is consistent with Windows.
 Using IFW to package programs on Linux is basically the same as on Windows, but creating shortcuts is different. In Windows, creating shortcuts uses the TargetDir and StartMenuDir variables, which are invalid in Linux, and the path to the desktop folder in the system is in Chinese “桌面”.Create a project and publish it as a release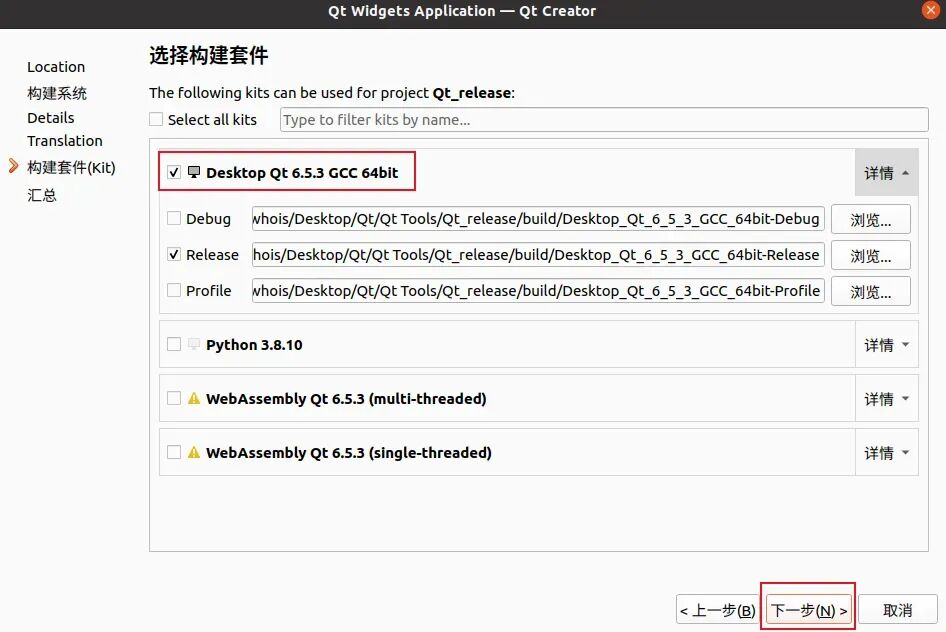
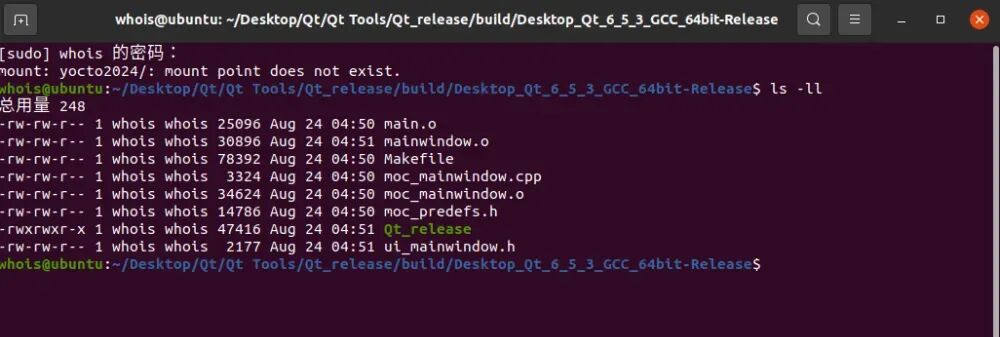
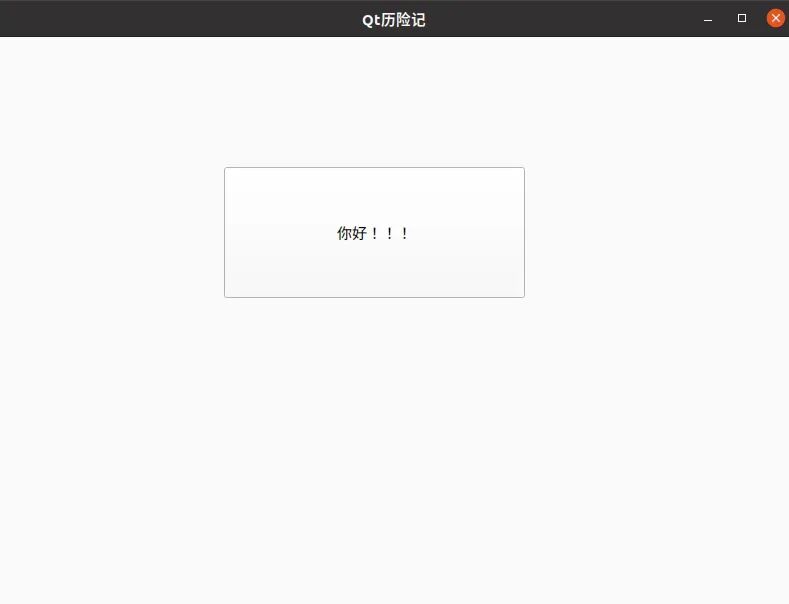 LinuxProgram Packaging and Release– Solution 1
 View the dynamic libraries that Qt_release depends on.
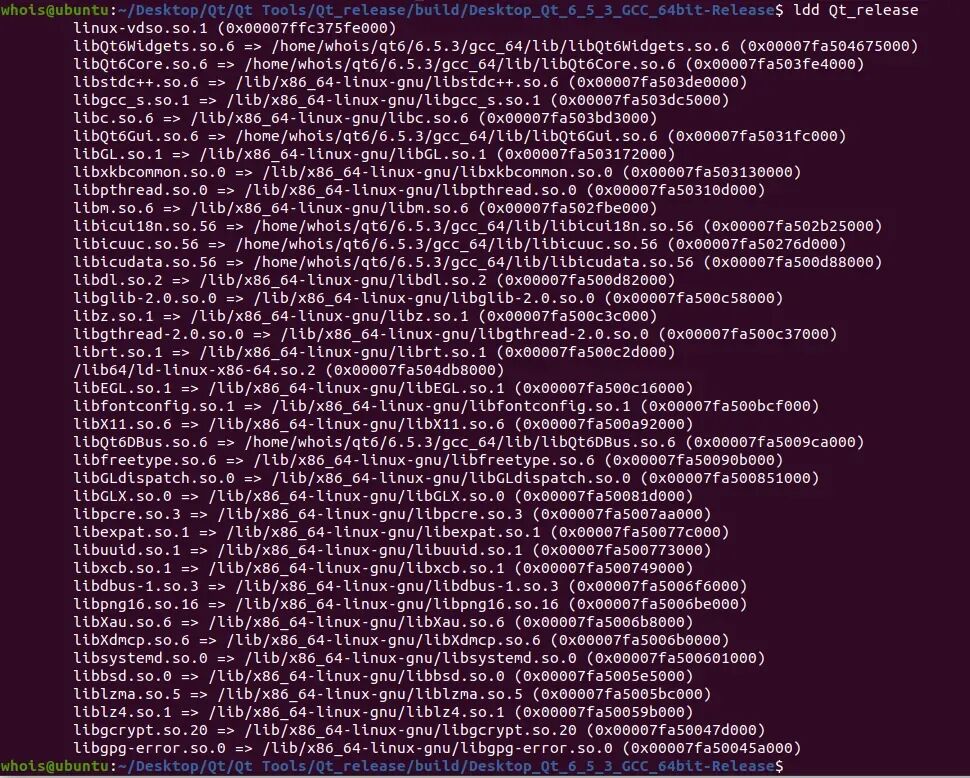 Copy this directory to the executable file directory.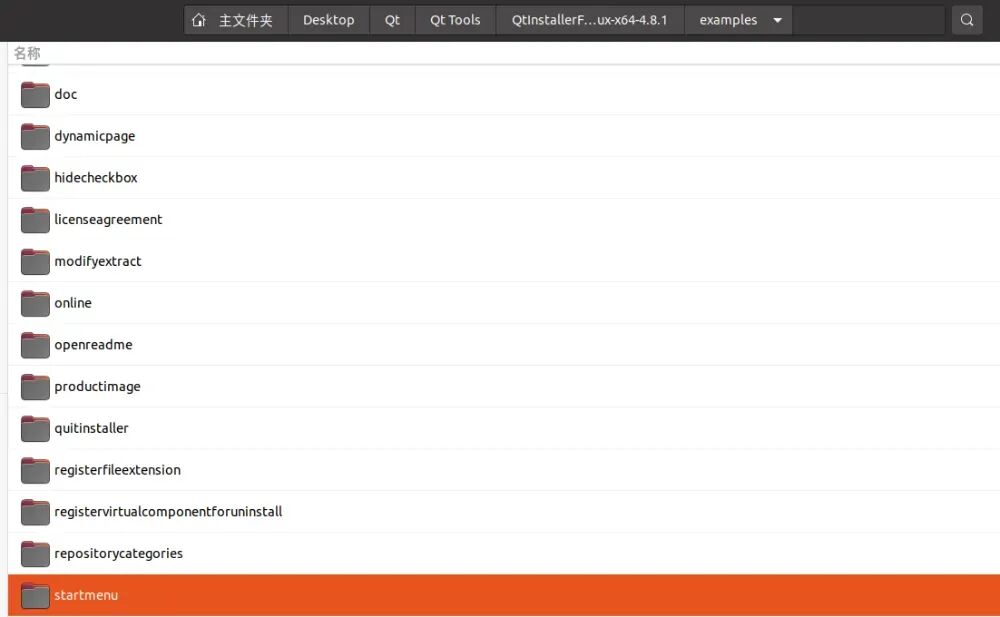
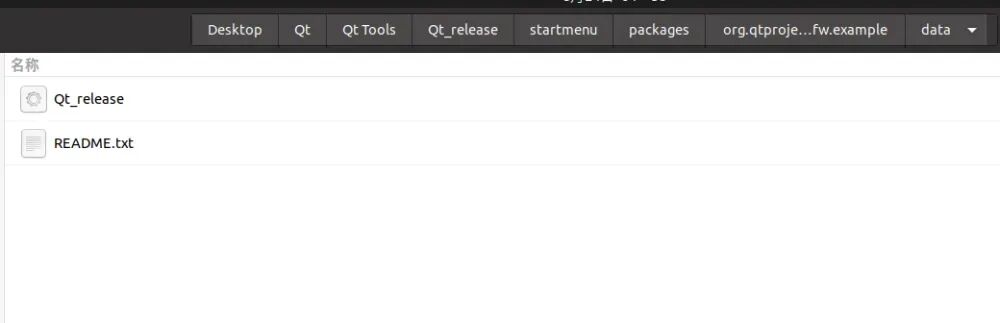
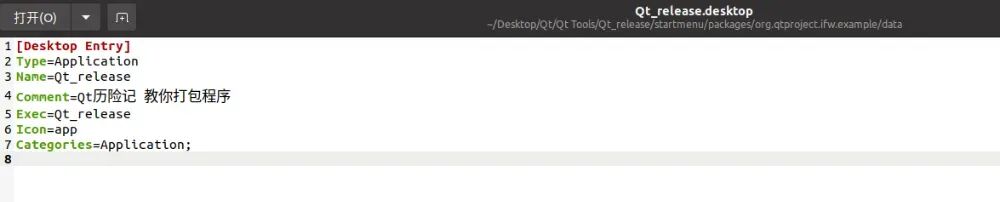
 Then create a file with a .desktop suffix in the folder, which is the desktop application configuration file, and place an image to use as the application icon.Official learning address:https://help.ubuntu.com/community/UnityLaunchersAndDesktopFiles
| [Desktop Entry]Type=ApplicationName=Fill in the application name hereComment=Describe the functionality of this program hereExec=This is the path to the executable file. The full path must only be used if the executable file is not specified in any path defined by the $PATH variable. For example, any file within the /usr/bin directory does not need to specify its full path in the Exec field, but only its filename, or it can be omitted if it is in the current path.Icon=This is the application icon. For example, all icons in the /usr/share/pixmaps directory do not need to specify their full path, but the filename without the extension should be specified. For example, if the icon file is /usr/share/pixmaps/wallch.png, the icon field should just be “wallch”. Or it can be omitted if it is in the current path. All other icons should specify their full path.Categories=Application; |
Note, in the current folder
| [Desktop Entry]Type=ApplicationName=Qt_releaseComment=Qt Adventure teaches you how to package programsExec=Qt_releaseIcon=appCategories=Application; |
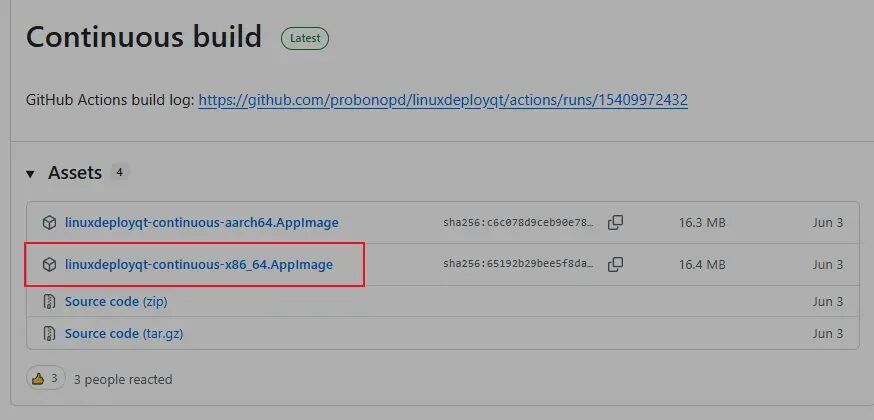
After completing the above work, there will be three files, then execute the following command: Download linuxdeployqtYou can download linuxdeployqt from GitHub. The command to download linuxdeployqt:
 All Qt environment variables
| #add qt envexport PATH=$PATH:/home/whois/qt6/Tools/QtCreator/bin/export PATH=/home/whois/qt6/6.5.3/gcc_64/bin:$PATHexport LIB_PATH=/home/whois/qt6/6.5.3/gcc_64/lib:$LIB_PATHexport PLUGIN_PATH=/home/whois/qt6/6.5.3/gcc_64/plugins:$PLUGIN_PATHexport QML2_PATH=/home/whois/qt6/6.5.3/gcc_64/qml:$QML2_PATHexport PATH=$PATH:/home/whois/Desktop/Qt/Qt\ Tools/QtInstallerFramework-linux-x64-4.8.1/bin |
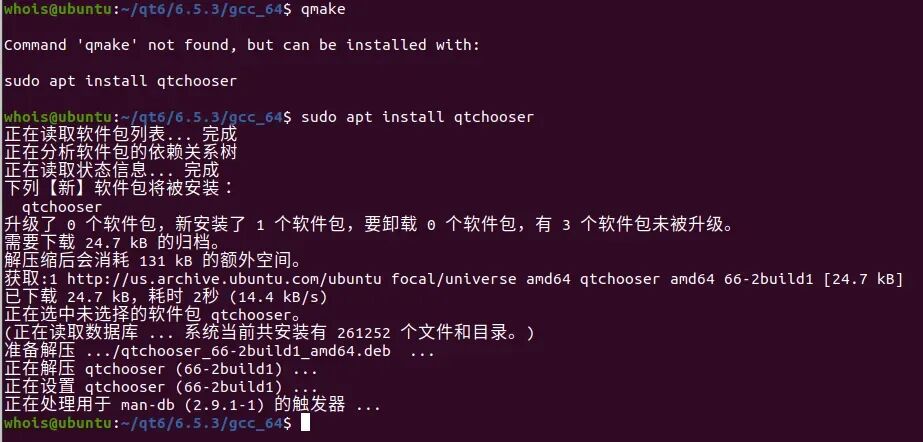
 linuxdeployqt-continuous-x86_64.AppImage is a precompiled AppImage file used to package your application into AppDir and/or AppImage. Here are the detailed steps to use this AppImage file:After downloading, you need to grant the file execution permissions:
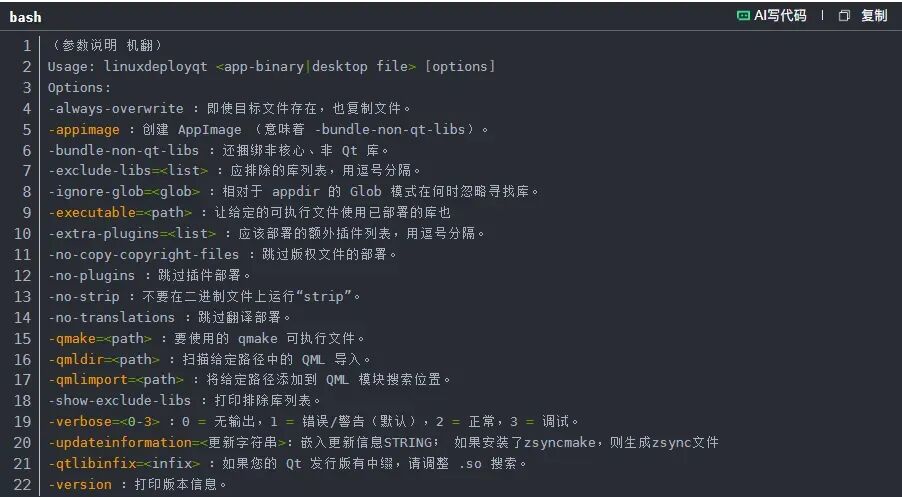 For convenience, copy the linuxdeployqt executable program to the /usr/local/bin folder, so you can use linuxdeployqt in other directories.
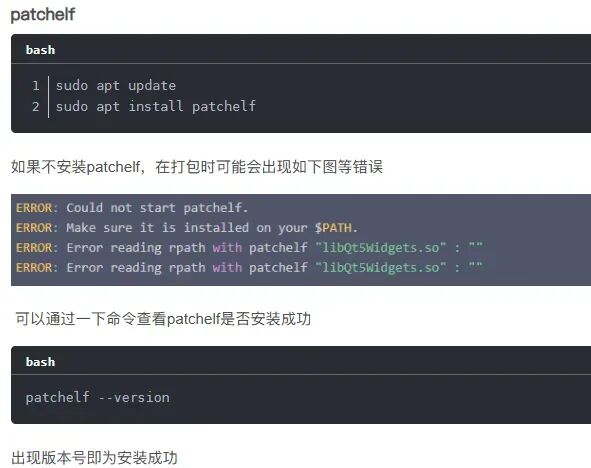 Enter this directory and start packaging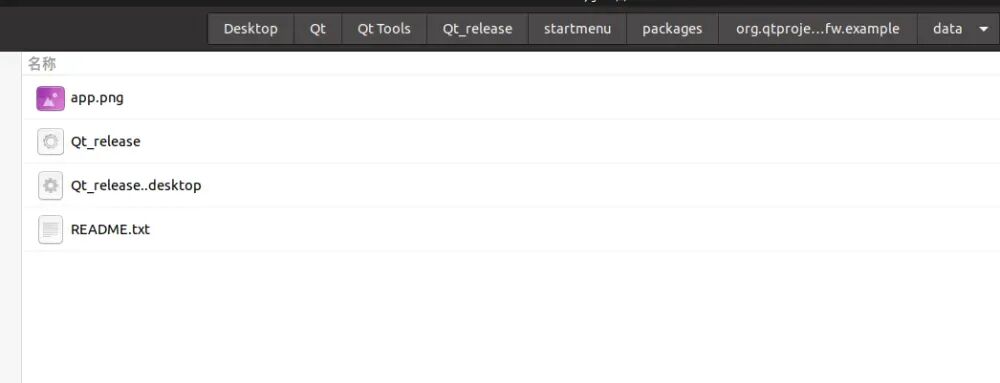
| linuxdeployqt Qt_release -appimage |
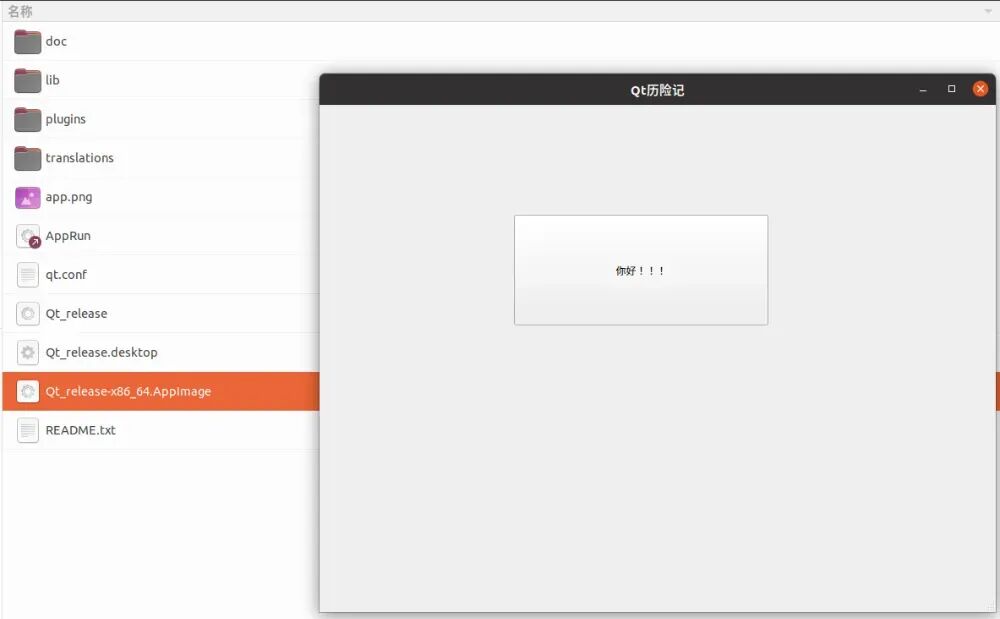
After creation, besides the three files you created, all others are generated by the command. Double-click the .AppImage file to run it, and to share with others, just send the .AppImage file.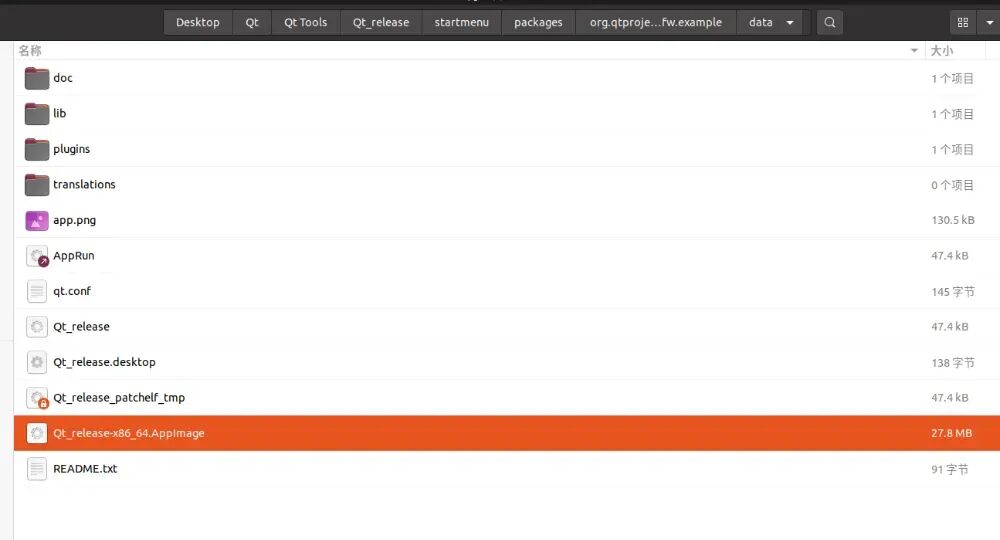 Execution successful
 LinuxProgram Packaging and Release– Solution 2Reference: 3.2.1. Windows Program Packaging and ReleaseReference: 3.3.4.1 Download linuxdeployqtThe configuration of the three files is as follows:Based on the above feasible solution, we will package this directory in another way, some of which can be deleted, but I will only mention the method, the rest you can try yourself.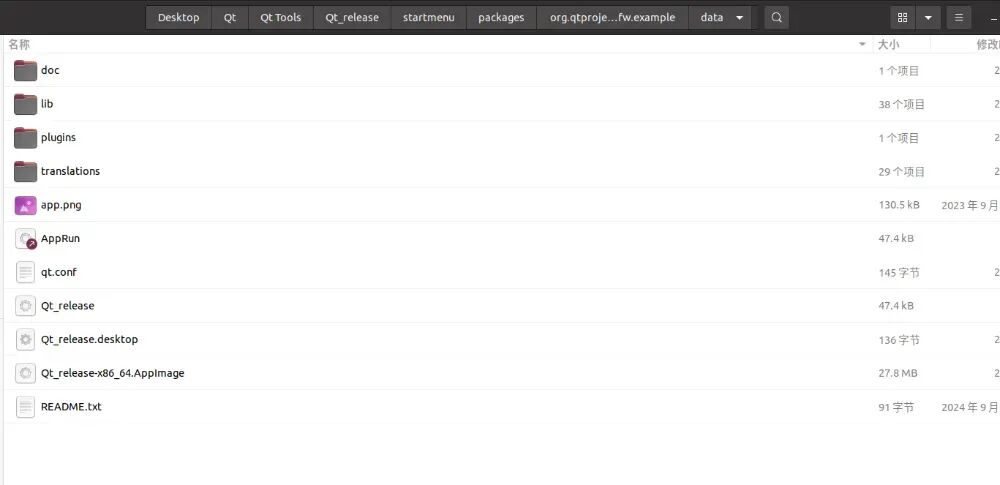
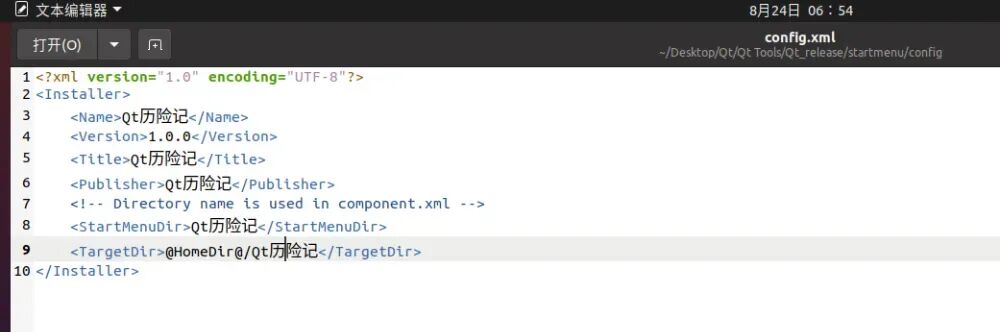
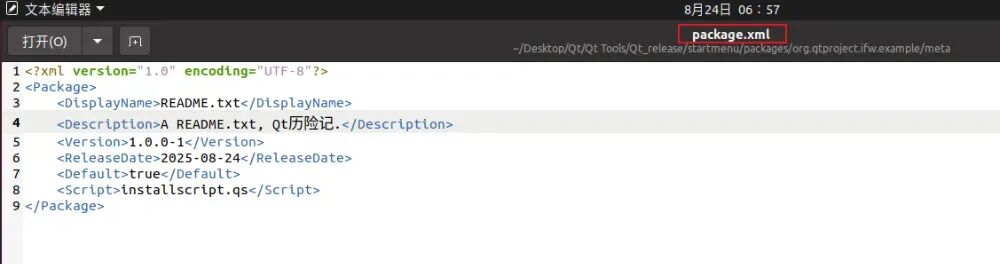
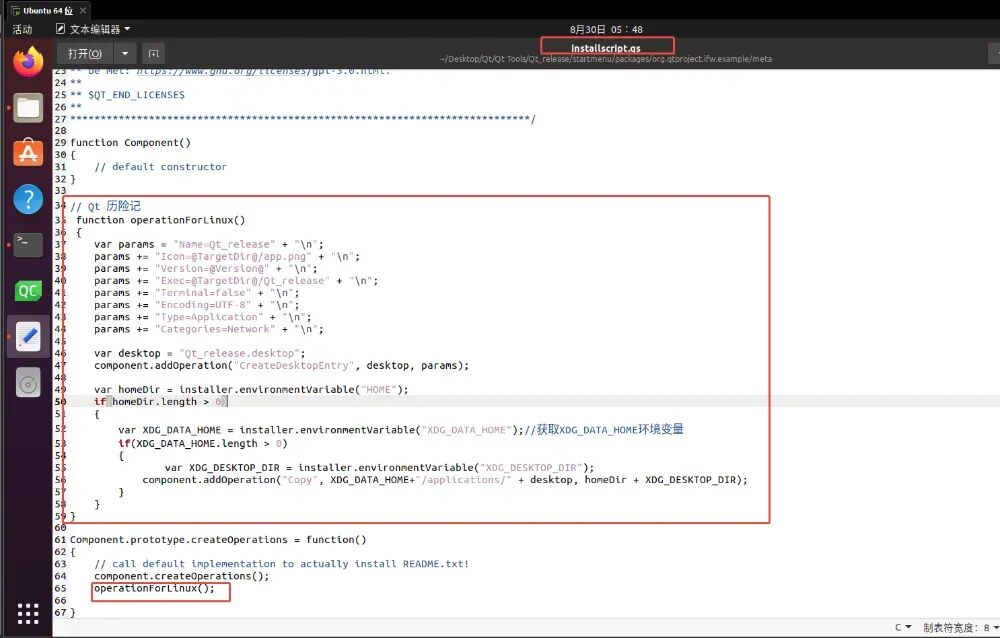 Start packaging: remember to be in this directory
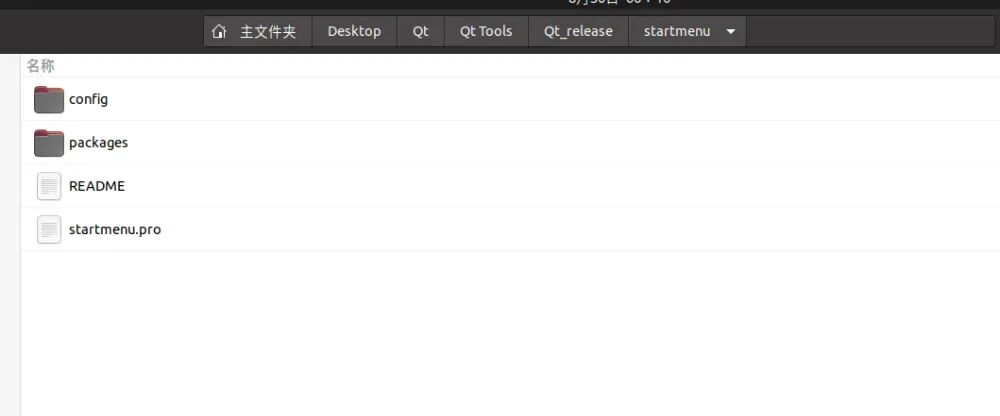 binarycreator -c config/config.xml -p packages Qt_release Install –verbose –af tar.gz
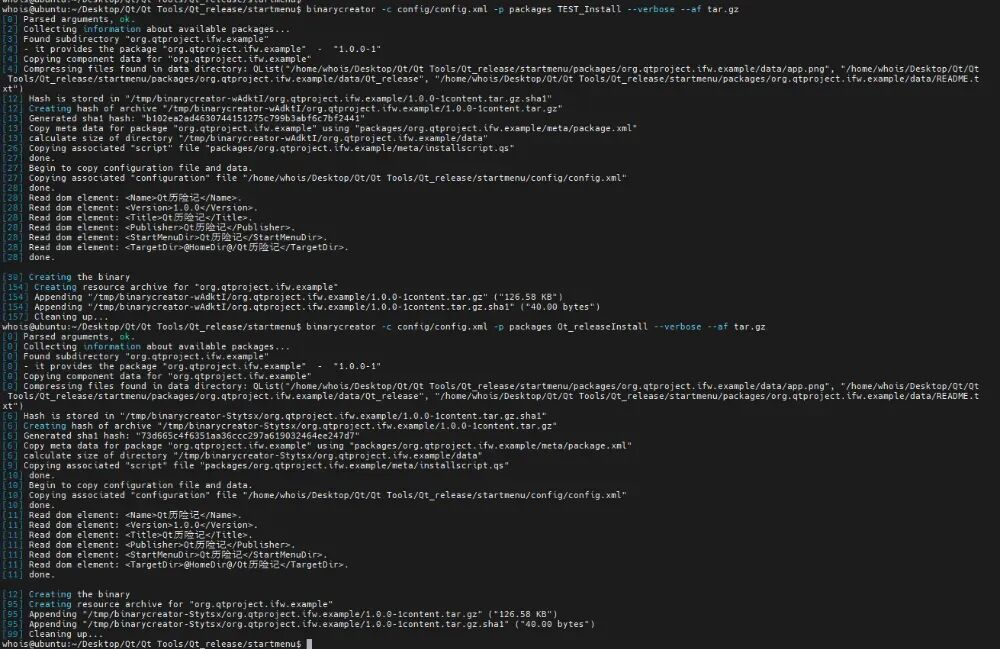 Double-click the installation package.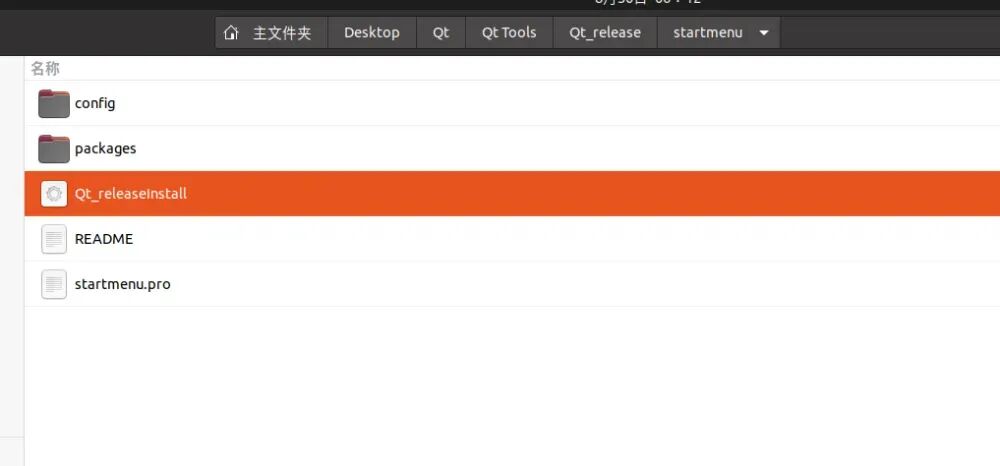
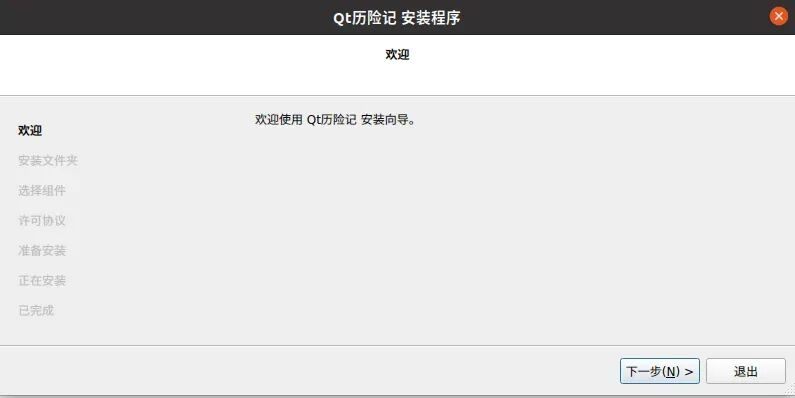
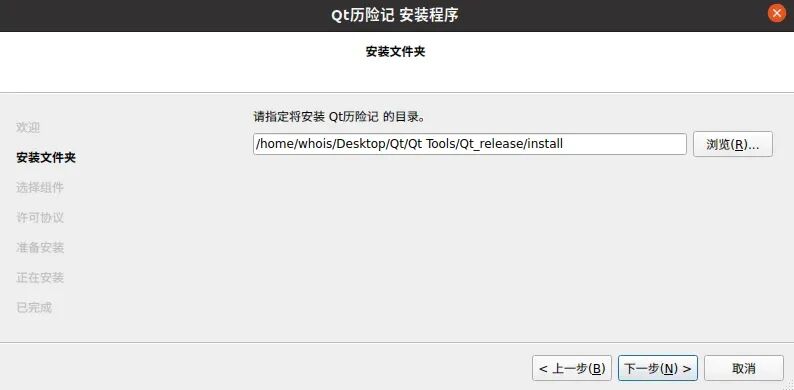
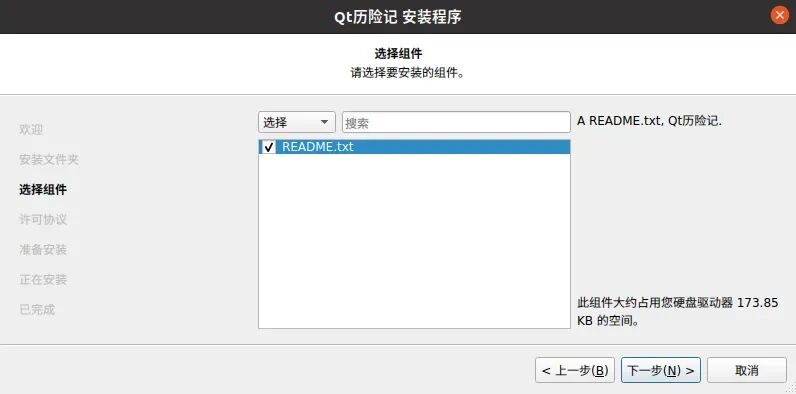
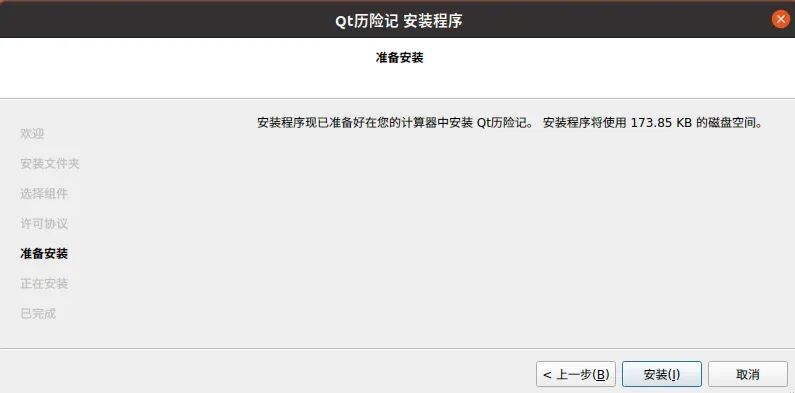
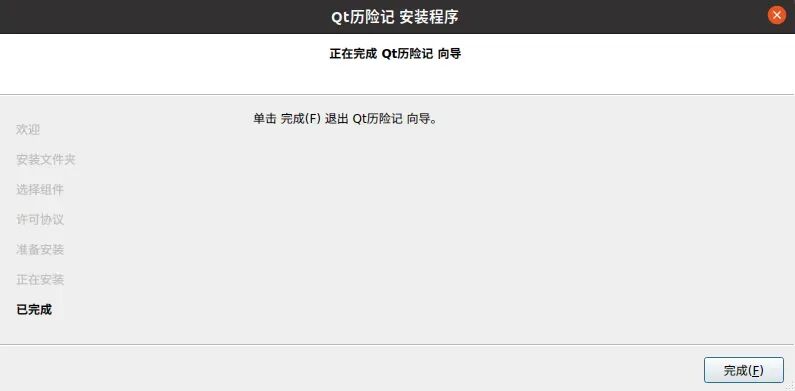 Installation successful
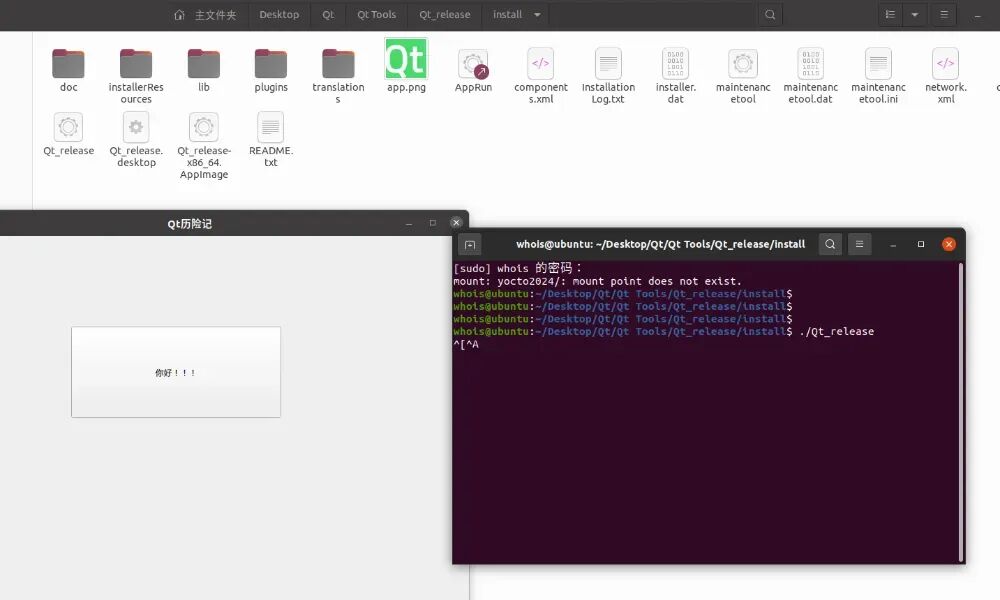 Now both of these can run. I will share the Linux files with everyone.This concludes the session, if you have any questions, contact Qt Adventure.
Therefore, I am here
Click the card below to follow me
↓↓↓

If you find it good, please click
Collect
Like
Looking
+1
❤❤❤