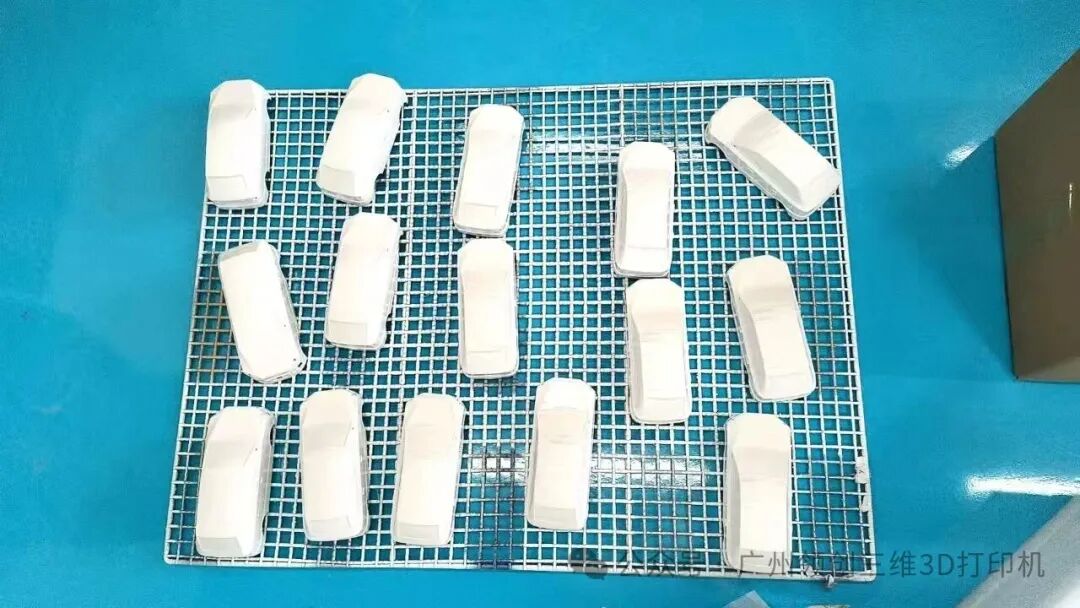
3D printing can generally be divided into two main technologies: FDM (Fused Deposition Modeling, which can be categorized into large-scale 3D printers and desktop 3D printers) and photopolymerization (mainly LCD and SLA). More specialized techniques like SLS (Selective Laser Sintering) 3D printing and metal 3D printing will not be discussed here. For beginners in 3D printing, it can be quite challenging to understand the differences between these two methods.
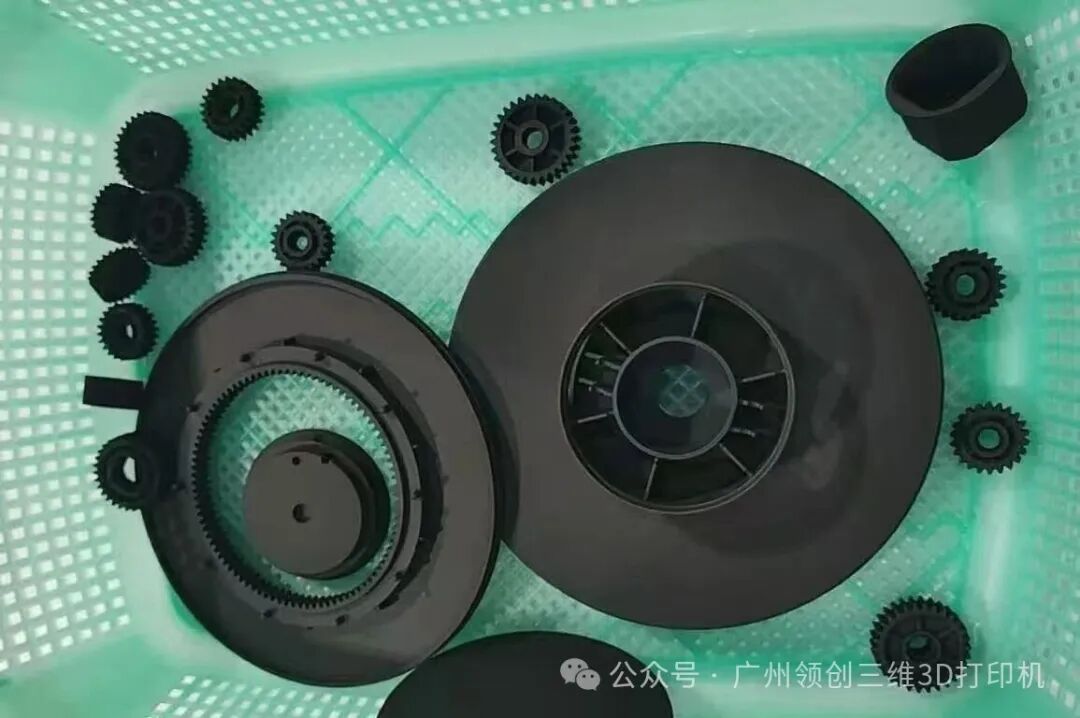
After printing, the models often cannot be used directly or are not in the best condition. Due to the unique forming method of 3D printing, the surface of the model will have a stepped layer texture. Even the most advanced printers cannot avoid these layer lines. Although we can adjust parameters or the positioning of the model during slicing to make the layer lines less noticeable, even the finest textures can still affect the overall appearance of the model. Therefore, most of the time, we need to perform some post-processing steps. Understanding the core points in printing principles, material selection, parameter settings, and post-processing can significantly improve the quality of the models.
Overall, after completing a 3D print, the main steps involved are: removing supports, cleaning (mainly using alcohol for cleaning after 3D photopolymer printing), curing (for photopolymer 3D printing), gluing, sanding, filling, polishing, and coloring (as needed).
Removing supports does not require any special techniques; it simply involves either breaking them off or using pliers to disassemble them, depending on the weight of certain parts. For cleaning and curing, high-concentration alcohol is used to clean the surface of the photopolymer 3D printed model to remove residual resin, followed by drying and using a UV lamp of the corresponding wavelength for secondary curing to make the surface drier and more stable. It is important to note that during alcohol cleaning, the model should not be soaked for too long to avoid softening or deforming thin samples; similarly, the secondary curing time should also be appropriate.
Gluing is commonly used for combining multiple models. Common adhesives include hot melt glue, AB glue, acrylic glue, super glue (502), Bondo, etc. When gluing, ensure the models are fixed to prevent shifting.
The quality of the model is primarily influenced by the quality and settings of different 3D printers, but the most significant factor is the sanding step. Sanding can remove unnecessary rough parts from the model’s surface, improving its visual effect. It is recommended to use wet sandpaper for sanding; this not only provides a better finish but also prevents the surface from heating up due to friction, which could damage the model’s quality. Start with a lower grit sandpaper and gradually move to higher grits, using different tools based on the surface roughness. For instance, marks left by supports can be addressed with a file, while larger areas are more conveniently sanded with sandpaper. Sandpaper is categorized by grit size, with lower numbers indicating larger particles. For materials like PLA and ABS, commonly used grits range from 80, 120, 600, 800 to 2000. Sandpaper from 800 to 2000 is mainly used for polishing and has little effect on eliminating layer lines. Therefore, when using sandpaper, start with lower grits to remove layer lines and finish with higher grits for polishing. It is advisable to wet the sandpaper or model during sanding to effectively reduce dust. Electric sanding tools can also be used in conjunction.
Filling involves using materials like body filler to fill in the gaps of the model. Common filling materials include body filler, water-based filler, and even toothpaste, super glue mixed with talcum powder, quick-curing resin, or any other materials you can think of. Regardless of the material used, the goal is to fill the gaps and improve the smoothness of the model.
Polishing can be done using higher grit sandpaper for secondary polishing or by soaking and polishing with PLA and ABS polishing liquids (for PLA and ABS, do not soak for too long; a few seconds is sufficient). It is generally recommended to use sandpaper or polishing tools for gradual polishing. Polishing liquids can easily damage the edges of the model.
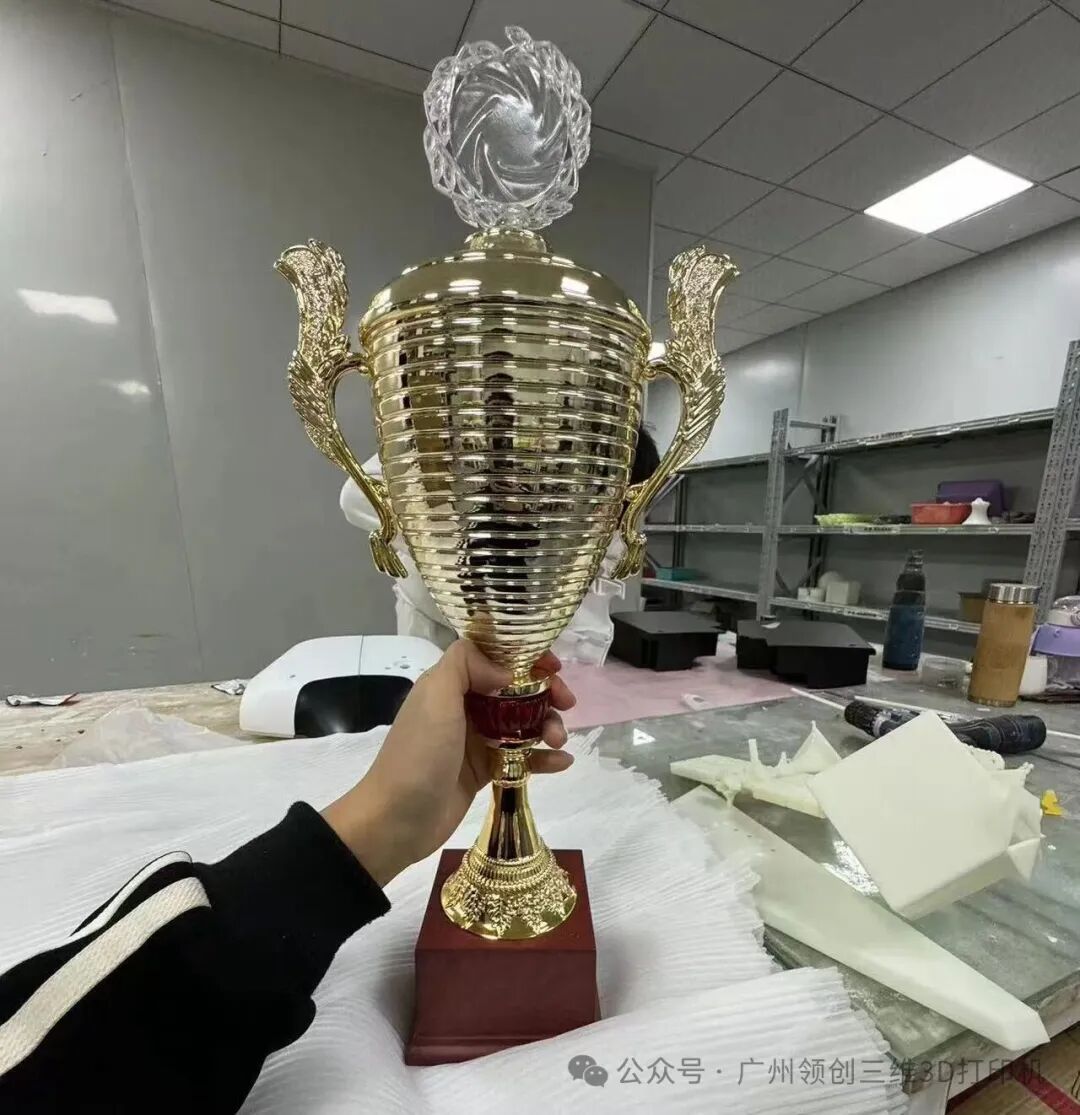
Finally, whether to paint depends on personal needs. There are mainly two methods for painting: airbrush painting and hand-painting with pigments. More professional spray painting will not be discussed here. Airbrush painting is best done in a well-ventilated environment with proper protective measures, as oil-based paints should not be inhaled excessively. Friends who are customers should take note. Those with artistic skills can use acrylic paints for hand-painting, which requires a high level of skill and some practice time.