01
Introduction
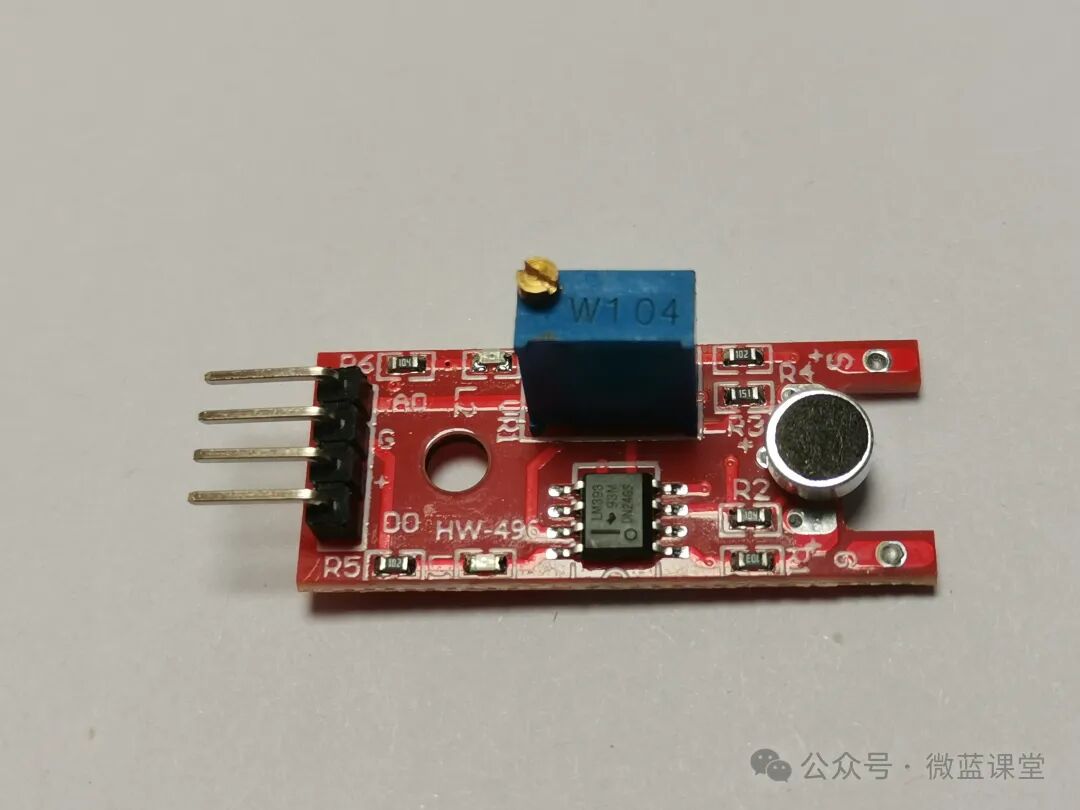
The microphone sensor is a type of microphone, but it is not as sensitive as a high-sensitivity sound sensor.
02
Principle
The principle is the same as that of the previously introduced high-sensitivity sound sensor.
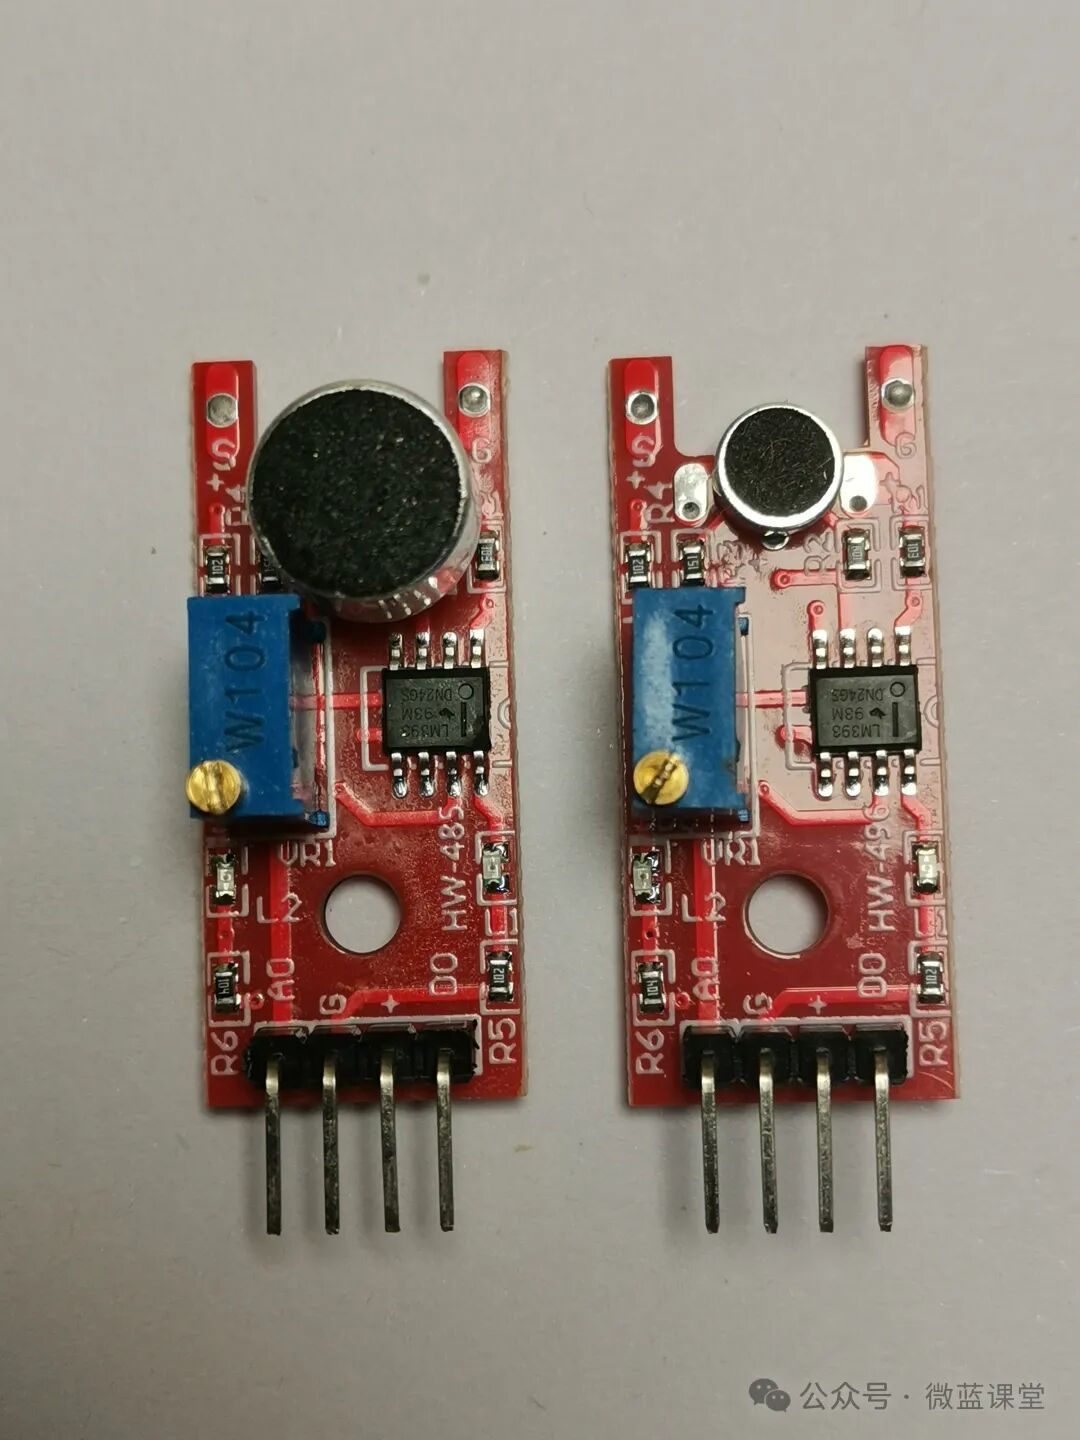
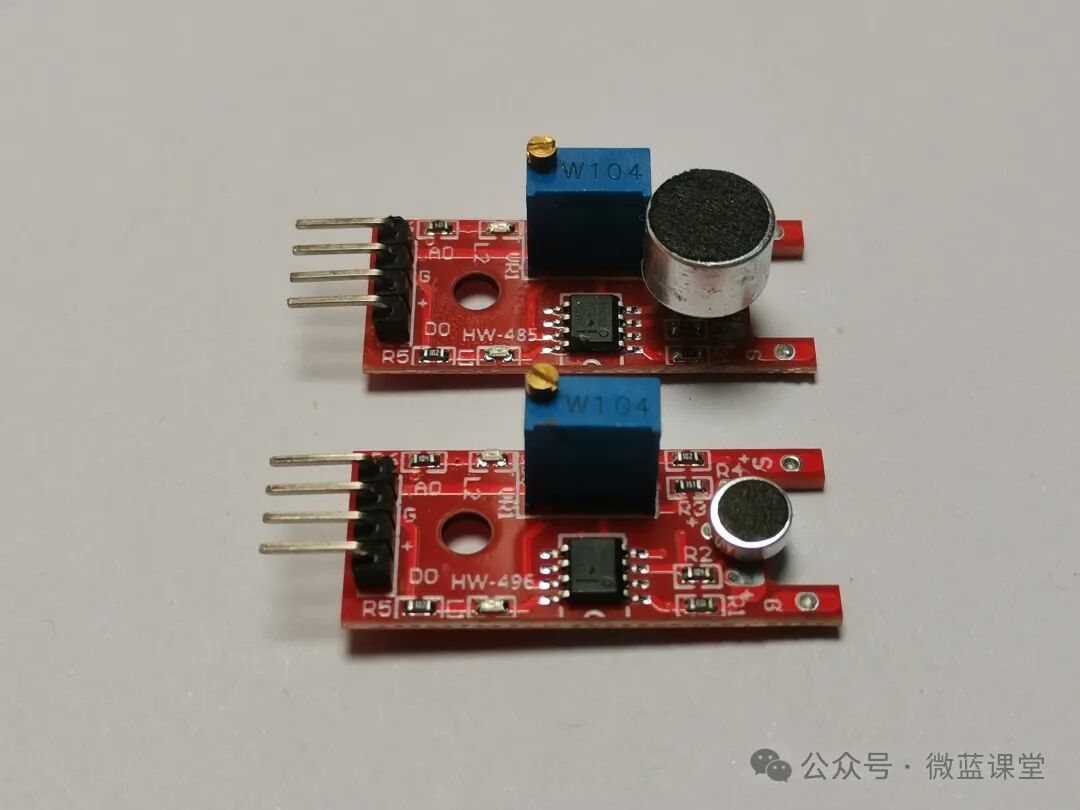
Compared to the high-sensitivity microphone, this microphone is smaller, as shown in the comparison image below.
03
Wiring
- G: Power negative, connect to GND
- +: Power positive, connect to 3.3V
- DO: Digital output, connect to P0, outputs a high-level signal when the sound intensity reaches a certain threshold
- AO: Analog output, connect to P1, outputs the microphone’s voltage signal in real-time
Note: After wiring as above, you need to adjust the threshold. There is a rotating button on the blue W104. If the LED on the sensor is always on, turn the rotating button counterclockwise until the LED turns off. This may require many turns, so be patient. Once it turns off, slowly adjust clockwise to the state just before it turns off.
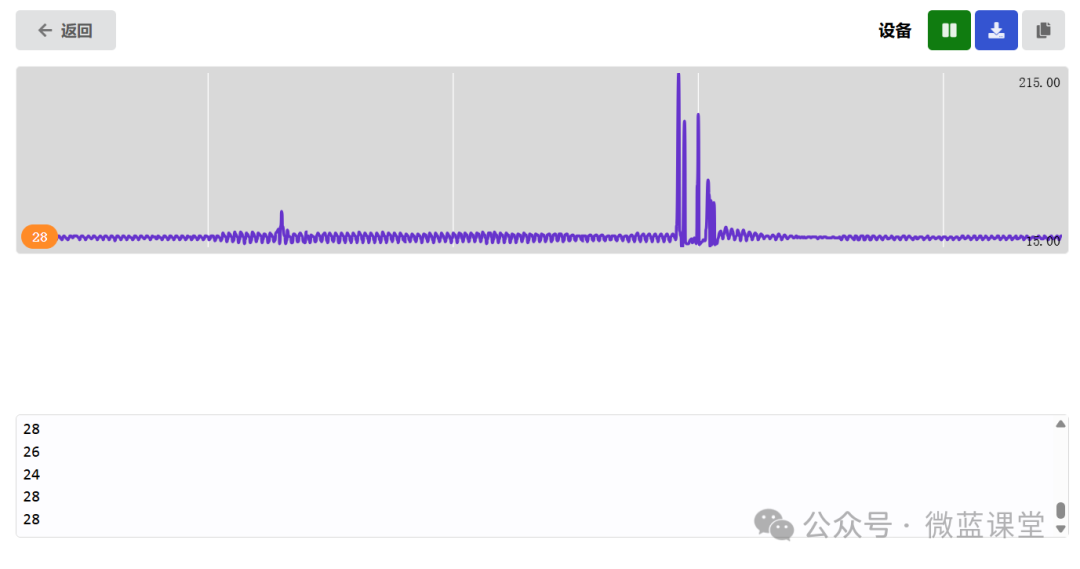
We will first observe the data in serial mode. When there is no sound, it is about 28, and when sound is detected, the voltage increases.
04
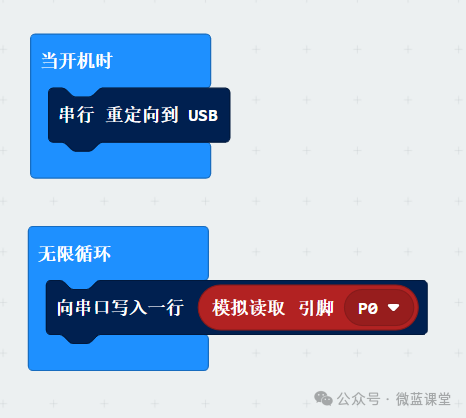
Program
Program Explanation: Continuously checks the value of pin P0. If it is greater than or equal to 30, it indicates that there is sound, and displays a check mark.
