01
Introduction
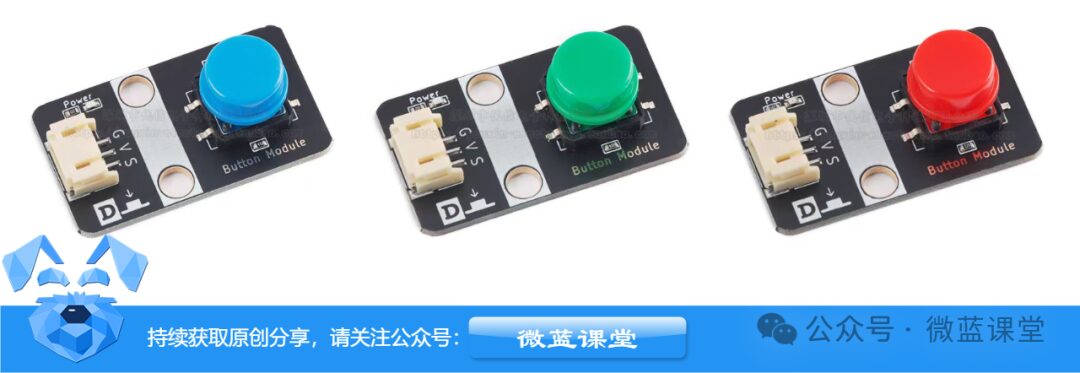
The button, also known as a tactile switch, can create very interesting interactive projects when used with other sensors. In the image below, you can see a red button and a blue button; they only differ in color, but their usage is the same.
02
Principle
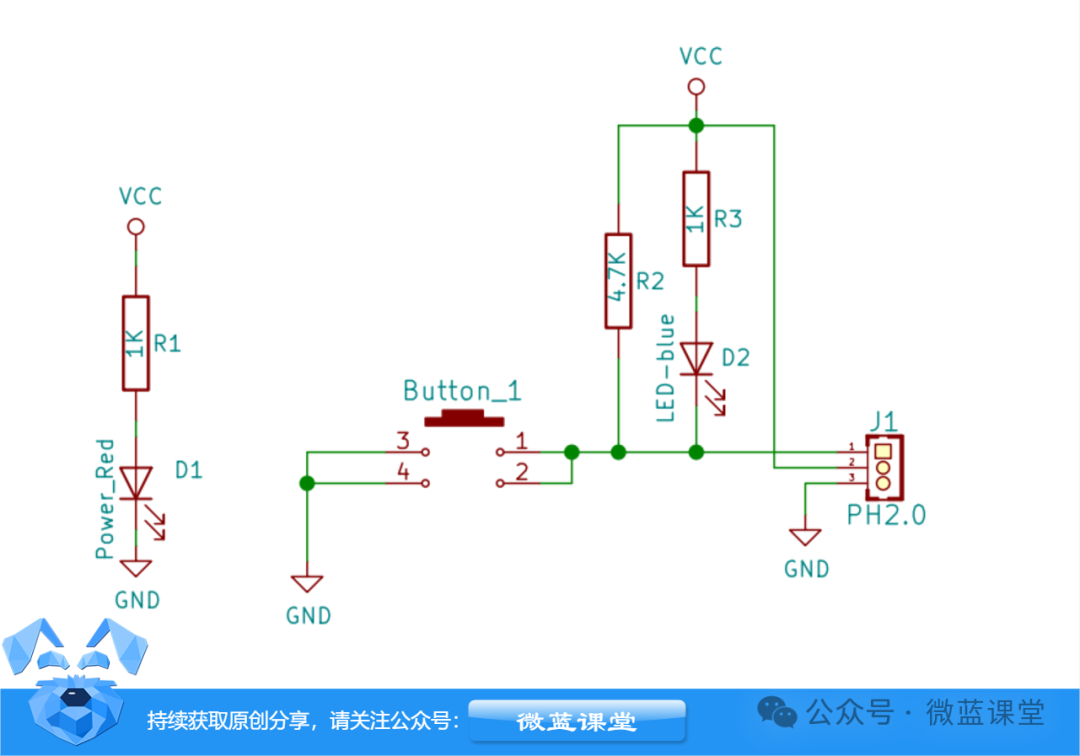
When you press the button, you can hear a crisp sound as the switch closes. When you release the pressure, the switch opens. The internal structure relies on a metal spring to change states based on pressure. As shown in the diagram, under normal conditions, pins 1 and 2, as well as 3 and 4, are connected; when we press the button, the four pins connect with each other. When the button is released, it returns to its normal state. When our module is properly connected, the red power light on the module lights up. When the button is pressed, the module outputs a low signal, and the blue signal light turns on. After releasing, the blue light goes out, and the output becomes high.
03
Wiring
The button requires three wires to be connected:
-
G: Ground, connect to GND
-
V: Power positive, connect to 3.3V
-
S: Signal wire, connect to P0
04
Program
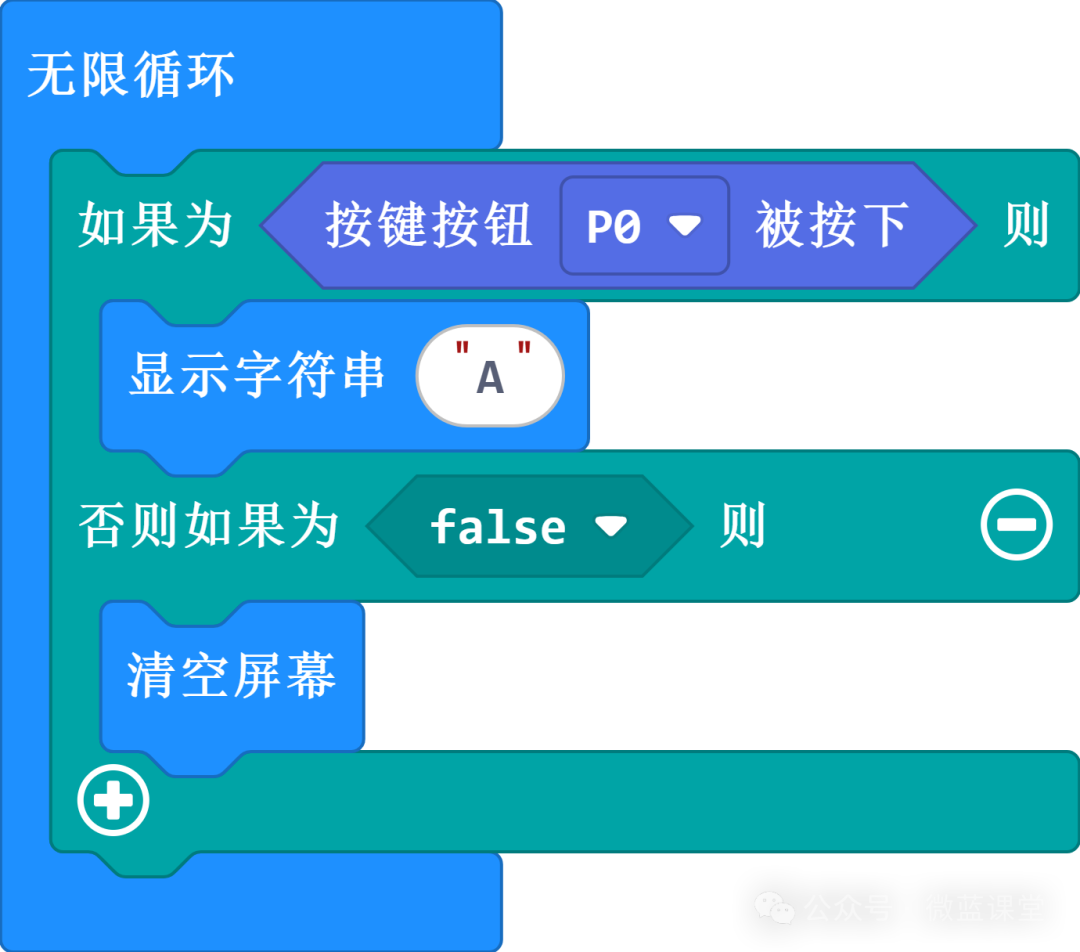
Program Explanation: First, add the extension: https://github.com/tim2anna/pxt-microblue, when the button is pressed, it displays the letter A, and clears the screen when the button is released.
05
Demonstration