Click the blue text above to follow us
Resource SharingLinux beginners’ course from entry-level to advanced practical training↓ Scan to watch the video ↓
1. Install Samba:
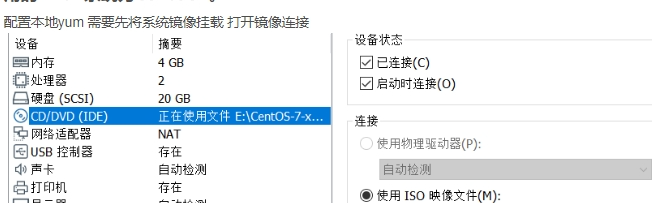
On a Linux system, you can use the yum command to install it, but you need to configure the local YUM first. The Linux system used in this tutorial is CentOS7.
To configure the local YUM, you first need to mount the system image and open the image link.
Then create a mount point: mkdir /mnt/cdrom
mkdir /mnt/cdrom mount /dev/cdrom /mnt/cdromIn the /etc/yum.repos.d/ directory, create a yum source file named centos7.repo with the following configuration:
[centos7]
name=centos7
baseurl=file:///mnt/cdrom
enabled=1
gpgcheck=0
After configuring, check with:
yum clean all
    yum makecache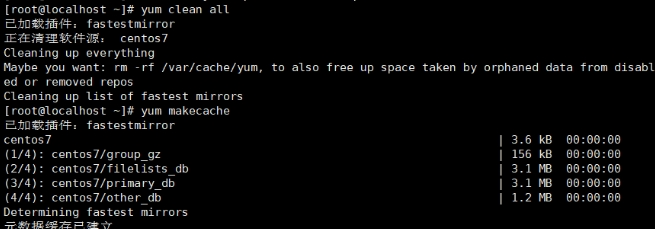
Then download Samba:
yum install samba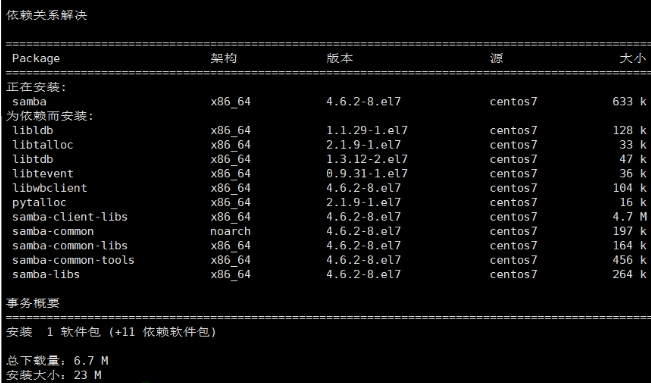
Enter ‘y’ here to start the installation. Once completed, you are done.
2. Configure Samba:
To configure Samba, you first need to edit the configuration file /etc/samba/smb.conf, then add the following content:
vim /etc/samba/smb.conf
[sharename]
path = /path/to/shared/directory
writeable = yes
browseable = yes
public = yes
Here, sharename refers to the name of the shared folder, and path specifies the path to the shared folder. Writeable, browseable, and public control the access permissions of the folder.
3. Start the Samba service:
Use the following command to start the Samba service:
systemctl start samba4. Create a user and set a password:
To use the Samba service, you first need to create a user with the command: smbpasswd -a name. This user must be registered, and set a password afterwards.
5. Pre-start tasks:
Use the following command to restart the Samba service:
systemctl restart sambaAllow through the firewall:
firewall-cmd --permanent --add-service=samba
firewall-cmd --reload
6. Connect to the Samba server:
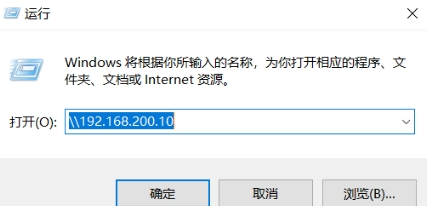
On your local machine, press Win+R and enter the Samba address.

 For course inquiries, add: HCIE666CCIE↑ Or scan the QR code above ↑If you have any technical points or content you want to see, feel free to leave a message below!