Today, I will share with you how to make an ESP8266 drone and its working principle (Note: This drone can climb walls).
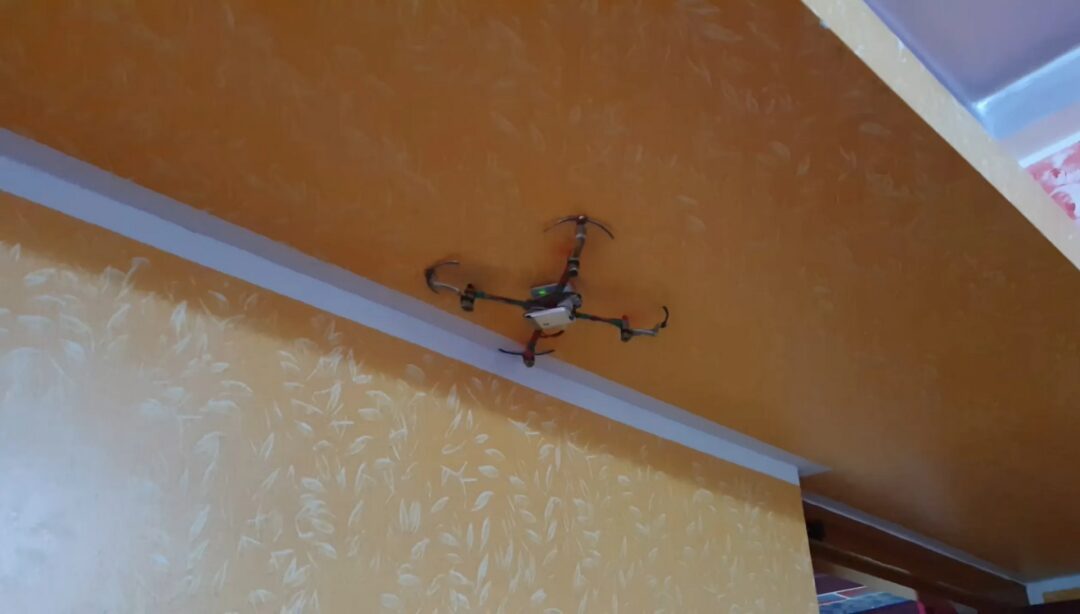
We all know what the function of a drone is, which is to fly. But if I told you that this drone can also climb up walls or dive underwater like a submarine, would you find that a bit amazing? The drone introduced below can do just that!
Playing with drones requires a flight controller, but if we don’t have much money to buy one, what can we do? We can make our own flight controller (a complete video demonstration is at the end).
Required Components
Now, let’s take a look at the main components of the drone:
-
ESP8266 -
MPU6050 Acc/Gyro Module -
Brushed Motor -
Propeller -
500 mAh LiPo 3.7V -
Si2302 MOSFET (5x) -
Pencil
If you are an electronics enthusiast, you will find that you have all the components listed below.
Tools Used
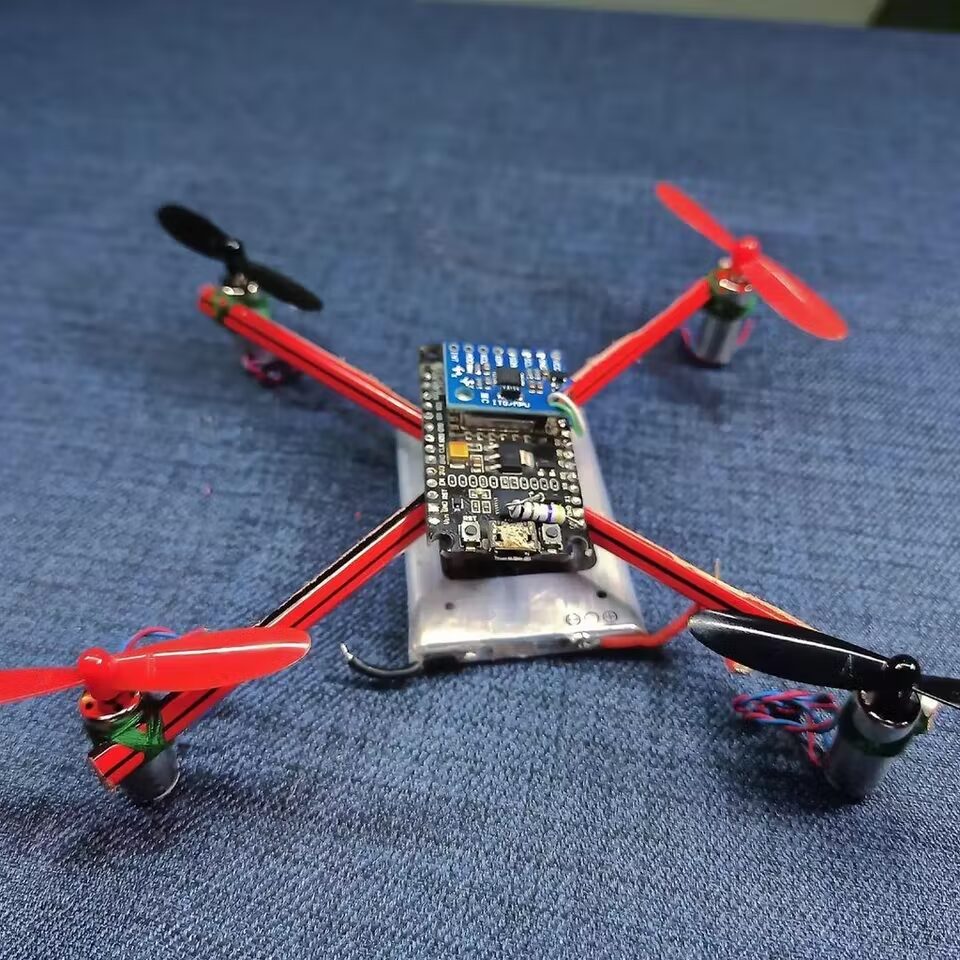
A drone consists of a frame, motors, propellers, electronic motors, a flight controller, and a battery.
● Flight Controller
The flight controller (also known as FC) is the brain of the aircraft. It is a circuit board with a series of sensors that can detect the drone’s motion and the user’s commands. If you tell it to move forward, the flight controller will adjust the speed of the rear motor to make it go forward.
● ESP8266 Module
To communicate with the drone, we need a Bluetooth or WIFI connection, so we use the ESP8266 Wi-Fi module, which has built-in Wi-Fi that we can use for communication.
ESP8266 is open-source, interactive, programmable, low-cost, simple, smart, and the lowest-cost Wi-Fi hardware.
As for the drone’s flight range, tests have shown a range of about 70 meters, using a Samsung phone as a WiFi hotspot and remote controller.
● MPU6050
MPU6050 IMU is a low-cost device that includes a gyroscope and an accelerometer.
We will use the MPU-6050 and ESP8266 module to make a drone.
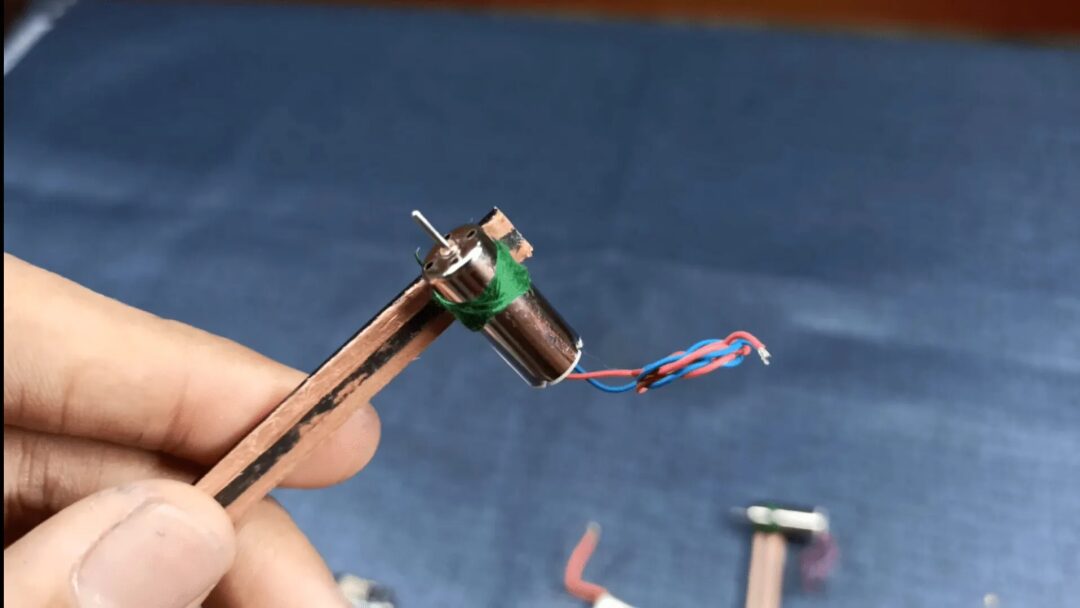
● Coreless Motor
Coreless motors are micro motors used for quadcopters and drones, and these motors are coreless, meaning there is no metal core in the rotor. Coreless motors can achieve higher speeds at lower loads. These motors are suitable for micro drones, quadcopters, or mini projects.
● Propeller
The purpose of the propeller is to generate thrust and torque to keep the drone flying.
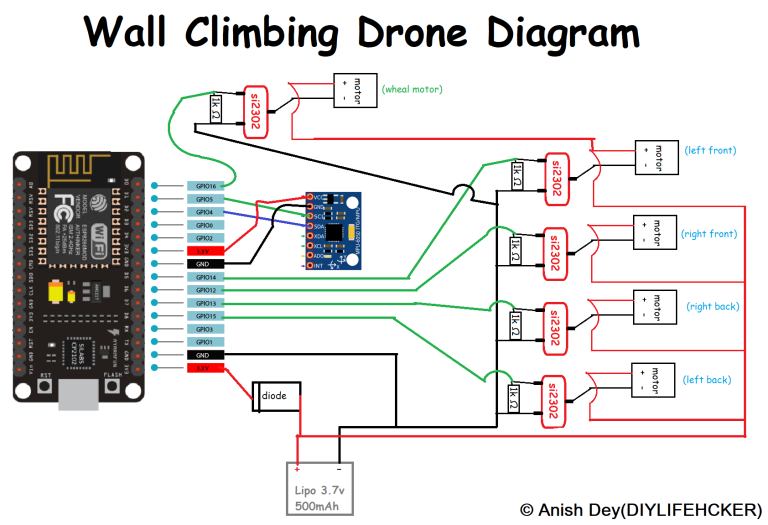
As shown in the image above, this is a schematic diagram of the receiver control module based on ESP12e (ESP8266).
Circuit Connection
Connect the circuit according to the schematic diagram above, paying attention to the connection details of each component.
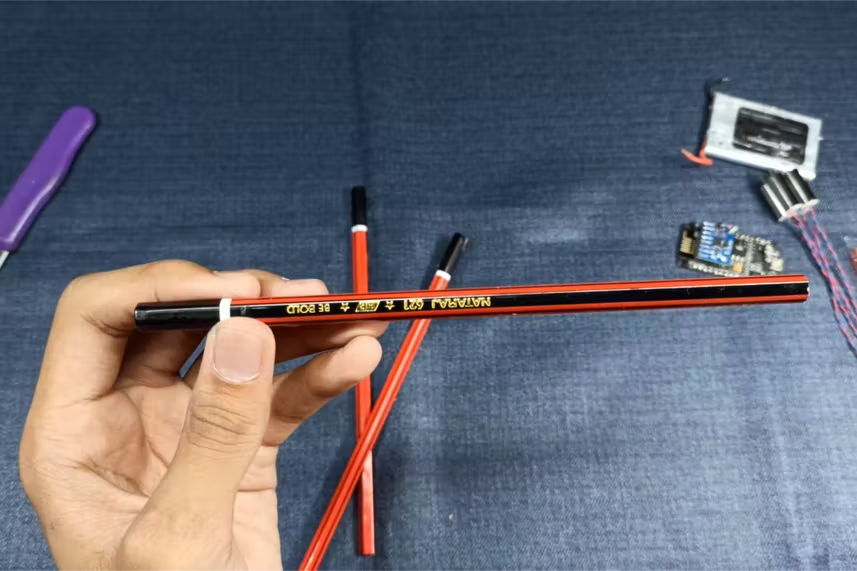
Frame
The frame provides structure and rigidity, and it is the mounting position for all components.
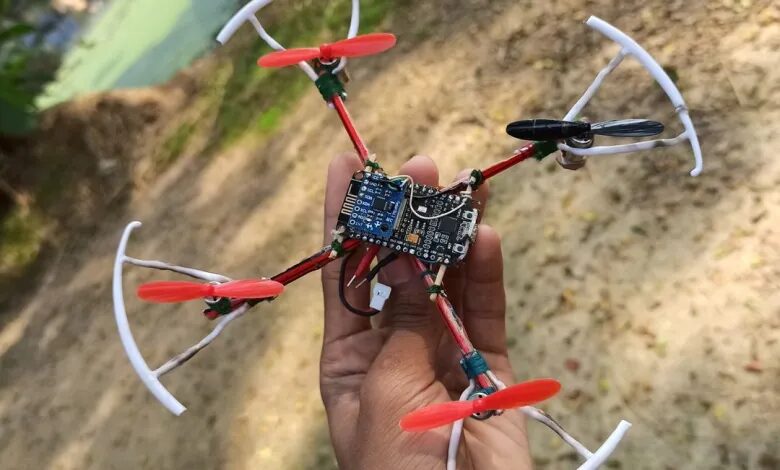
Here, a wooden pencil was chosen and shaped into a quadcopter form.
If you have a 3D printer, you can print a better frame.
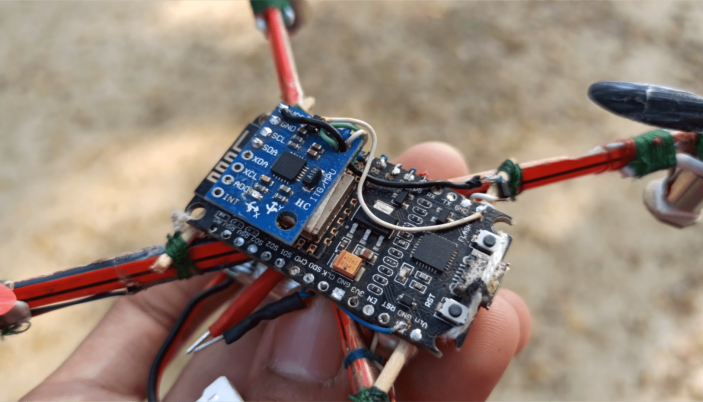
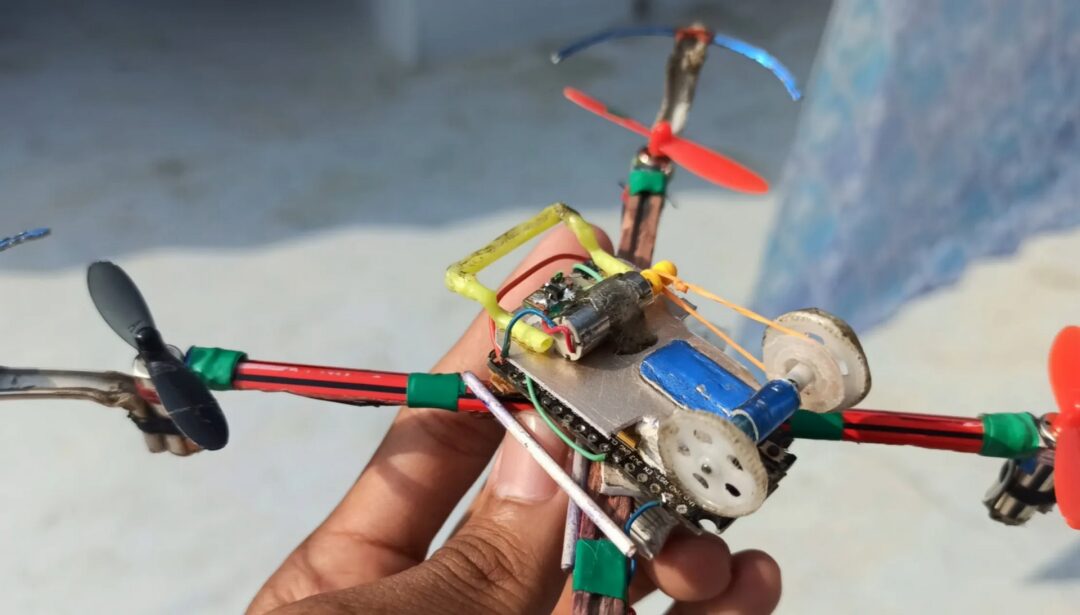
Assembling the Drone
This is the drone frame made with a pencil, please see the photo.
To connect the motors, we need to place the motors on the frame arms.
Installing All Motors
Two motors rotate clockwise, and two motors rotate counterclockwise (see reference image). If a motor is not rotating in the correct direction, just switch the polarity of the motor.
-
Check the battery and voltage -
Check if all propellers are securely connected -
Check all motor fixtures
Remember to unplug the battery after flying, and reattach the battery before flying.
Software Section
It is recommended to use Arduino IDE: If you want to edit (i.e., the SSID and password of the WiFi network – Android hotspot)
-
Install Arduino IDE -
Install ESP8266 board -
Install <span>ESP8266WiFi.h</span>library
Copy the code and modify your WiFi SSID and password in the code (the code can be downloaded in a package at the end):
#include<Wire.h>
#include <ESP8266WiFi.h>
#include <WiFiUdp.h>
The code is too long, so it is not pasted here for easy reading; you can download it at the end.
The above<span>Drone_Final.ino</span> file can be downloaded as a package at the end.
Open Arduino IDE, copy the code from<span>Drone_Final.ino</span> and paste it into Arduino IDE.
By editing the following two lines, edit your network’s SSID and password in the code.
WiFi.begin("Diyprojectslab", "romeooo"); //ssid or pass
-
In Arduino IDE, go to “Tools” > “Board” > select “NODEMCU 1.0 (ESP – 12E Module)” -
Go to Tools, select Port -
Change the WI-FI name and password from the above code -
Now click the upload button to upload the above code -
If all goes well, you should see the blue LED on the ESP8266 start blinking every second.
Android App Setup and ESP8266 Drone Testing
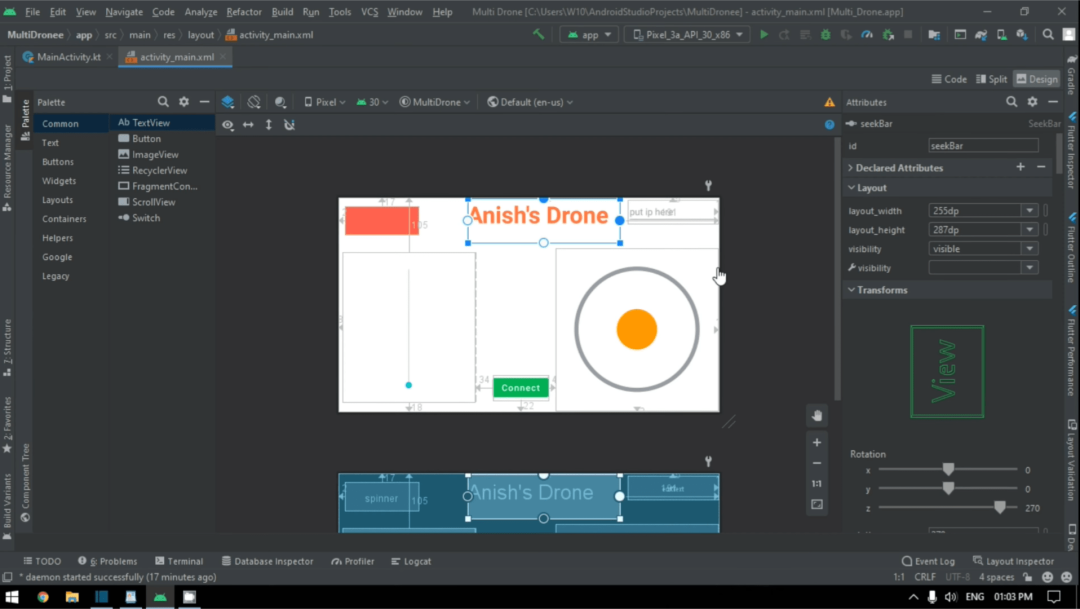
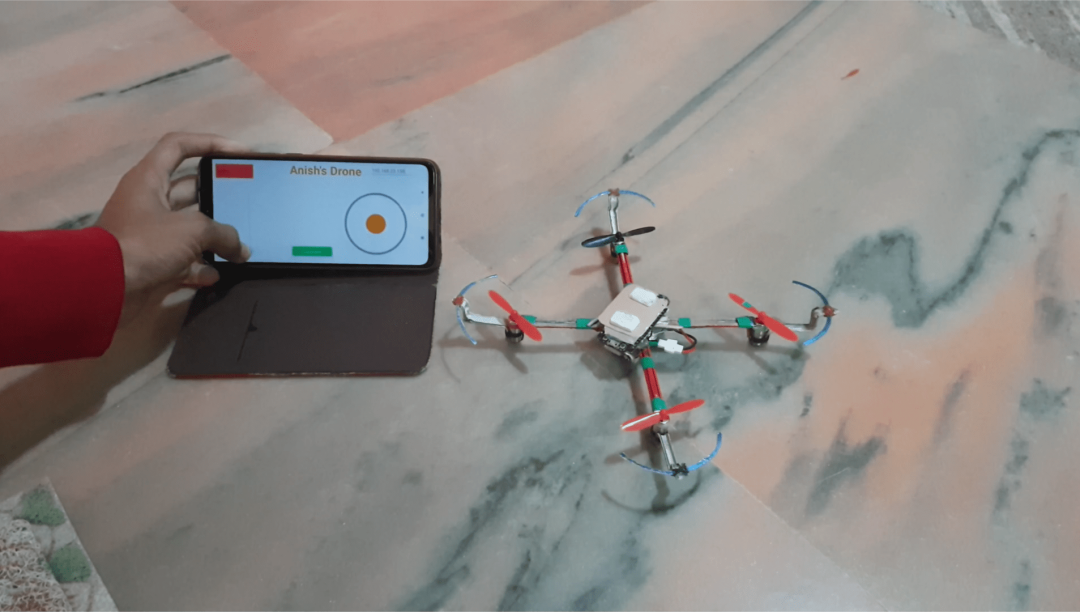
You just need to download the App file attached to this step onto your Android phone.
This Android application was developed using Processing for Android App.
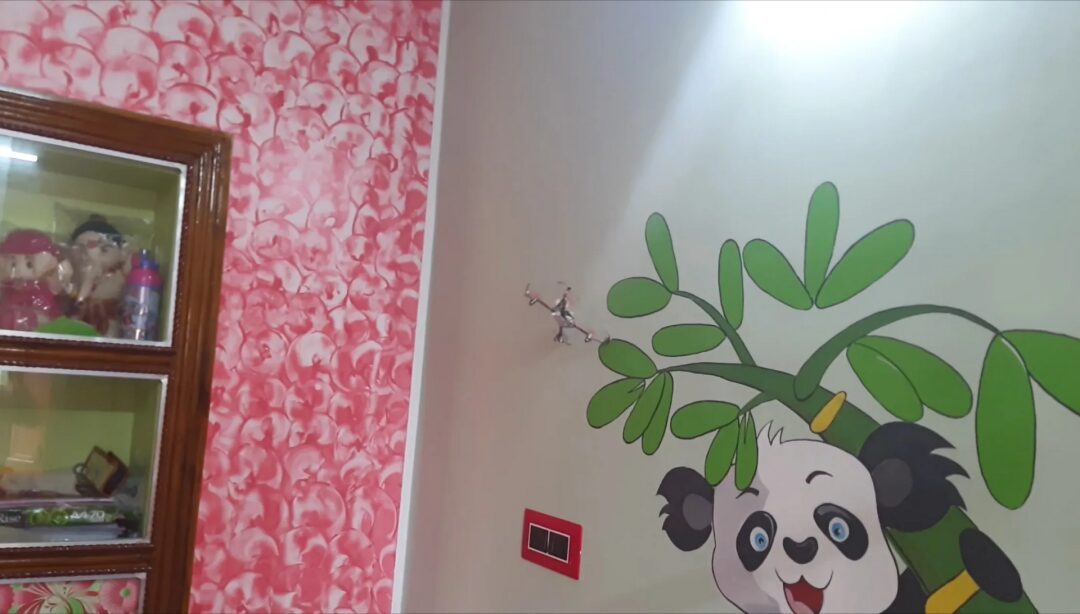
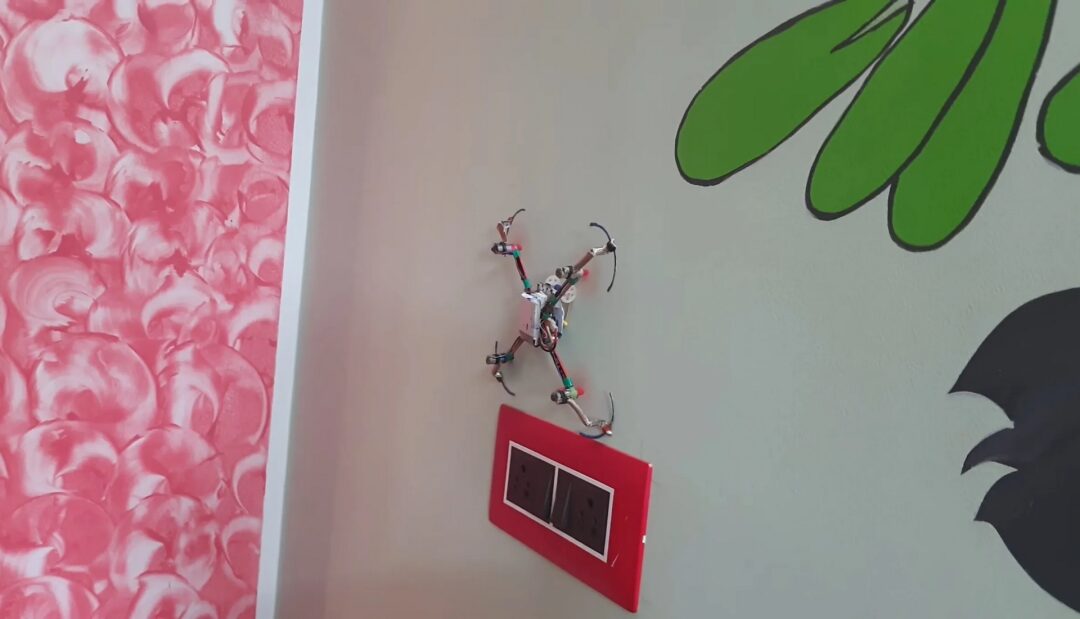
A wall-climbing project based on NodeMCU flight controller and Android app control. Complete details and explanatory video.
I believe you will love it.
Author: projectslab
Source: DF Maker Community