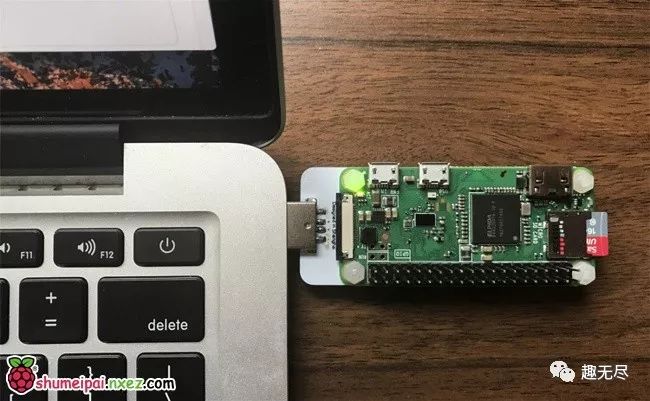
The Raspberry Pi Zero is an excellent single-board computer not only because of its compact size and low price but also due to its convenient and user-friendly features. By adding a Zero Quick Plug or a microUSB/USB adapter, you can connect the Raspberry Pi Zero to your computer. This allows the Raspberry Pi Zero to be configured as a USB/Ethernet device, requiring only a single USB port to both power the Raspberry Pi and connect it to the internet. There’s no need to carry an extra power adapter, USB hub, or wireless network card. This is arguably the simplest and most convenient way to connect the Raspberry Pi so far!
For Raspbian images after 2016-10-5, you only need to modify a few configuration files on the system SD card to configure the Raspberry Pi as a USB/Ethernet device. This tutorial is based on the Windows platform, and you may need to install Bonjour on your computer before connecting to the Raspberry Pi. Bonjour allows your computer to automatically recognize USB/Ethernet devices, such as printers, scanners, and the Raspberry Pi we need. Bonjour is included with iTunes and Adobe CS software, so you may already have it installed. If not, you can download it here.
1. Configure CONFIG.TXT and CMDLINE.TXT Files
Start by flashing the system; make sure the system image you downloaded is a version after 2016-10-5. On your computer, use a tool like Win32 Disk Imager to write the system image to the micro SD card (download here).

After completing this, open the root directory of this micro SD card on your computer (for example, boot(E:)) and open the config.txt file. Add a line at the end: dtoverlay=dwc2.
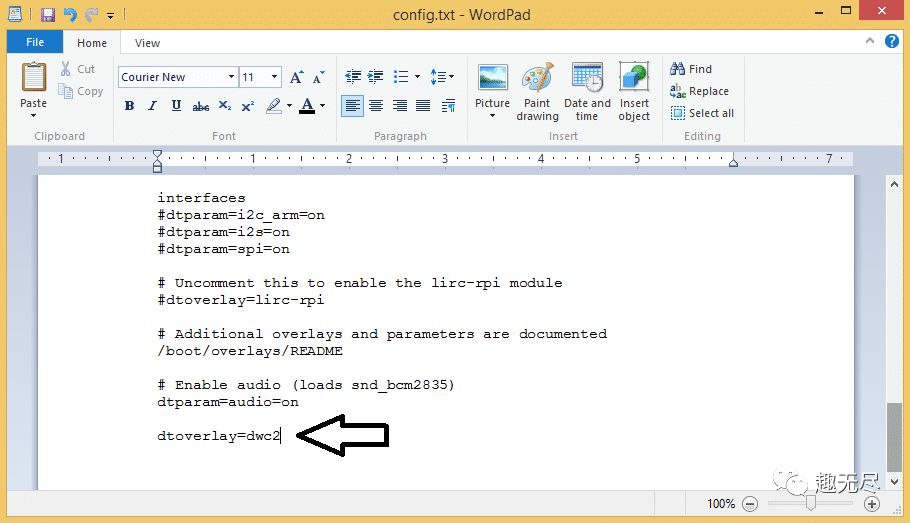
Save and close the config.txt file.
Next, open the cmdline.txt file. Ensure your editor has