MAKER:Johan Link/Translated by: Qu Wujin
Everyone might still remember last year’s project “OpenEyeTap: Open Source AR Smart Glasses Based on Raspberry Pi”, which is also based on Raspberry Pi, 3D printing, and camera modules.
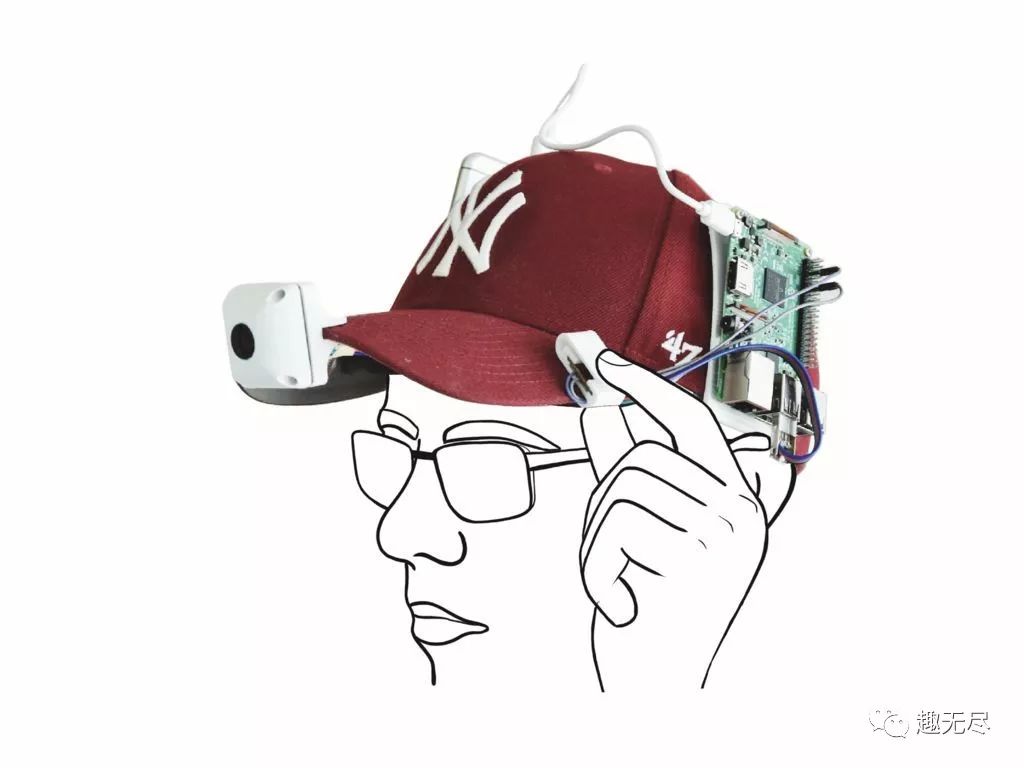
The following introduction is about a similar function, but with a significantly lower DIY threshold – a soulful creation version.
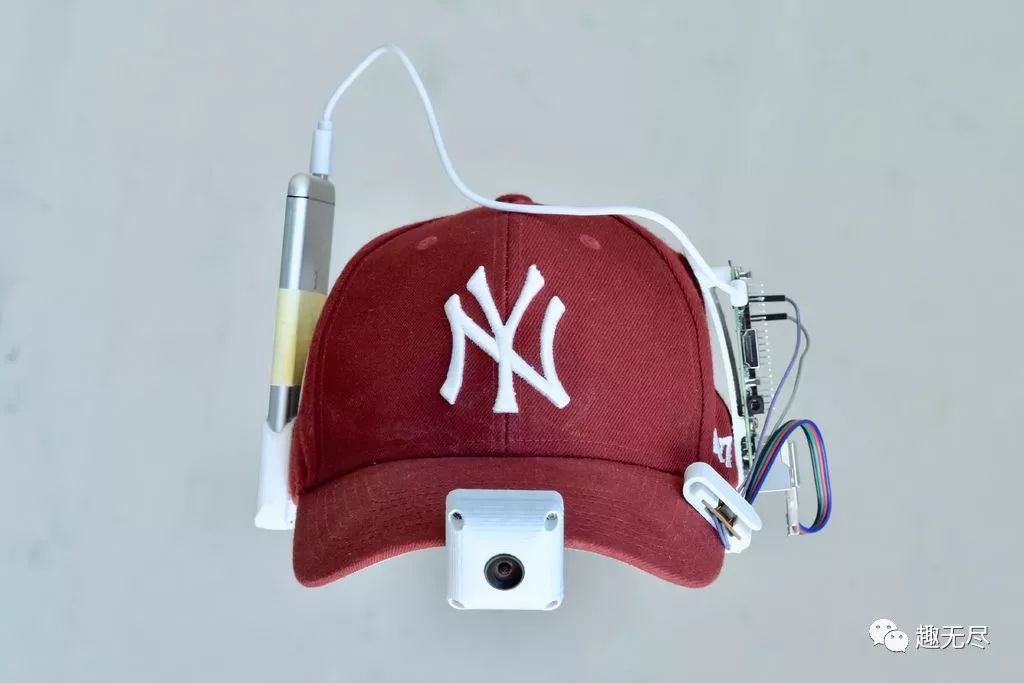
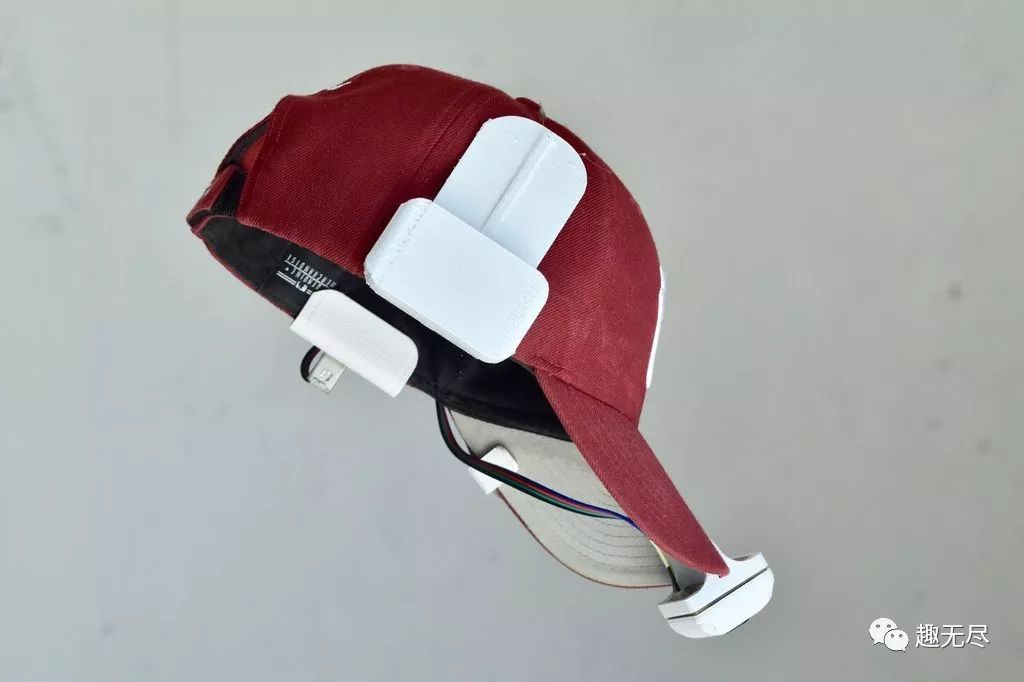
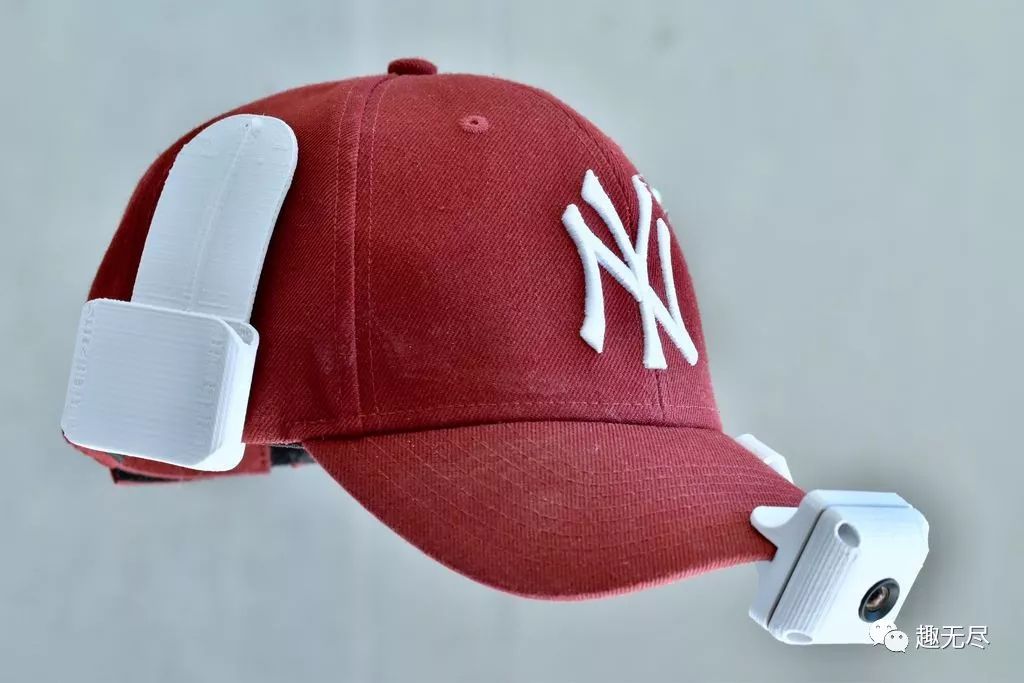
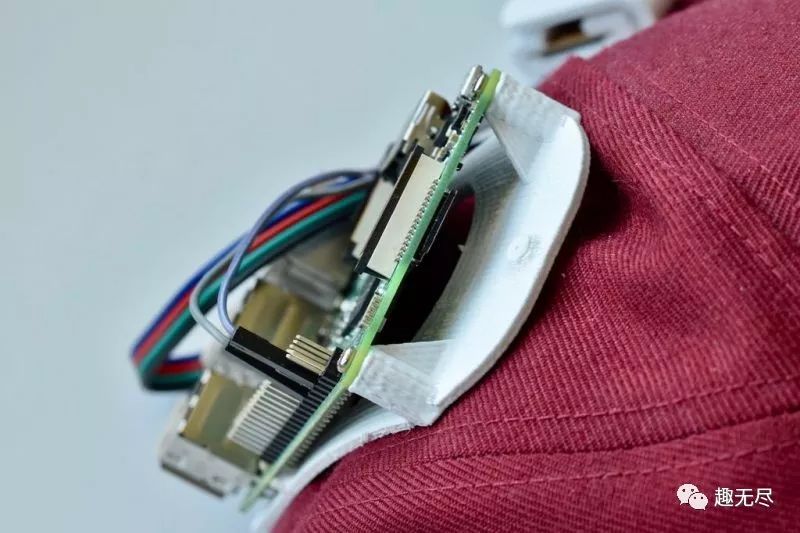
This system uses a larger Raspberry Pi 3B, a bigger and more easily available camera module, and an oversized 5000mAh lithium battery, so the main body is no longer glasses but a hat that can hold more items.
The camera in this system will always be on, capturing whatever you want to record, but the video recording time is limited to seven seconds.
These seven seconds are enough for many beautiful moments in life. Without it, by the time you take out your phone, the moment may have already passed. If you love documenting life, give it a try and capture the things you love; you can be the quick-handed little prince!
(P.S. Even if you don’t capture much yourself, bringing something like this out can definitely get you noticed by passersby, and going viral is also possible!)
Materials List
Raspberry Pi 3B ×1USB Camera ELP-USBFHD01M ×1Button ×1External Battery 5000mAh ×1
3D Printed Parts
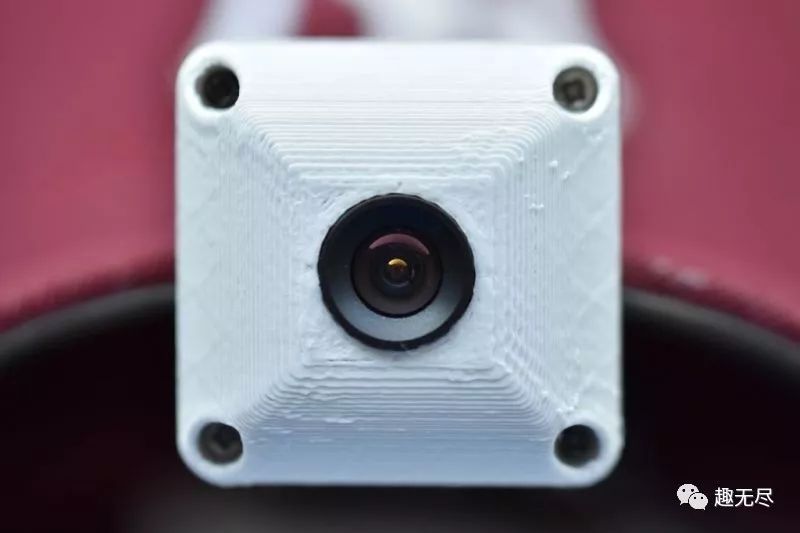
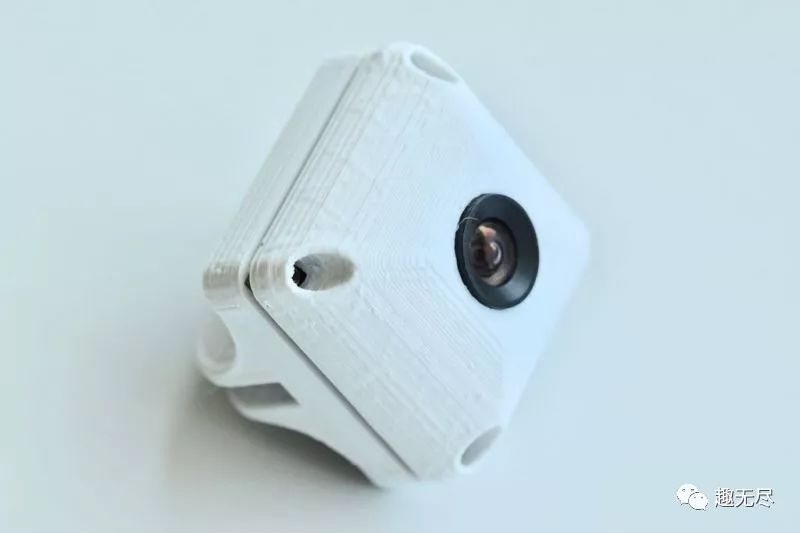
The parts that need to be printed include the battery compartment, the front and back covers for the camera, and the main compartment for the Raspberry Pi.

The 3D printing files can be downloaded from the project file repository.https://make.quwj.com/project/132
Working Principle
When connecting the battery to the Raspberry Pi, be sure to wait a few minutes to ensure that the Raspberry Pi can function normally. Each time you press the button, the camera will record seven seconds of video.
Download the FTPManager app on your phone and connect to the Raspberry Pi’s WiFi. In FTPManager, you can access all files on the Raspberry Pi via the IP address, browse, and find the recorded videos.
Assembly
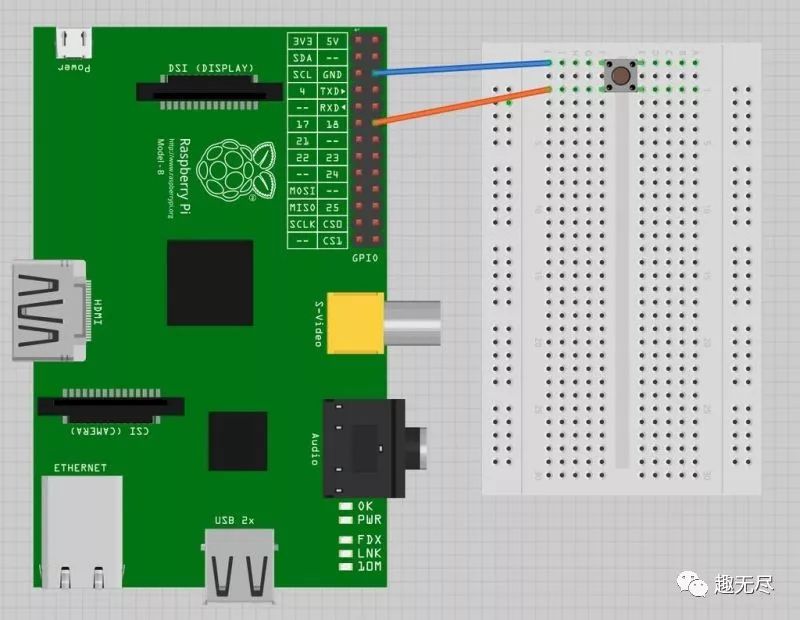
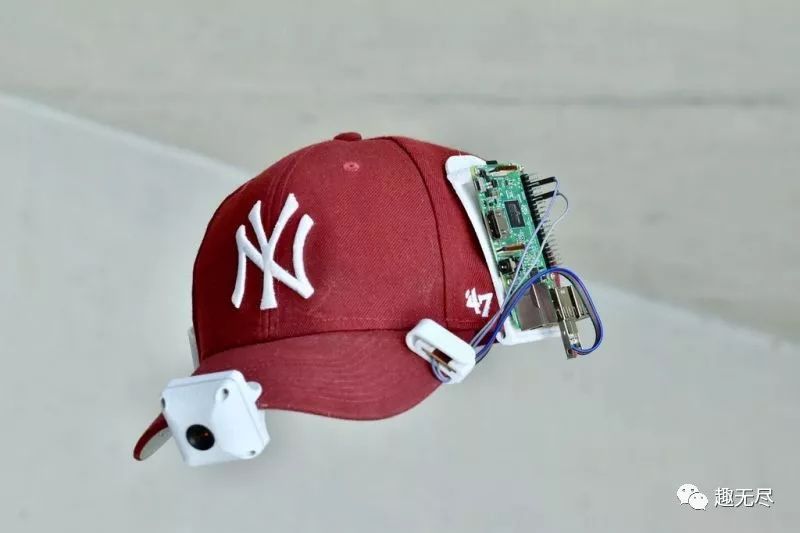
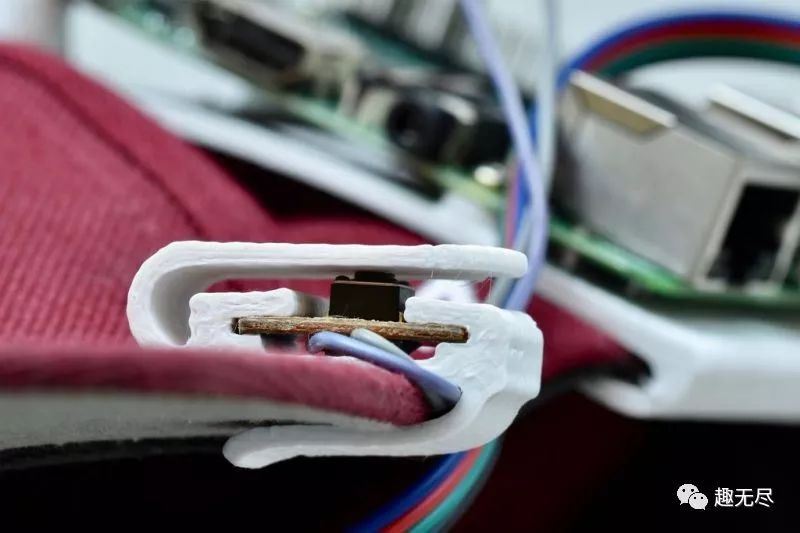
Connect the switch to trigger the camera and the Raspberry Pi as shown in the picture. The camera can be plugged into any USB port on the Raspberry Pi.
Set the Raspberry Pi as a hotspot, you can refer to the tutorial below:https://www.raspberrypi.org/documentation/configuration/wireless/access-point.mdIf you plan to connect the Raspberry Pi directly to the internet, then there is no need to set it as a hotspot.
Enable SSH
1. Configure in the Raspberry Pi options menu.2. Select the interface tab.3. Click to enable SSH.4. Click OK.
Program Section
The program is written in Python, please install the required libraries first.
import numpy as np

import cv2
import time
import RPi.GPIO as GPIO
GPIO.setmode(GPIO.BCM)
GPIO.setup(18, GPIO.IN, pull_up_down=GPIO.PUD_UP)
cap = cv2.VideoCapture(0)
fourcc = cv2.VideoWriter_fourcc(*'XVID')
print(cap.get(3)) #width
print(cap.get(4)) #height
print(cap.get(5)) # fps


frameList = []
numberOfSavedFrames = 30*7
i=0
vidNb = 0
while(True):
    # Capture frame-by-frame
    ret, frame = cap.read()
    frameList.append(frame)
    if(len(frameList) > numberOfSavedFrames):
        frameList.pop(0)
    if cv2.waitKey(1) & 0xFF == ord('q'):
        break
    input_state = GPIO.input(18)
    if(input_state == False):
        out = cv2.VideoWriter('output.avi', fourcc, 30.0, (640, 480))
        for frame in frameList:
            out.write(frame)
        vidNb += 1
    i += 1
# When everything done, release the capture
cap.release()
out.release()
cv2.destroyAllWindows()
Code download link:https://github.com/JohanLink/FilmThePast
Set this program file to run automatically on boot. For how to set a Python script to start on boot, you can refer to here:http://shumeipai.nxez.com/2017/05/17/raspberry-pi-service-python-script-start-on-boot.html
All done!
Project file repository link:
http://make.quwj.com/project/132
Links in the text can be clicked to read the original text at the end

More Exciting Content
Make a percussion band using Raspberry Pi
Biometric lock made with ESP8266
Create a minimalist automatic fish feeder with 3D printing
Raspberry Pi 4 released, starting at $35
DIY NES handheld with ESP32 development board
Raspberry Pi OS Raspbian Buster released
Cat, go away! Computer vision water-spraying cat deterrent
Only once series:Game of Thrones Iron Throne phone charger
Weird black technology: Charming eyes with motion tracking support
Play with micro:bit MicroPython on Raspberry Pi