
Click the blue text to follow us
Introduction
In today’s Internet of Things era, the application of voice recognition technology is becoming increasingly widespread. This article will introduce how to deploy a TinyML voice recognition system and detail the process from data collection to model deployment.
Getting Started with TinyML: Implementing TinyML Voice Recognition Using Zilltek Microphone
Deploying TinyML voice recognition on the development board begins with data collection. At this stage, we selected the speech_commands dataset for model training. This dataset contains various voice command categories such as “down”, “go”, “left”, “no”, “right”, “stop”, “up”, “yes”, etc., and can be found on TensorFlow’s official GitHub.
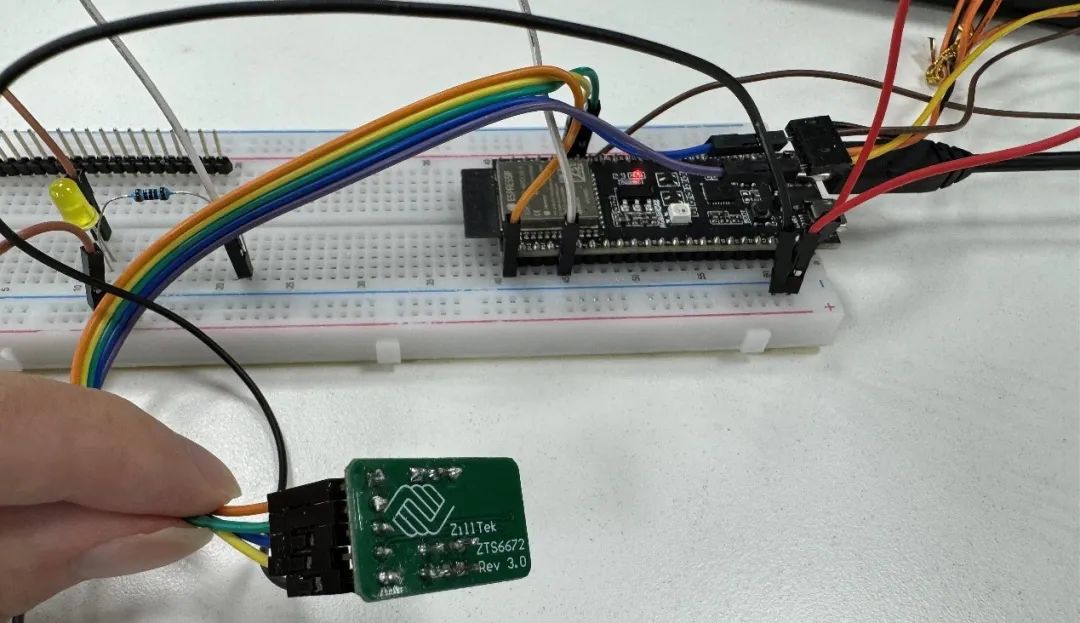
In terms of development environment, we use TensorFlow 2.10 and Python 3.10, while the hardware selected is the ESP32S3-C1. The microphone used is the Zilltek ZTS6672 MEMS mic, and the IDF used is ESP-IDF. To create a project, input the command:
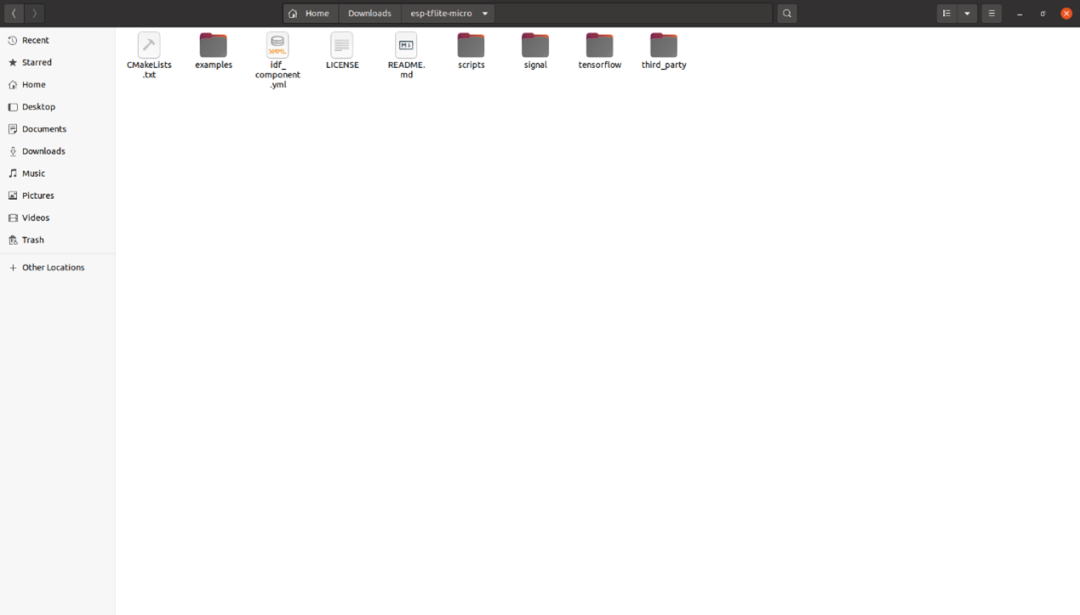
idf.py create-project-from-example "esp-tflite-micro:micro_speech"This will generate the files for esp-tflite-micro.
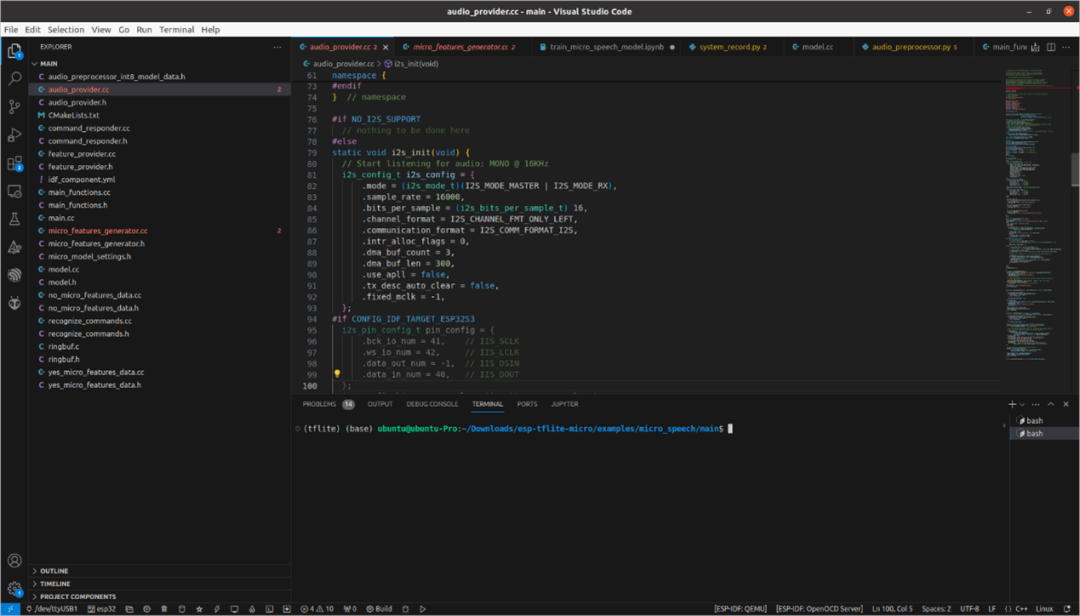
We use the micro_speech example, and we need to make some modifications. First, we configure the I2S input settings in audio_provider.cc.
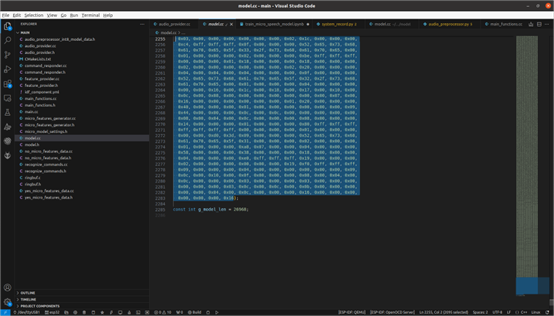
Additionally, after training the model and quantizing it into .tflite, we need to convert the model to binary. In model.cc, we place our model and modify g_model_len to match the model size.
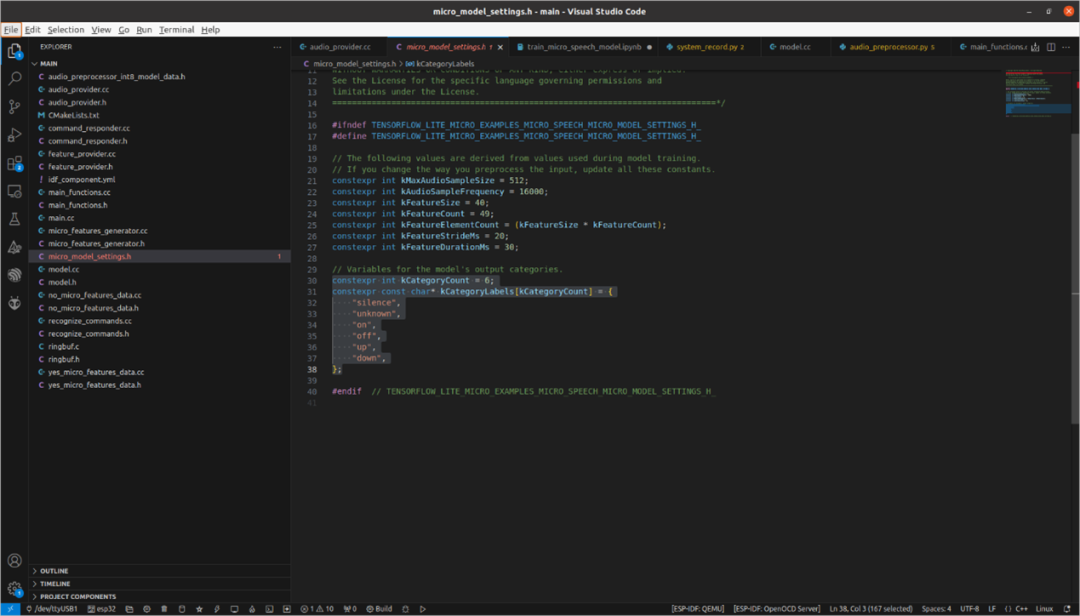
In micro_model_settings.h, set the label according to the keywords during model training. For example, if there are 6 categories, then constexpr int kCategoryCount should be set to 6, and the labels to be recognized should be placed in constexpr const char* kCategoryLabels[kCategoryCount].
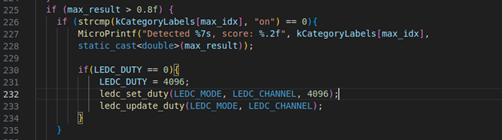
Moreover, if you want to add voice recognition interaction features, such as turning on a light when a keyword is heard, you can add this in main_function.cc. As long as the confidence value is above 0.8, the corresponding command will be executed.
Once everything is complete, you can proceed to build using ESP-IDF by entering the following commands in sequence:
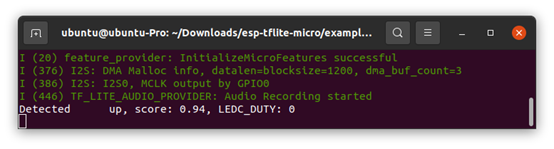
idf.py set-target esp32s3idf.py buildidf.py -p /dev/ttyACM0 flashidf.py -p /dev/ttyACM0 monitorYou will be able to see the recognition part.
Conclusion
This article documents my process of implementing TinyML voice recognition on the ESP32S3-C1. From data collection to deployment, every step has been a valuable learning experience. I hope this article can help readers who are also interested in TinyML.
Q&A
Q: If the recognition is inaccurate, where should I start checking the problem?
A: There are many possible causes for inaccurate recognition, which can be checked from the microphone and the model.
Q: How to check the microphone?
A: To ensure that the audio capture is functioning properly, you can use UDP to send PCM to the computer and use Pyaudio to play the audio to listen for any issues.
Q: How to confirm if the model is accurate?
A: TensorFlow provides an evaluate.py in tflite-micro at tensorflow/lite/micro/examples/micro_speech, which can be used to feed in wav files to check accuracy.
Q: If I encounter the error “Didn’t find op for builtin opcode ‘CONV_2D’ version ‘3’. An older version of this builtin might be supported. Are you using an old TFLite binary with a newer model?” during build, how should I resolve it?
A: Check in main_function.cc whether the op matches the model, and you can view the model structure using Netron.
Q: How to resolve the issue related to “FLATBUFFERS_ASSERT(size < FLATBUFFERS_MAX_BUFFER_SIZE);” when executing py?
A: In /Documents/tflite-micro/tensorflow/lite/micro/build_def.bzl, add “-Wno-error=sign-compare” in the def micro_copts():, and execute using bazel build –copt=”-Wno-error” evaluate to ignore comparison errors for normal execution.
References
-
micro_speech_dataset
-
tflite-micro GitHub
-
esp-tflite-micro GitHub

Click Read Original to ask questions/comments, obtain technical documents, and more information!


Share

Like

Watching