
Finally, I have flashed the long-stored Raspberry Pi 4B with OpenWrt. During the process, I encountered several pitfalls, and I have documented them for future users to avoid these issues.
Download and Flashing
Pitfall 1: After comparing several ROMs, I recommend using the following ROM for Raspberry Pi 4B:
https://github.com/SuLingGG/OpenWrt-Rpi/releases/tag/bcm27xx-bcm2711
The version I chose to download is immortalwrt-bcm27xx-bcm2711-rpi-4-squashfs-factory.img
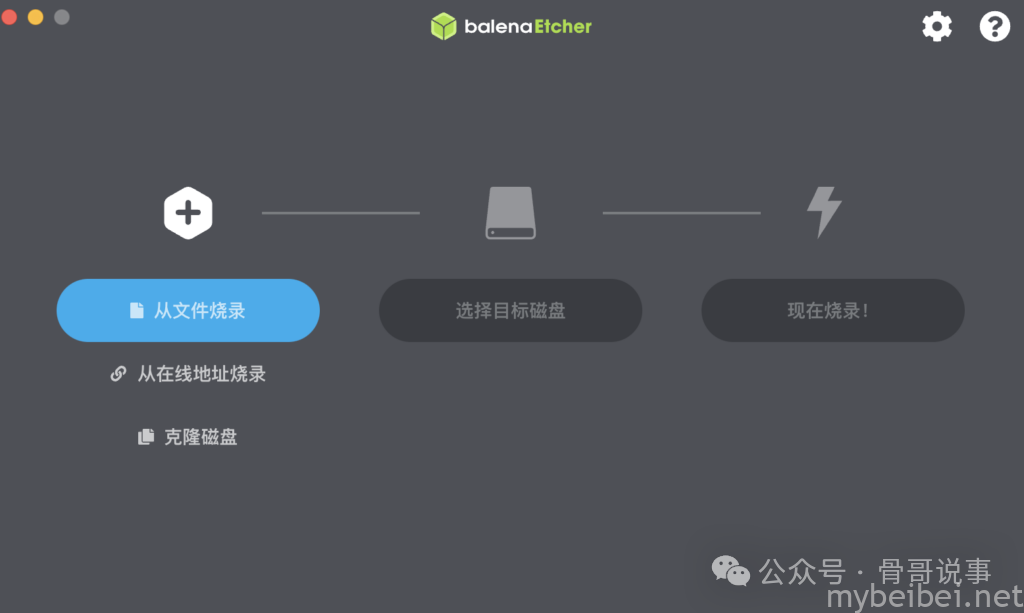
Flashing is straightforward; select “Flash from file” and then choose the SD card to proceed. The speed is quite fast:
Configuration
Wireless Settings
After inserting the SD card into the Raspberry Pi 4B and powering it on (Pitfall 2: do not connect the Ethernet cable to the wired port), you will see an “Openwrt” Wi-Fi signal. Connect to it and enter 192.168.1.1 to access the web management interface:

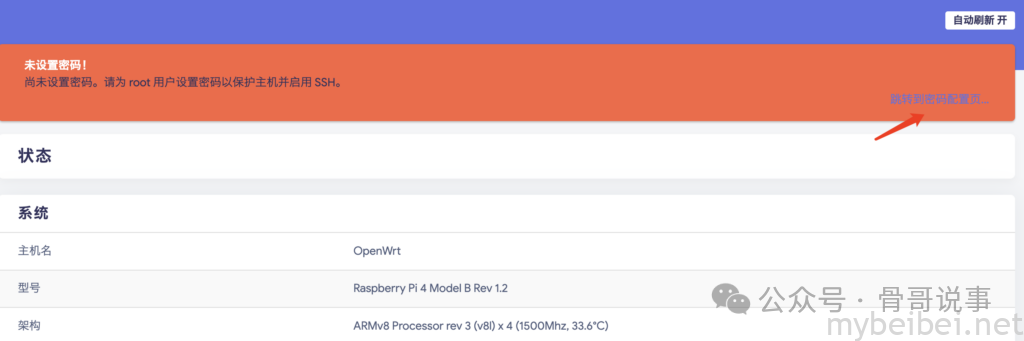
After logging in with the initial password “password”, the first step is to change the root password and enable SSH service:
Then, in the right section “Network – Wireless”, set the Wi-Fi ESSID name and password:
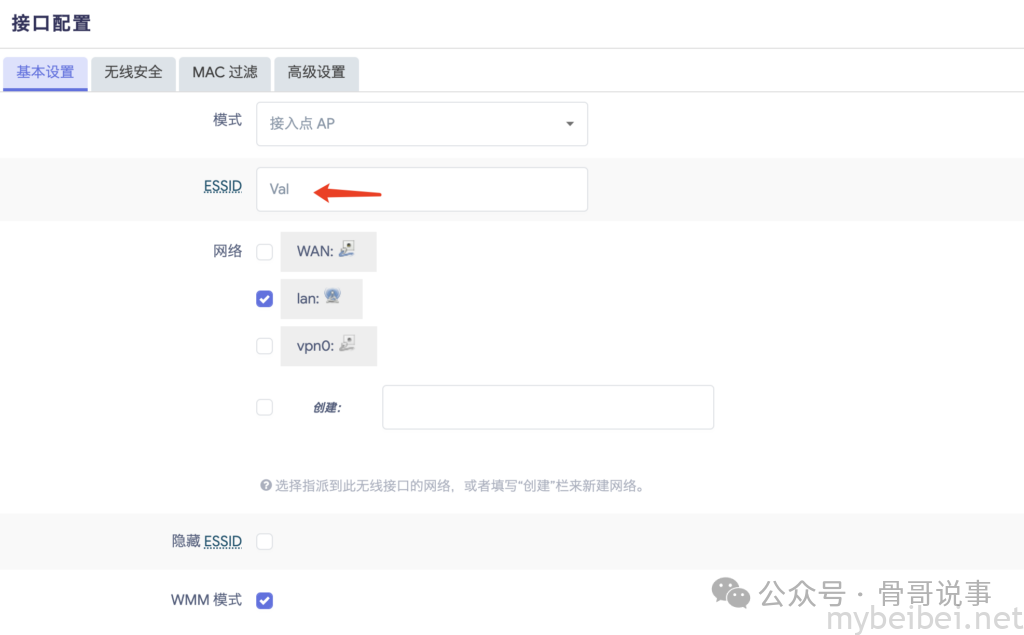
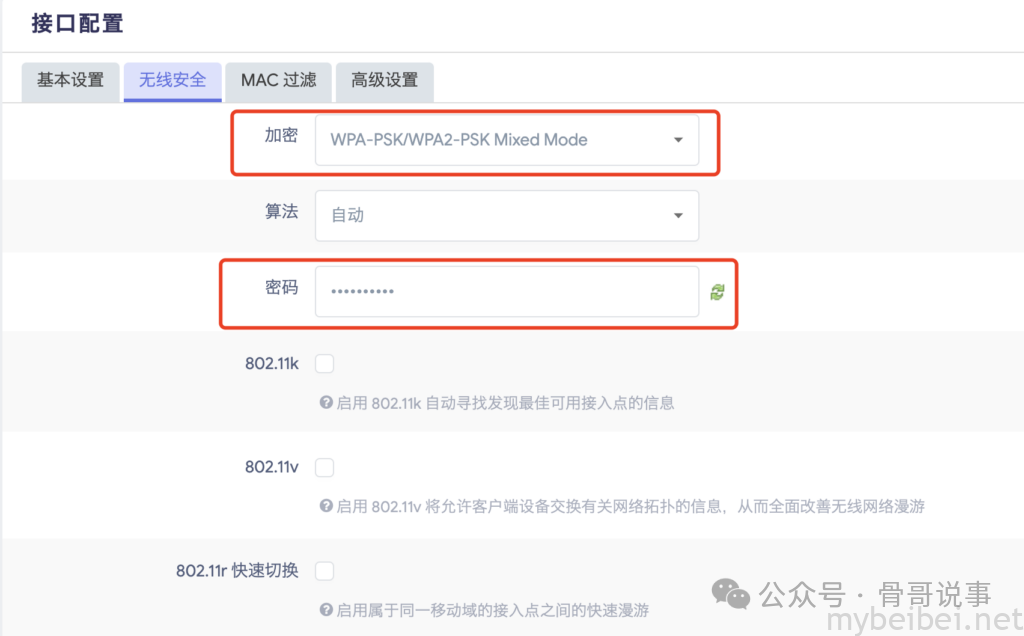
After completing the modifications, click “Save & Apply” at the bottom.
Network Settings
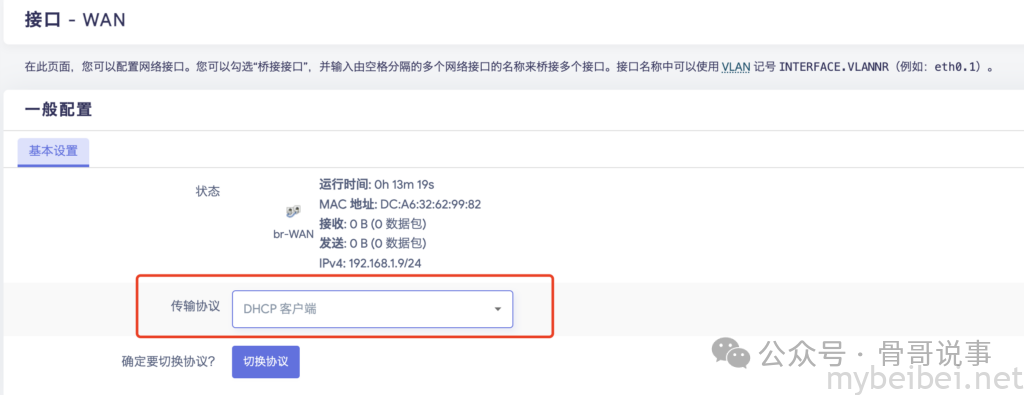
Next, go to “Network – Interfaces” on the left to configure the network card. First, add a new interface to connect the Raspberry Pi’s wired network card to the home router. Set the name to “WAN” and the protocol to “DHCP Client”:
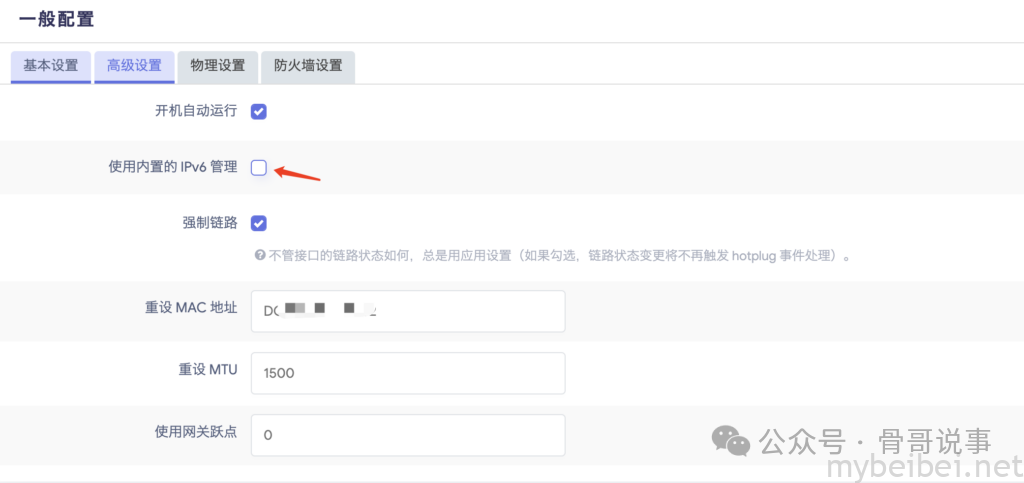
Pitfall 4: In the advanced settings, make sure to uncheck “Use built-in IPv6”.
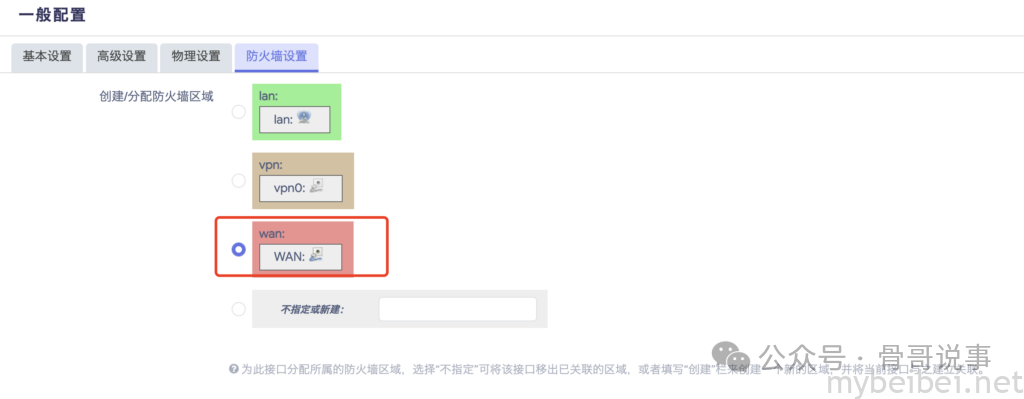
Pitfall 5: Then, check the “wan” option in the “Firewall Settings”:
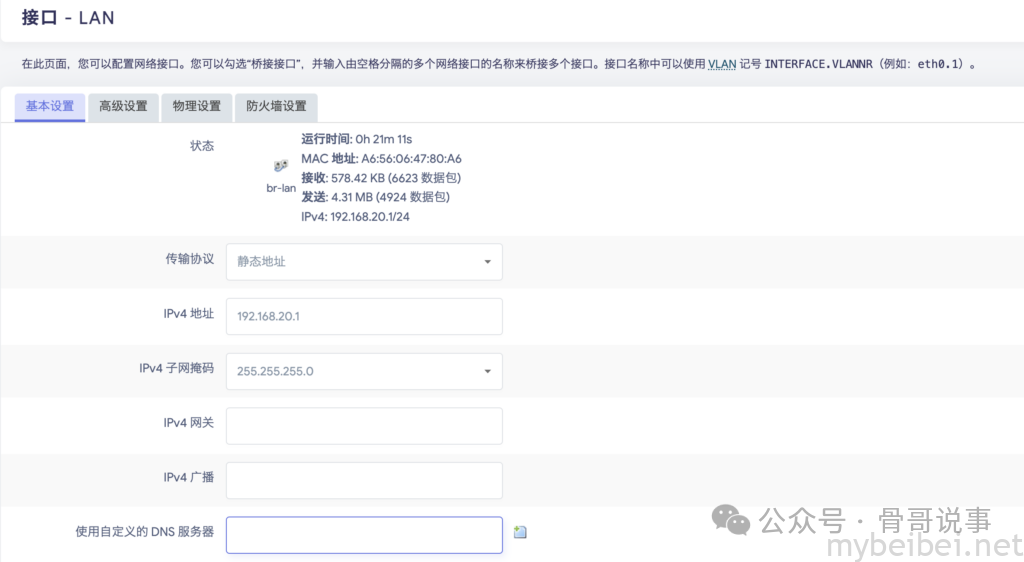
Return to the interface settings and configure the LAN port. First, in the basic settings of the LAN port, change the IPv4 address from the default 192.168.1.1 to something like 192.168.20.1 to avoid conflict with the home router’s 192.168.1.1:
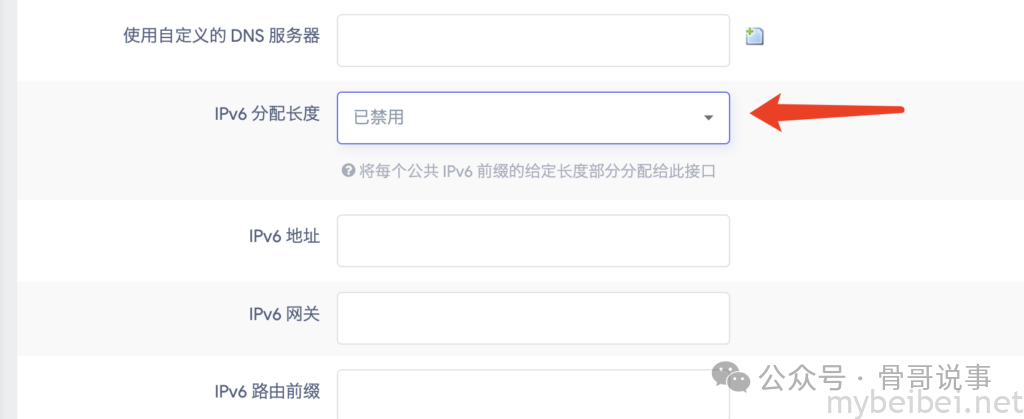
Also, remember to select “Disabled” for IPv6 allocation length:
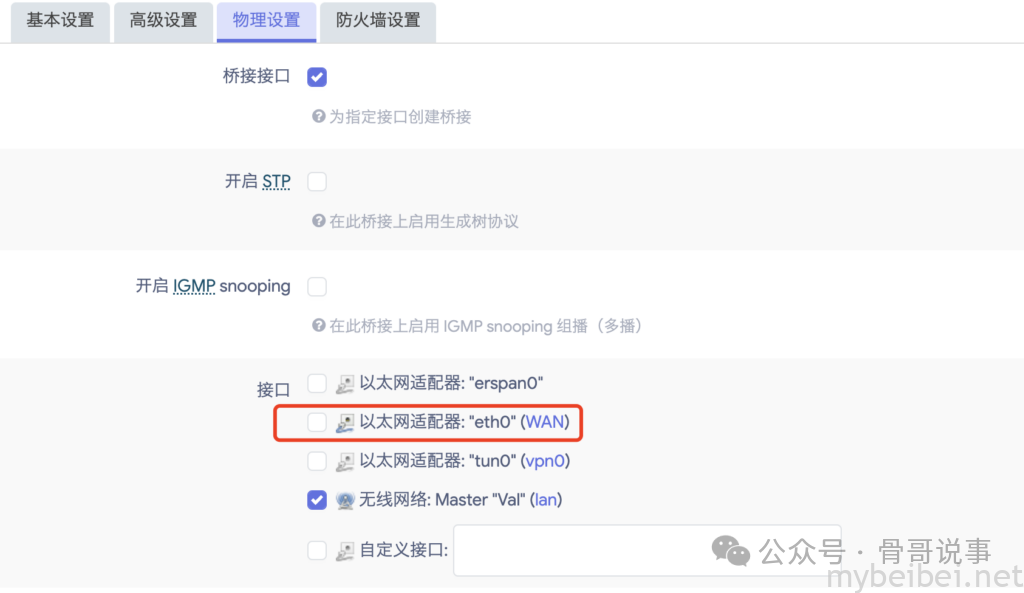
Similarly, in the advanced settings, uncheck the IPv6 management option, Pitfall 6: and in the “Physical Settings”, uncheck the eth0 (WAN) option:
After saving and applying, it’s best to reboot (System – Reboot). After rebooting, insert the Ethernet cable into the Raspberry Pi’s wired port and check the “Network – Interfaces” information again:
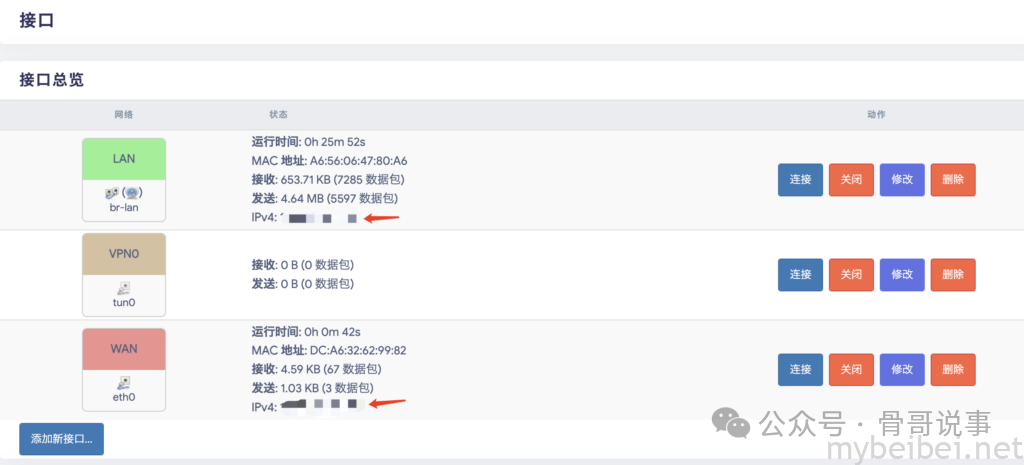
If you can see the corresponding IP in the IPv4 sections for WAN and LAN, it indicates success.
The remaining parts are sensitive; interested readers can visit the blog for more details.
Thank you for reading! If you find this helpful, feel free to share it with more friends who might be interested~
==== End of Article ====